
Image Source: www.blossomheartquilts.com
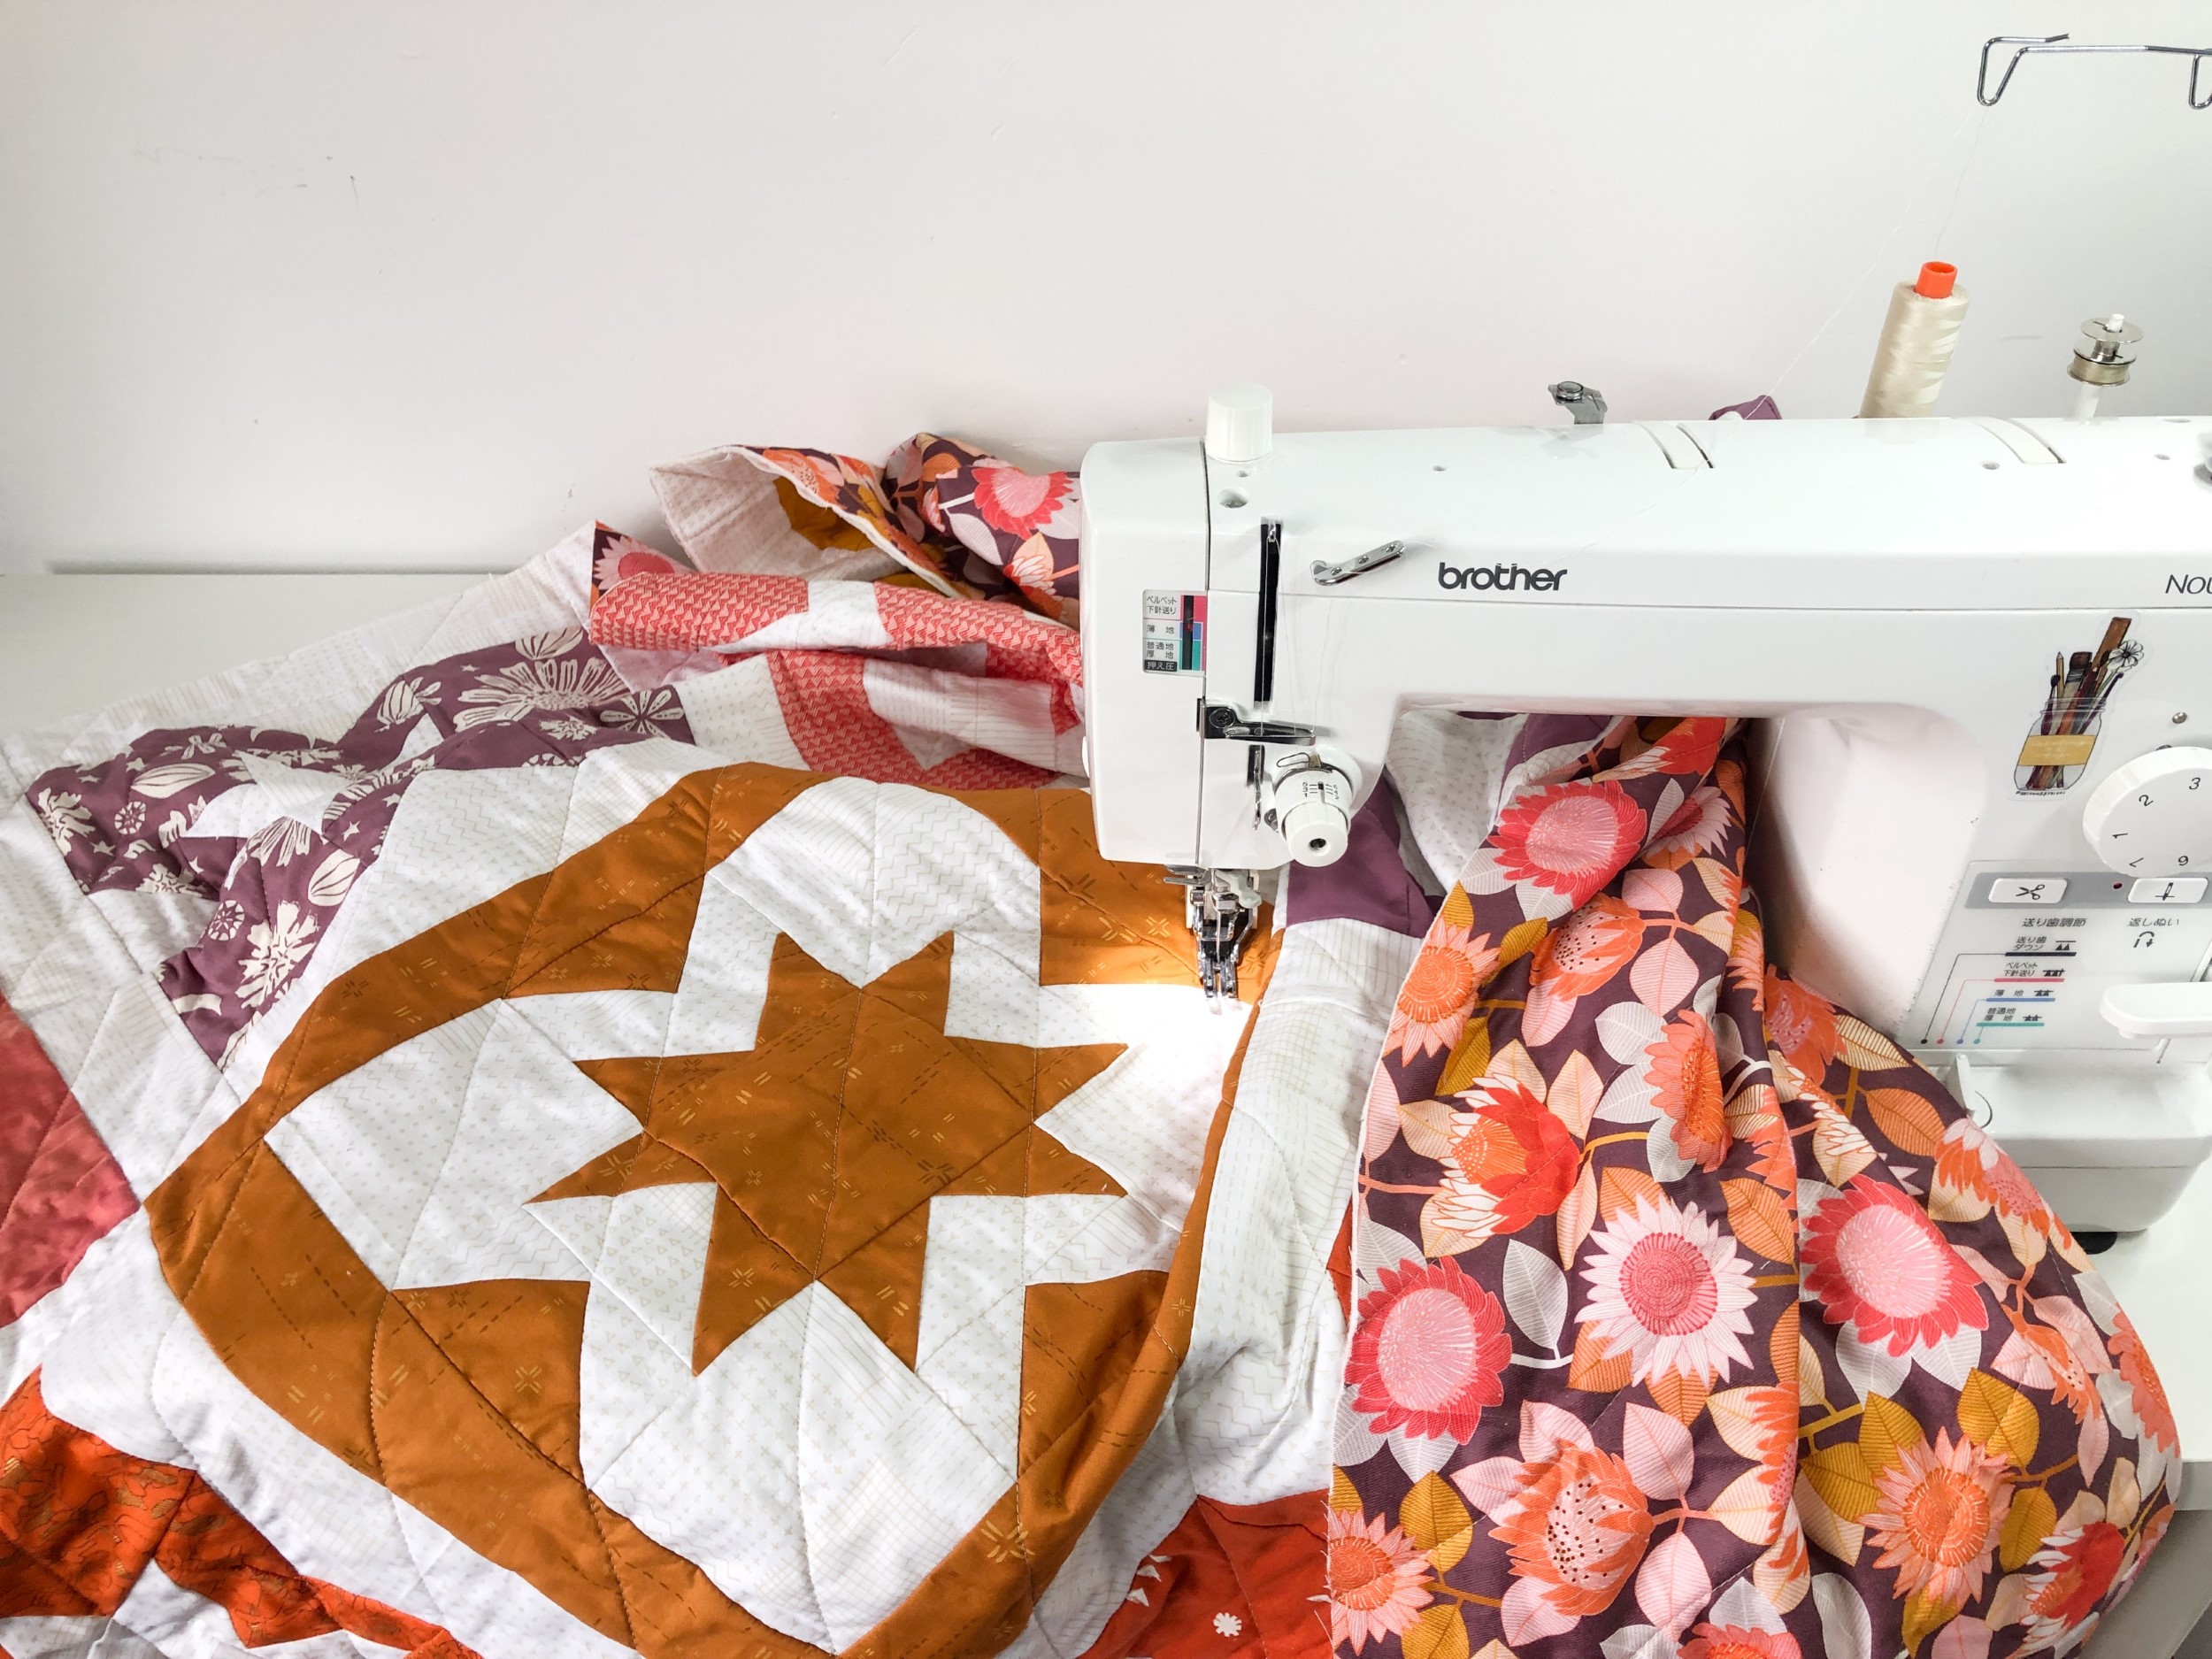
How To Quilt On Regular Sewing Machine: Easy Beginners Guide
Yes, you absolutely can quilt on your regular sewing machine! You do not need a special longarm machine to make beautiful quilted projects. This guide will show you easy ways to start quilting using the sewing machine you already own. We will cover basic steps and helpful tips. Quilting on a domestic machine is fun and rewarding. It lets you finish your quilts at home.
Getting Ready to Quilt
Before you start sewing, get your machine and space ready. A clean machine works better. Make sure your machine is in good working order.
Check Your Machine
First, clean your machine well. Dust and lint can cause problems. Use a brush and a small vacuum to get fuzz out. Oil your machine if the manual says to. Put in a new needle. A fresh needle is very important for good stitches. Use a needle meant for quilting or topstitching. These needles are strong and sharp. Size 90/14 or 100/16 often works well.
Gather Your Supplies
You need a few things besides your machine.
- Quilt top: This is the top layer of your quilt. It has your design.
- Batting: This is the middle layer. It makes the quilt warm and soft. Choose the right size for your quilt.
- Backing fabric: This is the bottom layer. It should be bigger than the top and batting.
- Thread: Use good quality thread. Cotton or polyester threads work well. Match the thread weight to your needle size. You might want thread that blends in or stands out.
- Basting supplies: You need to hold the three layers together. You can use safety pins made for quilting, basting spray, or basting thread.
- Quilting gloves (optional): These help you grip the fabric better.
- Quilting foot attachment: You will need a special foot for machine quilting techniques. More on this later.
Setting Up Your Quilt
You need to make a quilt sandwich. This means putting the three layers together.
- Prepare the backing: Lay the backing fabric flat on a large surface. A floor or big table works best. Make sure it is smooth. Tape the edges down to keep it from shifting.
- Add the batting: Lay the batting over the backing fabric. Smooth it out. Make sure it is flat with no wrinkles. The batting should be a few inches bigger than your quilt top on all sides.
- Place the quilt top: Put the quilt top on top of the batting. Center it. Smooth it out carefully. Start from the middle and work your way out. Make sure there are no wrinkles or folds.
- Baste the layers: Now, hold the three layers together. You can use safety pins. Put pins every 4-6 inches across the whole quilt. Or use basting spray. Follow the spray instructions. It makes the layers sticky. Another way is to use a long needle and basting thread to make large stitches across the quilt. Basting stops the layers from moving while you quilt.
Important Sewing Machine Settings for Quilting
Getting your machine settings right is key. It helps your stitches look nice and even.
Stitch Length
If you are doing straight line quilting on home machine with a walking foot, set your stitch length. A longer stitch length is often best for quilting. Try a length between 2.5 and 3.5. A stitch that is too short can tear the paper backing on some threads. A stitch that is too long might not hold the layers well. Test on scraps first.
If you are doing free motion quilting domestic machine work, you might need to change settings. For free motion, the feed dogs are down. You control the stitch length by how fast you move the fabric and how fast the needle goes up and down. There is no set stitch length number.
Sewing Machine Tension
Machine quilting tension is very important. If the tension is wrong, your stitches will look bad. The top thread might loop on the bottom. Or the bottom thread might show on the top. You want the top and bottom threads to meet exactly in the middle of the batting layer.
- Start with the standard tension setting on your machine.
- Test your tension on a scrap quilt sandwich. Use the same fabric, batting, and thread as your real quilt.
- Sew a few lines. Check the stitches on the top and bottom.
- If the top thread is lying flat and the bottom thread is looping, your top tension is too tight. Lower the top tension number.
- If the bottom thread is lying flat and the top thread is looping on the bottom, your top tension is too loose. Raise the top tension number.
- Adjust a little bit at a time. Test again until the stitches look balanced.
This test is a very important beginner machine quilting tip. Always test tension on scraps first.
Essential Quilting Foot Attachment
You will need a special foot for machine quilting techniques. There are two main types you will use on a regular machine:
The Walking Foot
This foot helps you do walking foot quilting. It looks different from a regular foot. It has its own set of feed dogs on top. These teeth grab the top layer of fabric. At the same time, your machine’s feed dogs grab the bottom layer.
How a Walking Foot Helps
The walking foot moves all three layers of the quilt sandwich at the same speed. This stops the layers from shifting. It prevents puckers and wrinkles on the back of your quilt.
What to Use a Walking Foot For
- Straight line quilting on home machine: This is what the walking foot is best for. You can sew straight lines easily.
- Stitching in the ditch: This means sewing right in the seam lines of your quilt top. It makes the seam lines look sharp.
- Quilting simple grids or rows: You can use painter’s tape or a ruler guide that attaches to the foot to keep your lines straight and evenly spaced.
- Gentle curves: You can quilt large, smooth curves with a walking foot too.
When using a walking foot, keep your machine’s feed dogs up. Set your stitch length as mentioned before.
The Quilting Foot (Darning Foot / Free Motion Foot)
This foot is used for free motion quilting domestic machine work. It looks like a hoop or an open toe. Its main job is to hop up and down with the needle.
How a Quilting Foot Helps
This foot does not hold the fabric down all the time. It only touches the fabric briefly as the needle goes up. This lets you move the fabric freely in any direction you want.
What to Use a Quilting Foot For
- Free motion quilting domestic machine: This is for designs where you draw with the needle. Think of loops, swirls, meanders, or pebbles.
- Applique: It helps you stitch around fabric shapes smoothly.
- Thread painting: Using thread to create pictures.
When using this foot for free motion quilting, you must lower the feed dogs for quilting. This lets you move the fabric yourself.
Learning Machine Quilting Techniques
Now that your machine is ready and you have the right foot, you can learn some machine quilting techniques.
Technique 1: Straight Line Quilting with a Walking Foot
This is one of the easiest beginner machine quilting tips. It is a great way to start.
- Attach the walking foot: Put the walking foot on your machine.
- Feed dogs up: Make sure your feed dogs are up.
- Set stitch length: Choose a good stitch length (2.5-3.5).
- Test tension: Sew on a scrap to check tension.
- Plan your lines: Decide where you want to sew lines. You can sew parallel lines, make a grid, or follow the piecing lines.
- Mark lines (optional): You can use a washable fabric marker, chalk, or painter’s tape to guide your first line. For lines after the first, you can often use the edge of your walking foot or a guide bar as a ruler.
- Start sewing: Begin sewing from one edge of the quilt. Sew at a steady speed. Do not pull or push the fabric hard. Let the walking foot move the layers.
- Sew parallel lines: Line up the edge of your foot or guide with your last stitched line. Sew the next line. Repeat across the quilt.
Technique 2: Stitching in the Ditch with a Walking Foot
This technique makes the seams of your quilt top pop.
- Attach walking foot: Use your walking foot.
- Feed dogs up: Feed dogs stay up.
- Set stitch length: Use your chosen stitch length.
- Test tension: Check tension on a scrap.
- Find a seam: Choose a seam line on your quilt top.
- Position needle: Lower the needle exactly into the ditch, which is the valley where the fabrics meet at the seam.
- Sew carefully: Sew slowly and carefully, keeping the needle right in the ditch. The walking foot helps keep the fabric flat.
Technique 3: Free Motion Quilting (FMC)
This is where you draw with thread. It is fun but takes practice.
- Lowering feed dogs for quilting: This is the first step for FMC. Your machine has a switch or button to do this. Check your manual if you can’t find it. Lowering the feed dogs means they will not pull the fabric. You control the movement.
- Attach the quilting foot: Put on your darning or free motion foot.
- Set stitch type: Set your machine to a straight stitch.
- Set stitch length: For most machines, set the stitch length to zero or the free motion setting if it has one. This tells the machine you are doing free motion.
- Test tension: Test on a scrap sandwich. Tension is super important in FMC because you control the speed.
- Get ready to move: Place your hands flat on the quilt, spreading the weight. Your hands will move the fabric smoothly under the needle. Consider quilting gloves for better grip.
- Start sewing: Lower the needle into the fabric. Pull the bobbin thread up to the top. Hold both threads and sew a few stitches in place to lock them. Then start moving the fabric to make your design.
- Control stitch length: Your stitch length depends on two things: how fast the needle goes up and down (machine speed) and how fast you move the fabric. Move the fabric at a steady speed. Use a medium machine speed to start. Move too fast and your stitches will be long. Move too slow and they will be tiny knots. Find a rhythm that gives you even stitches.
- Plan your route: For some designs, like an all-over meander, you just move around filling the space. For others, you might need to plan how to get from one area to another without breaking thread.
Basic Free Motion Designs
- Stippling: This is a classic design. It looks like puzzle pieces or pebbles that don’t touch. You move the fabric randomly, sewing curves that don’t cross. It fills space well.
- Loops: Sew loops that connect. You can make them big or small.
- Meander: Similar to stippling but the lines cross over each other more freely.
Practice free motion quilting domestic machine techniques a lot on scraps before working on your quilt. It feels strange at first.
Managing Large Quilts On Sewing Machine
Working with a big quilt on a small domestic machine can be hard. Here are some tips for managing large quilts on sewing machine:
- Roll or fold the edges: Roll up the parts of the quilt you are not currently quilting. Hold them close to the machine’s arm. You can use fabric clips or clothes pins to keep the roll tidy.
- Support the weight: The weight of the quilt needs support. Do not let it hang off the machine. This pulls on the needle and can cause skipped stitches or tension problems. Use a table, chair, or even boxes to support the edges of the quilt around your machine. Sewing machine extension tables are very helpful if you have one.
- Quilt from the middle out: Start quilting in the center of the quilt. Work your way out to the edges. This pushes the bulk outwards and helps prevent wrinkles in the middle.
- Stop often: Take breaks to move the quilt around. Make sure it is still smooth underneath. Unroll and re-roll as needed.
- Sit correctly: Make sure your chair is at the right height. Sit straight. This helps you control the fabric better and prevents your body from hurting.
These tips make managing large quilts on sewing machine much easier.
Beginner Machine Quilting Tips Summary
Here is a quick list of helpful tips for when you start:
- Always start with a new needle.
- Use good quality thread.
- Baste your quilt sandwich well.
- Test your machine quilting tension on scraps before you start.
- Use the right quilting foot attachment (walking foot for straight lines, darning/quilting foot for free motion).
- Lower feed dogs for quilting free motion, keep them up for walking foot.
- Start with simple machine quilting techniques like straight lines or easy meanders.
- Go slowly and steadily.
- Support the weight of your quilt.
- Practice, practice, practice!
More Machine Quilting Techniques
Beyond basic lines and simple free motion shapes, there are many more machine quilting techniques you can try as you get better.
Echo Quilting
This technique involves sewing lines that follow the shape of a design element on your quilt top, like an applique piece or a pieced block. You sew a line a certain distance away from the shape, then another line the same distance from the first line, and so on. You can do this with a walking foot for large shapes or with a free motion foot for more complex shapes. It makes the quilted shape stand out.
Outline Quilting
This is like echo quilting but you sew right along the edge of a shape. It can be done with a walking foot or a free motion foot. It clearly defines the shapes in your quilt top.
Using Rulers
There are special quilting rulers and ruler feet for domestic machines. These let you use the rulers as a guide to sew straight lines, curves, or other shapes when doing free motion quilting. This gives you more control over free motion designs. It is a step up from just freehanding the designs.
Combining Techniques
You can use different machine quilting techniques in one quilt. You might do straight line quilting on home machine in the borders. Then use free motion quilting domestic machine designs in the center blocks. Mixing techniques adds interest to your quilt.
Troubleshooting Common Issues
Sometimes things go wrong when machine quilting. Here are a few problems and how to fix them.
Uneven Stitches
- With walking foot: Your stitch length might be set wrong. Or you might be pushing/pulling the fabric too much. Let the foot do the work. Check your tension.
- With free motion: This is often about your speed. Are you moving the fabric too fast or too slow for your machine’s speed? Try to match your fabric movement speed to the machine’s needle speed. Practice helps a lot here. Uneven tension can also cause this.
Skipped Stitches
- Needle issue: Your needle might be old, bent, or the wrong type. Put in a new quilting or topstitching needle.
- Machine timing: If needles don’t fix it, your machine’s timing might be off. This is when the needle and bobbin hook don at the wrong time. You might need a repair person to fix this.
- Fabric weight: Too many layers or very dense batting can make it hard for the needle to get through. Make sure your needle is strong enough (size 90/14 or 100/16).
- Pulling fabric: Do not pull the fabric sideways or forwards/backwards hard while sewing. This bends the needle and can cause skipped stitches.
Thread Breaks
- Tension: Tension that is too tight, especially the top tension, can make thread break. Loosen the tension slightly.
- Needle: A bad needle (burr, bend) or a needle that is too small for the thread can cause breaks. Change the needle.
- Thread quality: Cheap thread can break easily. Use good quality thread.
- Machine path: Check that the thread is going through your machine correctly. Make sure it is not catching on anything.
- Speed: Sewing too fast can sometimes cause thread to break, especially in free motion.
Puckers or Wrinkles
- Basting: Your basting was not enough or not done well. The layers shifted. For a small pucker, you might be able to smooth it out as you quilt near it. For big wrinkles, you might need to take stitches out and rebaste that area.
- Walking foot not used: Trying to quilt straight lines without a walking foot can cause puckers because the layers feed at different rates.
- Not supporting quilt weight: The heavy quilt pulling down can cause wrinkles near the needle. Support the quilt better.
- Not smoothing layers: Make sure the layers are smooth before you start quilting an area. Stop, lift the presser foot (if not doing free motion), and smooth if needed.
Addressing these common issues will help you have a better quilting experience.
Keeping It Simple: Beginner-Friendly Projects
When you are new to machine quilting, start small.
- Quilted placemats: These are small rectangles. Easy to baste and easy to manage on your machine. You can practice straight lines or simple free motion loops.
- Pot holders: Even smaller! Good for practicing tension and a simple all-over design.
- Table runners: Bigger than placemats but still manageable.
- Baby quilts: These are smaller than bed quilts. A good size for learning managing large quilts on sewing machine without it being too hard.
Do not start with a king-size quilt! Build your skills on smaller projects.
The Joy of Finishing Your Quilt
Finishing your first quilt on your home machine is a great feeling. Machine quilting adds texture and makes your quilt last longer. It holds the layers together. It also adds another layer of design.
Remember that practice is key. Your first attempts might not look perfect. That is okay! Every quilter started somewhere. The more you quilt, the better you will get at controlling your machine and moving the fabric.
Grasping how your machine works for quilting takes time. Be patient with yourself. Enjoy the process of adding stitches to your quilt top. Soon, you will be comfortable trying new machine quilting techniques. You can make beautiful quilted items using just your regular sewing machine.
Frequently Asked Questions (FAQ)
Q: Can any regular sewing machine quilt?
A: Yes, almost any regular sewing machine can quilt. You need a straight stitch and usually a way to lower the feed dogs (for free motion). Having different feet available is also helpful.
Q: What is the best foot for machine quilting on a regular machine?
A: For straight lines and grids, a walking foot is best. For free motion designs (like swirls or stippling), you need a darning or free motion foot.
Q: Do I have to lower my feed dogs?
A: You only lower your feed dogs for free motion quilting. If you are using a walking foot for straight lines, keep your feed dogs up.
Q: What thread is best for machine quilting?
A: Cotton or polyester threads work well. Choose a good quality brand. Try a 40wt or 50wt thread. Match your needle size to your thread weight.
Q: How do I make my stitches even in free motion quilting?
A: Even stitches in free motion come from matching your hand speed (how fast you move the fabric) to your machine speed (how fast the needle goes up and down). Practice helps you find this rhythm. Sew at a consistent speed.
Q: How do I manage a big quilt on my small machine?
A: Roll or fold the parts you are not quilting. Support the weight of the quilt with tables or chairs around your machine. Start quilting from the center and work outwards. Take breaks to adjust the quilt.
Q: My stitches look different on the top and bottom. What’s wrong?
A: This is a tension problem. The top thread and bobbin thread should meet inside the batting. If the top thread is flat and the bottom is looping, top tension is too tight. If the bottom thread is flat and top is looping on the bottom, top tension is too loose. Adjust your top tension setting a little at a time and test again on scraps.
Q: Is machine quilting hard?
A: It takes practice, like any new skill. Starting with simple techniques like straight lines and small projects makes it easier. Do not expect perfection right away. Just enjoy the process of learning.