
What is a sewing machine bobbin, and why is winding it correctly so important? A sewing machine bobbin is a small spool that holds the lower thread, which works with the upper thread to create a stitch. Winding it correctly ensures smooth sewing, prevents skipped stitches, and helps maintain consistent stitch quality.
Getting the sewing machine bobbin winding right is a fundamental skill for any sewer. A well-wound bobbin makes your sewing projects a breeze, while a poorly wound one can lead to frustration, skipped stitches, and uneven seams. This guide will walk you through the entire process, from setting up your bobbin winder to troubleshooting common issues. We’ll cover everything you need to know about how to fill a bobbin and achieve perfect results every time.
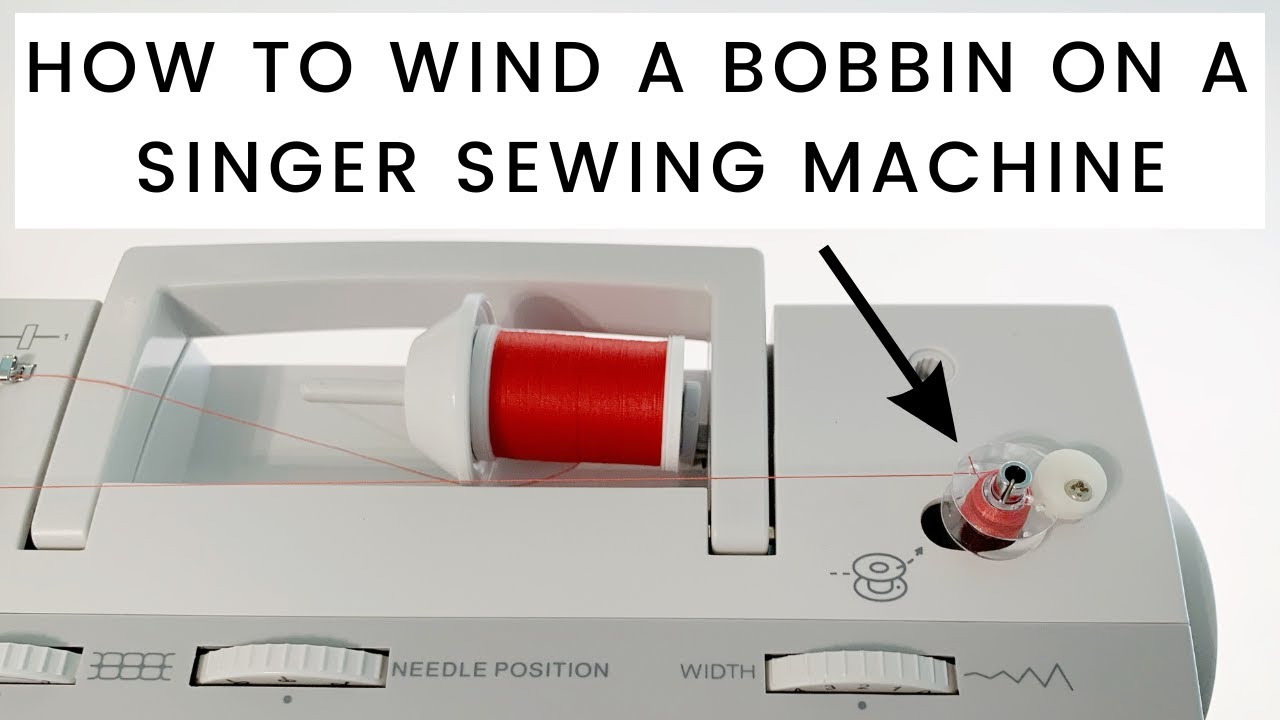
Image Source: i.ytimg.com
Setting Up Your Bobbin Winder for Success
Before you can start winding, you need to properly set up your bobbin winder. This usually involves a few key steps.
Locating the Bobbin Winder
Most sewing machines have a dedicated bobbin winder built into the machine’s body. It’s typically located near the needle area. Some machines might have a separate attachment, especially older or more basic models. Consult your sewing machine manual if you’re unsure where to find yours.
Preparing the Thread
- Choose the Right Thread: Use a good quality thread that matches your top thread in weight and fiber content. This is crucial for achieving balanced tension.
- Find the Thread Guide: Most sewing machines have a specific thread guide for bobbin winding. It’s often a small post or hook near the spool pin.
- Thread the Guide:
- Place your spool of thread on the spool pin (or the secondary spool pin if your machine has one).
- Guide the thread through the initial thread guides on your machine as you would for regular sewing.
- Then, direct the thread towards the bobbin winder assembly.
- Follow the path indicated by your machine’s manual for bobbin winding, usually passing the thread through a specific guide or tension disc on the winder itself.
Securing the Bobbin
- Place the Bobbin: Slip the empty bobbin onto the bobbin winder spindle. It should fit snugly. Many machines have a small notch or groove on the spindle that aligns with a corresponding notch on the bobbin to keep it from spinning freely.
- Engage the Winder: Push the bobbin spindle to the engaged position. This usually involves pushing it to the side or slightly upwards until it locks in place. You’ll often hear a click when it’s properly engaged.
Engaging the Bobbin Winder Mechanism
The way you engage the bobbin winder varies by machine. Some machines have a separate switch or lever, while others engage automatically when you start sewing after preparing the bobbin.
- Automatic Bobbin Winding: Many modern machines automatically switch to bobbin winding when you engage the winder and press the foot pedal. The needle will typically stop moving.
- Manual Bobbin Winding: Older or simpler machines might require you to move a lever that disengages the needle mechanism and engages the bobbin winder.
Check your machine’s manual for the specific instructions on how to engage the bobbin winder.
The Best Way to Wind a Bobbin: A Detailed Walkthrough
Now that your bobbin winder is set up, let’s dive into the actual process of winding. This is where proper technique makes all the difference.
Step 1: Threading the Bobbin Winder
- Secure the Thread End: Take the end of the thread from your spool and pass it through the designated thread guide on the bobbin winder.
- Start the Wind: Hold the thread end against the bobbin with your finger for the first few wraps.
- Wrap the Thread: Gently turn the handwheel towards you (or press the foot pedal, depending on your machine) to start the bobbin winder. Wind the thread around the bobbin several times, ensuring it’s catching evenly.
Step 2: Winding the Bobbin Evenly
The key to a good bobbin is even winding. Uneven winding can lead to thread bunching or snagging.
- Maintain Even Tension: As the bobbin spins, guide the thread so it winds smoothly onto the bobbin. Avoid letting the thread bunch up on one side or become too loose.
- Gradual Winding: Don’t rush the process. Allow the machine to wind the thread at a steady pace.
- Watch for Fullness: Keep an eye on the bobbin as it fills. Most machines have an automatic stop mechanism that halts the winder when the bobbin is full. If yours doesn’t, stop manually when the bobbin looks nearly full, leaving a small space at the top. Overfilling can cause problems.
Step 3: Cutting the Thread and Removing the Bobbin
- Stop the Winder: Once the bobbin is full, the winder will usually stop automatically. If not, release the foot pedal or disengage the winder.
- Cut the Thread: Most sewing machines have a small thread cutter near the bobbin winder. Use this to cut the thread close to the spool.
- Remove the Bobbin: Disengage the bobbin winder spindle and carefully remove the wound bobbin.
Step 4: Preparing for Sewing
- Insert the Bobbin: Open your bobbin case compartment (usually a small door on the front or bottom of the machine). Place the wound bobbin into the bobbin case, ensuring the thread unwinds in the correct direction (check your manual for this detail; it’s crucial!).
- Thread the Bobbin Case: Guide the thread through the tension slot in the bobbin case. There’s usually a small spring or slit the thread needs to pass through to create proper bobbin thread tension.
- Bring Up the Bobbin Thread: Hold the tail of the top thread and turn the handwheel towards you to bring the needle down and then back up. This action will catch the bobbin thread and pull a loop of it up through the needle plate.
- Secure the Threads: Pull the loop of bobbin thread to bring the entire length of bobbin thread up to the surface. Then, lay both the top thread and the bobbin thread tails towards the back of the machine.
Troubleshooting Common Bobbin Winding Issues
Even with careful attention, you might encounter problems with your sewing machine bobbin winding. Here are some common issues and their solutions.
Bobbin Winder Not Working
- Is it Engaged? The most common reason a bobbin winder isn’t working is that it’s not properly engaged. Ensure the bobbin spindle is pushed all the way into its engaged position.
- Needle Bar Disengaged? On many machines, the needle bar must be disengaged for the bobbin winder to work. Check if your machine has a separate lever or if you need to manually move the needle bar out of the way.
- Belt Issue: In rare cases, the belt that drives the bobbin winder might be broken or slipped. This usually requires professional repair.
- Motor Problem: If you hear no sound when you press the foot pedal and the winder isn’t engaging, there might be an issue with the motor or its connection.
Uneven Bobbin Winding
- Thread Tension Too High/Low: If the thread is too tight on the spool, it can cause uneven winding. Conversely, if it’s too loose, it might not guide properly.
- Incorrect Thread Guide Path: Double-check that the thread is going through all the correct guides for bobbin winding. A single missed guide can cause problems.
- Bobbin Not Seated Properly: Ensure the bobbin is securely on the spindle and aligned with any notches.
- Worn Bobbin Winder Parts: Over time, parts of the winder mechanism can wear out, leading to inconsistent winding.
Bobbin Thread Snapping While Winding
- Sharp Edges: Inspect the bobbin and the thread guides for any sharp edges or burrs that could be cutting the thread.
- Incorrect Bobbin Type: Make sure you are using the correct type of bobbin for your machine. Metal bobbins in machines designed for plastic, or vice versa, can cause issues. A sewing bobbin replacement might be needed if the current ones are damaged.
- Thread Quality: Low-quality thread can be weak and prone to snapping.
Understanding Bobbin Thread Tension
Bobbin thread tension is vital for creating balanced stitches. It’s controlled by a small screw in the bobbin case or on the bobbin itself (for “drop-in” bobbins).
Adjusting Bobbin Thread Tension
- The Drop Test: The easiest way to test bobbin thread tension is with the “drop test.” Hold the bobbin by its thread end and let it dangle. Give it a gentle tug.
- Too Loose: If the bobbin drops quickly and freely, the tension is too loose.
- Too Tight: If it barely moves or doesn’t unwind at all, the tension is too tight.
- Just Right: The bobbin should spin slightly and then stop, or unwind just a bit with a gentle pull.
- Making Adjustments:
- Too Loose: Turn the tiny screw on the bobbin case clockwise a very small amount (a quarter turn at a time).
- Too Tight: Turn the tiny screw on the bobbin case counter-clockwise a very small amount.
- Balance with Top Tension: Remember that bobbin tension works in conjunction with your top thread tension. If your stitches are looping on the underside of the fabric, your top tension might be too loose or your bobbin tension too tight. If stitches are looping on the top, your top tension might be too tight or your bobbin tension too loose.
Manual vs. Automatic Bobbin Winding
The core principle of winding a bobbin remains the same, whether your machine features automatic bobbin winding or relies on manual bobbin winding mechanisms. The primary difference lies in how the machine transitions from sewing to winding.
Automatic Bobbin Winding
- Convenience: Automatic systems are designed for ease of use. Once the bobbin is in place and the thread guided, a simple action (often a lever or a switch) disengages the needle and engages the bobbin winder.
- Efficiency: The machine handles the transition smoothly, often with a built-in stop mechanism to prevent overfilling.
Manual Bobbin Winding
- Direct Control: Manual systems often require a bit more user intervention. You might need to physically move a lever to disengage the needle and engage the winder.
- Learning Curve: While simple, it’s essential to ensure you’ve correctly disengaged the needle to avoid damage.
Regardless of the method, the goal is always to achieve a neatly and evenly wound bobbin.
Replacing a Bobbin
When a bobbin runs out of thread, or if you need to switch thread colors or types, you’ll need to replace it.
When to Replace a Bobbin
- Out of Thread: The most obvious reason is when the bobbin is empty.
- Thread Type Change: Switching to a different weight or type of thread for a specific project.
- Color Change: When you need a different color for your bobbin thread.
- Damaged Bobbin: If a bobbin is cracked, bent, or has nicks, it’s best to perform a sewing bobbin replacement to avoid snagging or damaging your thread.
The Process of Replacement
The process of replacing a bobbin is essentially the same as winding a new one:
- Stop sewing.
- Remove the empty or old bobbin.
- Wind a new bobbin following the steps outlined above.
- Insert the new bobbin and bring up the thread.
- Resume sewing.
Frequently Asked Questions (FAQ)
Q1: What is the best way to wind a bobbin?
A1: The best way to wind a bobbin involves ensuring the thread follows the correct path through the guides, winding evenly onto the bobbin, and not overfilling it. Consistent thread tension during winding is also key.
Q2: Can I use any kind of bobbin in my sewing machine?
A2: No, you must use the specific type of bobbin recommended for your sewing machine model. Bobbins come in different sizes, materials (plastic or metal), and sometimes have specific core designs. Using the wrong bobbin can cause sewing issues or even damage your machine. Always check your manual or a reputable supplier.
Q3: Why is my bobbin thread so loose?
A3: This usually indicates that your bobbin thread tension is too low. You can adjust this by turning the small screw on the bobbin case clockwise a tiny bit. It could also be that the thread isn’t seated correctly in the bobbin case’s tension slot, or your top thread tension is too loose.
Q4: My sewing machine bobbin winder is not working. What should I do?
A4: First, check if the bobbin winder spindle is properly engaged. Ensure the needle is disengaged. If it’s still not working, consult your sewing machine manual for specific troubleshooting steps or consider taking it to a repair technician.
Q5: How do I know if my bobbin is wound correctly?
A5: A correctly wound bobbin will have thread wound evenly from bottom to top, with no overlapping or uneven tension. The thread should unwind smoothly without snagging or breaking. When you perform the drop test, it should have a slight resistance before unwinding.
Q6: What if my bobbin thread is breaking while winding?
A6: Check for any rough or sharp edges on the bobbin, bobbin case, or thread guides. Ensure you are using good quality thread and the correct bobbin type. Sometimes, the thread path might be incorrect, causing too much friction.
Q7: Do I need to wind a bobbin differently for different fabrics?
A7: While the winding process itself is the same, the type of thread you use for your bobbin and top stitch should be appropriate for the fabric. For example, delicate fabrics might require finer thread, and heavier fabrics might need a stronger thread. The bobbin tension may also need slight adjustments depending on the fabric thickness and thread type.
Q8: How much thread should be on a bobbin?
A8: You should wind the bobbin until it’s almost full, but not completely overfilled. Leave a small space at the top of the bobbin to prevent the thread from snagging or unraveling. Most machines have an automatic stop mechanism to help with this.
By following these steps and tips, you’ll master the art of sewing machine bobbin winding. A well-prepared bobbin is your first step towards beautiful, successful sewing projects!