
Can you stop fabric from fraying without sewing? Yes, absolutely! You can easily prevent fabric from fraying and unraveling with a variety of no-sew methods. These techniques are perfect for crafters, DIY enthusiasts, or anyone who needs a quick fix for a fabric project. Whether you’re working with a delicate silk scarf, a sturdy canvas tote, or a cozy fleece blanket, these methods will help you achieve clean, finished edges without a needle and thread.
Fraying is the enemy of many fabric projects. Those little threads that escape from the raw edge of your fabric can make your creations look messy and unfinished. But fear not! You don’t need to be a master seamstress to tackle this common problem. There are numerous simple yet effective ways to stop fabric from fraying that require no sewing skills whatsoever. From handy sprays to clever tapes and glues, the world of no-sew solutions is vast and accessible.
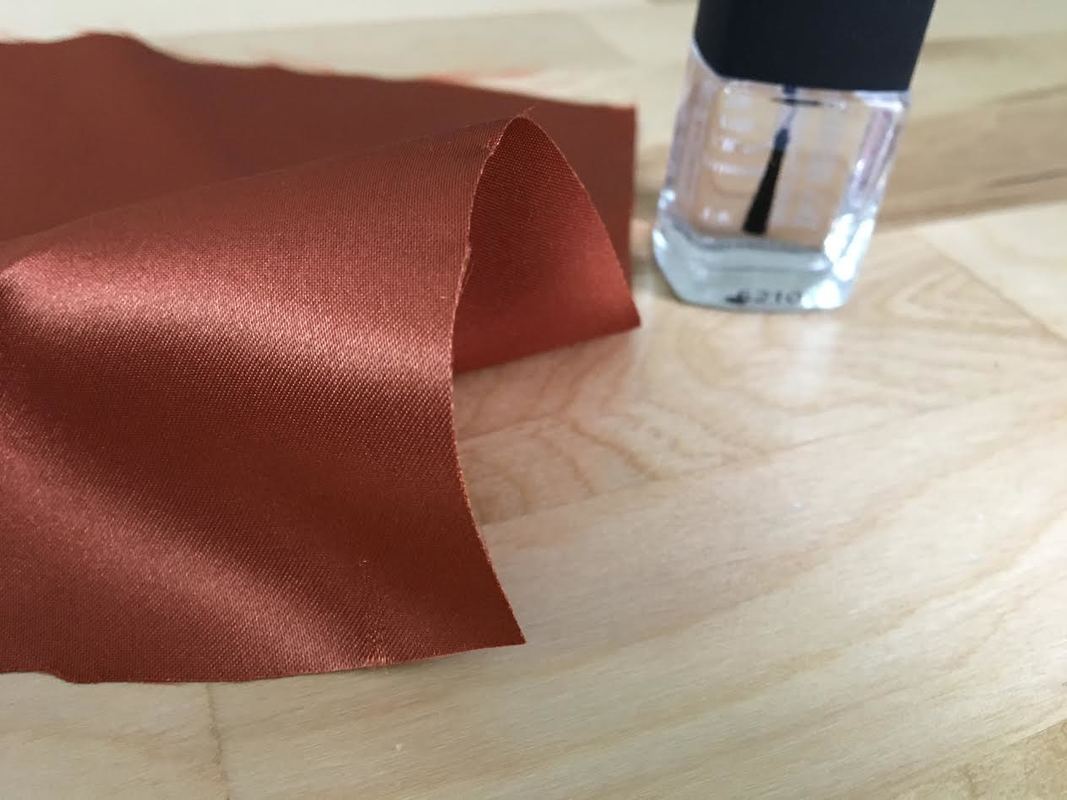
Image Source: www.doinaalexei.com
Why Does Fabric Fray?
Before we dive into the solutions, it’s helpful to briefly touch on why fabric frays. Fabric is made of threads woven or knitted together. When you cut fabric, you expose these individual threads along the cut edge. The friction of everyday use, washing, and movement causes these threads to loosen and pull away from the main body of the fabric. Different fabric types fray to varying degrees. Tightly woven fabrics like denim or canvas tend to fray less than loosely woven fabrics like linen or burlap, or knitted fabrics where the loops can easily snag and run.
No-Sew Solutions to Prevent Fraying
There’s a whole toolkit of products and techniques you can use to prevent seams from fraying and keep your fabric edges neat. These methods are not only easy but also often faster than traditional sewing.
1. Using No-Sew Fabric Sealants and Sprays
One of the most straightforward ways to stop fabric from fraying is by using specialized liquid products. These are designed to penetrate the fabric fibers and create a flexible barrier that holds them together.
Anti-Fray Fabric Sprays
Anti-fray fabric spray is a game-changer for quick fixes. These sprays are typically clear and dry to a flexible finish, preventing the threads from escaping.
-
How to Use:
- Ensure your fabric edge is clean and dry.
- Apply the spray evenly along the raw edge of the fabric. You might want to do this over a protected surface like newspaper or a drop cloth.
- Allow the spray to dry completely. Some products may recommend a second coat for extra durability.
- Once dry, the fabric edge will be stiffened and less prone to fraying.
-
Best For:
- Quick touch-ups on clothing hems or craft projects.
- Lightweight to medium-weight fabrics.
- Areas that don’t need to be extremely flexible.
-
Tips:
- Test the spray on a scrap piece of fabric first to ensure it doesn’t discolor or stiffen the fabric too much.
- Apply in a well-ventilated area.
No-Sew Fabric Sealants
Similar to sprays, no-sew fabric sealant products come in various forms, often as a brush-on liquid or a more viscous gel. They offer a slightly stronger hold and can be more precise for detailed work.
-
How to Use:
- Prepare your fabric edge.
- Using the applicator brush or tip, apply a thin, even layer of the sealant along the raw edge.
- Allow it to dry thoroughly according to the product instructions.
-
Best For:
- Sealing edges on projects where a bit more stiffness is acceptable.
- Crafting projects like appliqué or felt crafts.
- Preventing small holes or tears from spreading.
2. Fabric Glue for Edges and Hem Tape
For a more robust and permanent solution, fabric glues and tapes are excellent choices. They provide a strong bond and are perfect for creating no-sew hems or securing edges.
Fabric Glue for Edges
A good fabric glue for edges is essential for many no-sew projects. These glues are formulated to be flexible, washable, and durable.
-
How to Use:
- Fold the hem or edge to the desired width.
- Apply a thin, even line of fabric glue along the raw edge of the fabric that will be hidden inside the fold.
- Press the folded fabric down firmly. You might use clips or heavy books to hold it in place while the glue dries.
- Allow ample drying time as per the glue’s instructions.
-
Best For:
- Creating permanent hems on curtains, tablecloths, or clothing.
- Attaching patches or appliques without sewing.
- Securing seams that might otherwise unravel.
-
Tips:
- Wipe away any excess glue immediately with a damp cloth before it dries.
- Choose a glue that is specifically designed for fabric, as craft glues might not be flexible or washable enough.
Fabric Hem Tape (No-Sew)
Fabric hem tape no sew, also known as fusible web or hemming tape, is a strip of adhesive material that you iron onto the fabric. When heated, it melts and bonds the fabric layers together.
-
How to Use:
- Prepare your fabric by folding up the hem to the desired width.
- Cut a piece of fabric hem tape to the length needed.
- Place the tape between the folded layers of fabric.
- Follow the iron settings recommended by the tape manufacturer. Usually, this involves placing a damp cloth over the hem and pressing with a hot iron for a specific amount of time.
- Allow it to cool completely before moving the fabric.
-
Best For:
- Quickly hemming pants, skirts, or dresses.
- Creating clean edges on home decor items.
- A strong, washable hold.
-
Tips:
- Ensure your iron is at the correct temperature for your fabric type.
- Using a pressing cloth can protect your iron and fabric.
- Some tapes are double-sided, meaning you iron one side, place the fabric, and then iron the other side.
3. Fusible Interfacing for Edges
While often used for adding structure, fusible interfacing for edges can also serve the purpose of preventing fraying. When applied to a raw edge, it fuses with the fabric fibers, creating a stable edge.
-
How to Use:
- Cut a strip of lightweight fusible interfacing, slightly wider than the seam allowance or the amount you want to reinforce.
- Place the raw fabric edge onto the fusible side of the interfacing.
- Use a hot iron (with a pressing cloth if needed) to fuse the interfacing to the fabric.
- Trim any excess interfacing if necessary.
-
Best For:
- Stabilizing edges on fabrics that tend to stretch or distort easily.
- Adding a bit more body to fabric edges.
- Foundations for other no-sew techniques.
4. DIY No-Sew Hem and Edge Finishing
You don’t always need special products. Sometimes, simple household items and a bit of ingenuity can help you stop fabric unraveling.
Binder Clips and Fabric Glue
For a very temporary fix or to hold a hem while glue dries, binder clips are surprisingly useful.
- How to Use:
- Apply fabric glue to the raw edge.
- Fold the hem.
- Use binder clips to hold the folded hem securely in place while the glue dries.
Pinking Shears
Pinking shears have a serrated blade that cuts a zigzag pattern. This pattern helps to reduce fraying on many fabrics, especially those that don’t fray heavily.
-
How to Use:
- Simply cut along your desired edge with pinking shears.
-
Best For:
- Preventing fraying on fabrics that don’t unravel excessively, like cottons or knits.
- Adding a decorative, finished edge to projects.
- As a first step before applying other sealants for extra protection.
Nail Polish or Fabric Sealant as a Liquid Binder
A small dab of clear nail polish or a liquid textile fray stopper can be used in a pinch.
-
How to Use:
- Apply a small amount of clear nail polish or a specialized fabric sealant to the very edge of the fraying threads.
- Allow it to dry completely. The polish will harden and hold the threads together.
-
Best For:
- Tiny, isolated areas of fraying.
- Emergency fixes where no other product is available.
-
Caution: This method can make the fabric stiff and may not be suitable for large areas or fabrics that need to remain soft and pliable.
5. Using Craft Knives or Rotary Cutters with Cutting Mats
While cutting, the tool you use can also impact fraying. A very sharp blade can create a cleaner edge that’s less prone to immediate fraying.
-
How to Use:
- Ensure you have a sharp craft knife or rotary cutter.
- Use a cutting mat to protect your surfaces.
- Cut your fabric with a single, clean pass.
-
Best For:
- Achieving the cleanest possible cut edge, which then benefits from further treatment.
6. Fabric Binder for Edges
A fabric binder for edges refers to a tool or method that encapsulates the raw edge within a folded piece of fabric or binding. While often attached with sewing, you can adapt this for no-sew applications using fabric glue or hem tape.
-
How to Use (No-Sew Adaptation):
- Prepare bias tape or a fabric strip cut on the bias.
- Lay the raw fabric edge along the center fold of the bias tape.
- Use fabric glue or fabric hem tape to secure the bias tape around the raw edge, folding it over and adhering it to both sides.
-
Best For:
- Creating a very neat and durable finished edge, especially for curved edges.
- Adding a decorative element.
7. Textile Fray Stoppers: What Are They?
When we talk about a textile fray stopper, we’re referring to any product or method designed specifically to prevent threads from unraveling. This can encompass the sprays, glues, and tapes we’ve discussed. The key is that they create a bond or barrier that holds the fabric structure together at the cut edge.
Table: Comparing No-Sew Fray Stopping Methods
| Method | Ease of Use | Durability | Flexibility | Washability | Best For | Notes |
|---|---|---|---|---|---|---|
| Anti-Fray Fabric Spray | Very Easy | Moderate | Good | Good | Quick fixes, lightweight fabrics, general use | Can stiffen fabric if too much is applied. Test first. |
| No-Sew Fabric Sealant | Easy | Good | Moderate | Good | Craft projects, stronger hold, precise areas | Can leave a slightly more visible residue than sprays. |
| Fabric Glue for Edges | Easy | Very Good | Good | Very Good | Permanent hems, strong bonds, machine washable | Requires drying time. Choose a clear, flexible formula. |
| Fabric Hem Tape (No-Sew) | Easy | Excellent | Good | Excellent | Hems, quick garment alterations, strong hold | Requires ironing. Ensure correct heat setting for fabric type. |
| Fusible Interfacing (Edges) | Easy | Good | Moderate | Good | Stabilizing edges, adding body, clean finishes | Can add slight stiffness. Best for medium to heavier weight fabrics. |
| Pinking Shears | Easy | Poor | Excellent | N/A | Preventing minor fraying, decorative edges | Not a standalone solution for heavy fraying. Best for certain fabrics. |
| Nail Polish (Clear) | Very Easy | Poor | Poor | Poor | Emergency fix, very small areas | Can discolor fabric, makes it very stiff. Not a long-term solution. |
Choosing the Right Method for Your Fabric Project
The best way to stop fabric from fraying depends on several factors:
- Fabric Type: Delicate fabrics like silk or chiffon might need a lighter touch, like a spray sealant, while sturdy fabrics like canvas can handle stronger glues or tapes. Knits might benefit from products that offer some stretch.
- Project Purpose: Will the item be washed frequently? Does it need to be very flexible or can it be a bit stiff? For clothing, washability and flexibility are key. For home decor, durability might be the main concern.
- Desired Finish: Do you want an invisible finish, or is a slightly visible edge acceptable?
Tips for Success with No-Sew Fray Stopping
- Clean Edges First: Always start with a clean, dry fabric edge. Any dirt or debris can interfere with the adhesion of glues, tapes, or sprays.
- Test on Scraps: Before applying any product to your main project, always test it on a scrap piece of the same fabric. This allows you to check for any adverse reactions like discoloration, stiffening, or damage.
- Use Sparingly: For liquid products like sprays and glues, a little often goes a long way. Over-application can lead to stiff, visible residue or damage the fabric.
- Allow Adequate Drying/Curing Time: Rushing the process is a common mistake. Ensure products are fully dry or fused according to the manufacturer’s instructions for maximum effectiveness.
- Consider the Fabric’s Weight and Weave: Loosely woven or loosely knitted fabrics will require more robust solutions than tightly woven ones.
Common No-Sew Fabric Projects Benefiting from Fray Control
- DIY Curtains and Valances: Hemming curtains without sewing is a popular DIY project. Fabric glue or hem tape is perfect for creating clean, straight hems that won’t fray.
- No-Sew Tote Bags: When cutting straps or finishing the top edge of a tote bag, you’ll want to stop fabric unraveling. A fabric sealant or glue on the edges is ideal.
- Craft Projects: Whether you’re making felt flowers, rag dolls, or fabric coasters, sealing raw edges prevents them from looking messy and falling apart.
- Quick Clothing Alterations: Need to shorten pants in a hurry? Fabric hem tape is your best friend for an instant, no-sew hem.
- Costume Making: For temporary or quick costume pieces, no-sew methods are invaluable for finishing edges efficiently.
Frequently Asked Questions (FAQ)
Q1: Will fabric glue wash out?
Most fabric glues specifically designed for textiles are formulated to be permanent and washable. However, always check the product label to confirm its washability and recommended care instructions.
Q2: Can I use fabric glue to stop seams from fraying inside a garment?
Yes, you can use fabric glue to prevent seams from fraying. Apply a thin bead along the raw edge of the seam allowance on the inside of the garment. Ensure the glue is flexible and clear-drying for the best result.
Q3: What’s the difference between fabric spray and fabric glue?
Fabric spray is typically a lighter, mist-like application that provides a flexible coating. Fabric glue is more concentrated, offering a stronger bond, and is usually applied in a line or bead. Glues are generally more durable and suitable for structural applications like hemming, while sprays are excellent for general edge stabilization.
Q4: Is fusible interfacing good for all fabric types?
Fusible interfacing is best suited for medium to heavier weight woven fabrics. Very lightweight, delicate, or slippery fabrics might be damaged by the heat of ironing or the stiffness of the interfacing. Always test on a scrap first.
Q5: How do I prevent the edge of a canvas bag from fraying after I cut it?
For a canvas bag, you have several good options. You can use a robust fabric glue applied to the raw edge, fabric hem tape for a very secure hem, or a good quality anti-fray fabric spray for a quicker fix. For maximum durability, consider using fabric glue or hem tape.
Q6: Can I make a no-sew hem on stretchy fabric?
Yes, you can make a DIY no-sew hem on stretchy fabric. Fabric hem tape often works well, but ensure you don’t stretch the fabric while applying the tape, as this can cause the hem to pucker when the fabric is stretched later. Some flexible fabric glues are also suitable. Test first to see how the fabric reacts.
By employing these simple yet effective no-sew techniques, you can confidently tackle fabric projects and ensure your creations have neat, professional-looking edges that resist fraying. Happy crafting!