
Can you use a vintage Singer sewing machine? Absolutely! Vintage Singers are wonderfully robust and capable machines, often outperforming modern counterparts with proper care. Who made them? Elias Howe patented the first practical sewing machine in 1846, but Isaac Singer significantly improved upon it, and the Singer Manufacturing Company became a dominant force, producing iconic models for over a century.
Embarking on the journey of sewing with a vintage Singer machine is a rewarding experience. These machines, built with robust metal parts and enduring craftsmanship, offer a unique connection to sewing history. Whether you’ve inherited a classic Singer treadle or found a charming electric vintage Singer, this guide will help you get started. We’ll cover everything from basic operation to essential Vintage Singer maintenance and Antique sewing machine repair basics.
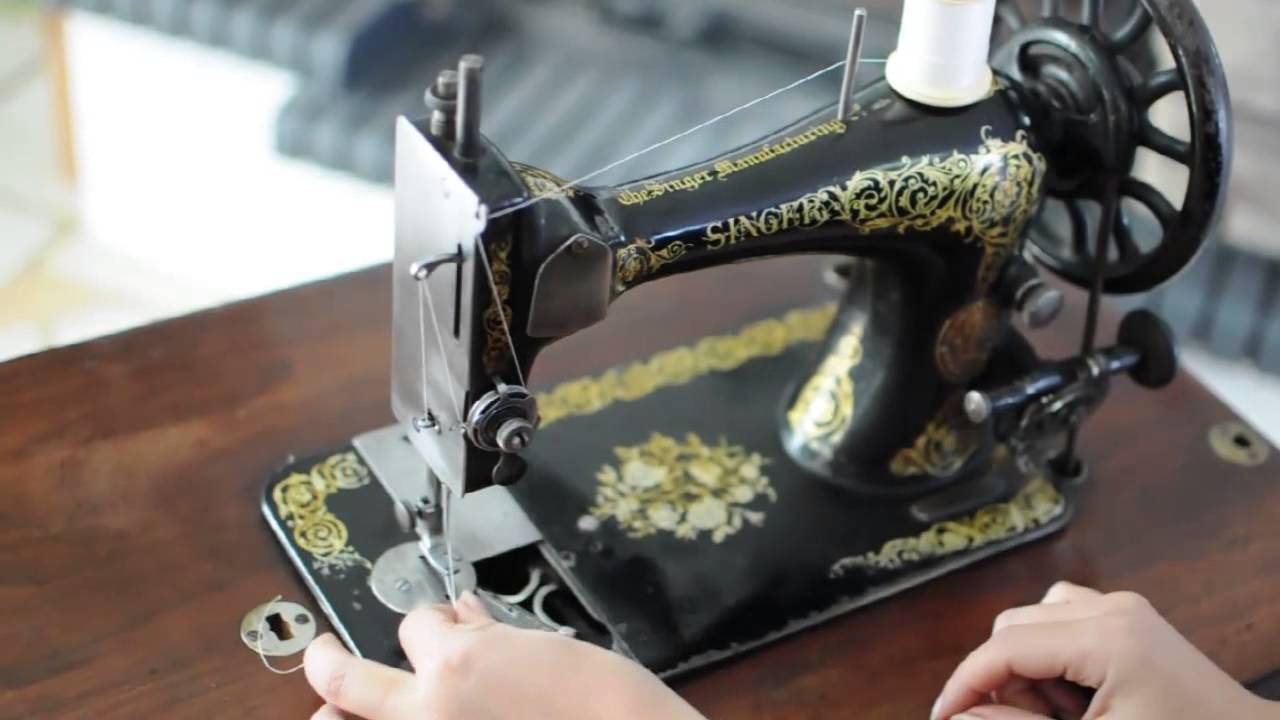
Image Source: i.ytimg.com
Getting Started with Your Vintage Singer
Before you sew a single stitch, it’s crucial to get acquainted with your specific model.
Identifying Your Vintage Singer Model
Singer produced countless models, each with its nuances. Knowing your model is the first step to proper use and care. Look for a model number stamped on the machine, often on a small metal plate, or inside the machine bed or front panel. You can then use this number to find specific manuals and resources online.
Common Vintage Singer Models:
- Singer Featherweight (Model 221/222): Lightweight, portable, and beloved for its precision.
- Singer Model 99: A strong, reliable machine, often seen in a more compact form factor.
- Singer Model 66: A popular workhorse, known for its speed and durability.
- Singer Model 15: One of Singer’s earliest and most successful models, a true classic.
Essential Vintage Singer Parts Identification
Familiarizing yourself with the key components will make operation much smoother.
- Handwheel: Turns the machine to move the needle up and down.
- Balance Wheel: The large wheel on the right side of the machine; turning it towards you moves the needle up.
- Stitch Selector: Allows you to choose different stitch patterns (usually straight stitch, sometimes zigzag on later models).
- Stitch Length Regulator: Controls how long or short your stitches are.
- Tension Discs: Two metal discs that control how tightly the thread is pulled.
- Bobbin Winder: Used to wind thread onto the bobbin.
- Presser Foot: Holds the fabric against the feed dogs.
- Presser Foot Lifter: Raises and lowers the presser foot.
- Needle Clamp Screw: Holds the needle in place.
- Feed Dogs: Small metal teeth that move the fabric under the needle.
Setting Up Your Machine: A Step-by-Step Approach
Once you’ve identified your machine and its parts, it’s time for setup.
- Cleaning: Start with a thorough cleaning. Use a soft brush and a lint-free cloth to remove dust and old oil from all accessible parts. Compressed air can be helpful for hard-to-reach areas.
- Oiling: Proper lubrication is key to smooth operation and longevity. Consult your machine’s manual for specific oiling points. Generally, oil any moving metal parts. Use a good quality sewing machine oil.
- Wiring and Motor Check (Electric Models): For electric models, ensure the wiring is in good condition. If the wiring looks frayed or brittle, it’s best to have an experienced technician check or replace it before plugging it in. This is a crucial part of servicing old Singer machines.
- Belt Check (Treadle and some early Electric Models): If your machine has a belt, check its condition. A cracked or loose belt will hinder operation.
- Needle Insertion: Ensure you are using the correct type and size of needle for your fabric and thread. Vintage Singer needle replacement is straightforward. The flat side of the needle shank always goes to the right. Tighten the needle clamp screw securely.
-
Threading the Machine: This is a critical step for perfect stitches.
- Top Threading: Thread the machine following the numbered guides on the Singer itself. Ensure the presser foot is UP when threading the tension discs. Pass the thread through the tension discs, up through the take-up lever, and then down through the needle eye.
- Bobbin Winding: Place a bobbin on the bobbin winder spindle. Follow the threading path for the bobbin winder, usually around a tension stud and then directly onto the bobbin. Engage the bobbin winder mechanism (often by pushing the handwheel towards the machine) and start the machine slowly.
- Inserting the Bobbin: Place the wound bobbin into its case or shuttle. Pull a few inches of thread from the bobbin. Bring the bobbin thread up by holding the top thread and turning the handwheel towards you, bringing the needle down and then back up. Loop the bobbin thread around the small notch in the needle plate to bring both thread ends up through the hole.
Mastering Classic Singer Operation
With your machine set up, let’s get to sewing.
Understanding Tension Settings
Proper tension is crucial for balanced stitches. Too tight, and the top thread will break or pucker the fabric; too loose, and the stitch will be messy.
- Top Tension: Adjusted by the tension dial. Higher numbers mean tighter tension.
- Bobbin Tension: Usually set by a small screw on the bobbin case. This is typically left alone unless you are experiencing persistent issues.
The Rule of Thumb: When the top thread is pulling through to the underside, the top tension is too loose. When the bobbin thread is showing on the top surface, the top tension is too tight.
Choosing the Right Needle and Thread
Vintage Singer needle replacement requires specific types. Vintage machines often use specific needle systems. For many common vintage Singers, the 15×1 system is used. Always check your manual or research your model to confirm.
- Needle Size: Match the needle size to your fabric. Finer needles for delicate fabrics (e.g., size 70/10 or 80/12 for cottons) and larger needles for heavier fabrics (e.g., size 100/16 or 110/18 for denim).
- Thread Type: All-purpose polyester thread is a good starting point. You can also experiment with cotton or silk thread, but always ensure they are suitable for your fabric.
Basic Sewing Techniques on a Vintage Singer
- Starting a Seam: Place your fabric under the presser foot. Hold both the top and bobbin threads towards the back of the machine for the first few stitches to prevent tangling. Sew a few stitches forward, then engage the reverse lever (if your machine has one) to backstitch and secure the seam.
- Sewing Straight Stitches: Most vintage Singers excel at straight stitches. Ensure your stitch length is set appropriately for your fabric.
- Changing Direction: To pivot fabric, leave the needle down in the fabric, lift the presser foot, rotate the fabric, lower the presser foot, and continue sewing.
- Finishing a Seam: Backstitch at the end of your seam to secure it. Trim excess threads.
Troubleshooting Common Issues
Even the best machines can have quirks. Knowing how to approach Older Singer model troubleshooting will save you time and frustration.
Thread Breakage
- Check Threading: Is the machine threaded correctly? Is the presser foot UP during threading?
- Needle Issues: Is the needle bent, dull, or inserted incorrectly? Try a new needle.
- Tension: Is the top tension too tight?
- Lint Buildup: Clean lint from the tension discs and bobbin area.
- Bobbin Case: Is the bobbin wound evenly? Is the bobbin case clean and free of lint?
Skipped Stitches
- Needle: Incorrect needle type, dull needle, bent needle, or needle inserted incorrectly.
- Threading: Improper threading of the machine or bobbin.
- Lint: Lint buildup can interfere with stitch formation.
- Timing: If all else fails, the machine’s timing might be off, requiring professional Antique sewing machine repair.
Fabric Not Feeding Properly
- Feed Dogs: Are the feed dogs raised? Some machines have a lever to lower them for darning or free-motion sewing.
- Presser Foot Pressure: Is the presser foot held down firmly enough?
- Lint Buildup: Clean the feed dogs and the area around them.
Uneven Stitches
- Tension: Adjust the top tension.
- Needle/Thread: Ensure you’re using the correct needle and thread for the fabric.
- Stitch Length: Check the stitch length setting.
Maintenance for Longevity
Regular Vintage Singer maintenance is key to keeping your machine running smoothly.
Routine Cleaning and Oiling
- After Each Use: Brush away lint and dust.
- Weekly (or as needed):
- Remove the needle plate and bobbin case.
- Brush lint from the feed dogs and bobbin area.
- Apply a drop of sewing machine oil to designated oiling points. Move the handwheel to distribute the oil.
- Wipe down the machine.
Deep Cleaning and Servicing
Periodically, your machine might benefit from a deeper clean and service. This might involve removing external covers to access internal mechanisms for more thorough cleaning and oiling.
Servicing old Singer machines can also involve checking and tightening any loose screws or parts. If you’re unsure about any internal adjustments, it’s always best to consult a professional technician.
Special Considerations for Different Singer Models
The Singer Treadle Sewing Machine
Using a Singer treadle sewing machine requires a bit of coordination, but it’s incredibly rewarding once you get the rhythm.
- Starting: Gently apply pressure to the treadle with your foot to start the wheel moving slowly. Keep the wheel moving consistently to maintain stitch formation.
- Speed Control: Your foot is the speed control. Start slow and gradually increase pressure as you become more comfortable.
- Maintenance: Treadle machines need regular oiling, especially where the treadle mechanism connects to the pitman arm and flywheel. The treadle belt also needs checking for tension and wear.
Electric Vintage Singer Machines
These are generally more familiar to modern sewers.
- Motor Care: Some older motors have oiling points; check your manual. Ensure the motor belt is in good condition.
- Foot Pedal: Treat the foot pedal with care. If it feels gritty or unresponsive, it might need cleaning or repair.
Restoring Vintage Sewing Machines
Sometimes, a vintage Singer needs more than just cleaning and oiling; it needs restoring vintage sewing machines. This can range from cosmetic touches to more involved mechanical work.
- Cosmetic Restoration: Cleaning painted surfaces, polishing nickel or chrome parts, and potentially touching up paint. Be cautious with strong cleaners that could damage the finish.
- Mechanical Restoration: This might involve replacing worn-out parts, adjusting timing, or repairing the motor. For significant mechanical issues, seeking a professional Antique sewing machine repair specialist is recommended.
Where to Find Vintage Singer Parts and Help
Finding Vintage Singer parts identification and replacements is easier than you might think.
- Online Retailers: Many online stores specialize in vintage sewing machine parts.
- Etsy and eBay: Great sources for vintage Singer parts, bobbins, manuals, and even complete machines.
- Sewing Machine Repair Shops: Local shops may carry common parts or be able to order them.
- Online Forums and Communities: Websites dedicated to vintage sewing machines are invaluable resources for advice, troubleshooting, and identifying parts.
Frequently Asked Questions (FAQ)
Q1: What kind of oil should I use for my vintage Singer?
A: Use a high-quality sewing machine oil specifically designed for sewing machines. Avoid WD-40 or general lubricants, as they can gum up the delicate mechanisms over time.
Q2: Can I sew denim or heavy fabrics on a vintage Singer?
A: Many vintage Singer machines, particularly models like the 15, 66, or 99, are very robust and can handle denim with the correct needle and thread. Start with a denim needle (size 90/14 or 100/16) and a strong polyester thread. Go slowly, and don’t force the fabric.
Q3: My vintage Singer is making a loud noise. What could be wrong?
A: Loud noises usually indicate a need for cleaning and oiling, or that something is loose. Check for lint buildup in the bobbin area or around moving parts. Ensure all accessible screws are tightened. If the noise persists or sounds like grinding metal, it might be an internal issue requiring professional attention.
Q4: Where can I find a manual for my specific vintage Singer model?
A: Many vintage Singer manuals are available for free download online from various sewing machine enthusiast websites or directly from Singer’s historical archives. Search for your specific model number (e.g., “Singer 221 manual PDF”).
Q5: How often should I oil my vintage Singer?
A: It’s good practice to oil your machine after every few hours of use, or at least every time you take it out to sew if it’s used infrequently. Always refer to your machine’s manual for specific oiling points.
Using a vintage Singer sewing machine is a delightful way to connect with sewing’s past while creating beautiful new things. With a little care, cleaning, and practice, you’ll soon be enjoying the smooth, reliable performance of these classic machines.