
Can you make a cape without sewing? Yes, absolutely! Creating a stylish cape without needing a needle and thread is entirely possible and surprisingly easy. This guide will show you several simple and fun ways to craft a beautiful no-sew cape, perfect for costumes, fashion statements, or just a bit of creative play. From quick transformations to more elaborate designs, you’ll find an easy cape tutorial here to suit your needs. We’ll explore using fabric glue cape techniques, how to make a tie on cape, and even a cloak without sewing that looks wonderfully dramatic. Get ready to discover the magic of a no stitch cape!
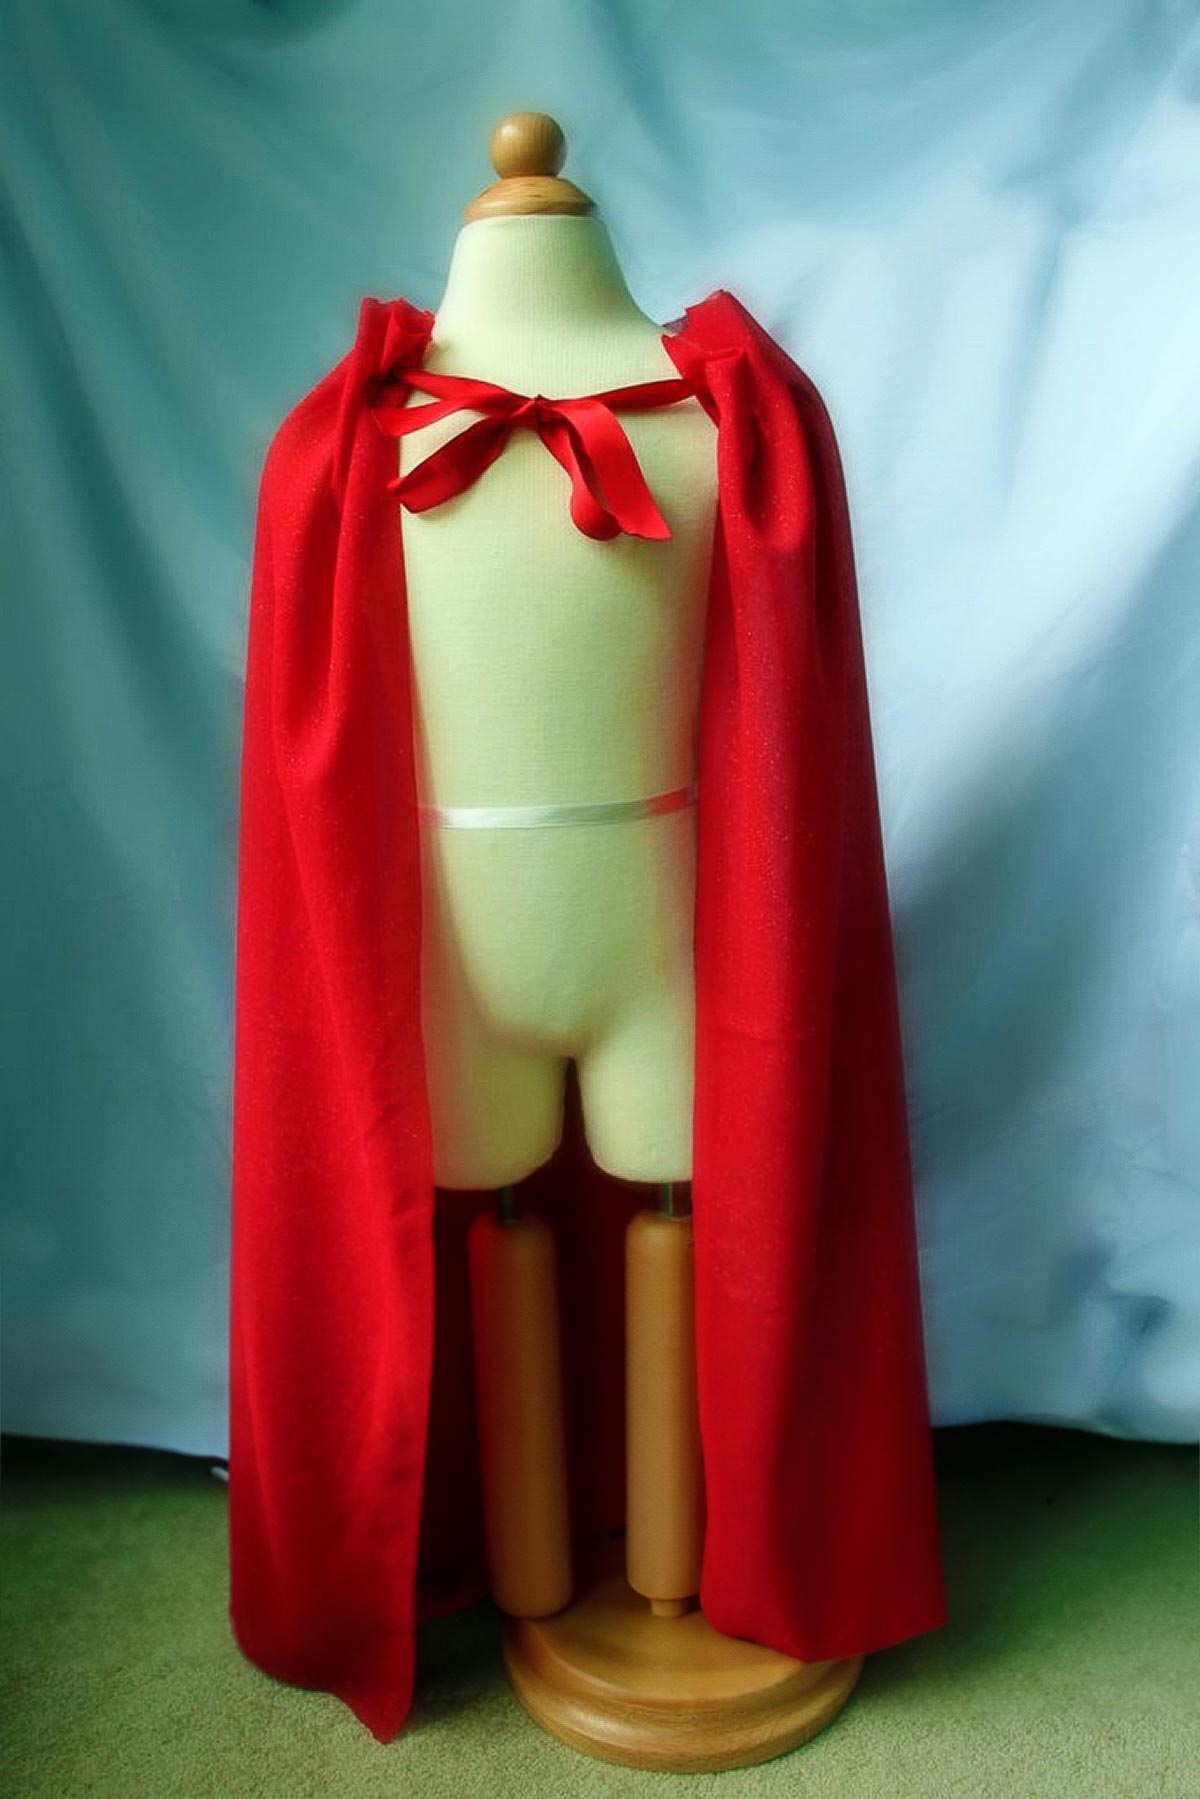
Image Source: andreasnotebook.com
The Allure of the No-Sew Cape
Capes have a timeless appeal. They evoke images of heroes, royalty, and mystery. Whether you need a dramatic accessory for a superhero costume, a touch of elegance for a themed party, or simply want to add a unique flair to your wardrobe, a cape is a fantastic choice. The beauty of making one without sewing is its accessibility. Anyone can do it, regardless of their crafting experience. It’s a quick, satisfying project that delivers big style with minimal effort. A no sew costume cape can be the crowning glory of any outfit, and the fact that you made it yourself adds an extra layer of specialness.
Why Go No-Sew?
- Speed: You can often create a functional and attractive cape in under an hour.
- Simplicity: No complex stitches or sewing machine skills are required.
- Accessibility: Perfect for beginners, kids, or anyone without sewing supplies.
- Versatility: Easily adaptable for different fabrics, lengths, and styles.
- Cost-Effective: Often cheaper than buying a pre-made cape, especially for custom designs.
Crafting Your First No-Sew Cape: The Basic Drape
The simplest way to create a cape without sewing is through strategic draping and fastening. This method is incredibly versatile and can be adapted to almost any fabric.
Materials You’ll Need:
- Fabric: A large rectangular piece of fabric. Lightweight fabrics like chiffon, organza, or satin create flowing capes. Heavier fabrics like felt or fleece make warmer, more structured capes. For a dramatic effect, consider velvet or a shimmering metallic fabric.
- Fasteners: This is where the “no-sew” magic happens!
- Safety Pins: The classic, easy-to-use option.
- Fabric Glue: A strong adhesive for a more permanent bond.
- Velcro: Available in sew-on or adhesive-backed varieties.
- Ribbon or Cord: For tying the cape around your neck.
- Brooch or Pin: A decorative and functional way to secure the cape.
The Simple Drape Method: Step-by-Step
- Choose Your Fabric: Select a fabric piece that is roughly twice as wide as you want your finished cape to be and long enough to reach your desired length (e.g., from your shoulders to your knees, ankles, or even the floor).
- Drape It: Stand in front of a mirror and drape the fabric over your shoulders.
- Arrange for Coverage: Adjust the fabric so it hangs evenly down your back and sides.
- Secure the Cape: This is the crucial step.
- Using Safety Pins: Overlap the front edges of the fabric where they meet at your chest or neck. Use sturdy safety pins to secure the fabric together, creating a snug fit. You can pin from the inside for a cleaner look.
- Using Fabric Glue: If you want a more permanent connection at the front, apply a line of fabric glue along the overlapped edges. Press firmly and hold until the glue sets according to the product’s instructions. This is a great way to create a fabric glue cape that stays perfectly in place.
- Using Velcro: Attach one side of the Velcro to the inside of one front edge and the other side to the outside of the other front edge. This allows for easy fastening and unfastening.
- Using Ribbon or Cord: Cut two lengths of ribbon or cord. Fold the top corners of your cape fabric inwards to create a stronger edge. Tie a knot on the inside of each corner to reinforce it. Then, thread one end of a ribbon through the reinforced corner on one side and the other end through the corner on the other side. You can then tie these ribbons around your neck. This creates a classic tie on cape.
- Using a Brooch: Fold the fabric edges to overlap at your chest. Secure them by fastening a decorative brooch through both layers of fabric.
This basic method is the foundation for many DIY no sew cape projects. It’s incredibly adaptable for a no sew costume cape or a quick fashion accessory.
Elevating Your No-Sew Cape: Adding Details and Flair
Once you’ve mastered the basic drape, you can start experimenting with different fabrics and embellishments to make your no stitch cape truly unique.
Fabric Choices for Impact:
- Felt: Easy to cut and doesn’t fray, making it ideal for kids’ capes or simple costume pieces. You can even cut shapes from felt and glue them onto your cape for decoration.
- Fleece: Warm and cozy, perfect for a winter cape or a superhero cape that needs a bit of heft. It also doesn’t fray easily.
- Chiffon/Organza: Lightweight and sheer, these fabrics create an ethereal, flowing cape. They can be a bit trickier to work with due to their delicate nature but are stunning when draped.
- Satin/Velvet: Offer a luxurious feel, perfect for more elegant or dramatic capes. Velvet has a beautiful drape and a rich texture.
Embellishment Ideas for Your Craft Cape No Sewing:
- Fabric Paint: Draw or stencil designs onto your cape.
- Iron-On Patches: Add logos, symbols, or decorative elements easily.
- Ribbons and Trim: Glue or pin ribbons, lace, or fringed trim along the edges for added detail.
- Gems and Sequins: Use fabric glue to attach them for a sparkling effect.
- Faux Fur Trim: Glue a strip of faux fur along the neckline or hem for a regal look.
The Fabric Glue Cape: A Durable No-Sew Solution
For a cape that feels more permanently constructed, fabric glue cape techniques are excellent. Fabric glue creates a strong, flexible bond that can withstand movement and wear.
Getting Started with Fabric Glue:
- Choose the Right Glue: Opt for a fabric glue specifically designed for textiles. Look for clear-drying and washable formulas if you intend to wear your cape often.
- Preparation is Key: Ensure your fabric is clean and dry. Iron it if necessary to remove wrinkles for a neater finish.
- Work in a Well-Ventilated Area: Some fabric glues have fumes.
Techniques for a Fabric Glue Cape:
- Hemming (No Sew): If your fabric frays easily, you can create a no-sew hem. Fold the edge of the fabric up about ½ inch and then fold it up again another ½ inch to create a double hem. Apply a thin, even line of fabric glue along the inside of the second fold. Press firmly and hold until the glue bonds. You can use clips or heavy books to hold the hem in place while it dries.
- Attaching Closures:
- Velcro: Glue one side of the Velcro strip to the underside of one front edge of the cape and the other side to the top of the other front edge. Ensure they align perfectly so the cape fastens securely.
- Fabric Tabs: Cut small strips of fabric. Fold them in half and glue the raw edges together to create tabs. Glue these tabs to the inside of your cape edges, allowing them to extend slightly. Then, glue a coordinating piece of fabric or a button to the opposite edge to create a loop and button closure.
- Adding Embellishments: Apply fabric glue to the back of patches, trim, or decorative elements and press them onto the cape.
A fabric glue cape is a fantastic way to create a finished-looking piece without any sewing. It’s a reliable method for ensuring your no sew costume cape holds up to its intended use.
The Tie-On Cape: Freedom and Versatility
A tie on cape offers incredible flexibility. It’s easy to put on, adjust, and remove, making it a popular choice for quick costume changes or for younger wearers.
Creating a Tie-On Cape:
- Fabric Selection: Again, choose a fabric that drapes well. A simple rectangle or a semi-circular shape works best for tie-on capes.
- Prepare the Neckline: The key is creating a secure and comfortable attachment point at the neck.
- Reinforced Corners: Fold the top corners of your cape fabric over by about an inch, then fold again to create a double hem. Secure this hem with fabric glue or a few strategically placed safety pins. This reinforces the area where the ties will attach.
- Adding Ties:
- Ribbon: Cut two long pieces of ribbon (about 18-24 inches each, depending on desired tie length). Thread one end of a ribbon through the reinforced corner on one side of the cape and tie a knot securely to prevent it from pulling through. Repeat with the other ribbon on the opposite side. You can also use fabric glue to secure the ribbon to the inside of the reinforced corner.
- Fabric Strips: Cut strips of fabric from your cape material or a contrasting fabric. Fold them lengthwise and then in half, creating sturdy ties. Secure the raw edges with fabric glue. Attach these fabric ties to the reinforced corners of your cape.
- Cord/Rope: Similar to ribbon, you can use decorative cord or even thin rope for a more rustic or adventurous look. Secure the ends by knotting them or using fabric glue.
Styling Your Tie-On Cape:
The beauty of a tie on cape is its simplicity. You can tie it in a bow at the front, cross the ties and tie at the back, or even tie them loosely for a more relaxed look. This method is perfect for a quick no sew costume cape for Halloween or a themed party.
The Cloak Without Sewing: Dramatic Flair
Want something more substantial, like a full cloak without sewing? You can achieve a dramatic effect with larger fabric pieces and clever fastening.
Materials for a No-Sew Cloak:
- Large Fabric Piece: A large rectangle or semi-circle of fabric. Think about fabric weight and drape. A heavier fabric like felt or a dense cotton blend will give a more robust cloak feel.
- Closure:
- Large Brooch or Clasp: An ornamental clasp that goes through both layers of fabric at the front.
- Cord and Tassel: A thick cord with decorative tassels can be tied around the neck.
- Fabric Glue & Velcro: For a more secure, built-in closure.
Creating Your Cloak Without Sewing:
- The Basic Shape:
- Rectangle: The simplest approach is a large rectangle of fabric. Drape it over your shoulders, allowing the sides to hang down.
- Semi-Circle: For a more flowing, traditional cloak look, start with a large semi-circle of fabric. The straight edge will be your neckline.
- Attaching the Closure:
- Brooch/Clasp: Drape the cloak as desired. Overlap the front edges and secure them firmly with a large, decorative brooch or clasp that passes through both layers.
- Cord and Tassel: Gather the fabric at the neckline. Tie a sturdy cord around the gathered fabric, leaving long ends with tassels. Alternatively, you can secure the cord by gluing or pinning it to reinforced points at the neckline.
- Fabric Glue & Velcro: For a clean, hidden closure, glue strong Velcro strips to the inside of the cape edges where they meet. This creates a secure and quick fastening.
- Adding a Hood (Optional – No-Sew):
- Cut a large rectangle of fabric.
- Fold it in half to form a square.
- Using fabric glue, carefully glue the two side edges together, leaving the top folded edge open (this forms the hood opening).
- Attach the open edge of the hood to the back neckline of your cloak using fabric glue. Ensure the glue is applied evenly and reinforced with pins while drying for a strong bond. This creates a fantastic no sewing cloak with a hood!
This approach allows you to create a substantial cloak without sewing, perfect for wizards, vampires, or medieval characters. It’s a prime example of how versatile a DIY no sew cape can be.
Project Spotlight: The Superhero Cape (No-Sew Edition)
Every superhero needs a cape! Making a no sew costume cape for your little hero is a fun and rewarding project.
Materials:
- Fabric (felt, satin, or a fun patterned fabric)
- Fabric glue or strong safety pins
- Velcro (optional, for easy on/off)
- Felt scraps or fabric paint for emblems
- Scissors
Instructions:
- Cut the Cape: Measure from the base of your child’s neck down to where you want the cape to end. Cut a rectangular piece of fabric to this length and twice the width of their chest. For a more dramatic cape, cut a semi-circle.
- Create the Neckline: Fold the top edge of the fabric over by about an inch, then fold again to create a double hem. Secure with fabric glue or safety pins.
- Attach the Fastener:
- Fabric Glue & Velcro: Glue one piece of Velcro to the inside of the top hem on one side, and the other piece to the outside of the top hem on the other side.
- Safety Pins: Simply overlap the edges at the neck and secure with safety pins.
- Tie-On: Attach ribbon ties as described earlier.
- Add the Emblem: Cut a superhero emblem from contrasting felt or fabric. Use fabric glue to attach it to the center of the cape. Alternatively, use fabric paint to draw or stencil a design.
- Finishing Touches: Check all glued areas are dry and secure. If using safety pins, ensure they are closed properly and not poking out.
This easy cape tutorial is perfect for aspiring superheroes of all ages. It’s a classic craft cape no sewing project that sparks imagination.
Working with Different Fabrics: Tips for Success
The type of fabric you choose significantly impacts the look and feel of your no sew cape. Here are some tips for working with various materials:
| Fabric Type | Characteristics | No-Sew Best Practices |
|---|---|---|
| Felt | Stiff, non-fraying, easy to cut and glue | Ideal for children’s capes. Glue shapes, emblems, or trim directly onto the surface. No hemming needed. |
| Fleece | Soft, warm, slightly stretchy, minimal fraying | Great for durable capes. Edges can be left raw or lightly glued to prevent minor fraying. Good for heavier closures like Velcro. |
| Satin | Smooth, slippery, shiny, can fray easily | Use fabric glue for hems and closures. Be careful with pins, as they can leave marks. Consider using a stiffer fabric glue or fabric adhesive strips for a cleaner finish. |
| Chiffon | Lightweight, sheer, delicate, frays easily | Requires careful handling. Use fabric glue sparingly. Reinforce edges with a double fold and glue. Safety pins are often best for temporary fastening to avoid glue marks. |
| Velvet | Soft, luxurious, can shed, dense pile | Works well with fabric glue. Press glue gently. Be mindful of the nap of the velvet when applying embellishments. Consider fabric glue for a clean neckline closure. |
| Organza | Stiff, sheer, can be crinkly, frays easily | Similar to chiffon but with more body. Fabric glue is essential for hems and seams. May require a stronger adhesive for closures. Pins can cause snags. |
Frequently Asked Questions About No-Sew Capes
Q: What is the easiest way to make a cape without sewing?
A: The easiest method is the basic drape. Take a large piece of fabric, drape it over your shoulders, and secure the front edges using safety pins or a large brooch.
Q: Can I make a cape for a child without sewing?
A: Absolutely! Felt and fleece are excellent choices for children’s capes as they don’t fray. You can easily attach closures with fabric glue or safety pins, and add fun emblems with felt scraps and glue.
Q: How do I prevent fraying on my no-sew cape?
A: For fabrics that fray, create a no-sew hem by folding the fabric edge over twice and securing it with fabric glue. Alternatively, you can use fabric glue to attach a ribbon or trim along the edge, covering the raw fabric.
Q: Is fabric glue strong enough for a cape?
A: Yes, fabric glue is designed to create a strong, flexible bond on fabrics. Ensure you use a quality fabric glue and follow the application instructions carefully. Allow the glue to dry completely for maximum strength.
Q: What kind of fabric is best for a flowing cape?
A: Lightweight fabrics like chiffon, organza, satin, or lightweight polyester blends work best for a flowing effect.
Q: How can I make my no-sew cape look more professional?
A: Pay attention to clean edges (use no-sew hemming), even glue application, and neat closures. Using a good quality fabric glue and reinforcing attachment points will give your cape a more polished appearance.
Final Thoughts: Unleash Your Inner Creator
Creating a cape without sewing opens up a world of creative possibilities. Whether you’re crafting a no sew costume cape for a special event, a tie on cape for everyday fantasy, or a dramatic cloak without sewing, these methods empower you to bring your ideas to life with ease. From the simple drape secured with a pin to a more robust fabric glue cape, you have the tools to design something truly unique. So, grab your fabric, gather your no-sew supplies, and let your imagination soar! Your next amazing craft cape no sewing creation awaits.