
Image Source: i.ytimg.com
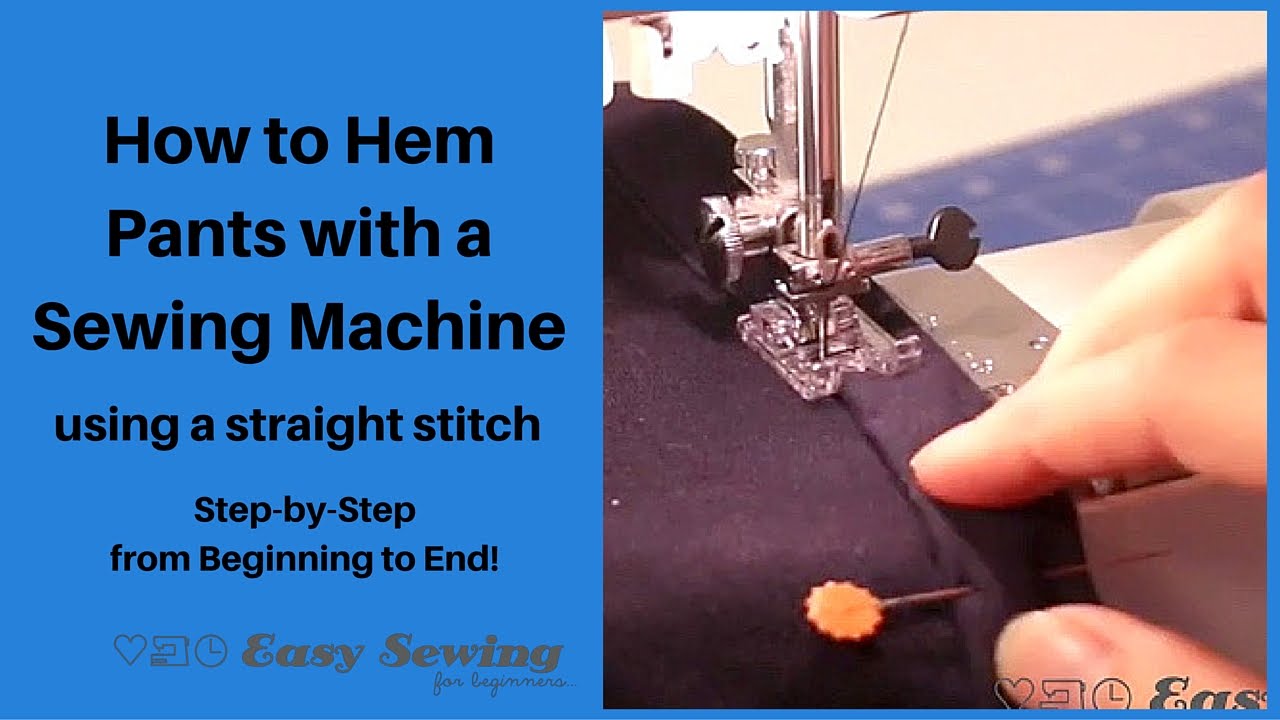
How To Hem Trousers With A Sewing Machine Easily
Can you hem trousers with a sewing machine? Yes, you absolutely can! Hemming trousers with a sewing machine is a fundamental skill that can save you money and give your clothes a polished, professional look. This guide will walk you through the process, making machine sewing pants a simple and rewarding task. We’ll cover everything from preparing your trousers to achieving a neat, durable hem. Whether you’re looking to shorten pants, replace a worn hem, or simply want to tailor trousers sewing machine perfectly, this tutorial will equip you with the knowledge and confidence to do it yourself.
Preparing Your Trousers for Hemming
Before you even thread your sewing machine, proper preparation is key to a successful sewing machine trouser hem. This initial step ensures your measurements are accurate and your fabric is ready for stitching.
Measuring and Marking the Hemline
The most crucial part of hemming is getting the length right. This isn’t just about how you look; it’s about comfort and how your pants hang.
- Wear the Trousers: Always try on the trousers you want to hem. This is the best way to gauge the desired length.
- Choose Your Footwear: Wear the shoes you typically wear with these trousers. The hem length can change significantly depending on heel height.
- Stand Naturally: Stand in front of a mirror with your back straight.
- Pin the Excess Fabric: Take the excess fabric at the hem and fold it up to where you want the new hem to fall. Use tailor’s chalk or pins to mark this point. You can also ask a friend to help you mark the line evenly all around.
- Measure the Fold: Once marked, take off the trousers. Lay them flat. Measure from the original hem edge up to your marked line. This measurement is the amount of fabric you’ll be folding up. You’ll need to add a bit more for the hem allowance itself.
Deciding on the Hem Allowance
The hem allowance is the extra fabric you fold up to create the finished hem. This amount can vary, but a common allowance for most trousers is between 1 inch (2.5 cm) and 2 inches (5 cm).
- Consider the Fabric Weight: Lighter fabrics might look best with a narrower hem allowance, while heavier fabrics can handle a wider one.
- Think About the Original Hem: If you’re replacing a hem, you might want to match the original allowance for consistency, unless you have a specific reason to change it.
- Mark the Cutting Line: After deciding on your hem allowance, measure down from your initial fold line by that amount. Mark this as your cutting line. It’s better to have a little extra fabric than not enough. If you’re unsure, aim for a 1.5-inch (3.8 cm) allowance as a good starting point.
Cutting the Excess Fabric
Once you’ve marked your cutting line, it’s time to trim away any excess fabric.
- Use Sharp Scissors: Ensure your fabric scissors are sharp. Dull scissors can snag and pull the fabric, leading to an uneven cut.
- Cut Precisely: Cut along the marked cutting line. Try to make one continuous cut around the leg to ensure a straight line.
Setting Up Your Sewing Machine for Success
A properly set up sewing machine is crucial for achieving a clean and professional machine stitch trouser hem.
Choosing the Right Needle and Thread
The type of needle and thread you use can significantly impact the quality of your stitch.
- Needle Type: For most trouser fabrics (like cotton, denim, or wool blends), an all-purpose needle (size 80/12 or 90/14) is suitable. If you are working with very delicate fabrics, opt for a finer needle. For thicker fabrics like denim or corduroy, a denim or jeans needle is recommended.
- Thread Type: Use good quality polyester thread. It’s strong and durable, perfect for seams that get a lot of wear. Match the thread color to your trousers as closely as possible for a seamless look.
Selecting the Appropriate Stitch Length and Tension
These settings fine-tune how your stitches look and hold.
- Stitch Length: For most hemming, a stitch length of 2.0 to 2.5 mm is ideal. This creates a neat and secure stitch without being too bulky. A longer stitch might be too loose, and a shorter stitch can pucker the fabric.
- Tension: Generally, your machine’s standard tension setting will work well for hemming. However, if you notice your stitches are looping on one side, you may need to adjust the tension slightly. Test your tension on a scrap piece of your trouser fabric first.
Attaching the Correct Presser Foot
While the standard presser foot often works, a specific foot can make the job easier.
- Standard Presser Foot: This is the foot that comes with most sewing machines and is perfectly fine for basic hemming.
- Blind Hem Foot: This specialized foot is designed to create a blind hem, where only a small amount of fabric from the main garment is caught by the needle. This results in a virtually invisible hem from the outside. It’s a great tool for a professional trouser hem sewing.
- Rolled Hem Foot: This foot automatically folds the fabric edge twice to create a narrow, neat rolled hem. It’s excellent for lighter-weight fabrics but might be too small for thicker trouser materials.
The Hemming Process: Step-by-Step
Now, let’s get to the actual hem pants sewing machine process. We’ll cover two common hemming techniques: the double-folded hem and the blind hem.
Technique 1: The Double-Folded Hem
This is a classic and durable method, great for most trouser types.
- Prepare the Fold: Lay your trouser leg flat, right side out. Take the raw edge of the hem and fold it up to meet your marked hemline. Press this fold with an iron.
- Second Fold: Now, take that creased edge and fold it up again, this time towards the outside of the trouser leg. The fold should meet your original marked hemline. This creates a double-folded hem. Press this second fold firmly. The raw edge of the fabric is now enclosed within the fold.
- Pin in Place: Pin along the top edge of the folded hem to secure it. Ensure the pins go through all layers of the fabric.
- Stitch the Hem:
- Positioning: Place the pinned trouser leg under your sewing machine’s presser foot. Align the edge of the folded hem with the right side of the presser foot. If you’re using a blind hem foot, position it according to its instructions.
- Starting: Sew a few stitches forward, then backstitch to secure the end.
- Sewing: Sew along the top folded edge of the hem, keeping your stitching line straight and consistent. Aim to stitch close to the folded edge.
- Finishing: When you reach the end, sew forward a few stitches, then backstitch to secure the final stitch.
- Press the Hem: After sewing, press the hem with your iron. This will help the hem lie flat and give it a crisp finish.
Technique 2: The Blind Hem (Using a Blind Hem Foot)
This method is excellent for a professional trouser hem sewing that appears invisible.
- Prepare the Fabric: Measure and mark your desired hem length as before. For a blind hem, you’ll typically fold the fabric twice, but the second fold will be different.
- Fold the raw edge up by about 1/2 inch (1.25 cm) and press.
- Fold the hem up to your marked hemline, just like with the double-folded hem. Press this fold.
- Secure the Hem: Pin the hem in place. You can also use a temporary basting stitch.
- Set Up the Blind Hem Foot: Attach the blind hem foot to your sewing machine. Refer to your sewing machine manual for specific instructions on how to use it.
- Adjust Machine Settings: You’ll likely need to switch to a blind hem stitch on your machine. This stitch looks like a zig-zag but has a wider “bite” on one side and a very narrow “bite” on the other. Adjust your stitch width if necessary (check your manual). The length can usually stay around 2.0-2.5mm.
- Position for Stitching: Place the trouser leg under the presser foot so that the folded edge is against the guide on the blind hem foot. The needle should swing over and catch a tiny bit of the main trouser fabric (the “bite”) on the wider part of the stitch, and then swing back to stitch along the folded edge on the narrower part.
- Sewing: Sew slowly and steadily, allowing the blind hem foot to guide the fabric. The wider part of the stitch will catch a few threads of the main fabric, and the narrower part will stitch directly on the folded edge.
- Finishing: Backstitch at the beginning and end.
- Press the Hem: Turn the trouser leg right side out. You should see a very narrow stitch line on the fold, and the main fabric should only have tiny pinpricks where the needle caught it. Press the hem flat.
Tips for a Flawless Sewing Machine Pants Alteration
Achieving a great sewing machine trouser hem often comes down to paying attention to the details. Here are some tips to elevate your hemming game.
Managing Fabric Bulk
Some fabrics, especially thicker ones, can create a bulky hem when folded twice.
- Trim the Inner Fold: After pressing the first fold, you can trim about half of the seam allowance from the raw edge before making the second fold. Be careful not to trim too close to the fold itself. This reduces bulk significantly.
- Use a Rolled Hem: For very fine fabrics where bulk is a concern, a rolled hem (using a rolled hem foot) is an excellent choice, though it might not be suitable for all trouser types.
- Consider a Single Fold Hem: For very casual garments or if you’re in a hurry, a single fold hem can work. You’ll fold the fabric up once, press it, and stitch. This is faster but less durable and may fray more easily.
Navigating Seams and Pockets
Trouser legs often have side seams or even pockets that can interfere with hemming.
- Sew Over Seams: When you reach a side seam, sew over it carefully. You might need to lift the presser foot briefly and maneuver the fabric to get past the thicker seam.
- Flatten Seams: Try to flatten the side seams as much as possible before you start stitching the hem. Pressing the seams open or to one side can help.
- Pocket Interference: If the hemline falls below a pocket, you won’t have an issue. If it falls within or above the pocket area, you might need to carefully unpick the pocket lining or the lower part of the pocket, hem the trouser, and then reattach the pocket. This is a more advanced sewing machine pants alteration.
Achieving an Even Hem
An uneven hem is one of the most noticeable flaws in DIY hemming.
- Measure Twice, Cut Once: We can’t stress this enough! Accurate initial measuring is paramount.
- Use a Hem Gauge: A hem gauge is a small tool with a sliding marker that helps you measure and mark consistent hem depths.
- Work on a Flat Surface: Always lay your trousers flat on a large table or floor space for measuring and marking.
- Use Tailor’s Tacks or Clips: Instead of just pins, consider using tailor’s tacks (short, loose stitches) or sewing clips to mark your hemline, as they can be less likely to shift.
Testing Your Stitch
Before you commit to stitching all the way around, test your stitch on a scrap piece of fabric.
- Scrap Fabric Test: Use a piece of fabric identical to your trousers.
- Check Stitch Quality: Sew a few inches of hem on the scrap. Examine the stitches. Are they even? Is the tension correct? Does the fabric look puckered?
- Adjust as Needed: If the stitches aren’t right, adjust your tension, stitch length, or needle.
Advanced Hemming Techniques for Machine Stitch Trouser Hem
Once you’ve mastered the basics, you can explore techniques that offer a more refined finish.
The Traditional Tailored Hem
This often involves a blind stitch and sometimes a bit of hand-stitching for extra neatness. A blind hem foot is key here.
- Preparation: Follow the blind hem steps, ensuring the second fold is neat and pressed.
- Stitching with Blind Hem Foot: As described earlier, use the blind hem stitch on your machine. The goal is to catch only a few threads of the main fabric.
- Hand-Finishing (Optional): For an extra professional touch, you can use a blind stitch by hand on the inside of the hem to secure the folded edge, catching just a thread or two of the main fabric. This is especially useful for delicate fabrics or when you want the hem to be completely invisible.
Invisible Hemming
This term is often used interchangeably with blind hemming, as the goal is for the stitches to be invisible from the right side of the garment. The blind hem foot is your best friend for achieving this.
- Precision is Key: The success of an invisible hem relies heavily on accurate measuring and precise stitching.
- Fabric Choice Matters: Invisible hems work best on fabrics that hold a crease well and are not too thick.
When to Seek Professional Help
While sewing machine hemming pants is a achievable DIY skill, there are times when professional help might be better.
- Very Expensive Garments: If you’re working with a designer or very expensive pair of trousers, you might want to entrust the hemming to a professional tailor.
- Difficult Fabrics: Fabrics like silk, satin, velvet, or very stretchy knits can be tricky to hem without puckering or distorting.
- Complex Garment Construction: If the trousers have intricate detailing, lined legs, or unusual construction, a professional tailor will have the expertise to handle it.
- Extensive Alterations: If you need to do more than just hemming, such as taking in the waist or seat, a tailor can handle all alterations at once.
Caring for Your Hemmed Trousers
Once your trousers are perfectly hemmed, proper care will ensure the hem lasts.
- Washing: Follow the care instructions on the garment’s label.
- Ironing: When ironing, try to press the hem from the inside to avoid creating a shine line on the outside.
- Repairs: If the hem threads start to break or fray, don’t delay in reinforcing them with your sewing machine for a quick trouser hem machine touch-up.
Frequently Asked Questions (FAQ)
Here are some common questions people have about hemming trousers with a sewing machine.
Q1: What is the best stitch for hemming pants with a sewing machine?
A1: For a standard double-folded hem, a straight stitch with a length of 2.0-2.5 mm is best. For an invisible or blind hem, use your machine’s blind hem stitch (if available) with a blind hem foot.
Q2: Can I hem pants without a blind hem foot?
A2: Yes, you can hem pants without a blind hem foot using the double-folded hem method. You can also attempt a blind hem by carefully stitching very close to the folded edge and trying to catch only a few threads of the main fabric with a regular straight stitch or a very narrow zigzag stitch. However, the result might not be as invisible as with a blind hem foot.
Q3: How much fabric should I leave for a hem allowance?
A3: A good general rule for trousers is to leave 1 to 2 inches (2.5 to 5 cm) for the hem allowance. This allows for a double-folded hem and provides enough fabric for a secure stitch.
Q4: How do I prevent puckering when sewing a hem?
A4: To prevent puckering, ensure your sewing machine is properly threaded, use the correct needle and thread for your fabric, set your stitch length appropriately, and avoid stretching the fabric as you sew. Pressing each fold firmly before stitching also helps.
Q5: What if the fabric is too thick for my sewing machine to handle?
A5: For very thick fabrics like heavy denim or multiple layers, you might need a stronger needle (like a denim needle) and a sewing machine with more power. You can also try reducing the number of fabric layers by trimming the inner fold of the hem. If your machine struggles significantly, you may need to consider hand-sewing or seeking professional help.
Mastering the sewing machine trouser hem is a valuable skill that opens up a world of possibilities for customizing your wardrobe. With a little practice and attention to detail, you can achieve professional-looking results on your machine sewing pants and enjoy perfectly fitting trousers every time.