
Learning how to thread a Singer sewing machine is a fundamental skill for any sewer, whether you’re a beginner or an experienced crafter. Yes, you can thread a Singer sewing machine, and it’s a straightforward process once you know the steps. This guide will walk you through Singer sewing machine threading with clear, actionable instructions, covering both the upper thread and the bobbin. We’ll ensure you can get your Singer machine setup quickly and efficiently.
Threading a Singer sewing machine correctly is crucial for preventing skipped stitches, thread breaks, and uneven seams. This guide focuses on the most common threading methods for many Singer models, providing a solid foundation for your sewing journey.
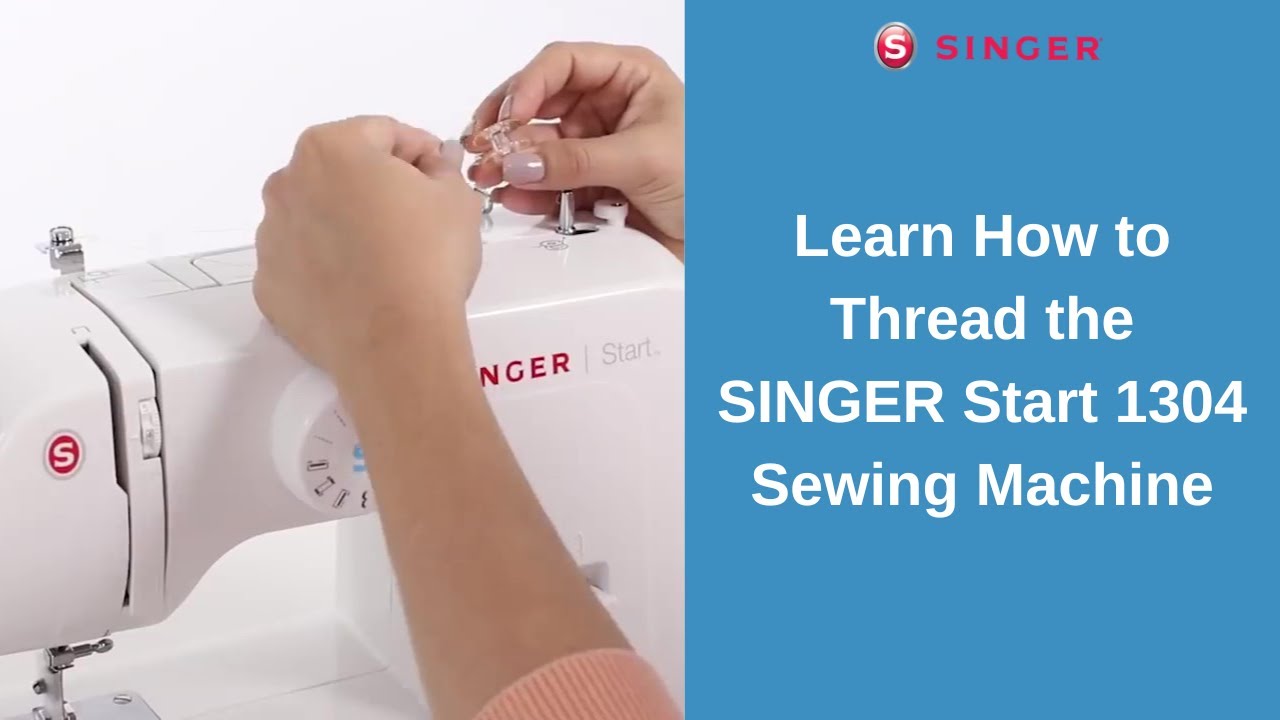
Image Source: i.ytimg.com
Getting Started: Essential Singer Sewing Machine Parts
Before we begin threading, let’s familiarize ourselves with some key Singer sewing machine parts involved in the process:
- Spool Pin: Where you place the spool of thread.
- Thread Guides: Various points along the machine that direct the thread.
- Upper Tension Discs: These control the tightness of the upper thread.
- Take-Up Lever: This lever moves up and down, feeding the thread through the machine.
- Needle Clamp Screw: Holds the sewing machine needle in place.
- Needle: The sharp point that pierces the fabric.
- Bobbin Winder: Used to wind thread onto the bobbin.
- Bobbin Case: Holds the bobbin and provides tension to the bobbin thread.
- Presser Foot: Holds the fabric against the feed dogs.
- Feed Dogs: Small, toothed metal pieces that move the fabric forward.
Knowing these parts will make following the step-by-step Singer threading much easier.
Part 1: Threading the Upper Thread Singer
The upper thread Singer is the primary thread that forms the top stitches of your seam. Proper threading here is vital for balanced stitch formation.
Step 1: Prepare Your Machine and Thread
- Turn off your sewing machine. This is a safety precaution.
- Raise the presser foot. This opens up the tension discs, allowing the thread to pass through easily.
- Raise the needle to its highest position. You can usually do this by turning the handwheel towards you.
- Place your spool of thread on the spool pin. Ensure the thread unwinds from the spool in the direction indicated by your machine’s manual (usually from the front).
- Cut the thread. Use sharp scissors to cut the end of the thread cleanly, about 4-6 inches from the spool. This makes it easier to guide through the machine.
Step 2: Following the Thread Path
Most Singer sewing machines follow a similar thread path for the upper thread Singer. Look for the numbered guides on your machine.
- Guide the thread through the first thread guide. This is usually located near the spool pin.
- Bring the thread down and around the back of the tension discs. You will see two metal discs. Loop the thread between these discs. Make sure the thread goes into the slit between the discs, not around the outside.
- Continue guiding the thread upwards, passing it through the take-up lever. The take-up lever is a metal arm that moves up and down. You’ll see a hook or slot on the lever. Thread the thread through this hook or slot. This is a critical step for proper tension.
- Bring the thread back down. Follow the indicated path towards the needle.
- Pass the thread through any remaining thread guides. These are positioned to keep the thread taut and straight.
- Thread the needle.
Step 3: Sewing Machine Needle Threading
This is the final step for the upper thread.
- Ensure the needle is in its highest position.
- Thread the needle from front to back (usually). Some machines may require threading from side to side, so check your specific model.
- Pull about 4-6 inches of thread through the eye of the needle.
Tip: If you find it difficult to thread the needle, you can try using a needle threader, which is often included with your Singer sewing machine, or lightly twisting the end of the thread.
Part 2: Bobbin Threading Singer and How to Wind Bobbin Singer
The bobbin provides the lower thread that interlocks with the upper thread to create a stitch. Bobbin threading Singer requires winding thread onto the bobbin and then inserting it correctly into the machine.
How to Wind Bobbin Singer
This process prepares your bobbin with thread.
Step 1: Prepare for Winding
- Ensure the upper thread is NOT threaded through the needle or the machine. This is important to avoid tangling.
- Place a bobbin on the bobbin winder spindle. There’s usually a small spring or clip that holds it in place. Make sure the bobbin is seated correctly.
- Slide the bobbin winder spindle to the right (or as indicated by your machine). This engages the winder.
Step 2: Starting the Wind
- Take the end of your thread from the spool.
- Guide the thread through the designated hole in the bobbin. This hole is usually small and allows you to secure the thread end.
- Hold the thread tail firmly.
- Manually turn the handwheel a few times to start winding the thread onto the bobbin. This secures the thread tail. Once a few wraps are around the bobbin, snip the thread tail close to the bobbin, leaving a small amount exposed.
- Begin winding. Press the foot pedal gently. The bobbin will start to wind.
Step 3: Even Winding
- Watch the winding process. Keep an eye on the thread as it winds onto the bobbin.
- Guide the thread back and forth across the bobbin. Most machines have a thread guide or tensioner that helps distribute the thread evenly. Some machines have an automatic threader that does this for you.
- Wind until the bobbin is full. Avoid overfilling, as this can cause issues. Stop winding when the bobbin is nearly full, or the thread starts to wind unevenly onto the top.
- Once wound, slide the bobbin winder spindle back to the left (or out of the engaged position).
- Cut the thread from the spool.
- Remove the bobbin from the spindle.
Tip: For even winding, ensure you’re using good quality thread and winding at a consistent speed. Different types of thread may require slightly different winding techniques.
Inserting the Bobbin
Now that you have a wound bobbin, let’s put it in. The method for inserting the bobbin can vary significantly depending on whether your Singer sewing machine has a front-loading bobbin case or a top-loading, drop-in bobbin system.
Front-Loading Bobbin Case
Many older Singer models use a front-loading bobbin case system.
- Open the bobbin cover plate. This is usually a removable piece at the front of the machine.
- Remove the bobbin case. It’s a small case that holds the bobbin.
- Place the wound bobbin into the bobbin case. Make sure the thread is unwinding from the bobbin in the correct direction (usually counter-clockwise, but check your manual). There’s a small slot in the bobbin case for the thread to sit in.
- Pull the thread through the small slot in the bobbin case.
- Insert the bobbin case back into the machine. There’s a specific orientation it needs to be in. Look for a small metal finger or latch on the bobbin case that should align with a corresponding groove in the machine.
- Ensure the bobbin case clicks or sits securely in place.
- Close the bobbin cover plate.
Top-Loading, Drop-In Bobbin System
Most modern Singer machines feature a convenient drop-in bobbin.
- Remove the needle plate. This is the flat metal plate beneath the presser foot.
- Lift out the bobbin case assembly if it’s separate. Some drop-in systems have a removable bobbin case, while others have the bobbin sitting directly in a shuttle race.
- Place the wound bobbin into the bobbin holder. The bobbin should drop into place. Check the diagram on your machine or in your manual for the correct thread direction. Typically, the thread should be coming off the bobbin counter-clockwise.
- Guide the thread through the small notch or slot in the bobbin holder.
- Ensure the bobbin is seated correctly.
- Replace the bobbin case assembly (if removed).
- Replace the needle plate.
Bringing Up the Bobbin Thread
After inserting the bobbin, you need to bring the bobbin thread up to meet the upper thread.
- Hold the tail of the upper thread loosely with one hand.
- Turn the handwheel towards you. Turn it until the needle goes down into the fabric and then comes back up to its highest position.
- As the needle comes up, the loop of the upper thread will catch the bobbin thread.
- Gently pull the upper thread. A loop of the bobbin thread will appear through the needle plate.
- Use your fingers or tweezers to pull the loop of bobbin thread completely through.
- Now you have both the upper thread and the bobbin thread hanging behind the presser foot. Pull about 4-6 inches of both threads back and out of the way.
Threading a Singer Model XXX: Specific Tips
While the general principles of Singer sewing machine threading remain consistent, different models might have slight variations. For example, threading a Singer Merritt 3330 might involve slightly different guide placements than threading a Singer Simple 3223.
To find specific instructions for your machine, always consult your Singer sewing machine manual. If you don’t have it, you can often find a PDF version by searching online for “Singer [Your Model Number] manual.” For instance, if you’re threading a Singer model 221 (the Featherweight), the path is quite specific and well-documented.
General Model-Specific Considerations:
- Singer Merritt 3330: Often features a clear top-loading bobbin system with color-coded thread guides for ease of Singer sewing machine threading.
- Singer Simple 3223: Similar to many modern Singer machines, it uses a drop-in bobbin and has clearly marked upper thread guides.
- Singer Featherweight 221: This classic machine has a unique front-loading bobbin mechanism and a specific thread path that requires careful attention to detail. The upper thread Singer path on this model is very distinct.
- Singer Heavy Duty 4423: Known for its robust construction, this model generally follows standard threading paths for its class, emphasizing the importance of correct bobbin insertion for its powerful motor.
Always refer to your model’s manual for the most accurate step-by-step Singer threading.
Troubleshooting Common Threading Issues
Even with clear instructions, you might encounter minor hiccups. Here are some common problems and solutions when threading a Singer:
Issue: Skipped Stitches
- Cause: Incorrectly threaded upper thread, needle inserted incorrectly, blunt or bent needle, incorrect needle size for fabric, or improper bobbin insertion.
- Solution: Re-thread the upper thread carefully, ensuring it goes through all guides and the take-up lever. Make sure the needle is inserted correctly (flat side usually to the back) and is the right size for your fabric. Re-insert the bobbin, ensuring the thread is coming off correctly.
Issue: Thread Breaking
- Cause: Sharp edges on thread guides, burrs on the needle plate, tension set too high, old or poor-quality thread, or forcing the fabric.
- Solution: Check all thread guides and the needle plate for any sharp points or burrs. Smooth them with a fine emery board if necessary. Adjust the tension. Try a different spool of thread. Ensure you are not pulling or forcing the fabric through the machine.
Issue: Uneven Stitches or Looping
- Cause: Incorrect threading of either the upper or bobbin thread, tension set incorrectly, or thread snagging.
- Solution: Re-thread both the upper and bobbin threads. Check the tension settings – the upper tension should be balanced with the bobbin tension. Ensure the thread isn’t snagging anywhere.
Issue: Bobbin Not Winding Properly
- Cause: Bobbin not seated correctly on the winder, thread tail not secured, winding speed too fast, or a damaged bobbin.
- Solution: Ensure the bobbin is firmly on the spindle. Secure the thread tail before starting to wind. Wind at a steady, moderate pace. Check the bobbin for any damage or warping.
Issue: Bobbin Thread Showing on Top of Fabric
- Cause: Upper thread tension too loose, or bobbin thread tension too tight.
- Solution: Increase the upper thread tension or decrease the bobbin thread tension (this might involve adjusting the screw on the bobbin case, if applicable). Always make small adjustments and test.
Frequently Asked Questions (FAQ)
Q: What is the correct way to thread the upper thread on my Singer sewing machine?
A: The general process involves placing the spool on the spool pin, guiding the thread through various guides, looping it between the tension discs, passing it through the take-up lever, and finally threading the needle from front to back. Always refer to your machine’s manual for the specific path.
Q: Can I use any type of thread with my Singer sewing machine?
A: While Singer machines are generally versatile, using good quality sewing thread is recommended for best results. Very thick or very thin threads might require specific needle sizes or tension adjustments.
Q: My Singer sewing machine keeps jamming. What could be the problem?
A: Jamming often results from threading issues, lint buildup in the bobbin area, a dull or bent needle, or improper bobbin insertion. Ensure your machine is clean, correctly threaded, and has a sharp needle.
Q: How do I know if I’ve threaded the bobbin correctly for my Singer?
A: When inserting the bobbin, the thread should typically unwind counter-clockwise. After inserting it and bringing up the thread, you should have a small loop of bobbin thread visible when you hold the upper thread and turn the handwheel.
Q: My stitches look different on the top and bottom. What’s wrong with the Singer sewing machine threading?
A: This usually indicates a tension problem. Try adjusting the upper thread tension first, increasing it if the bobbin thread is showing on top, or decreasing it if the upper thread is looping on the bottom.
By following these detailed steps and troubleshooting tips, you should be able to master Singer sewing machine threading, making your sewing projects smoother and more enjoyable. Happy sewing!