
Can a beginner sew a quilt on a sewing machine? Yes, absolutely! With the right guidance and a bit of practice, anyone can learn to sew a quilt on a sewing machine. This comprehensive guide will walk you through everything you need to know, from choosing your materials to finishing your beautiful creation. We’ll cover essential sewing machine settings for quilting, introduce you to helpful quilting techniques, and explore different quilting patterns.
Sewing a quilt might seem daunting, but it’s a wonderfully rewarding craft that allows you to create warm, personal, and often stunning pieces. Whether you’re dreaming of a cozy throw for your sofa, a special gift, or a vibrant wall hanging, this guide is your starting point. We’ll break down the process into manageable steps, making it easy for you to get started.
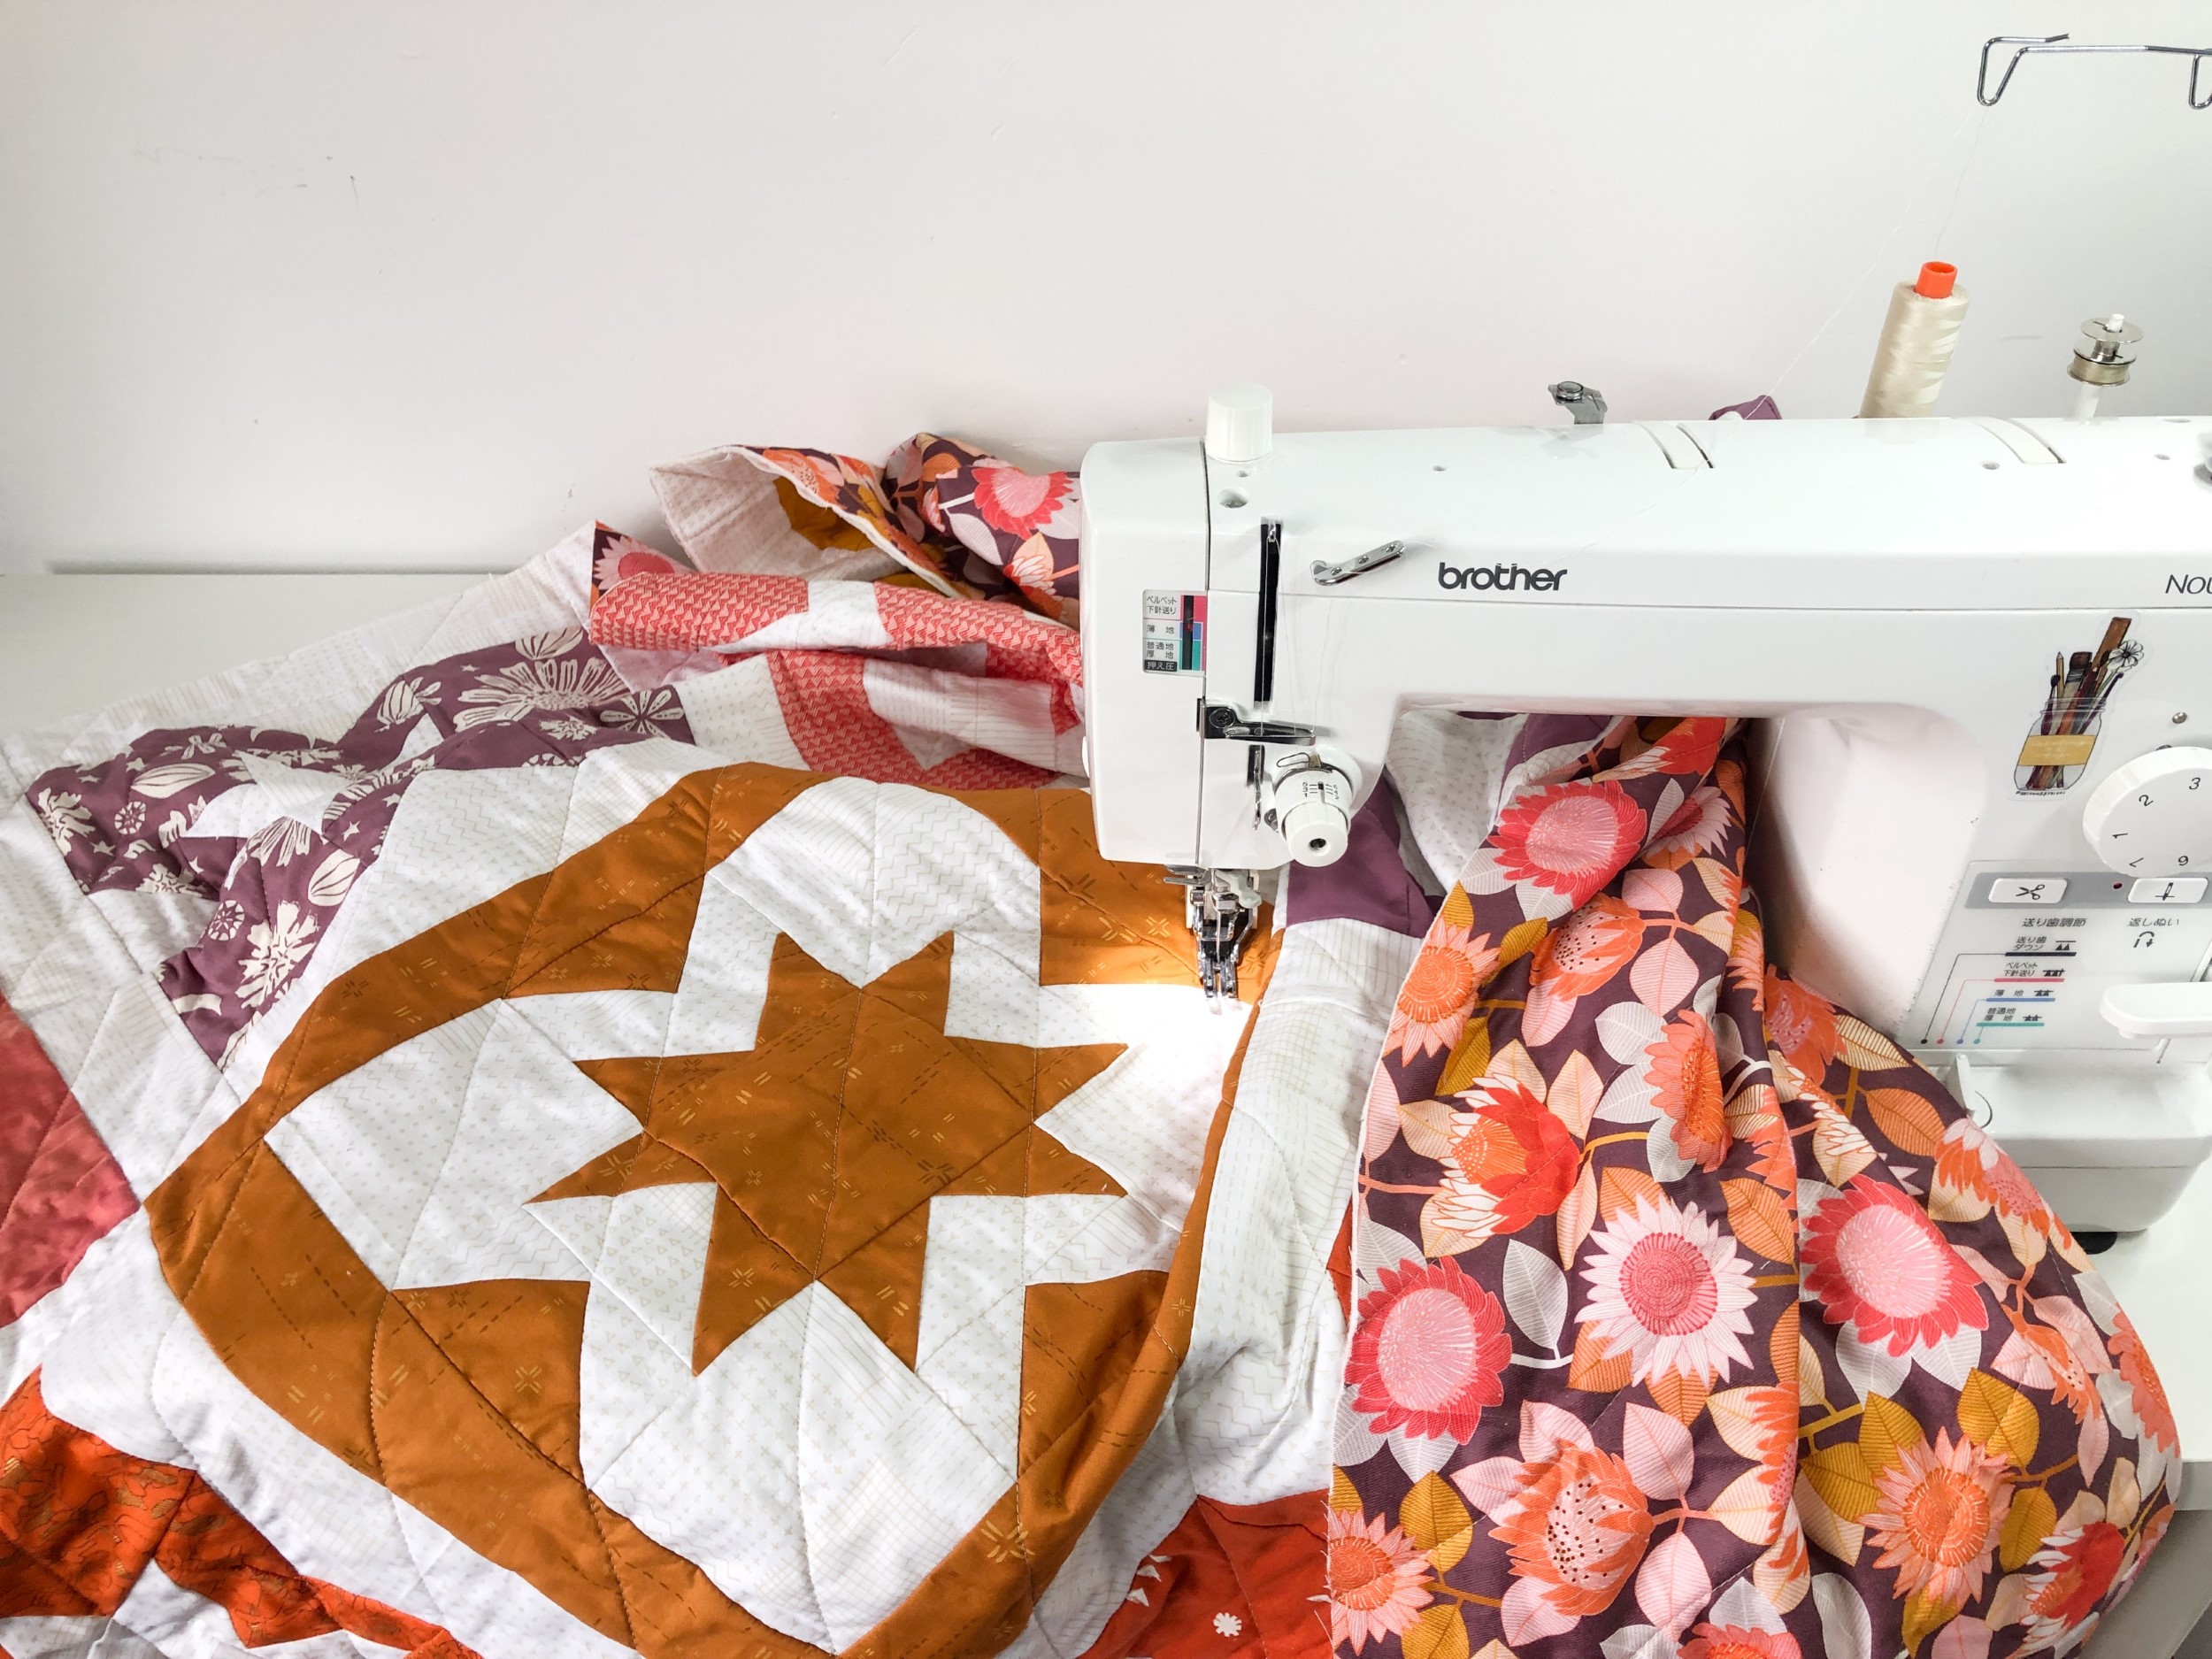
Image Source: www.blossomheartquilts.com
Gathering Your Quilt Supplies
Before you can start sewing, you need to gather the right supplies. Having everything ready will make the process smoother and more enjoyable.
The Fabric Choices
For your first quilt, it’s best to use 100% cotton quilting fabric. It’s stable, easy to press, and available in a vast array of colors and prints.
- Quilt Top Fabric: This is the part you see. Choose fabrics that complement each other. For beginners, simple geometric shapes like squares and rectangles are easiest to work with.
- Backing Fabric: This is the fabric for the back of your quilt. It can be a single piece of fabric or pieced together.
- Binding Fabric: This fabric is used to finish the edges of your quilt. It’s usually a durable cotton, often cut on the bias for flexibility.
What is Quilting Batting?
Quilting batting is the fluffy layer that goes between your quilt top and backing. It provides warmth and dimension.
- Cotton Batting: Breathable and natural, cotton is a popular choice. It can shrink slightly when washed, giving a lovely crinkly look to finished quilts.
- Polyester Batting: Lighter and less likely to shrink, polyester is a good option if you prefer a smooth finish.
- Cotton-Polyester Blends: These offer a mix of properties from both fibers.
Thread Selection
The right quilting thread makes a difference in the durability and appearance of your quilt.
- Cotton Thread: Strong and consistent, 100% cotton thread is ideal for quilting.
- Polyester Thread: Durable and less prone to breaking, especially good for machine quilting.
- Weight: A good starting point is an all-purpose cotton thread, usually around a 50-weight.
Needles for Quilting
Using the correct quilting needle is crucial for preventing skipped stitches and fabric damage.
- Universal Needles: Can be used for basic piecing.
- Quilting Needles: Specifically designed for sewing through multiple layers of fabric and batting. They have a sharper point and a larger eye for thicker threads.
- Needle Size: For most quilting, a size 80/12 or 90/14 needle is suitable.
Essential Tools
Besides fabric, batting, thread, and needles, you’ll need a few other tools:
- Rotary Cutter and Mat: For precise fabric cutting.
- Quilting Ruler: To guide your rotary cutter.
- Sewing Machine: Of course!
- Iron and Ironing Board: For pressing seams.
- Seam Ripper: For those inevitable mistakes.
- Scissors: For cutting thread.
- Straight Pins or Wonder Clips: To hold fabric layers together.
Preparing Your Fabric
Before you start cutting and sewing, preparing your fabric is key. This ensures your quilt lies flat and doesn’t distort over time.
Pre-washing Your Fabric
It’s generally recommended to pre-wash your quilting fabrics. This removes any sizing chemicals and pre-shrinks the fabric, preventing your finished quilt from puckering if it’s washed later.
- Wash fabrics in cool water with a mild detergent.
- Dry them on a medium heat setting or air dry.
- Press all fabrics smooth before cutting.
Cutting Your Fabric Pieces
Accurate cutting is the foundation of a well-made quilt.
Using a Rotary Cutter and Ruler
- Lay your fabric flat on the cutting mat.
- Place your ruler on the fabric, aligning it with the edge.
- Use the rotary cutter to slice along the edge of the ruler.
- Cut pieces to the size required by your chosen quilting pattern. For a beginner, a simple pattern using squares or rectangles is ideal.
Tip: Always cut in one smooth motion with the rotary cutter.
Piecing Your Quilt Top
This is where your quilt top begins to take shape.
Sewing Seams
- Seam Allowance: Most quilting uses a standard 1/4-inch seam allowance. This is crucial for ensuring your pieces fit together correctly.
- Sewing Machine Settings for Quilting:
- Stitch Length: Set your stitch length to 2.0 to 2.5 mm. This creates strong seams that hold up well.
- Tension: Ensure your thread tension is balanced. Test on scrap fabric. Generally, a lower top tension and a slightly higher bobbin tension is a good starting point.
- Foot: Use a standard presser foot for piecing. If your machine has an adjustable presser foot, set it to a height that allows the fabric to feed smoothly.
Pressing Your Seams
Pressing is as important as sewing.
- Press, Don’t Iron: Gently press the fabric with the iron rather than sliding it back and forth. This prevents stretching.
- Direction: Press seams to one side, alternating directions at each seam to reduce bulk. For example, press one seam to the left, the next to the right. This allows seams to “nest” together when you join blocks.
Joining Your Fabric Pieces
Let’s say you’re making a simple checkerboard quilt.
- Sewing Units: Sew two contrasting squares together along one edge with a 1/4-inch seam allowance.
- Pressing: Press the seam allowance to one side.
- Joining Rows: Sew another square to the first two, again pressing seams.
- Forming Blocks: Continue sewing pieces together to form individual quilt blocks.
- Assembling the Quilt Top: Once you have all your blocks, arrange them on a flat surface according to your quilting pattern. Sew the blocks together into rows, and then sew the rows together to complete your quilt top.
Table: Basic Piecing Guide
| Step | Action |
|---|---|
| Choose Fabric | 100% cotton quilting fabric for all layers. |
| Pre-wash & Press | Wash and dry fabrics to prevent shrinkage and remove sizing. Press smooth. |
| Cut Fabric | Use a rotary cutter, ruler, and mat for precise 1/4-inch seam allowance. |
| Sew Pieces | Use a 1/4-inch seam allowance. Set stitch length to 2.0-2.5 mm. |
| Press Seams | Press seams to one side, alternating directions to reduce bulk. |
| Assemble Quilt Top | Sew blocks together into rows, then sew rows together. |
Layering Your Quilt Sandwich
Once your quilt top is assembled, it’s time to create the “quilt sandwich.”
Creating the Layers
You’ll need your quilt top, quilting batting, and backing fabric.
- Backing Fabric: Lay your backing fabric flat on a large surface, wrong side up. Smooth out any wrinkles.
- Batting: Lay the quilting batting smoothly over the backing fabric. Again, ensure there are no wrinkles or folds.
- Quilt Top: Place your quilt top, right side up, over the batting. Align the edges carefully.
- Basting: This is the process of temporarily holding the three layers together. This prevents shifting during quilting.
- Safety Pins: Use special curved basting pins designed for quilting. Start pinning from the center and work your way outwards, placing pins every 4-6 inches.
- Basting Spray: Use a temporary fabric adhesive spray specifically for quilting. Spray in sections, smoothing each layer as you go.
- Hand Basting: Use a long needle and thread to make large stitches (about 1-2 inches long) across the entire quilt sandwich.
Quilting the Layers Together
This is the heart of the quilting process – stitching through all three layers. This is where you’ll use different quilting techniques and quilting stitches.
Sewing Machine Settings for Quilting (Stitching)
- Needle: Use a quilting needle (size 80/12 or 90/14).
- Thread: Use good quality quilting thread.
- Stitch Length: A slightly shorter stitch length (around 2.0 mm) can be good for durability, especially if you’re not doing intricate free-motion.
- Presser Foot: This is where things can change.
Walking Foot Quilting
A walking foot is a must-have for beginners. It has a set of feed dogs that work in sync with your machine’s feed dogs, helping to feed all three layers evenly. This prevents puckering and shifting.
How to Use a Walking Foot:
- Remove your standard presser foot and foot holder.
- Attach the walking foot according to your machine’s manual.
- Thread your machine with quilting thread.
- Set your stitch length to 2.0-2.5 mm.
- Start by quilting straight lines. You can use the guide on the walking foot or a quilting ruler to create consistent lines.
Quilting Stitches with a Walking Foot:
- Straight Lines: Simple and effective. Quilt parallel lines across your quilt.
- Stitch-in-the-Ditch: Sew along the seams between fabric pieces. This is subtle and defines the blocks.
- Echo Quilting: Quilt a line parallel to a seam or design element.
Free Motion Quilting (FMQ)
Free motion quilting allows you to “draw” with your sewing machine. It requires a special presser foot (FMQ foot or darning foot) and dropping the feed dogs on your machine.
How to Free Motion Quilt:
- Drop Feed Dogs: Consult your sewing machine manual to learn how to drop or cover your feed dogs.
- Attach FMQ Foot: Attach the appropriate foot for your machine.
- Control Fabric: You will be moving the quilt sandwich freely with your hands, guiding the needle.
- Speed: Use a consistent, medium speed on your machine.
- Practice: FMQ takes practice. Start with simple patterns like stippling or meandering on scrap fabric first.
Common Free Motion Quilting Stitches and Patterns:
- Stippling/Meandering: A random, squiggly line that fills the space.
- Loops: Sewing circles or oval shapes.
- Wiggles: Similar to meandering but with more pronounced curves.
Table: Quilting Techniques & Their Suitability for Beginners
| Technique | Description | Beginner Friendly? | Required Accessories |
|---|---|---|---|
| Walking Foot Quilting | Uses a special foot to feed multiple layers evenly, ideal for straight lines and simple patterns. | Yes | Walking Foot |
| Free Motion Quilting | Allows you to move the fabric freely, creating decorative patterns by “drawing” with the needle. | With practice | FMQ Foot, Drop Feed Dogs Capability |
| Stitch-in-the-Ditch | Sewing directly on the seam lines to outline blocks and patterns. | Yes | Walking Foot or Standard Foot |
| Outline Quilting | Sewing around the shapes or motifs in your fabric or block design. | Yes | Walking Foot or Standard Foot |
Choosing Your Quilting Pattern
Your quilting pattern refers to the design you’ll stitch.
- Simple Grid: Straight lines sewn with a walking foot.
- Diagonal Lines: Sew from corner to corner of blocks or the entire quilt.
- Meandering Stipple: A dense, all-over pattern using free motion.
- Following Fabric Designs: Stitch along the printed lines or shapes in your fabric.
Finishing Your Quilt
The final steps involve trimming, squaring up, and binding.
Trimming and Squaring Up
Once your quilting is complete, the edges might be a bit wavy or uneven.
- Trim Excess: Use your rotary cutter, ruler, and mat to trim away the excess batting and backing fabric.
- Square Up: Ensure all corners are 90-degree angles and all sides are straight.
Attaching the Quilt Binding
Quilt binding is the strip of fabric that encloses the raw edges of your quilt sandwich, giving it a clean and finished look.
How to Create Quilt Binding:
- Cut Strips: Cut strips of fabric (usually 2.5 inches wide) across the width of your fabric. You’ll need enough length to go around the entire perimeter of your quilt.
- Join Strips: Sew the strips together end-to-end at a 45-degree angle to create one long strip. Press the seams open.
- Press in Half: Fold the long binding strip in half lengthwise, wrong sides together, and press to create a crease.
Attaching the Binding:
- First Side: Align the raw edges of the folded binding with the raw edge of your quilt top. Start sewing about 6-8 inches from the end of the binding, using a 1/4-inch seam allowance.
- Corners: When you reach a corner, stop 1/4 inch from the edge. Backstitch. Fold the binding up and then back down, creating a neat mitered corner.
- Continue Sewing: Continue sewing around the quilt, stopping about 6-8 inches from where you started.
- Join Ends: Lay the two unsewn ends of the binding flat. Fold them over the quilt edge as if they were already attached. Trim the excess fabric, leaving enough to overlap and join with a 45-degree seam. Sew the ends together.
- Finish Sewing: Attach the joined binding to the quilt, completing the first side.
- Fold and Stitch: Fold the binding over the raw edge to the back of the quilt. Hand-stitch or machine-stitch the binding down. For a neat finish, try a blind stitch by hand.
Caring for Your Quilt
- Washing: For the first wash, hand wash in cool water with a gentle detergent. You can add a color catcher sheet to prevent colors from bleeding.
- Drying: Air dry your quilt flat or tumble dry on a very low setting.
- Long-term Storage: Store quilts in a cool, dry place away from direct sunlight.
Frequently Asked Questions (FAQ)
Q1: What is the easiest quilting pattern for a beginner?
A1: Simple geometric patterns like a checkerboard, stripes, or quilts made from squares or rectangles are excellent for beginners. Look for patterns that don’t require complex piecing or lots of intricate cutting.
Q2: Can I quilt on any sewing machine?
A2: While most modern sewing machines can handle basic quilting tasks, some features make it easier. A machine with a walking foot option, adjustable presser foot pressure, and a strong motor is beneficial. However, you can start with a basic machine and a walking foot.
Q3: How much quilting batting do I need?
A3: You need enough batting to be at least 4-6 inches larger than your quilt top on all sides. This extra fabric allows for easier basting and trimming.
Q4: What kind of needle should I use for quilting?
A4: A sharp, sturdy quilting needle (like an 80/12 or 90/14) is recommended. These needles are designed to pierce through multiple layers of fabric and batting without causing damage or skipped stitches.
Q5: How do I prevent my quilt from puckering?
A5: Proper basting is key. Ensure all three layers are smooth and held together securely. Using a walking foot when quilting also helps feed the layers evenly, preventing puckering.
Sewing your first quilt is a journey of learning and creativity. Don’t be afraid to experiment and enjoy the process. With this guide, you have the foundational knowledge to embark on your quilting adventure. Happy quilting!