
Can you remove embroidery from a jacket? Yes, you can remove embroidery from a jacket, but it requires patience and the right tools to avoid damaging the fabric. This guide will walk you through the process of removing embroidery from a jacket safely, ensuring you can revive your favorite outerwear or repurpose it without leaving a trace of the old design. We’ll cover everything from the initial assessment to the final finishing touches, making DIY jacket embroidery removal a manageable task.
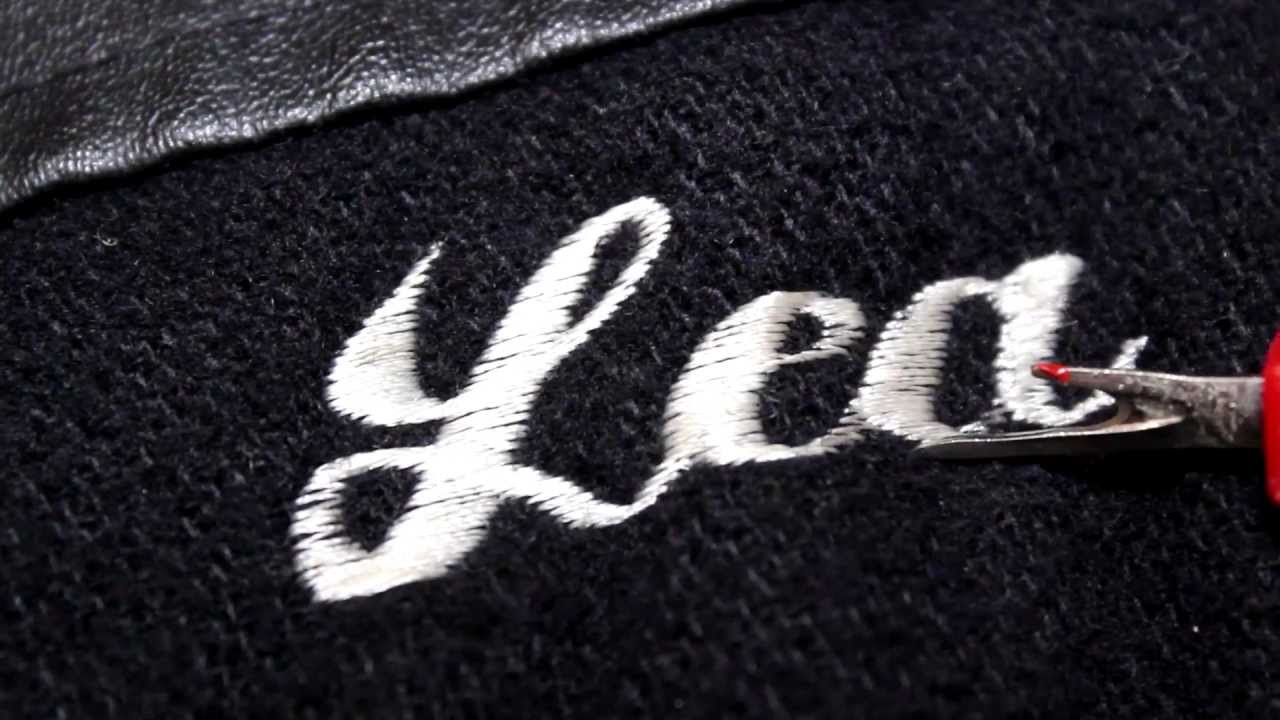
Image Source: i.ytimg.com
Preparing for Jacket Embroidery Removal
Before you even think about grabbing a seam ripper, proper preparation is key to a successful jacket embroidery removal. Rushing this stage is a common mistake that can lead to fabric damage from removal. Let’s get everything ready.
Assessing the Embroidery and Jacket Fabric
First, take a good look at the embroidery itself.
* Stitch Density: Is it a dense, thick design, or a more sparse, delicate one? Dense embroidery often has more thread and can be harder to remove cleanly.
* Thread Type: Is it cotton, polyester, or metallic thread? Metallic threads can be brittle and might break easily, making them trickier to handle.
* Jacket Material: What is your jacket made of? Denim, cotton canvas, leather, or synthetic blends all behave differently. Delicate fabrics like silk or rayon require much gentler handling than sturdy denim. Always check the care label if available.
* Embroidery Placement: Is the embroidery on a flat area or a seam? Working on seams can be more challenging.
Gathering Your Tools
Having the right tools makes a world of difference. For how to take embroidery off a jacket, you’ll need:
- Seam Ripper: This is your primary tool. Look for one with a sharp point and a comfortable handle. A good quality jacket seam ripper is essential.
- Small, Sharp Scissors or Embroidery Scissors: For snipping threads when the seam ripper isn’t quite enough.
- Tweezers: Very helpful for pulling out small threads and bits of backing.
- Embroidery Floss or Matching Thread: For any minor repairs you might need to do afterward.
- Needle: For gently pulling stubborn threads.
- Iron and Ironing Board: For pressing out wrinkles and helping to flatten the fabric.
- Patience: This is the most important tool!
The Step-by-Step Process of Unstitching Embroidery
The core of how to take embroidery off a jacket lies in the careful unstitching embroidery process. This is where patience truly pays off.
Step 1: Locate the Starting Point
Most embroidery is stitched from the back of the fabric. Carefully turn the jacket inside out. Look for the beginning of the embroidery pattern. You’ll typically see loose thread ends or the point where the stitching begins.
Step 2: Using the Seam Ripper
This is the crucial part of jacket embroidery removal.
1. Identify a Stitch: Find a single stitch that you can get under with the pointed end of your seam ripper.
2. Carefully Slice: Gently slide the seam ripper’s blade under the stitch. The goal is to cut only the embroidery thread, not the fabric of the jacket.
3. Work in Sections: Don’t try to pull a long thread at once. Cut one stitch at a time. As you cut, you’ll loosen a small section of the embroidery.
4. Pull Threads Gently: Once a section is cut, you can often gently pull the loosened embroidery thread from the front or back of the fabric. Use tweezers if needed.
Step 3: Dealing with Dense Embroidery
For heavily embroidered areas, you might need to cut multiple layers of thread.
* Cut from the Back: Always try to cut the stitches from the back of the jacket. This way, you’re cutting the embroidery thread and not the jacket fabric itself.
* Work Systematically: Move across the embroidery design in a logical pattern. This prevents you from getting lost or missing spots.
Step 4: Removing the Embroidery Backing
Many machine embroideries have a backing material to stabilize the fabric. This embroidery backing removal is as important as removing the stitches.
* Peel or Cut: Depending on the type of backing (water-soluble, tear-away, or cut-away), you might be able to peel it away. If it’s tear-away, gently tear it around the embroidered area. If it’s a cut-away backing, you’ll likely need to use your seam ripper or small scissors to carefully cut it away as close to the stitching as possible. Be extremely careful not to snag the jacket fabric.
* Water-Soluble Backing: If you encounter water-soluble backing, follow the manufacturer’s instructions. Usually, a damp cloth or gentle washing will dissolve it. However, test this on an inconspicuous area first to ensure it doesn’t affect your jacket’s fabric.
Step 5: Cleaning Up Loose Threads
After all the main embroidery is removed, you’ll inevitably have small bits of thread and backing left.
* Tweezers are Your Friend: Use tweezers to painstakingly pick out every remaining thread. This is tedious but vital for a clean finish.
* Small Scissors for Stubborn Bits: For threads deeply embedded, you might need to very carefully snip them with small, sharp scissors. Get as close to the fabric as you can without cutting the jacket material.
Restoring Jacket Fabric and Finishing Touches
Once the embroidery is gone, the focus shifts to restoring jacket fabric to its original state.
Addressing Thread Marks and Holes
Even with careful removal, you might see faint outlines of the embroidery or small needle holes.
* Gentle Steaming: Use your iron on a low-to-medium heat setting (appropriate for your jacket’s fabric) to gently steam the area where the embroidery was. Hover the iron over the fabric or use very light pressure. This can help relax the fibers and minimize the appearance of marks.
* Pressing: After steaming, place a pressing cloth (a thin piece of cotton fabric) over the area and gently press. This can help flatten the fabric and further reduce any visible impressions.
* Minor Fabric Repair: If there are any small snags or loose threads on the jacket fabric itself, you can use a matching thread and a fine needle to carefully re-stitch them or secure them to the inside of the jacket.
Dealing with Discoloration
Sometimes, threads can cause slight discoloration on the fabric over time, especially if the jacket has been washed or exposed to sunlight.
* Spot Cleaning: If the discoloration is minor, you might try spot cleaning with a fabric cleaner suitable for your jacket’s material. Always test the cleaner on an inconspicuous area first.
* Washing: A gentle wash according to the jacket’s care label might help even out the color. However, be cautious, as washing can sometimes set stains or cause further wear.
Improving Readability and Smoothness
The goal is to make the area look as if the embroidery was never there.
* Gentle Brushing: After ironing, a soft brush can help to lift and neaten the fabric nap.
* Patience and Repetition: For stubborn marks, you might need to repeat the steaming and pressing steps.
Common Challenges and Solutions in Jacket Embroidery Removal
Even with the best intentions, DIY jacket embroidery removal can present challenges. Here are some common issues and how to tackle them.
Challenge 1: Snagging or Tearing the Fabric
This is the most feared outcome of unstitching embroidery.
* Prevention: Use a sharp seam ripper. Work slowly and deliberately. Always cut stitches from the back. Avoid pulling threads forcefully.
* Solution: If you accidentally snag the fabric, stop immediately. Assess the damage. For minor snags, you might be able to gently tease the threads back into place or use a very fine needle and matching thread to discreetly repair it from the inside. For larger tears, professional repair might be necessary.
Challenge 2: Stubborn Threads or Backing
Some threads or backing materials are more resistant to removal.
* Solution:
* Stubborn Threads: Sometimes, a thread might be woven through the fabric fibers. Use the tip of your seam ripper to gently tease it out, or carefully snip it with tiny scissors.
* Stubborn Backing: If tear-away backing is difficult to remove, a damp cloth can sometimes soften it. For water-soluble backing, a bit more water might be needed, but test on a hidden area first. Cut-away backing might require very precise cutting with sharp scissors.
Challenge 3: Visible Marks or Shadows
After removing threads, you might still see a pattern of tiny holes or slight discoloration.
* Solution: Refer back to the “Restoring Jacket Fabric” section. Gentle steaming, careful pressing, and patience are your best allies here. Sometimes, the “shadow” is simply the fabric fibers being compressed; ironing helps to lift them.
Challenge 4: Large or Complex Embroidery Designs
Removing intricate or very large embroidered patches or designs requires extra care.
* Solution: Break down the design into smaller, manageable sections. Take breaks to avoid fatigue, which can lead to mistakes. Consider if the complexity warrants professional removal services, especially for valuable or delicate jackets.
When to Seek Professional Help
While DIY jacket embroidery removal is achievable for most projects, there are times when it’s best to call in the experts.
Situations Requiring Professional Care
- Valuable or Antique Jackets: If the jacket is a significant investment, a family heirloom, or a vintage piece, the risk of fabric damage from removal is too high to attempt DIY.
- Delicate Fabrics: Silk, fine wool, velvet, or very thin synthetics are easily damaged by even slight missteps.
- Intricate or Large Designs: Very dense, extensive embroidery can be time-consuming and risky for an amateur.
- Leather or Suede Jackets: These materials require specialized techniques for jacket embroidery removal that differ significantly from fabric. Incorrect handling can lead to permanent damage, holes, or discoloration.
- High-Stakes Projects: If the jacket is for a special event or has sentimental value you absolutely cannot risk, professional services are recommended.
What to Look for in a Professional Service
- Embroidery Removal Specialists: Some dry cleaners offer specialized embroidery removal.
- Tailors or Seamstresses: Experienced tailors often have the skills and tools for careful thread removal.
- Ask for Examples: Before committing, ask to see examples of their work or inquire about their process for handling similar fabrics and embroidery.
Frequently Asked Questions About Jacket Embroidery Removal
Here are some common questions people have when considering how to take embroidery off a jacket:
Q1: Will removing embroidery damage my jacket?
While it’s possible to damage your jacket if you’re not careful, taking your time and using the right tools significantly minimizes the risk. The most common issues are snagging the fabric or leaving visible marks. Following the steps outlined above, especially working slowly from the back and using a sharp seam ripper, greatly reduces the chance of damage.
Q2: What is the best way to remove embroidery from a jacket?
The best way to remove stitches involves a systematic approach: start by identifying a stitch to cut from the back of the jacket using a sharp seam ripper. Work in small sections, cutting one stitch at a time, and then gently pulling the loosened threads. Pay close attention to removing any embroidery backing and then cleaning up any residual threads. Gentle steaming and pressing can help restore the fabric afterward.
Q3: Can I just cut the embroidery off?
You can, but simply cutting the embroidery off without unstitching embroidery thread by thread will likely leave significant thread loops and a messy outline on the fabric. This can be even more difficult to clean up and may lead to more obvious fabric damage. It’s best to meticulously remove each stitch.
Q4: How do I deal with embroidery backing removal?
The method for embroidery backing removal depends on the type of backing. Tear-away backing should be gently torn away. Water-soluble backing will dissolve with water or moisture. Cut-away backing needs to be carefully trimmed as close to the stitches as possible with sharp scissors or a seam ripper, being very careful not to cut the jacket fabric.
Q5: What if I still see a faint outline after removing the embroidery?
This is common. The fabric fibers can be compressed where the stitches were. You can often reduce the visibility of these marks by gently steaming the area and then pressing it with a warm iron (using a pressing cloth). Sometimes, very gentle brushing can also help lift the fibers. Patience and repeated gentle pressing might be necessary.
By following these detailed steps, you can confidently tackle the task of removing embroidery from your jacket, breathing new life into your clothing and achieving a clean, professional finish.