
Image Source: mindymakes.com
How To Use A Sewing Machine Needle Threader Step-by-Step
Yes, using a sewing machine needle threader is designed to make threading your sewing machine needle much easier. Can you thread a sewing machine needle without a threader? Yes, but it can be tricky, especially with fine threads or small needle eyes. Who is a sewing machine needle threader for? It’s for anyone who sews, from beginners struggling with the tiny eye of a needle to experienced sewers who appreciate a quick and efficient solution. This guide will provide a detailed, step-by-step approach to using both manual and automatic needle threaders, ensuring your sewing machine needle threading is a breeze.
Deciphering the Magic: What is a Sewing Machine Needle Threader?
A sewing machine needle threader is a handy tool that assists in passing the sewing thread through the eye of a sewing machine needle. It’s a small but mighty gadget that can save you a lot of frustration. These tools come in various forms, from simple wire loops to sophisticated built-in attachments on your sewing machine. They are essential for making the process of sewing machine needle threading smooth and efficient.
Types of Sewing Machine Needle Threaders
There are two main categories of sewing machine needle threaders:
- Manual Needle Threaders: These are standalone tools that you use by hand. They typically consist of a frame with a small hook or loop that holds the thread.
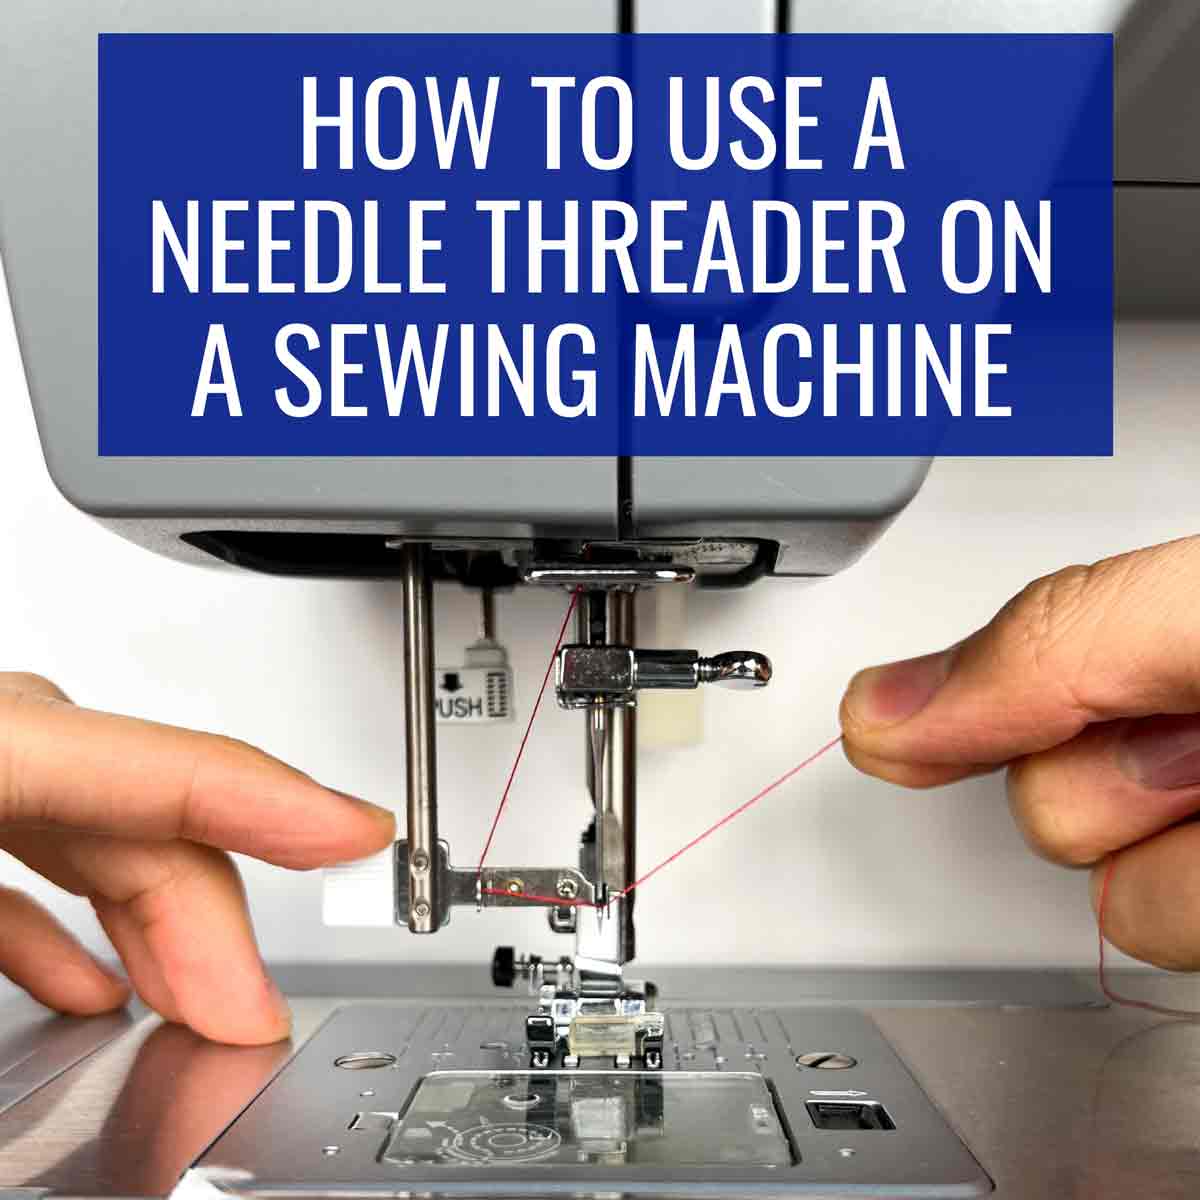
- Automatic Needle Threaders: Many modern sewing machines come with a built-in automatic needle threader attachment. This is a mechanism that extends from the machine, catches the thread, and pulls it through the needle eye with the press of a lever or button.
We’ll explore how to use both types in detail.
Mastering the Manual Needle Threader: A Step-by-Step Guide
Manual needle threaders are excellent for those who don’t have an automatic version or prefer a dedicated tool. They are often considered the best sewing machine needle threader for their simplicity and portability.
Step 1: Prepare Your Thread and Needle
Before you start, ensure you have a clean, sharp sewing machine needle inserted correctly into your machine. Cut the end of your thread at a slight angle with sharp scissors. This makes it easier to guide the thread through the threader and then through the needle eye. Fluffing the thread end slightly can sometimes help catch it.
Step 2: Positioning the Manual Needle Threader
There are a few common designs for manual needle threaders. The most prevalent type has a thin wire loop attached to a plastic handle.
-
The Wire Loop Method:
- Hold the sewing machine needle threader with the wire loop facing you.
- Slide the needle threader up towards the needle from the front of the machine.
- The wire loop should go through the eye of the sewing machine needle.
- Ensure the loop emerges from the back of the needle eye.
-
Other Manual Designs: Some manual threaders might have a small hook that you maneuver. The principle remains the same: get the hook or loop through the needle’s eye.
Step 3: Threading the Thread Through the Loop
Now it’s time to get the thread into the tool.
- Take the end of your sewing thread.
- Gently pass the thread through the wire loop of the manual needle threader. Make sure you pass enough thread through the loop to grasp it easily.
Step 4: Pulling the Thread Through the Needle
This is where the magic happens.
- Hold the needle threader firmly with one hand.
- With your other hand, gently pull the needle threader back towards you.
- As you pull, the wire loop will drag the thread with it, pulling it through the eye of the sewing machine needle.
- Continue pulling until a small loop of thread emerges from the needle’s eye.
Step 5: Removing the Threader and Securing the Thread
Once the thread has passed through the needle eye, you can remove the threader.
- Carefully pull the manual needle threader away from the needle.
- You should now have a small loop of thread coming out of the needle’s eye.
- Gently pull this loop and the thread end to create a longer tail of thread, typically about 4-6 inches, emerging from the needle. This provides enough thread to get started with your sewing.
Utilizing the Automatic Needle Threader Attachment: A Seamless Process
Many modern sewing machines boast an automatic needle threader attachment, a truly revolutionary feature for sewing machine needle threading. This built-in mechanism simplifies the process significantly, making it almost effortless.
Step 1: Preparing Your Machine and Needle
- Ensure your sewing machine is ready to sew. Lower the presser foot.
- Select a suitable sewing machine needle for your fabric and thread.
- Raise the needle to its highest position by turning the handwheel towards you.
- Thread the upper thread through the machine’s guides and tension discs as you normally would, stopping just before reaching the needle.
Step 2: Engaging the Automatic Needle Threader
The exact operation varies slightly between sewing machine models, but the general steps are as follows:
- Locate the Threader Lever/Arm: On the front of your sewing machine, near the needle, you’ll find a small lever or arm. This is the core of the automatic needle threader attachment.
- Position the Thread: Bring the thread to the front of the needle. Some machines have a small notch or hook on the threader arm where you are meant to place the thread. Others require you to simply hold the thread taut in front of the needle. Consult your sewing machine’s manual for specific instructions.
- Activate the Threader: Gently push the lever or arm downwards. You will notice a small hook or prong extend and hook the thread. As you continue to push the lever down (or sometimes, as it automatically springs back up), this hook will pull the thread through the needle’s eye.
Step 3: Releasing the Thread
- Once the thread has been pulled through the needle eye, the threader mechanism will retract or allow you to release it.
- You will see a small loop of thread emerging from the needle.
Step 4: Securing the Thread Tail
- Gently pull this loop of thread with your fingers.
- Create a tail of thread, about 4-6 inches long, extending from the needle.
- The bobbin thread will also need to be brought up to meet this upper thread tail before you can begin sewing.
Tips for Successful Sewing Machine Needle Threading
Whether you’re using a manual or automatic sewing machine needle threader, a few tips can make the process even smoother.
- Use Good Lighting: Good lighting is crucial. Sometimes the smallest details can be missed in dim light.
- Trim Your Thread: Always cut the thread end cleanly and at an angle.
- Avoid Frayed Threads: If your thread is fraying, try a thread conditioner or a different brand of thread.
- Correct Needle Type: Ensure you are using the correct type and size of sewing machine needle for your project. A dull or bent needle can make threading difficult.
- Check Needle Insertion: Double-check that your needle is inserted correctly and securely.
- Cleanliness: Keep your needle threader tool clean. Dust and lint can interfere with its function.
- Consult Your Manual: Your sewing machine’s manual is your best friend. It will provide specific details on how to use its particular automatic needle threader attachment.
- Practice Makes Perfect: Like any skill, sewing machine needle threading becomes easier with practice.
Troubleshooting Common Sewing Machine Needle Threading Issues
Even with a threader, you might encounter problems. Here are some common issues and their solutions:
| Problem | Possible Cause | Solution |
|---|---|---|
| Thread won’t go through loop | Thread end is frayed or too thick. | Trim thread end cleanly at an angle. Try a thinner thread or a different needle threader. |
| Threader not catching thread | Thread is not positioned correctly. Threader mechanism is dirty or damaged. | Ensure thread is held taut in the designated spot. Clean the threader mechanism. If damaged, consider a replacement manual threader or professional repair for an automatic threader. |
| Thread breaks during threading | Too much force applied. Needle eye is rough or damaged. | Apply gentle, steady pressure. Check the needle for burrs or damage; replace if necessary. |
| Automatic threader jammed | Lint or debris obstructing the mechanism. Incorrect thread positioning. | Clean the threader area with a small brush. Ensure the thread is placed as per your machine’s manual. |
| Needle threader won’t extend | The machine might be in a mode that prevents threader use (e.g., bobbin winding). | Ensure your machine is in the sewing mode and the presser foot is down. Refer to your machine’s manual. |
The Best Sewing Machine Needle Threader: Personal Preference and Machine Type
The “best” sewing machine needle threader is subjective and often depends on your sewing machine and personal comfort.
- For Automatic Users: If your machine has a well-designed automatic needle threader attachment, it’s likely the most convenient option. Many users find these to be incredibly efficient.
- For Manual Users: For those who prefer a manual approach or need a backup, look for manual needle threaders with a sturdy handle and a fine, strong wire loop. Brands like Dritz offer reliable manual threaders. Some are designed with larger loops for easier manipulation, which can be particularly helpful for individuals with dexterity issues.
When choosing a manual needle threader, consider:
- Durability: A metal loop is generally more durable than plastic.
- Ease of Grip: A comfortable handle makes a big difference.
- Loop Size: Some prefer a larger loop for easier access.
Conclusion: Simplifying Your Sewing Experience
Mastering the sewing machine needle threading process, with or without a dedicated tool, is a fundamental step in enjoying your sewing projects. Whether you’re using a simple manual needle threader or the advanced automatic needle threader attachment on your machine, these tools are designed to enhance your sewing experience. By following these steps and tips for successful sewing machine needle threading, you can overcome this common hurdle and dedicate more time to the creative aspects of sewing. Happy sewing!
Frequently Asked Questions (FAQ)
Q1: Why is sewing machine needle threading so difficult sometimes?
Sewing machine needle threading can be challenging due to the small size of the needle’s eye, the fineness of sewing threads, and the potential for thread ends to fray. Good lighting and a steady hand are key.
Q2: Can I use any manual needle threader with any sewing machine?
Yes, manual needle threaders are universal and can be used with any sewing machine. Their effectiveness depends on the user’s technique and the quality of the threader itself.
Q3: My automatic needle threader isn’t working. What should I do?
First, check your sewing machine manual for specific instructions on its automatic needle threader attachment. Ensure the presser foot is down and the machine is in sewing mode. Clean any lint or debris around the threader mechanism. If problems persist, it might indicate a mechanical issue requiring professional servicing.
Q4: How do I thread the bobbin?
Threading the bobbin is a separate process from threading the needle. It involves winding thread onto a bobbin and then inserting the wound bobbin into the bobbin case or compartment of your sewing machine, pulling a thread tail up through the machine. Your sewing machine manual will detail this process specifically.
Q5: How often should I change my sewing machine needle?
It’s generally recommended to change your sewing machine needle after approximately 8-10 hours of sewing, or whenever you notice skipped stitches, snagged fabric, or difficulty in sewing. A dull or damaged needle can make sewing machine needle threading harder and affect stitch quality.