
How do you quilt on a sewing machine? You sew through three layers – the pretty top fabric, a soft middle layer called batting, and the backing fabric – using your sewing machine. This sewing holds all the layers together so the quilt is warm and strong, and it also adds cool designs to the surface.
Making a quilt is a fun and rewarding craft. You choose fabrics, cut shapes, and sew them into a decorative top. But that’s only part of the job. The quilting step is what turns that floppy fabric top into a cozy, finished quilt. Using your sewing machine is a popular way to do this, even if you’re just starting out. This guide will walk you through everything you need to know to get started quilting on your machine.
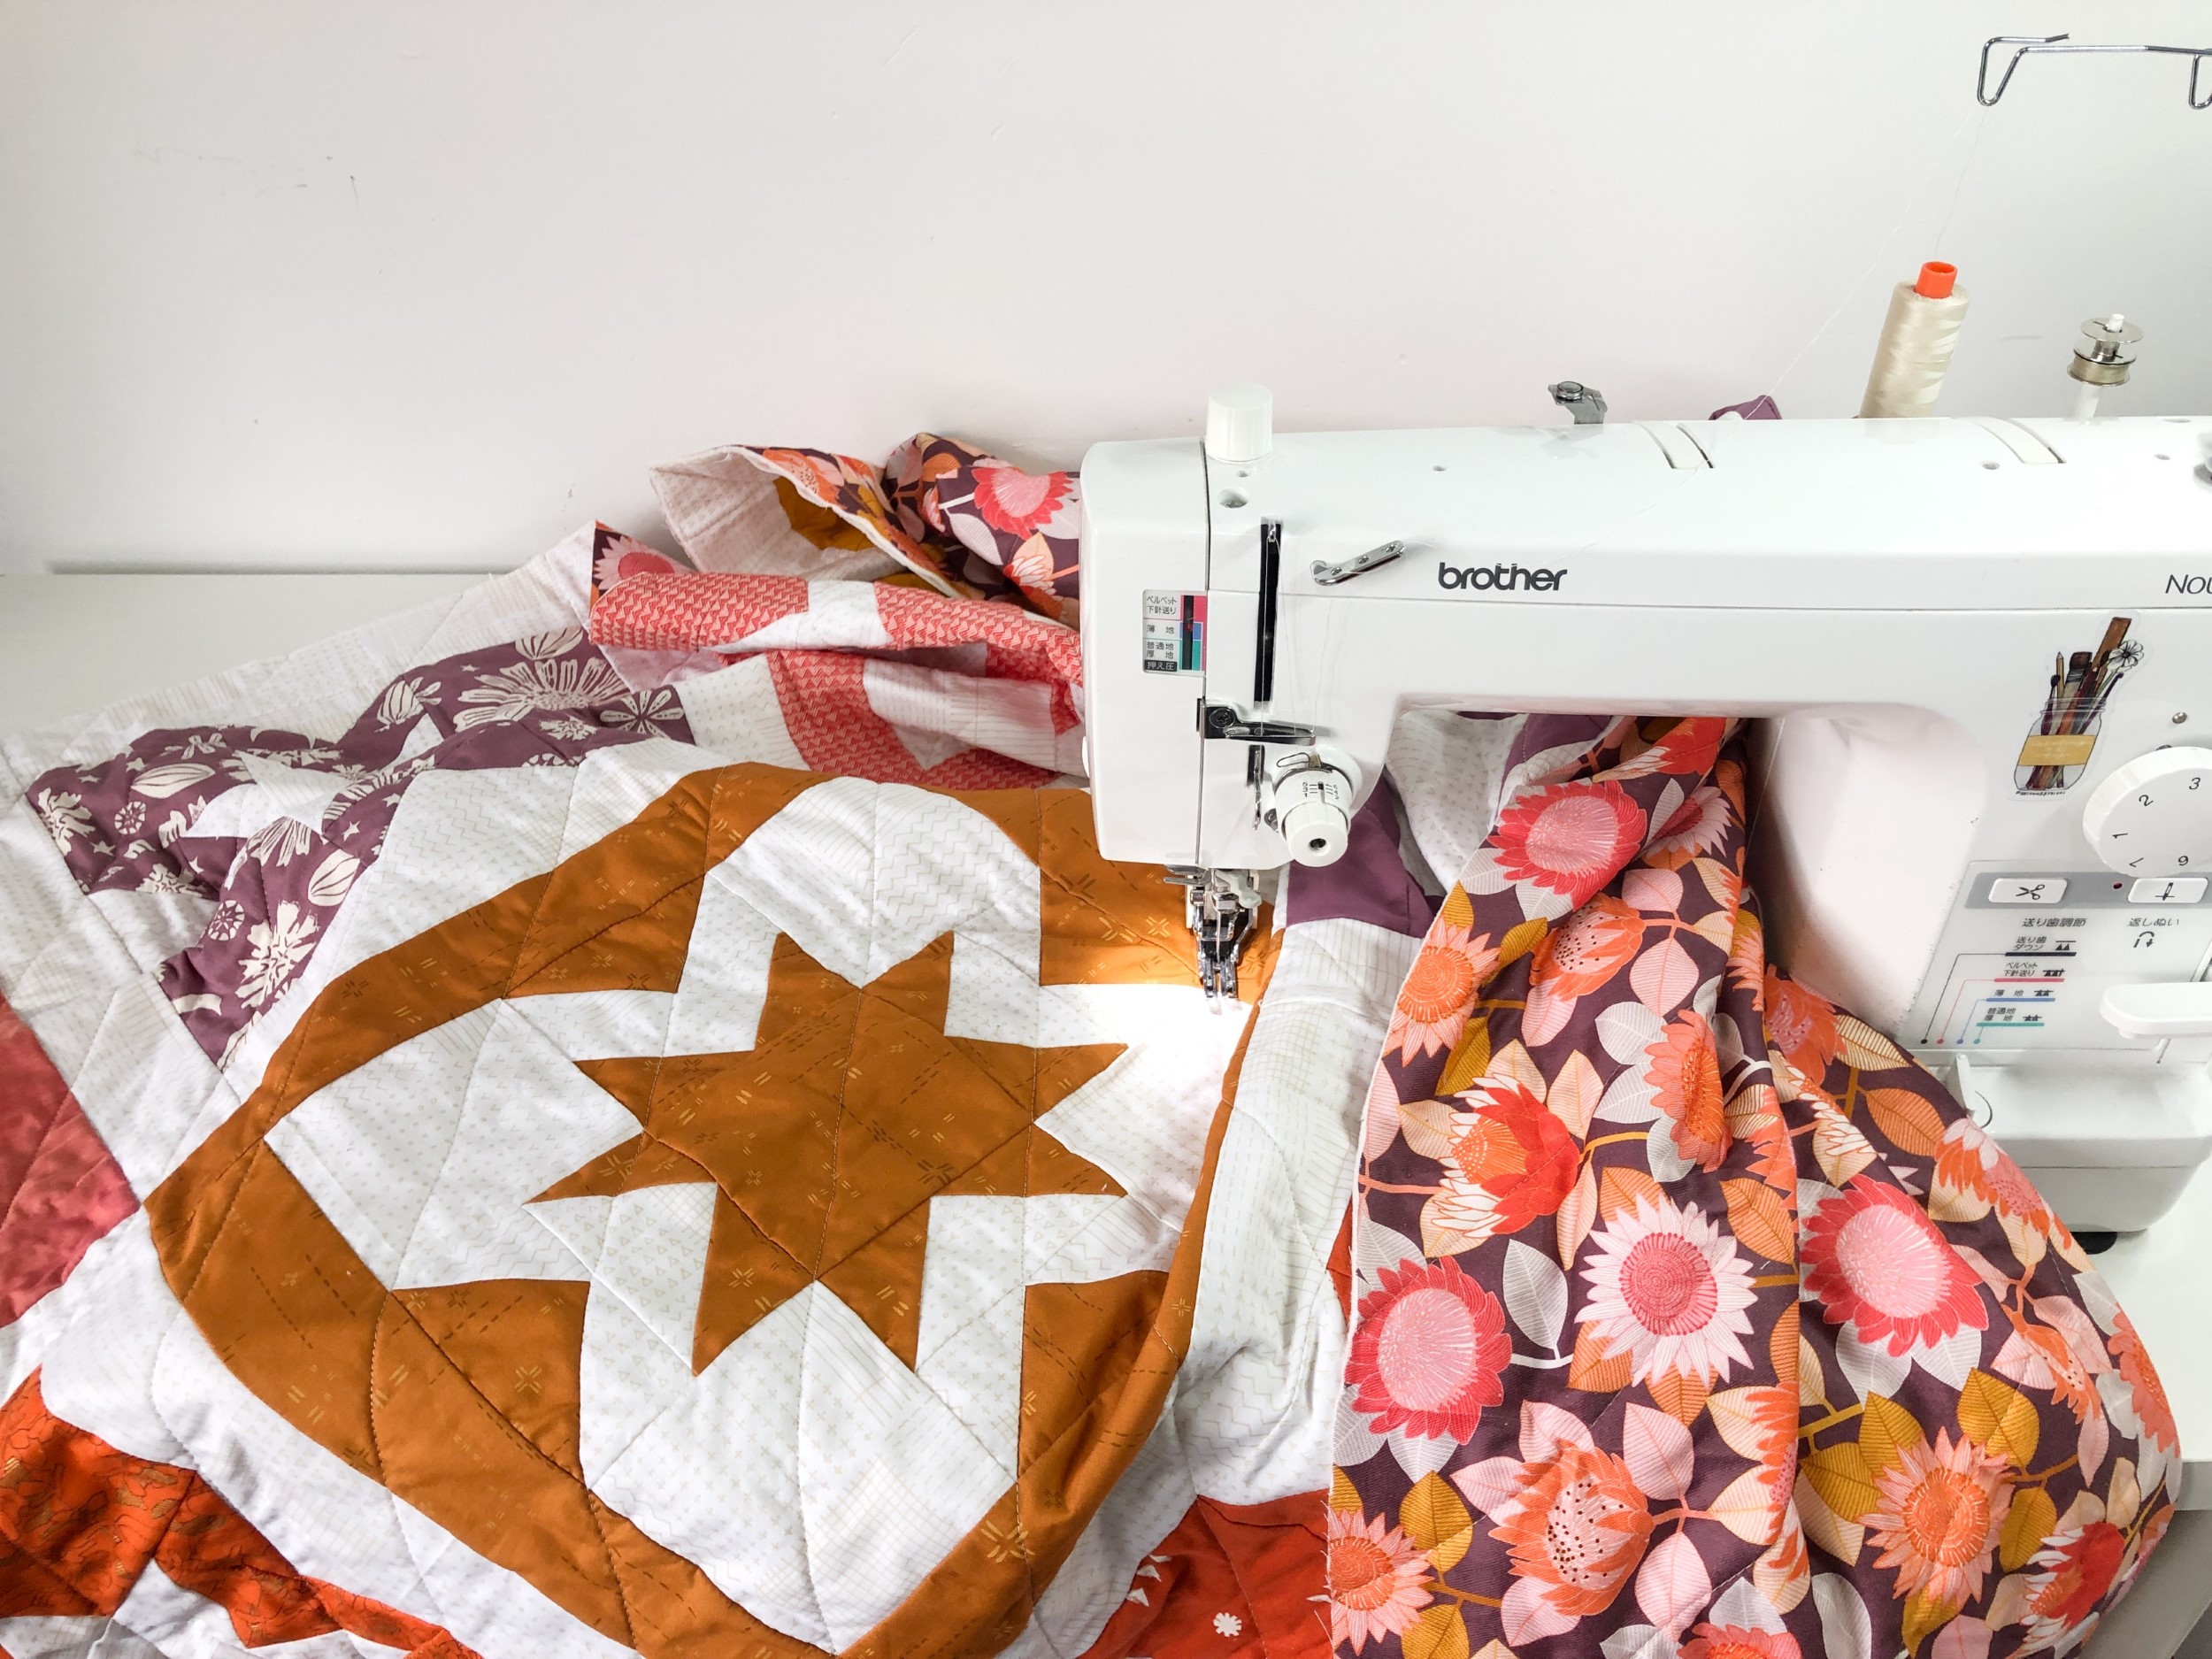
Image Source: www.blossomheartquilts.com
Getting Started with Machine Quilting
Let’s begin by looking at what you need and how your sewing machine fits in. Most home sewing machines can be used for quilting. You don’t need a fancy, expensive machine to start. If your machine can sew a straight stitch and you can lower the feed dogs (or cover them), you can quilt!
Knowing Your Sewing Machine
Your sewing machine has parts that help you quilt.
* Needle: This goes up and down to make stitches.
* Presser Foot: This holds your fabric down while you sew. You will change this for quilting.
* Feed Dogs: These little metal teeth under the presser foot move the fabric forward. Sometimes you need them, sometimes you don’t.
* Stitch Length Control: This sets how long each stitch is. You will use this for some kinds of quilting.
* Tension Dials: These control how tight the threads are. Getting this right is key for Sewing machine tension for quilting.
What You Need Before You Start
Gathering your materials is the first big step.
* Quilt Top: This is the pretty pieced fabric you made.
* Batting: This is the middle layer. It makes the quilt warm and gives it puffiness. Batting comes in different types (cotton, polyester, bamboo, wool) and thicknesses.
* Backing Fabric: This is the fabric for the back of the quilt. It’s usually one big piece, or maybe a few pieces sewn together. It should be a bit bigger than your quilt top.
* Thread: You need good quality thread. Machine quilting thread is often a good choice because it’s strong and smooth. You’ll need thread for the top spool and the bobbin.
* Sewing Machine Needles: Use new needles. A sharp or quilting needle works well. The size depends on your thread and batting. A common size is 90/14.
* Pins, Clips, or Spray: You need something to hold the layers together. Safety pins, binding clips, or temporary fabric spray glue work.
* Quilting Foot: You will need a special foot for quilting. More on this soon!
* Gloves (Optional): Special quilting gloves can help you grip and move the fabric.
* Supreme Slider or Similar (Optional): A slippery mat for your machine bed can help fabric slide easily for free motion quilting.
Getting Your Quilt Ready
Before you can sew on your machine, you need to prepare your quilt layers. This is a super important step called basting. Basting a quilt for machine quilting means joining the three layers temporarily so they don’t shift while you are sewing. If the layers move, you can get wrinkles or folds on the back of your quilt. Nobody wants that!
Preparing the Layers
- Press Everything: Make sure your quilt top, batting, and backing are smooth and wrinkle-free. Press the quilt top well from the back to make sure seams are flat.
- Prepare the Backing: Lay your backing fabric flat on the floor or a large table. Smooth it out. Tape the edges down gently if you’re working on a hard surface. The backing should be at least 4-6 inches wider and longer than your quilt top. This gives you room to work and trim later.
- Add the Batting: Lay the batting smoothly on top of the backing fabric. Make sure it’s centered. It should also be a few inches bigger than the quilt top on all sides.
- Add the Quilt Top: Lay your quilt top on top of the batting, right side up. Center it carefully. Smooth out any wrinkles, working from the middle outwards. Your quilt sandwich is now ready for basting!
Basting Methods
There are a few common ways to baste your quilt layers together. Choose the one that feels best for you.
Pin Basting
- This is a very common method for home machine quilters.
- You use special curved safety pins. The curve helps you get through the layers easily.
- Start pinning from the center of the quilt and work your way out to the edges.
- Place pins about every 4-6 inches across the whole quilt. More pins mean less shifting, but also more pins to remove while quilting!
- Make sure to catch all three layers with each pin.
- Keep the backing fabric smooth underneath as you pin. Kneel or walk around to check.
Spray Basting
- You use a temporary fabric adhesive spray.
- Lay out your backing, spray one half of the batting area on the backing, then smooth the batting down onto the sprayed area. Repeat for the other half.
- Lay out the batting, spray one half of the top of the batting, then smooth the quilt top down onto the sprayed area. Repeat for the other half.
- This method is fast and there are no pins to remove while you sew.
- Make sure to use a spray meant for fabric and do it in a well-aired place. Cover surfaces you don’t want sticky!
Thread Basting
- This is done with long, loose stitches using a needle and thread.
- You make rows of big stitches across the quilt to hold the layers.
- This is less common for machine quilting but can be done. It works well if you don’t like pins or spray.
- You’ll need to remove these stitches as you quilt or afterwards.
No matter which way you choose, the goal is the same: a smooth quilt sandwich with no wrinkles or bumps, ready for your machine.
Setting Up Your Machine for Quilting
Getting your sewing machine ready is crucial. This involves changing the foot, setting the tension, choosing thread and needles, and setting the stitch length.
Choosing the Right Quilting Foot
Your regular sewing foot isn’t usually the best for quilting the whole sandwich. You will need a Quilting foot for sewing machine. There are two main types you’ll use, depending on the type of quilting you want to do.
-
Walking Foot:
- This foot has a special set of “feed dogs” or grippers on top that work with your machine’s feed dogs below.
- Why is this helpful? It helps pull all three layers of the quilt (top, batting, backing) through the machine at the same speed.
- This stops the layers from shifting, which prevents puckers or wrinkles, especially on the back.
- The walking foot is perfect for sewing straight lines or gentle curves. It’s often recommended for beginner machine quilters, especially for Straight line quilting on sewing machine or Walking foot quilting techniques.
- With a walking foot, your machine’s feed dogs should be up. You set a regular stitch length.
-
Free Motion Quilting Foot (or Darning Foot):
- This foot is different. It doesn’t hold the fabric down all the time. It hovers just above the fabric or hops with the needle.
- Why use this? It lets you move the quilt sandwich in any direction – forward, backward, side to side, or in circles – to create all sorts of designs.
- With this foot, you must lower or cover your machine’s feed dogs. This is because you are now in charge of moving the fabric to make the stitches.
- This foot is used for Free motion quilting.
- With a free motion foot, your machine’s stitch length is set to zero or the lowest setting. The length of your stitches is controlled by how fast you move the fabric compared to how fast the needle is going up and down.
Make sure you get a quilting foot that is made for your specific sewing machine model. They are not one-size-fits-all.
Setting Your Sewing Machine Tension
Getting the Sewing machine tension for quilting right is super important. Tension means how tight the top thread and the bobbin thread are. For good quilting, you want the two threads to meet exactly in the middle of your quilt’s layers.
- What Good Tension Looks Like: Your stitches should look the same on the top and the bottom of the quilt. There should be no loops of thread showing on either side.
- What Bad Tension Looks Like:
- If the top tension is too loose, you will see loops of top thread on the bottom of your quilt.
- If the bobbin tension is too loose, you will see loops of bobbin thread on the top of your quilt.
- If both are too tight, your fabric might pucker.
- How to Set Tension:
- Put the correct thread in your machine (top and bobbin).
- Thread your machine carefully with the presser foot up.
- Make a test sandwich using the same fabrics, batting, and thread you are using for your quilt. Make it at least 6×6 inches.
- Sew some lines on your test sandwich. Check the stitches on both the top and the back.
- Adjust your tension dial(s) slightly if needed. Sew more lines and check again. Keep doing this until the stitches look good on both sides.
- Write down the tension setting that worked so you don’t forget.
Tension can be affected by your thread type, needle size, batting type, and even how fast you sew. Always test on a scrap sandwich first!
Choosing Thread and Needle
Selecting the right thread is part of setting up your machine. Machine quilting thread comes in many types – cotton, polyester, rayon.
* Cotton Thread: A popular choice, especially for cotton quilts. It can create a nice, soft look. Make sure it’s good quality and low lint.
* Polyester Thread: Often stronger and has less lint than cotton. It can be a good choice, especially for machine quilting. Some types have a little shine.
* Variegated Thread: This thread changes color along its length, which can add a fun look to your quilting stitches.
Match your needle size to your thread. Thicker threads need bigger needles (like 90/14 or 100/16). Finer threads can use smaller needles (like 80/12 or 75/11). Using a new needle for each project is a Beginner machine quilting tip that can prevent skipped stitches and make sewing smoother. Sharp needles or specific “quilting” needles are good choices as they push through the layers cleanly.
Adjusting Quilting Stitch Length
The Quilting stitch length setting on your machine depends on your quilting method.
- With a Walking Foot: You will set a specific stitch length. A good starting point is often between 2.5 and 3.5 mm. Experiment on your test sandwich to see what you like. Longer stitches show up more and are faster to sew. Shorter stitches are stronger and less visible but can sometimes cause puckering if too short.
- With a Free Motion Foot: You set your machine’s stitch length to zero or the lowest setting. You control the stitch length by how fast you move the fabric. Move the fabric slowly while the needle goes up and down quickly, and you get short stitches. Move the fabric faster while the needle goes up and down at the same speed, and you get longer stitches. Aim for even stitches, like tiny running stitches.
Exploring Machine Quilting Techniques
Now for the fun part – the actual sewing! There are many Machine quilting techniques you can do on a home machine. We will look at two main ones perfect for beginners: Walking Foot Quilting and Free Motion Quilting.
Walking Foot Quilting (Walking Foot Quilting)
Using a walking foot is often the easiest way for beginners to start machine quilting. It gives you control and helps keep your quilt smooth.
- How it Works: As mentioned, the walking foot helps feed the top layers at the same rate as the bottom feed dogs move the backing. This prevents the common problem where the backing fabric gets pushed along faster than the top, leading to wrinkles on the back.
- What You Can Sew: A walking foot is great for straight lines, lines that follow the seam lines of your quilt top (called “stitch-in-the-ditch”), simple grids, or gentle, sweeping curves.
Straight Line Quilting (Straight line quilting on sewing machine)
This is a popular and effective way to quilt with a walking foot.
* Sewing Lines: You can sew straight lines across the quilt from edge to edge. These lines can be parallel to each other, making a striped pattern. You can space them evenly or vary the spacing.
* Using Guides: To keep your lines straight and evenly spaced, you can use guides.
* Masking Tape: Place strips of low-tack masking tape on your quilt top as a guide. Sew along the edge of the tape. Then move the tape for the next line.
* Walking Foot Guide Bar: Many walking feet come with an adjustable metal bar. You attach it to the foot, and it trails behind the needle. You line this bar up with the previous line of stitching, and it helps you sew your new line at the same distance away.
* Marking Tools: You can use a washable fabric marker or chalk to draw lines on your quilt top to follow.
* Stitch-in-the-Ditch: This means sewing your lines of quilting right on top of the seam lines that join your fabric pieces. It’s a subtle quilting method that makes the piecing stand out more. Use a walking foot for this to keep your lines straight in the “ditch.”
* Grid Quilting: This is sewing sets of straight lines that cross each other, making squares or diamonds. You might sew parallel lines in one direction, then turn the quilt and sew parallel lines in the other direction.
Tips for Walking Foot Quilting:
- Start sewing from the center of the quilt and work your way out. This helps push any fullness to the edges where it can be trimmed.
- Manage the bulk of the quilt. Roll or neatly fold the parts of the quilt that aren’t under the machine foot. Support the weight of the quilt so it doesn’t pull on the needle.
- Don’t rush. Sew at a steady, medium speed.
- Keep checking the back of your quilt as you go to make sure there are no tucks or wrinkles.
Free Motion Quilting (Free motion quilting)
Once you are comfortable with your machine and managing the quilt, you might want to try Free motion quilting. This technique lets you draw designs on your quilt with thread.
- How it Works: With the feed dogs lowered, you move the quilt sandwich under the free motion foot. The speed at which you move the quilt relative to the speed of the needle determines your stitch length and the shape of your design.
- Setup:
- Attach your free motion foot.
- Lower your feed dogs. If you can’t lower them, use a plate cover that came with your machine.
- Set your stitch length to zero or the lowest setting.
- Adjust your tension on a test sandwich – free motion tension can be a little different than with a walking foot.
- Getting Started:
- Practice, practice, practice! This is the most important Beginner machine quilting tip for free motion. Use lots of small practice sandwiches (the same layers as your quilt).
- Draw First: Draw designs on paper or a whiteboard first to get a feel for the movement. Your arm and hand are now the “feed dogs.”
- Start Simple: Don’t try to do complex designs right away. Simple shapes are best to start with.
- Basic Free Motion Designs:
- Stippling: This is a classic. You sew continuous lines that look like puzzle pieces or pebbles. The rule is, your line should never cross over itself. Just fill the space with flowing, non-crossing lines.
- Loops: Sew continuous loops, like messy handwriting. You can make them big or small. They can overlap.
- Meandering: Similar to stippling but with bigger, more flowing shapes.
- Simple Waves or Squiggles: Just easy, back and forth movements.
Tips for Free Motion Quilting:
- Use quilting gloves to help you grip the fabric.
- Consider a supreme slider or piece of slippery fabric under your quilt on the machine bed. This helps the quilt slide easily.
- Find a comfortable position. Sit or stand so you can move the quilt smoothly without strain.
- Don’t look at the needle! Look a few inches ahead of where you are sewing to guide your movement.
- Try to keep your movement speed and machine speed consistent to get even stitches. This takes practice.
- Remember to bring up your bobbin thread to the top and hold both threads when you start sewing to avoid a thread nest underneath. Take a few tiny stitches in place to start and end your lines, or bury your threads later.
Helpful Hints for Beginner Machine Quilting
Here are some extra Beginner machine quilting tips to make your journey smoother.
- Start Small: Don’t make your first machine-quilted project a king-size bed quilt! Start with something small like a placemat, table runner, or a baby quilt. This lets you practice managing the fabric and trying techniques without feeling overwhelmed.
- Practice Basting: Good basting makes a huge difference. Spend time getting your quilt sandwich smooth.
- Test, Test, Test: Always use a test sandwich to check your tension, stitch length, and get a feel for the fabric before you start on your actual quilt.
- Manage the Weight: A large quilt can be heavy and pull on your needle, leading to bad stitches or even broken needles. Use a table extension or even just stack some books next to your machine to support the weight of the quilt as it moves.
- Take Breaks: Machine quilting, especially free motion, can be tiring for your hands, arms, and shoulders. Take regular breaks to stretch and rest.
- It Doesn’t Have to Be Perfect: Your first machine-quilted projects won’t look like they were done by a professional. And that is perfectly okay! The goal is to finish your quilt and learn. Your stitches might be wobbly, or the spacing uneven. That’s part of the handmade charm and proof you are learning.
- Learn from Mistakes: If you get tucks, broken threads, or tension issues, try to figure out why. Was the basting smooth? Is the machine threaded right? Was the tension set correctly? Troubleshooting is part of the process.
- Watch Videos: Seeing machine quilting in action can be very helpful. Look up videos for walking foot quilting or free motion quilting techniques.
Troubleshooting Common Issues
Even with careful setup, you might run into problems. Here are a few common ones and what might be causing them.
Table: Common Quilting Problems and Fixes
| Problem | Possible Cause(s) | How to Fix |
|---|---|---|
| Loops on the back | Top thread tension too loose; Bobbin thread tension too tight; Machine threaded wrong. | Increase top tension slightly; Check bobbin threading; Rethread top and bobbin carefully with foot up. |
| Loops on the top | Bobbin thread tension too loose; Top thread tension too tight; Bobbin not sitting right. | Decrease top tension slightly (often easier than adjusting bobbin); Check bobbin is in correctly and spinning freely; Test on scrap. |
| Skipped stitches | Needle bent or dull; Wrong needle type or size for thread/fabric; Machine needs cleaning; Machine speed too fast (especially free motion). | Change needle; Use correct needle type/size; Clean lint from bobbin area; Slow down speed. |
| Fabric puckering/tucks | Poor basting (wrinkles in layers); Layers not feeding evenly; Stitch length too short (walking foot); Moving fabric too fast/unevenly (free motion). | Re-baste problem area; Ensure walking foot is used and feed dogs are up (for walking foot); Use free motion foot and drop feed dogs; Set appropriate stitch length or practice smoother movement. |
| Thread breaking often | Poor quality thread; Needle is wrong size/type or old; Tension too tight; Machine needs cleaning; Burrs on needle plate or bobbin case. | Use good quality Machine quilting thread; Change needle; Check tension; Clean machine; Check for sharp spots in thread path. |
| Stitches look uneven | Inconsistent speed (machine or hand movement); Not looking ahead (free motion). | Practice maintaining a steady speed; Look ahead a few inches while free motion quilting. |
Most problems can be solved by checking your machine’s threading, replacing the needle, adjusting tension slightly, and checking your basting.
Finishing Your Quilt
Once all your quilting stitches are done, you’re almost finished!
* Trim the Edges: Lay the quilt flat and trim the excess backing and batting evenly with your quilt top edge. Use a rotary cutter, ruler, and mat for a nice straight edge.
* Add the Binding: The final step is to add binding around the edges. This covers the raw edges and gives the quilt a neat, finished look.
Conclusion
Quilting on your sewing machine might seem a bit scary at first, especially with managing a large quilt and learning new feet or techniques like Free motion quilting. But remember, every quilter starts somewhere. Take it step by step. Start with simple projects and designs like Straight line quilting on sewing machine using a Walking foot quilting technique. Pay attention to your Sewing machine tension for quilting and Quilting stitch length. Use the right Quilting foot for sewing machine and Machine quilting thread.
Practice your Machine quilting techniques on scrap fabrics first. Don’t worry about being perfect – focus on learning and enjoying the process. With patience and practice, you will gain confidence and skill. Soon, you’ll be adding beautiful stitches to your handmade quilts, making them not just pieced tops, but finished, cozy works of art. Happy quilting!
Frequently Asked Questions (FAQ)
Q: What is the easiest way for a beginner to start machine quilting?
A: Using a walking foot and sewing straight lines or simple grids is often the easiest starting point. This helps you manage the layers and get comfortable sewing through the quilt sandwich before trying free motion.
Q: Can I quilt a large quilt on my regular home sewing machine?
A: Yes, you can! It takes more effort to manage the bulk of the quilt around the machine, but it is possible. Roll or fold the parts of the quilt not under the needle and use support like a table extension or stack of books to help hold the weight.
Q: How do I know if my sewing machine can do free motion quilting?
A: Your machine needs to be able to lower or cover the feed dogs. Check your machine’s manual or look for a switch or lever near the needle plate or on the back of the machine. You will also need a free motion or darning foot that fits your machine.
Q: How much batting do I need?
A: Your batting should be at least 4-6 inches larger in both width and length than your quilt top. This gives you extra to hold onto and trim later.
Q: My stitches look loose or messy. What’s wrong?
A: This is usually a tension problem. Check that your machine is threaded correctly with the presser foot up. Test on a scrap sandwich and adjust your tension dials until the stitches look the same on the top and bottom, with no loops. Using a good quality Machine quilting thread and a fresh needle also helps.
Q: Do I have to use a special quilting thread?
A: No, you don’t have to, but using a good quality thread made for quilting can make the process smoother and stronger. Regular sewing thread can sometimes be too weak or break more easily during quilting.
Q: How do I remove pins or smooth the spray while quilting?
A: If you pin basted, remove the pins just before they reach the presser foot. For spray basting, you don’t remove anything; the spray holds the layers. You just need to keep smoothing the quilt sandwich as you sew to prevent wrinkles from forming just ahead of the foot.