
You want to know how to add embroidery to clothes? This guide shows you how. Adding embroidery is a great way to make clothes special. You can fix a small hole, hide a stain, or just make something look nice. It lets you put your own touch on shirts, jeans, jackets, and more. You can use your hands or a machine. Both ways let you create unique pieces. Let’s look at what you need and how to do it.
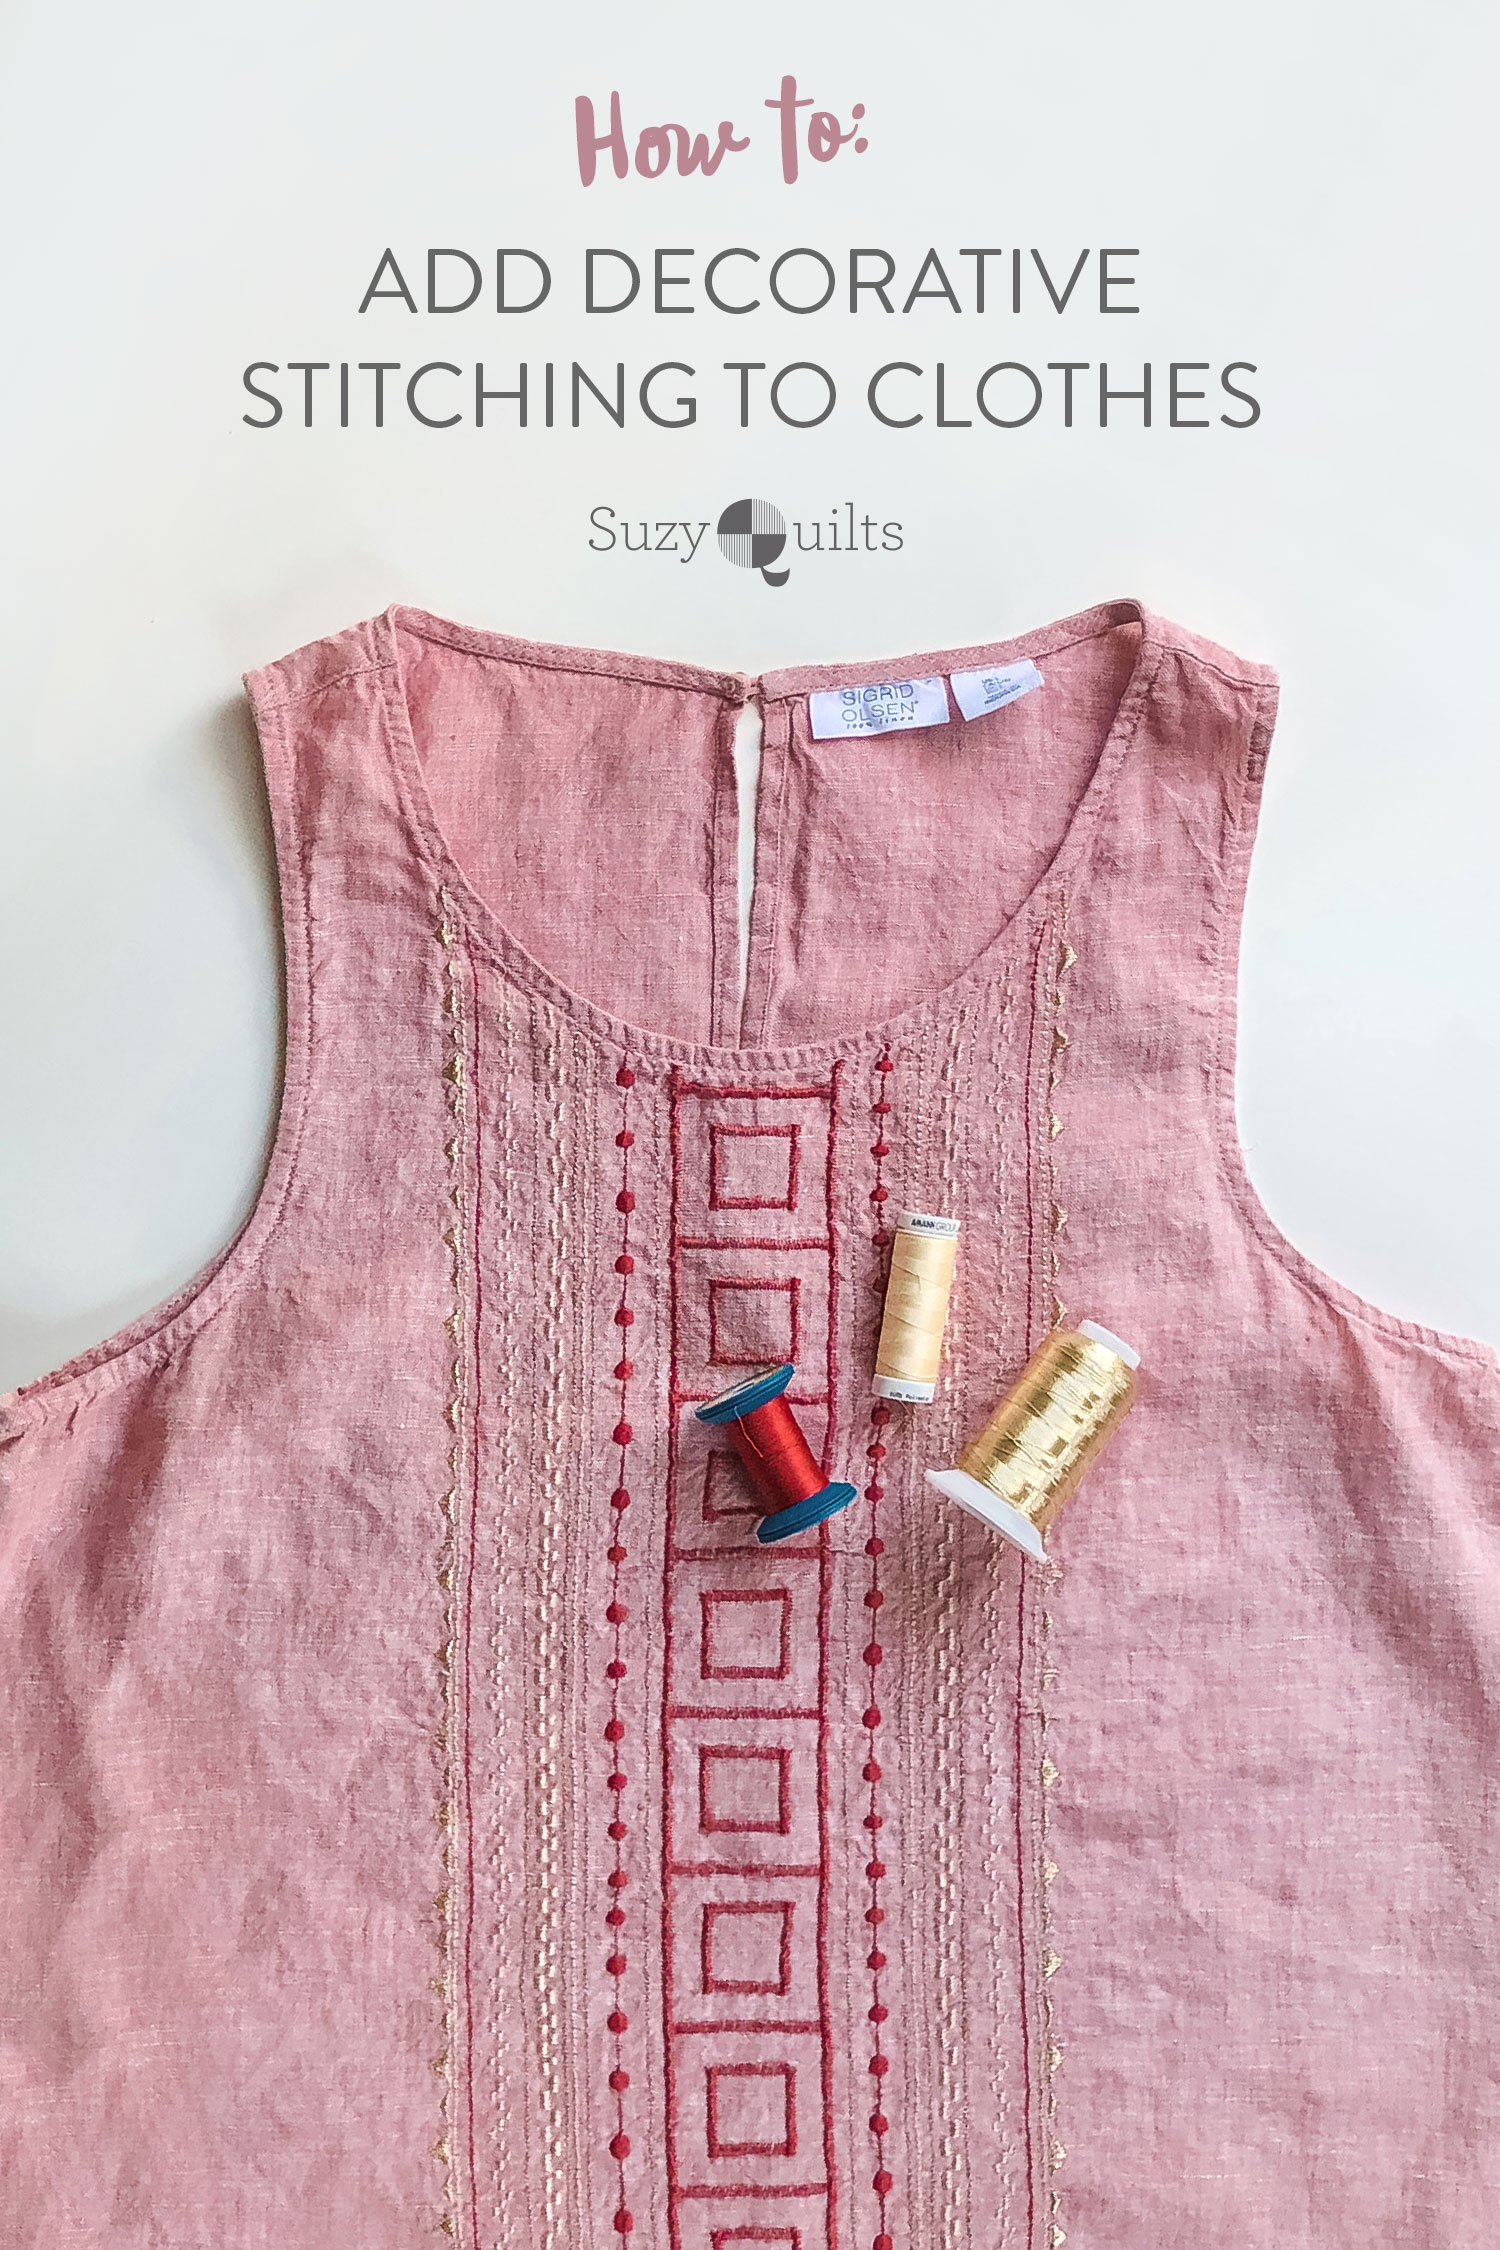
Image Source: suzyquilts.com
Why Decorate Clothes with Embroidery?
Adding embroidery is fun. It makes your clothes different. No one else will have the exact same item. You can show your style. You can put on simple shapes or fancy designs. It is a good way to use old clothes again. It turns something plain into something special. It is also a nice way to make gifts for friends and family. Customizing clothes with embroidery adds personal value.
Choosing Your Method: Hand or Machine
There are two main ways to add embroidery. You can use your hands. Or you can use an embroidery machine. Both have good points.
Hand Embroidery on Clothing
This is the old way. You use a needle and thread. You work stitch by stitch.
- Good points:
- You need simple tools.
- You can work almost anywhere.
- It gives a handmade look.
- It’s good for small designs.
- It’s often relaxing.
- Things to think about:
- It takes more time.
- Results can look less even at first.
- Making big designs takes very long.
Machine Embroidery on Fabric
This uses a special machine. The machine does the stitches.
- Good points:
- It is much faster.
- Designs are very even and neat.
- You can make complex designs easily.
- Good for making the same design many times.
- Great for adding monograms to clothing.
- Things to think about:
- Machines can cost a lot.
- You need computer skills for designs.
- Requires more setup.
- Needs specific supplies.
Both ways are good. Pick the one that feels right for you. What you want to make helps you choose. A small flower? Hand work is fine. Many shirts with a logo? Machine is better.
Getting Ready: Embroidery Supplies for Clothing
You need the right tools. The tools are slightly different for hand or machine work.
Tools for Hand Embroidery
- Needles: You need special needles. Embroidery needles have a bigger eye. This helps you thread thicker embroidery thread for clothing. Sharps are good for most fabrics. Chenille needles work for thicker fabrics.
- Thread: You will need embroidery thread. Cotton floss is common. It has six strands. You can split it. Silk, rayon, or wool threads also work. Pick colors you like.
- Hoop: An embroidery hoop holds your fabric tight. This helps make stitches even. Hoops come in wood or plastic. Get a size that fits your design.
- Scissors: Small, sharp scissors are best. They cut thread neatly.
- Fabric: You need the clothing item. Pick something easy to start with. Cotton or linen are good. Stay away from stretchy fabrics at first.
- Design: You need a picture or pattern to follow.
- Way to move design: You need a way to get your design onto the fabric. We will talk about this more later.
- Stabilizer: Sometimes you need something behind the fabric. This is called stabilizer for embroidery on clothing. It stops fabric from moving or stretching. It makes stitches look better. More on this soon.
Tools for Machine Embroidery
- Embroidery Machine: This is the main tool. Machines range from simple to fancy.
- Hoops: Machine embroidery hoops hold the fabric. They fit into the machine. They are often plastic.
- Needles: Machine needles are different. Use embroidery needles designed for machines. They come in different sizes.
- Thread: You need machine embroidery thread. Rayon or polyester are common. They are strong and shiny. Don’t use hand embroidery floss in a machine. It can break.
- Stabilizer: This is very important for machine work. Stabilizer for embroidery on clothing gives fabric body. It keeps stitches from sinking in. It stops puckering. There are different kinds.
- Design: You need a digital file of your design.
- Way to get design: This is usually a USB stick or computer connection.
- Scissors: Small snips are good. Also, fabric scissors.
- Fabric: Your clothing item.
- Other items: Bobbin thread (special thread for the bottom of the stitch), temporary spray glue.
Picking Your Design
What do you want to put on your clothes?
- Simple embroidery designs for clothes are great for beginners. Think small dots, lines, stars, or basic flowers.
- Adding monograms to clothing is popular. These are letters, usually initials.
- You can find many free designs online.
- You can buy patterns.
- You can draw your own designs.
Think about where you want the design. A shirt pocket? A jean jacket back? A collar? The size of the design should fit the space.
Getting the Design on Fabric: Transferring Embroidery Patterns to Fabric
You need a way to see your design on the clothes. Here are common ways:
- Water-Soluble Pen/Marker: Draw the design right on the fabric. The lines wash away later. Test on a hidden spot first.
- Heat Transfer Pencil: Draw the design on paper. Iron the paper onto the fabric. The design moves to the fabric.
- Tracing Paper: Put thin paper with the design on the fabric. Stitch through the paper and fabric. Tear the paper away when done. This is good for complex shapes or hard-to-mark fabrics.
- Light Box/Window: If the fabric is thin, tape the design to a window or light box. Put the fabric over it. Trace the design onto the fabric.
- Transfer Paper: Special paper that you draw on, then trace over with a tool. It leaves a temporary line on the fabric.
- Projector: For big designs, you can project the image onto the fabric and trace it. (More for advanced users or large pieces).
- Machine Embroidery Software: For machine work, the design is digital. You don’t draw it on. The machine follows the digital plan.
Choose the method that works for your fabric and design. Some fabrics don’t take marks well. Some might be too thick to trace easily.
Getting the Fabric Ready: Using Stabilizer
Stabilizer for embroidery on clothing is very important. It supports the fabric. It stops it from stretching or puckering when you stitch. It helps your stitches look smooth and even.
There are different kinds of stabilizers:
- Cut-Away: You cut away the extra around the design after stitching. Use for stretchy fabrics like knits (t-shirts). Gives good support for dense stitches.
- Tear-Away: You tear away the extra when you finish. Good for stable fabrics like cotton. Easier to remove than cut-away.
- Wash-Away (Water Soluble): It dissolves in water. Good for fabrics where you don’t want any stabilizer left. Also good for topping fuzzy fabrics to keep stitches on top.
- Heat-Away: Melts away with heat. Use carefully not to damage the fabric.
How to pick the right stabilizer?
- Fabric type: Stretchy fabrics need more support (cut-away or heavy tear-away). Stable fabrics need less (tear-away). Thin fabrics need light support. Thick fabrics can sometimes use less.
- Stitch density: Designs with lots of stitches need stronger stabilizer.
- Embroidery method: Machine embroidery almost always needs stabilizer. Hand embroidery often does too, especially for knit fabrics or complex designs.
Place the stabilizer on the back side of your fabric where the design will be. For machine embroidery, you usually put the stabilizer in the hoop with the fabric. For hand embroidery, you can pin or baste it in place behind the design area.
Step-by-Step: Hand Embroidery on Clothing
Ready to stitch? Here are the steps for hand embroidery on clothing.
h4 Getting Set Up
- Prepare Your Fabric: Make sure your clothing item is clean and pressed flat.
- Place Stabilizer: Put the chosen stabilizer for embroidery on clothing behind the area where your design will go.
- Transfer Your Design: Use one of the methods mentioned earlier to get the design onto the fabric.
- Put Fabric in Hoop: Place the fabric (with stabilizer behind it) in your embroidery hoop. Center the design area. Tighten the outer hoop ring. The fabric should be tight like a drum. Do not stretch the fabric out of shape when tightening.
- Thread Your Needle: Cut a length of embroidery thread for clothing. About 18-24 inches is good. Any longer can tangle. Separate the strands if using floss. Most patterns tell you how many strands to use (1-6). Thread your needle. Don’t make a knot at the end yet unless the pattern says to. You often start with a small stitch on the back.
h4 Starting to Stitch
- Start Your Thread: Bring the needle up from the back of the fabric at the start of your design line. If not using a knot, leave a tail of thread on the back. You will stitch over this tail to secure it. Or, make one or two tiny stitches in the place the first stitch will cover.
- Learn Embroidery Stitches: You need to know some basic embroidery stitches for clothes.
- Running Stitch: Simple back and forth stitch. Good for outlines.
- Backstitch: Makes a solid line. Good for outlines and letters. You stitch back to meet the end of the previous stitch.
- Stem Stitch: Makes a rope-like line. Good for stems and curves.
- Satin Stitch: Fills in shapes with straight, close stitches. Good for leaves or petals.
- French Knot: A small dot stitch. Good for centers of flowers or details.
- Lazy Daisy Stitch: Makes simple loops. Good for petals or leaves.
- Straight Stitch: Just a single straight stitch. Use for details like stars or rays.
- Follow Your Design: Stitch along the lines you transferred. Take your time. Keep stitches even. Keep the thread tension (how tight you pull) the same. Too tight can make the fabric pucker. Too loose looks messy.
- Change Threads: When you finish a color or your thread runs low, end the thread on the back. Weave it under a few stitches you already made on the back. Trim the extra. Start the new thread the same way you started the first one.
h4 Finishing Up
- Complete Stitching: Stitch all parts of your design.
- Remove Hoop: Take the fabric out of the hoop carefully.
- Remove Design Marks: If you used a water-soluble pen, wash the fabric gently to remove the marks. Follow the pen maker’s directions. If you used tracing paper, carefully tear it away.
- Remove Stabilizer: If you used tear-away, gently tear it away from the back. If using cut-away, carefully cut around the design, leaving about 1/4 inch border. If using wash-away, follow directions to dissolve it.
- Press: Place the embroidery face down on a soft towel. Press gently with a warm iron. This helps flatten the stitches and fabric.
Your hand embroidery on clothing is now finished!
Step-by-Step: Machine Embroidery on Fabric
Using a machine is different. It needs specific steps for machine embroidery on fabric.
h4 Getting Set Up
- Choose Your Design: Select your digital design file.
- Get Your Machine Ready: Turn on your embroidery machine. Load the design file (usually via USB).
- Select Thread: Put the top embroidery thread for clothing color you need on the machine. Load the bobbin with bobbin thread.
- Prepare Your Fabric: Make sure the clothing item is clean. Open up any seams if needed so the fabric can lay flat in the hoop. For example, if embroidering a shirt pocket, you might need to unpick the pocket first, embroider it flat, then sew it back on. Or, learn how to hoop tricky areas like sleeves or pant legs.
- Choose Stabilizer: Select the correct stabilizer for embroidery on clothing for your fabric.
- Hoop the Fabric and Stabilizer: This is a key step. Put the correct hoop size on a flat surface. Lay the stabilizer over the inner hoop. Then lay your fabric right side up over the stabilizer. Place the outer hoop over the fabric and push down to secure it. The fabric and stabilizer should be tight in the hoop together. Try to center the area where the design will go. Sometimes you might use temporary spray glue to stick the fabric to the stabilizer before hooping. This stops it from slipping.
- Attach Hoop to Machine: Slide the hoop onto the embroidery arm of your machine. Make sure it’s locked in place.
- Position Design: Use the machine’s screen to move the design. Place it exactly where you want it on the fabric within the hoop area. The machine often has a way to show you where the design will stitch.
h4 Starting to Stitch
- Lower Needle: Check that the needle is right over the starting point.
- Start Machine: Press the start button. The machine will begin stitching.
- Watch the Process: Stay near the machine. Watch as it stitches. Look for thread breaks or problems.
- Change Colors: The machine will stop when it needs a color change. Change the thread and press start again.
- Trim Jumps: Sometimes the machine makes a long stitch between parts of the design in the same color. These are jump stitches. You usually need to cut these after stitching is done. Some machines can be set to trim jump stitches automatically.
h4 Finishing Up
- Complete Stitching: The machine stops when the design is finished.
- Remove Hoop: Take the hoop off the machine.
- Remove Fabric from Hoop: Take the fabric and stabilizer out of the hoop.
- Remove Stabilizer: Remove the stabilizer from the back. Tear-away is easiest. Cut-away needs careful trimming. Wash-away needs washing.
- Trim Threads: Cut any jump stitches on the front. Trim loose threads on the back. If you unpicked seams, sew them back up now.
- Press: Press the embroidery gently, face down on a towel.
Your machine embroidery on fabric is now finished! Adding monograms to clothing or complex logos is very fast this way.
Simple Embroidery Designs for Clothes Ideas
Starting small is good. Here are some easy ideas:
- Single Initial: Just one letter. Easy for adding monograms to clothing.
- Small Shapes: A heart, star, circle, or triangle.
- Dots: A line of dots or a cluster. French knots work well here.
- Straight Lines: A border along a hem or pocket.
- Simple Flower: A few lazy daisy stitches for petals and a French knot center.
- Basic Outline: Trace a simple shape like a leaf or a small animal. Use backstitch or running stitch.
These ideas use basic embroidery stitches for clothes and are quick to do. They are great for learning hand embroidery on clothing.
More Ideas for Customizing Clothes with Embroidery
Once you are comfortable, you can try more things:
- Pocket Designs: Add a small design to a shirt or jean pocket.
- Collar or Cuff Detail: Stitch a small pattern or line.
- Back of Jacket: A larger design looks great on a denim jacket. This might be better for machine embroidery on fabric if it’s big.
- Hem Borders: A repeating pattern along the bottom of a skirt or dress.
- Repairing Holes: Cover a small hole with a stitched shape or patch. This is called visible mending.
- Covering Stains: Hide a small stain with a planned design.
- Initials or Names: Personalize items, especially for kids or gifts. Great for adding monograms to clothing.
- Adding Patches: Embroider a design on a piece of fabric, then cut it out and sew or iron it onto the clothing.
Think about the fabric of the item. Thick fabric like denim is sturdy for many stitches. Thin fabric like silk needs a delicate touch and the right stabilizer. Stretchy fabrics need good support.
Choosing Embroidery Thread for Clothing
The thread you use matters.
- Cotton Floss: The most common for hand embroidery on clothing. Comes in many colors. Can be split into thinner strands. Matte finish.
- Pearl Cotton: A twisted, non-divisible cotton thread. Comes in different weights. Has a slightly shiny look.
- Rayon or Polyester: Common for machine embroidery on fabric. Strong, smooth, and often has a nice sheen. Good for fast machine stitching.
- Metallic Thread: Adds sparkle. Can be tricky to work with, especially by hand.
- Specialty Threads: Variegated thread (changes color), fuzzy thread, etc. Add texture.
Make sure the thread is colorfast. This means the color won’t run when washed. Good quality embroidery thread for clothing is usually colorfast.
Tips for Success
- Start Simple: Don’t pick a huge, complex design for your first project.
- Practice Stitches: Before stitching on clothes, practice your embroidery stitches for clothes on a scrap of similar fabric.
- Use the Right Needle: A needle too big can leave big holes. A needle too small is hard to thread or push through fabric.
- Don’t Pull Thread Too Tight: This makes the fabric pucker. Keep tension even.
- Use Stabilizer: It really helps stitches look good, especially on tricky fabrics. Stabilizer for embroidery on clothing is your friend.
- Check the Back: Keep the back neat. Avoid big knots. Weave in ends well.
- Wash Carefully: Treat your embroidered clothes gently when washing.
Caring for Embroidered Clothes
You spent time adding beautiful stitches. You want them to last.
- Read the Garment Tag: Follow the washing rules for the clothing item first.
- Wash Gently: Hand washing is best for delicate embroidery. If using a machine, turn the item inside out. Put it in a mesh laundry bag. Use a gentle cycle with cool or warm water.
- Use Mild Soap: Harsh soaps can harm the thread colors.
- Air Dry: Lay flat or hang to dry. Avoid high heat in a dryer. High heat can shrink the fabric around the stitches and cause puckering.
- Ironing: If you need to iron, place the embroidery face down on a thick, soft towel. Use a medium heat setting. Press gently. Don’t iron directly on the stitches, as this can flatten them.
By caring for your embroidered items, you keep your designs looking nice for a long time.
Grasping Fabric and Stitch Interaction
It’s helpful to think about how your fabric and stitches work together.
- Thin fabrics: Need light stitches or good backing so the stitches don’t pull or look too heavy.
- Thick fabrics: Can handle bolder stitches and need strong needles.
- Stretchy fabrics: Must have good stabilizer for embroidery on clothing to stop them from distorting as you stitch.
- Dense stitches (like satin stitch): Use a lot of thread in one area. Need strong support from stabilizer and can make fabric stiff.
- Loose stitches (like running stitch): Use less thread. More flexible.
Thinking about this helps you pick the right tools and methods. It makes customizing clothes with embroidery easier and the results better.
Choosing the Right Needle Size
Needles come in different sizes. Higher numbers mean thinner needles.
- Hand Embroidery: Sizes 1-10 are common. Size 7 is a good middle size. Use thinner needles for fewer strands of floss or finer fabrics. Use thicker needles for more strands or heavier fabrics.
- Machine Embroidery: Sizes like 75/11, 80/12, 90/14 are common. The first number is European size, the second is American. 75/11 is good for lighter fabrics. 90/14 is for heavier fabrics like denim. Using the right needle helps prevent thread breaks and fabric damage.
Thinking About Color
Color choice is important.
- Contrast: Use colors that stand out from the fabric.
- Matching: Use colors that blend in for a subtle look.
- Color Schemes: Use colors that look nice together. Look at a color wheel.
- Thread Types: Different threads have different sheens. Rayon is shiny. Cotton floss is matte. This affects the look.
Experiment with colors. Try different colors on a scrap of fabric before stitching on your clothes.
More About Stabilizer Types
Let’s look deeper into stabilizer for embroidery on clothing.
- Cut-Away:
- Best for: Knits (t-shirts, sweatshirts), fleece, very stretchy fabrics, designs with lots of stitches.
- Why: It stays with the fabric after stitching. It gives permanent support. This stops stretchy fabrics from losing shape or stitches from sinking in over time.
- How to remove: Cut carefully around the design, leaving a small edge.
- Tear-Away:
- Best for: Woven fabrics (cotton, linen, denim), towels, stable fabrics that don’t stretch much.
- Why: Provides support during stitching but is easy to remove. Leaves the back of the garment clean.
- How to remove: Gently tear away the extra stabilizer from around the design.
- Wash-Away (Water Soluble):
- Best for: Delicate fabrics where you don’t want any stabilizer left (like lace, organza). Also used on top of fuzzy fabrics (towels, fleece) to keep stitches from getting lost in the nap.
- Why: Dissolves completely in water. Leaves no trace.
- How to remove: Soak the item in water according to the product instructions.
- Heat-Away:
- Best for: Fabrics that water might damage or where you can’t easily wash away stabilizer.
- Why: Melts away with heat.
- How to remove: Apply heat carefully with an iron according to product instructions.
Sometimes you might use two layers of stabilizer for very dense designs or very thin fabrics. Picking the right stabilizer is a key part of getting good results in machine embroidery on fabric and often in hand embroidery on clothing too.
Fathoming Thread Weight
Threads have different weights or thicknesses.
- Hand Floss: Usually 6 strands. You use 1 to 6 strands depending on how thick you want the stitching.
- Pearl Cotton: Comes in sizes like 3, 5, 8, 12. Size 3 is thickest, 12 is thinnest.
- Machine Thread: Often described by weight (e.g., 40 wt, 60 wt) or denier/tex. Lower weight numbers (like 40wt) mean thicker thread. Higher numbers (like 60wt) mean thinner thread. 40wt is common for general machine embroidery. 60wt is used for small details or lettering.
Using the right embroidery thread for clothing weight helps the design look its best and helps your machine run smoothly.
Simple Steps for Transferring
Let’s revisit transferring embroidery patterns to fabric with simpler steps.
- Find or Draw Design: Get the picture you want to stitch.
- Choose Method: Pick how you will get the design onto the clothes (pen, paper, light box).
- Get Ready:
- Pen: Have your water-soluble pen ready.
- Heat Transfer: Draw design on thin paper with heat pencil.
- Tracing Paper: Get tracing paper and a sharp pencil.
- Light Box/Window: Get tape and sit by a bright window or use a light box.
- Put Design on Fabric:
- Pen: Draw carefully on the fabric.
- Heat Transfer: Place paper design-side-down on fabric. Press with warm iron. Lift paper.
- Tracing Paper: Pin paper on fabric. Stitch through paper. (Remove paper later).
- Light Box/Window: Tape design to window/box. Tape fabric over it. Trace design onto fabric.
- Check: Look if the design is clear enough to follow.
- Stitch: Now you can stitch over the lines.
This makes transferring embroidery patterns to fabric easier to understand.
Troubleshooting Common Issues
Problems can happen. Here are some and how to fix them.
- Fabric Puckering: This happens when fabric is pulled too tight in the hoop or needs more/better stabilizer. Use the correct stabilizer for embroidery on clothing. Don’t stretch fabric when hooping. For machine work, check tension.
- Thread Breaking: Hand thread too long? Thread old or poor quality? Needle too small? Machine thread not right for machine? Needle bent or wrong type? Fix these things.
- Stitches Look Uneven (Hand): Practice helps! Keep thread tension steady. Make stitches the same size.
- Stitches Look Messy (Machine): Check tension settings on the machine. Make sure fabric is hooped correctly with stabilizer. Check needle. Clean machine.
- Design Marks Won’t Come Off: You might have used the wrong pen or left it on too long. Always test on scrap fabric first. Sometimes stubborn marks need repeated gentle washing.
Most problems can be fixed by checking your embroidery supplies for clothing and making sure you are following the steps correctly.
FAQ – Common Questions
Here are answers to some questions people ask about adding embroidery to clothes.
Q: Can I embroider on any type of fabric?
A: You can embroider on most fabrics, but some are easier than others. Stable fabrics like cotton or denim are good for beginners. Stretchy fabrics need careful use of stabilizer for embroidery on clothing. Very thin or delicate fabrics need a gentle touch and special care. Thick fabrics need strong needles.
Q: How do I wash clothes with embroidery?
A: Wash them gently. Hand wash is best. If using a machine, turn the item inside out and use a gentle cycle. Air dry if possible. Avoid high heat. Iron face down on a towel. See the “Caring for Embroidered Clothes” section for more detail.
Q: How do I know which stabilizer to use?
A: It depends on your fabric and design. Stretchy fabrics need permanent support (cut-away). Stable fabrics can use tear-away. Wash-away is good for delicate items or on top of fuzzy fabrics. Check the “More About Stabilizer Types” section.
Q: What is the best thread for hand embroidery on clothing?
A: Cotton embroidery floss is very popular for hand embroidery on clothing. It is easy to use and comes in many colors. Pearl cotton is also good. Choose a thread type that matches the look you want.
Q: What are simple embroidery designs for clothes?
A: Good simple designs include single letters (monograms), small basic shapes like hearts or stars, dots, or outlines of simple objects. These use basic embroidery stitches for clothes.
Q: Is machine embroidery hard to learn?
A: The machine does the stitching, but you need to learn how to use the machine, choose the right stabilizer and thread, hoop the fabric correctly, and position the design. It takes practice, just like hand embroidery.
Q: Can I use hand embroidery thread in a machine?
A: No, typically you should not use hand embroidery floss in a machine. Machine embroidery thread is stronger and designed to run at high speeds through the machine. Using hand floss can cause breaks and machine problems. Use embroidery thread for clothing made for machines when using a machine.
Q: How do I make a monogram on clothing?
A: For adding monograms to clothing, you can use a machine (very common and fast) or hand stitch the letters using stitches like backstitch or satin stitch. You’ll need a letter pattern or digital design.
Q: What supplies do I need for hand embroidery on clothing?
A: You need needles, embroidery thread for clothing, an embroidery hoop, small scissors, a design, a way to transfer the design, and sometimes stabilizer for embroidery on clothing.
Q: What supplies do I need for machine embroidery on fabric?
A: You need an embroidery machine, hoops, machine needles, machine embroidery thread for clothing, bobbin thread, stabilizer for embroidery on clothing, digital designs, and scissors.
Adding embroidery is a rewarding craft. With the right embroidery supplies for clothing, a little practice with embroidery stitches for clothes, and these steps, you can start customizing clothes with embroidery today. Whether you choose hand embroidery on clothing or machine embroidery on fabric, you will enjoy making your clothes unique. Good luck and happy stitching!