
Quilting with a sewing machine means stitching through all three layers of a quilt – the top fabric design, the soft batting in the middle, and the backing fabric on the bottom. This stitching holds the layers together, stops the batting from shifting, and adds pretty designs. You can absolutely do this with a common domestic sewing machine quilting, using either simple straight line quilting or flowing free motion quilting. This guide will walk you through the steps.
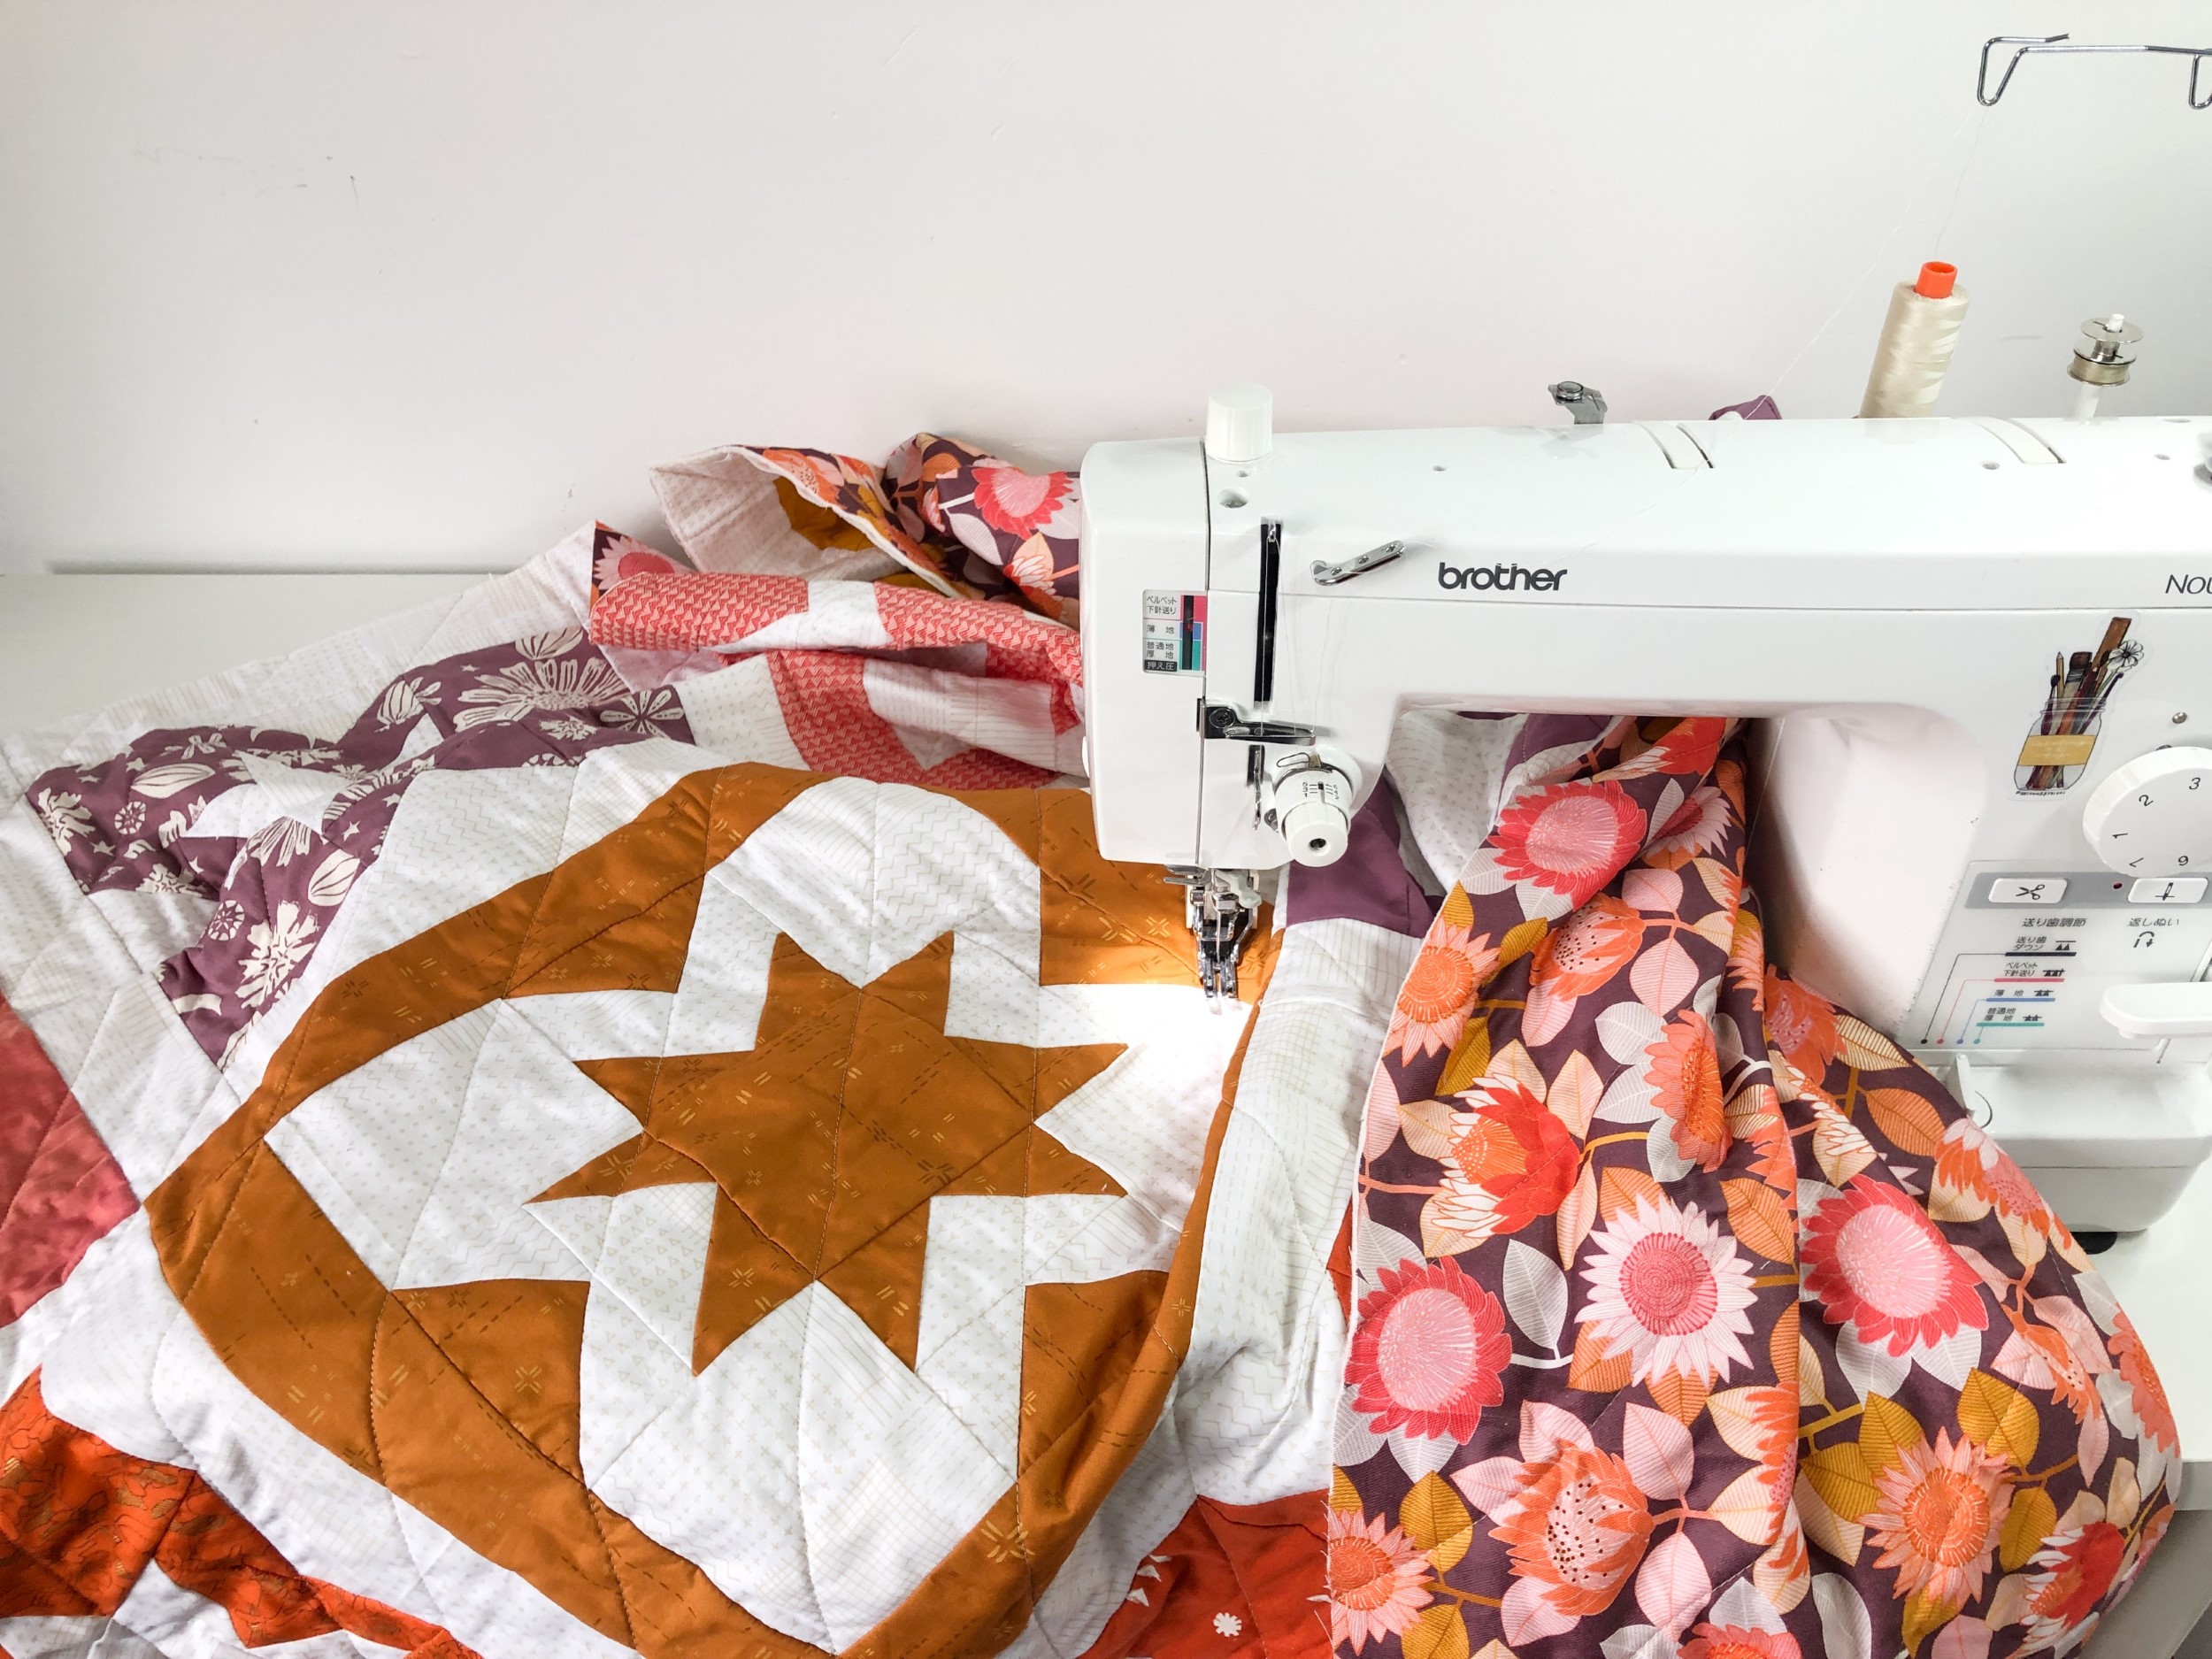
Image Source: www.blossomheartquilts.com
Getting Started: What You Need
Before you sew, gather your tools. Having the right things makes the job easier and more fun.
- Your Quilt Sandwich: This is the top fabric, batting, and backing fabric all layered up.
- A Sewing Machine: A standard home machine works great for domestic sewing machine quilting. Make sure it’s clean and oiled.
- Needles: Use a fresh needle designed for quilting or topstitching. Size 90/14 is a good start for many projects.
- Quilting Thread: Choose good quality thread. Cotton or polyester thread works well for quilting. Think about if you want the thread to blend in or stand out.
- Basting Supplies: Pins, spray adhesive, or thread for quilt basting.
- Quilting Feet: You will likely need a walking foot for straight lines and a darning foot (often called a free motion quilting foot) for free motion work.
- Scissors: For clipping threads.
- Marking Tools: Fabric pens or chalk if you plan to mark quilting patterns machine.
- Safety Pins: If using pins for basting. Curved safety pins are helpful.
- Gloves: Optional, but quilting gloves can help you grip the fabric for free motion quilting.
- Extension Table: Also optional, but gives you more space to support the quilt.
Making Your Quilt Ready
The first step is putting your quilt layers together nicely. This is often called making the “quilt sandwich.” Getting this right is key to smooth quilting with your machine.
Picking the Right Batting
Batting is the middle layer. It gives the quilt warmth and puffiness. Batting comes in different types:
- Cotton: Natural, breathable, soft. Shrinks a little when washed, giving that crinkled look.
- Polyester: Lightweight, holds its shape, less shrinkage. Can feel a bit stiff sometimes.
- Wool: Warm, lightweight, bounces back well.
- Bamboo: Soft, drapes well, eco-friendly.
- Blends: Mixes of fibers, like 80/20 cotton/poly, which offer benefits of both.
Check the batting package for the “stitch distance.” This tells you how far apart your quilting lines can be to keep the batting from falling apart inside the quilt. Make sure your quilting lines are closer than this distance.
Preparing Backing and Top
Make sure your quilt backing fabric is big enough. It should be at least 4-6 inches wider and longer than your quilt top on all sides. This gives you extra room for basting and handling, especially if the layers shift a little during quilting. If your backing fabric isn’t wide enough, you’ll need to sew two pieces together. Trim the selvages (the finished edges of the fabric) before sewing pieces together for the backing. Press the seam open and flat.
Your quilt top should be pressed nice and flat. Make sure all the seams are secure. Clip any loose threads on the back of the quilt top, especially dark ones that might show through lighter fabrics.
Layering the Quilt Sandwich
This is the crucial step of layering quilt sandwich. You need a large, flat surface. A big table or even a clean floor works.
- Backing Layer: Lay the backing fabric face down on your flat surface. Smooth it out completely. You can tape the edges down with painter’s tape to keep it from moving. Make sure it’s drum-tight, with no wrinkles or bumps.
- Batting Layer: Place the batting on top of the backing fabric. Smooth it out gently. Do not stretch it. It should lie flat with no wrinkles. Trim the batting so it’s roughly the same size as the backing.
- Quilt Top Layer: Lay your pressed quilt top face up on top of the batting. Center it as best you can. Smooth it out from the center to the edges, removing any wrinkles. Make sure the quilt top is also lying flat. The backing and batting should stick out evenly around all sides of the quilt top.
Now you have your quilt sandwich ready for quilt basting.
Quilt Basting: Holding the Layers Together
Quilt basting is how you hold the three layers of your quilt sandwich together before you start stitching on the machine. Good basting is super important. If the layers aren’t held well, they can shift, causing wrinkles or puckers on the back of your quilt. There are a few ways to baste:
- Pin Basting: This is very common. Use curved safety pins. Starting in the center and working your way out, place pins through all three layers. Space pins about a hand’s width apart (every 3-4 inches). Put lots of pins in! The more pins, the less the fabric can shift. Make sure to put pins everywhere, especially near edges and in open areas.
- Spray Basting: You can use a special temporary fabric adhesive spray. Lay the backing face down and smooth it. Fold half the backing back. Spray the exposed batting (or backing, check product instructions). Unfold the backing and smooth it down onto the sprayed area. Repeat for the other half. Then, lay the quilt top on the batting. Fold half the quilt top back. Spray the exposed batting. Unfold the quilt top and smooth it down. Repeat for the other half. Spray basting is fast, but you need good ventilation, and some people don’t like the chemicals. It also might not hold super large quilts as securely as pins.
- Thread Basting: This is like hand basting but with long, loose stitches. It’s more work but leaves no pins to get in your way while quilting. Use a needle and thread to make long stitches (3-4 inches) in a grid pattern across the quilt.
Choose the basting method that works best for you. No matter which method you pick, make sure those three layers are stuck together firmly and smoothly before you move to your sewing machine.
Preparing Your Sewing Machine for Quilting
Your regular domestic sewing machine quilting setup needs a few tweaks to work well for quilting.
Cleaning and Oiling
Start with a clean machine. Remove the needle plate and clean out the lint from the bobbin area. Lint can mess up your sewing machine tension. Add a drop of oil according to your machine’s manual. A clean machine runs smoother and makes better stitches.
Choosing the Right Needle and Thread
- Needle: As mentioned, a new needle is a must. Quilting needles have a slightly rounded tip that slips between fabric fibers instead of piercing them. A size 90/14 is a good all-around size for quilting cotton. If you’re using thicker threads or fabrics, you might go up a size. Change your needle often, maybe after every project or every 8-10 hours of sewing.
- Quilting Thread: Use good quality quilting thread. Cheaper threads can break easily or create a lot of lint. Cotton thread is popular for quilting cottons. Polyester thread is strong and has less lint. Variegated thread (with changing colors) can add a fun look. Make sure the thread weight is suitable for your needle size and machine. A common weight is 40wt or 50wt. Use the same type and weight of thread in both the top and bobbin for best sewing machine tension.
Understanding Sewing Machine Tension
Sewing machine tension is super important for quilting. It controls how the top thread and bobbin thread lock together within the fabric layers. If the tension is right, the threads meet neatly in the middle of the fabric sandwich.
- If the top tension is too tight: The bobbin thread will be pulled up to the top of the quilt.
- If the bobbin tension is too tight: The top thread will be pulled down to the back of the quilt.
- If both are too loose: You’ll get messy loops on the back.
Getting the tension right stops skipped stitches, broken threads, and ugly stitches on the back of your quilt.
Setting the Right Machine Tension
Always test your sewing machine tension on a small practice piece before you start quilting your actual project.
- Make a tension sandwich: Take three scraps of fabric: one from your quilt top, a piece of your batting, and one from your backing. Layer them just like your quilt sandwich.
- Stitch test lines: Sew a few straight lines or wavy lines on this practice sandwich. Sew in different directions if you plan to do free motion quilting.
- Check the stitches: Look at both the top and the bottom of your practice piece. Are the stitches balanced? Do they look the same on both sides? If you see loops or straight lines of the opposite thread color on one side, adjust your tension.
- Adjusting Tension: On most machines, you adjust the top tension with a dial or buttons. Start by making small adjustments (e.g., turn the dial one number at a time). If you see bobbin thread on top, loosen the top tension (lower the number). If you see top thread on the back, tighten the top tension (increase the number). The bobbin tension is usually set correctly at the factory and rarely needs adjustment unless you’re using a very different thread weight.
Getting tension perfect takes practice. Be patient and keep testing until your stitches look good on your practice sandwich.
Quilting Feet: Walking Foot vs. Free Motion Foot
You need the right foot for the job.
- Walking Foot: This foot is a must for straight line quilting. It has its own set of feed dogs (little teeth) that work with the machine’s feed dogs to help pull all the layers of the quilt sandwich through the machine evenly. This prevents the layers from shifting and causing puckers. Use the walking foot any time you want straight or gently curved lines where the machine is controlling the fabric movement.
- Free Motion Quilting Foot (Darning Foot): This foot is used for free motion quilting. It doesn’t have feed dogs of its own, and you also need to lower or cover your machine’s feed dogs so they don’t grab the fabric. The foot hovers just above the fabric, allowing you to move the quilt in any direction you want. This lets you create swirls, loops, or any other designs you can draw with the needle.
Make sure you have the correct foot installed for the style of quilting you plan to do.
Time to Quilt: The First Stitches
With your quilt sandwich basted and your machine ready, you can start sewing!
Handling the Quilt
A quilt can be bulky, especially a large one. The trick is to support the weight of the quilt so it doesn’t pull down or drag while you’re sewing.
- Support the weight: Let the bulk of the quilt rest on your table, an extension table, or even a chair placed next to your machine. Don’t let it hang off the machine, as this will cause uneven stitches and tension problems.
- Roll or Fold: For smaller areas, you can gently roll or fold parts of the quilt out of the way, but don’t crease it sharply. Keep the area you are currently quilting flat and smooth under the needle.
Starting and Ending Stitches
You need to secure your stitches so they don’t come undone.
- Method 1: Backstitching: Stitch forward a few stitches, then stitch backward over those stitches, then stitch forward again. Do this at the beginning and end of your quilting lines. Keep the backstitching within the seam allowance if possible, or where it won’t be too noticeable.
- Method 2: Burying Threads: Leave long thread tails (about 4-6 inches) at the start and end. After quilting, use a hand needle to pull the top thread tail to the back of the quilt, or the bobbin thread tail to the front. Then, tie the thread tails together in a small knot close to the fabric and bury the tails inside the batting layer by pulling them through the fabric for about an inch. This is neater but takes more time.
Choose the method you prefer. For dense quilting or areas that won’t show, backstitching is faster. For more visible areas, burying threads looks cleaner.
Sewing Different Quilting Styles
There are two main ways to quilt with your machine: straight line quilting and free motion quilting.
Straight Line Quilting
This is a great way to start machine quilting. It’s done with a walking foot and the machine’s feed dogs doing the work.
- How to do it: Simply sew straight lines across your quilt. You can stitch lines parallel to your seams, diagonally across blocks, or create a grid pattern.
- Using Guides:
- Walking Foot Guide: Many walking foot attachments come with a metal guide that slides into the foot. You can set this guide to a certain distance from your last stitch line or a seam to keep your lines evenly spaced.
- Tape: You can place painter’s tape or quilting tape on your quilt as a temporary guide to sew next to.
- Marking: You can use a fabric pen or chalk to draw lines to follow.
- Tips for Straight Lines:
- Start quilting from the center of the quilt and work outwards. This helps push any fullness towards the edges.
- Quilt lines going in one direction first, then turn the quilt to sew lines going the other way if making a grid.
- Go at a steady, medium speed. Don’t rush.
- Let the walking foot and machine feed the fabric. Don’t push or pull the quilt. Just guide it.
Straight line quilting is effective and can look very modern or classic depending on the spacing and direction of the lines. It’s also great for making your quilt feel soft and crinkly after washing.
Free Motion Quilting
This style lets you draw with your needle. It’s done with the feed dogs down and using a free motion quilting foot (darning foot).
- How to do it: With the feed dogs lowered, you are in control of moving the quilt sandwich under the needle. You move the quilt to create curves, loops, swirls, or any shapes you like. The speed you move the fabric and the speed of your needle (controlled by the foot pedal) work together to create the stitch length. Move the fabric too fast for the needle speed, and you get long stitches. Move it too slow, and you get tiny stitches or a knot.
- Setting up for Free Motion:
- Install the free motion quilting foot.
- Lower your machine’s feed dogs. There is usually a lever or button for this. Check your manual. If you can’t lower them, some machines have a plate cover you put over the feed dogs.
- Adjust your sewing machine tension. You might need to adjust the top tension slightly for free motion quilting compared to straight stitching. Test on your tension sandwich.
- Put on quilting gloves if you are using them. They help you grip the fabric better.
- Practicing Free Motion: Free motion takes practice!
- Start with simple shapes like loops, meanders (like a puzzle piece shape), or stippling (like pebbles).
- Practice on scrap fabric sandwiches first. Fill whole practice pieces with designs.
- Work on keeping your speed steady. Get your hands and the machine working together.
- Don’t worry about being perfect. The beauty of free motion is its organic feel.
- Choosing Quilting Patterns Machine: For free motion quilting, you can use guides or just draw freehand.
- Drawing: You can sketch your desired quilting patterns machine onto the quilt top with a removable fabric marker.
- Stencils: Use quilting stencils to mark repeating designs.
- Going Freehand: Once you’re comfortable, you can create designs as you go, letting one shape flow into the next. Common quilting patterns machine for beginners include stippling (connecting shapes with no overlaps), loops, and meanders.
Free motion quilting adds texture and personality to your quilt. It allows for much more intricate designs than straight line quilting.
Common Issues and How to Fix Them
Quilting on a machine can have bumps in the road. Here’s how to handle some common problems.
- Skipped Stitches:
- Is your needle new? Change it! This is the most common cause.
- Is the needle inserted correctly? Make sure the flat side is facing the right way.
- Is your machine threaded correctly? Re-thread both the top and bobbin.
- Is your sewing machine tension wrong? Check it on your practice sandwich.
- Are you using the correct type of needle for the thread and fabric?
- Thread Breaking:
- Is your thread old or poor quality? Use fresh, good thread.
- Is your sewing machine tension too tight? Loosen the top tension.
- Is your needle damaged or too small for the thread? Change the needle.
- Are you pulling or pushing the fabric too hard, especially during free motion? Let the machine (or your guiding) control the speed.
- Is your machine clean? Lint can snag the thread.
- Fabric Bunching or Pleating:
- Was your quilt basting done well? Did you smooth the layers tightly? Re-baste the problem area or add more pins/spray.
- Are you using the right foot? Use a walking foot for straight lines.
- Are you supporting the weight of the quilt? Don’t let it drag.
- Are you pushing or pulling the fabric unevenly? Guide gently.
- Uneven Stitches:
- This is often a sewing machine tension issue. Adjust the top tension based on your test sandwich.
- For free motion, are you moving the fabric at a steady speed relative to the needle speed? Try to coordinate your hands and foot pedal. Practice helps a lot here.
Don’t get discouraged by problems. They happen to everyone. Just stop, figure out the cause, fix it, and keep going.
Finishing Your Quilt
Once all your quilting stitches are done, you’re almost finished!
Squaring Up
Trim the edges of your quilt. Use a rotary cutter, ruler, and cutting mat. Line up your ruler with a straight line of stitching or an edge of your quilt top if possible, then cut through all three layers. Work around all four sides to make the quilt edges straight and square. Trim off the excess batting and backing.
Attaching the Binding
Binding is the strip of fabric that goes around the edge of the quilt to finish it neatly and protect the raw edges. You can attach binding mostly by machine.
- Make the Binding: Cut fabric strips (usually 2.5 inches wide) and sew them together to make one long strip. Fold the strip in half lengthwise and press.
- Attach to Front: Sew the raw edge of the folded binding strip to the raw edge of the quilt top, lining up the edges. Use a 1/4 inch seam allowance. Start and stop a few inches from the corners to make joining the ends easier. Stitch around all four sides, mitering (making a diagonal fold) the corners.
- Join Ends: Connect the binding ends neatly.
- Fold to Back: Fold the binding over to the back of the quilt. The folded edge should cover your line of stitching from step 2.
- Sew Binding Down: Now, stitch the binding down on the back. You can hand stitch it for an invisible look or stitch it by machine from the front. Stitching from the front means you “stitch in the ditch” (sew in the seam line between the quilt top and the binding), catching the folded binding on the back. Or, you can stitch very close to the folded edge of the binding on the front.
Some people use special attachments on their machines to help fold and sew binding in one step, sometimes called a quilt binding machine attachment, though a full “quilt binding machine” is usually an industrial tool. For most home quilters, attaching the binding by machine using the steps above is the way to go.
Wrapping It Up
Quilting with a domestic sewing machine quilting is a rewarding process. It allows you to finish your beautiful quilt tops, keeping them together and adding texture and design. Whether you choose simple straight line quilting with a walking foot or dive into the creative world of free motion quilting with a darning foot, your machine is a powerful tool. Pay attention to your sewing machine tension, practice your quilt basting, and don’t be afraid to try out different quilting patterns machine. With practice, you’ll be creating finished quilts you love.
Frequently Asked Questions
Q: Can any sewing machine be used for quilting?
Yes, most domestic sewing machine quilting is possible on standard sewing machines. Machines with more space to the right of the needle (the “harp space”) are easier for managing large quilts, but even small machines can quilt small to medium projects. Look for adjustable stitch length and the ability to use different feet like a walking foot and free motion quilting foot.
Q: How do I choose the right quilting thread color?
Choosing quilting thread color depends on the look you want.
* To make the quilting blend in, pick a thread color that matches the most common fabric color in the area you’re quilting.
* To make the quilting stand out, choose a contrasting color or a variegated thread.
* For a softer look, choose a thread a shade or two lighter than the fabric.
* For the back of the quilt, consider using a bobbin thread that blends with the backing fabric.
Q: How do I make my free motion quilting stitches even?
Even stitches in free motion quilting come from coordinating your hand speed (moving the fabric) and your foot pedal speed (controlling the needle). Move the fabric and press the pedal at a steady pace together. Practice, practice, practice on scrap fabric is the best way to improve this coordination and get more even stitches. Starting with simple shapes helps.
Q: How much batting do I need?
You need batting that is larger than your quilt top. Get a piece of batting that is at least 4 to 6 inches bigger on all sides than your finished quilt top dimensions. This extra size helps during the layering quilt sandwich and basting process and allows for slight shifting.
Q: Is a walking foot necessary for straight line quilting?
While you can attempt straight line quilting without a walking foot, it is highly recommended and will give you much better results. A walking foot helps feed all three layers through evenly, preventing puckers and stretched fabric. It makes straight line quilting much easier and more successful on a domestic sewing machine quilting.