
Yes, you can tailor jeans that are too big right at home, and it doesn’t have to be hard. This guide will show you simple ways to make those loose pants fit just right. Fixing baggy jeans yourself is a great way to save money and get a perfect feel. You can make a big difference in how your jeans look and feel with just a few simple steps.
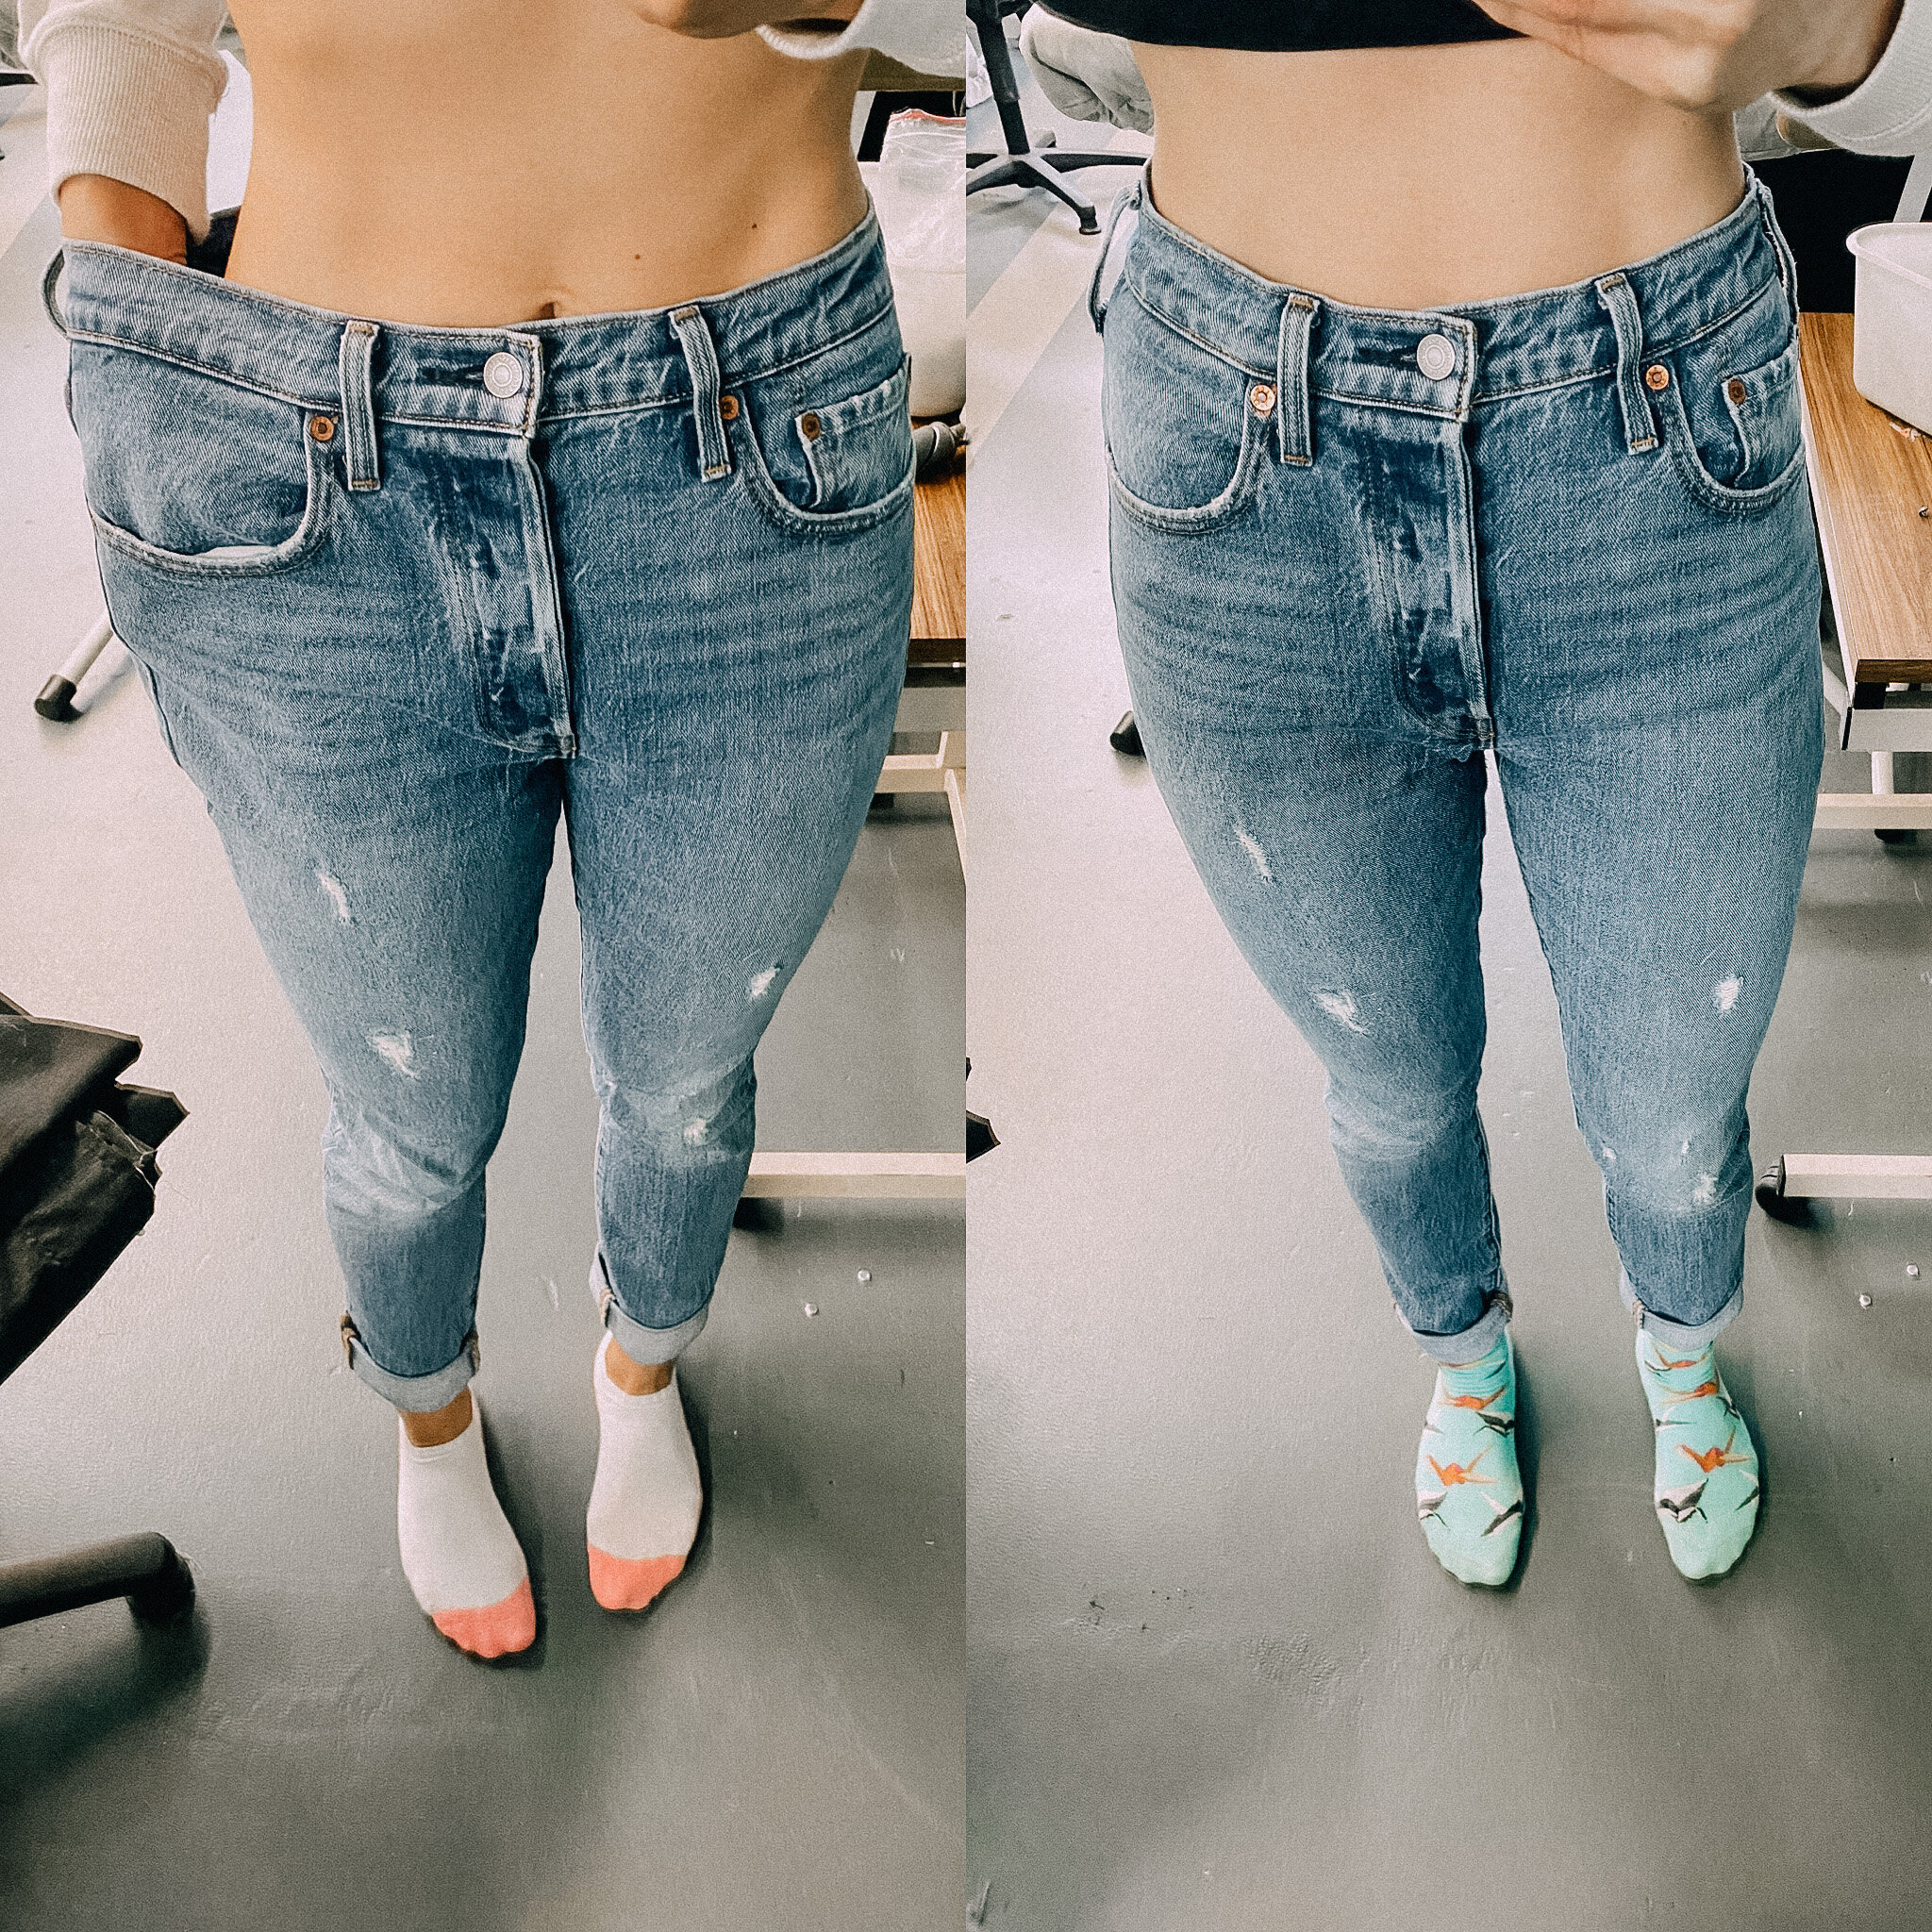
Image Source: images.squarespace-cdn.com
Why Jeans Get Too Big
Sometimes jeans stretch out. This happens with wear and washing. Other times, you might lose weight. Then your favorite jeans are too loose. They might hang low. The waist might have a big gap in the back. This can feel uncomfortable. It doesn’t look good either. Altering oversized jeans can fix this. It makes your old jeans new again. It is much cheaper than buying new ones. You can also make them fit exactly how you like. Slimming baggy jeans at home gives you control.
Getting Ready to Tailor
Before you start cutting or sewing, you need to get ready. This means gathering your tools. It also means getting your jeans ready.
What You Need
You don’t need a fancy sewing room. A few simple items will do the job.
- Your Jeans: The ones that are too big.
- Measuring Tape: To see how much smaller you need them.
- Tailor’s Chalk or Marker: To draw lines on the fabric. It washes off.
- Pins: To hold fabric in place before you sew.
- Fabric Scissors: Sharp ones work best for denim.
- Thread: Get strong thread. Match the color of your jeans thread if you can. Dark blue or yellow are common.
- Sewing Needle: Use a strong one. A denim needle is best if you have one.
- Sewing Machine (Optional but Helpful): A machine makes strong seams fast. You can hand sew too.
- Seam Ripper: A small tool to take apart old stitches.
- Iron and Ironing Board: To press seams flat. This makes sewing easier.
Getting Your Jeans Ready
Wash and dry your jeans first. Do this like you normally would. Denim can shrink a little in the wash. You want them to be their final size before you start. Work on clean jeans. This is always a good idea.
Finding the Right Fix
There are different ways to make jeans smaller. The best way depends on how much they are too big. It also depends on where they are loose. Resizing denim pants can mean just the waist. Or it can mean the legs too. DIY jeans alteration lets you pick the method.
Taking In the Waist
If only the waist is too loose, this is often the easiest fix. You can make the back seam smaller. Or you can add elastic. This is good for fixing gaping waist jeans.
Making Legs Smaller
If the legs are too wide or baggy, you need to take them in. This means sewing along the side seams. This takes more work. It changes the whole shape of the leg.
Adding Elastic
For a simple fix, you can add elastic to the back waistband. This gathers the fabric. It makes the waist smaller. It’s quick. It needs only a little sewing.
Let’s look at the most common ways step by step.
How to Take In the Waist (Back Seam)
This method is great for jeans that fit okay everywhere else. But the waist is loose, especially in the back. This is how you fix a gaping waist.
Fathoming This Method
You will take a wedge of fabric out of the back waistband. This pulls the waist tighter. You take apart a small part of the waistband. You sew a new seam down the back. Then you put the waistband back together. It makes the waist smaller without changing the legs much. Taking in jeans waist is a common fix.
Step-by-Step Guide
Follow these steps carefully.
First, Try Them On
Put your jeans on. Pull them up to where you want them to sit. Pinch the extra fabric at the back waistband. Pinch it right in the middle of your back. See how much extra fabric there is. This is how much you need to take out.
Mark Where to Sew
Take the jeans off. Lay them flat. Find the center back seam. This seam goes from the waistband down to the crotch.
Fold the jeans along this seam.
Use your tailor’s chalk or marker.
You need to mark the line you will sew.
The top of the line starts at the center back seam on the waistband.
The line will go down towards the crotch seam.
How wide should the mark be at the top?
It should be half of the total amount you pinched.
Example: You pinched 2 inches total. Mark 1 inch on each side of the center seam at the top.
The line should go down to nothing (zero width) near the crotch seam.
Draw a curved line. It should look like a cone shape or a triangle with a rounded bottom.
The wide part is at the top (waistband).
The point is near the crotch.
This line shows the new seam you will sew. This is the key step for taking in jeans waist.
Take Apart the Waistband
You need to open up the waistband seam. Use your seam ripper.
Carefully cut the stitches holding the waistband down at the back.
Go along the waistband. Open enough stitches so you can work easily. About 4-6 inches on each side of the center back seam is good.
Also, open the stitches holding the loop on the back of the waistband. This is the belt loop.
Carefully pull the waistband layers apart. This lets you work on the fabric below. This is part of fixing gaping waist jeans.
Fold and Pin the Fabric
Now you work on the fabric under the waistband. This is the main part of the jeans.
Fold the fabric along the center back seam line you marked.
The marked lines should be on the inside of the fold.
Line up the edges you are folding.
Pin the fabric together along the line you drew.
Start pinning at the waistband edge. Go down to the point near the crotch.
Make sure the pins hold both layers of fabric together.
Time to Sew
Now you will sew along the line you marked and pinned.
You can use a sewing machine or sew by hand. This is the main step for sewing jeans smaller.
-
Using a Sewing Machine:
- Put the jeans under your machine’s foot.
- Line up the needle with your marked line.
- Start sewing at the top edge (waistband).
- Sew slowly along your marked line.
- Sew smoothly to the point where your line ends near the crotch seam.
- Use a strong stitch. Go over the seam a second time for strength.
- Backstitch at the start and end. This locks the stitches.
-
Hand Sewing:
- Use a strong needle and thread. Double the thread for extra strength.
- Tie a knot at the end of your thread.
- Start sewing from the top edge (waistband).
- Sew small, tight stitches right along your marked line.
- Use a backstitch if you can. This is a strong hand stitch. It goes back on itself a little each time.
- Sew all the way down to the end of your marked line.
- Tie a strong knot to finish. Make a few knots to be sure. This is hand sewing jeans waist. It takes time but works well.
Cut the Extra Fabric
After sewing, you will see extra fabric on the inside. This is the fabric you took out.
Cut this extra fabric away. Leave about a half inch (1 cm) of fabric past your new seam.
This is called the seam allowance.
Be careful not to cut your stitches!
Put the Waistband Back Together
Now you need to close the waistband opening.
Fold the waistband back down.
Pin the bottom edge of the waistband down. Pin it over your new seam.
Make sure it covers the raw edge of the fabric you just cut.
Sew the waistband back down. Sew close to the edge of the waistband.
Sew the belt loop back in place too. Sew it over the new center seam.
Final Checks
Try the jeans on. Do they fit better? Check the back waistband. Does it lay flat? Does the belt loop look okay? This is part of adjusting jean fit. Make small changes if needed. You can sew another line slightly closer to the edge if it’s still too loose.
How to Make Legs Smaller (Side Seams)
If your jeans are baggy in the legs or hips, you need to alter the side seams. This is a bigger job. It changes the shape of the whole jean leg. This is part of tailoring denim trousers.
Comprehending This Method
You will take fabric away from the outer side seams of the jeans. This makes the legs narrower. You can make them just a little slimmer. Or you can make them much tighter. You start near the hip or waist. You sew down the side seam to the hem (bottom of the leg).
Steps for Sides and Legs
These steps take more time and care.
Mark the New Shape
Put the jeans on inside out. This is important.
Pinch the extra fabric along the outer seam of one leg. Pinch it from the hip down to the ankle.
Use pins to hold the extra fabric in place. Put pins along the line where you want the new seam to be. Place pins close together.
Make the pinning smooth. It should follow your leg shape.
Make sure both legs are pinned evenly. Measure from the original seam to your pins. Do this on both sides.
Take the jeans off carefully.
Lay them flat. Use your chalk to draw a line along the pins on one side. This is your new seam line.
The line should start smoothly near the hip. It should go down to the hem.
Make sure the line curves gently. It should not have sharp points.
Repeat on the other leg. Make sure the lines are the same on both legs. This is how you mark for slimming baggy jeans.
Pin Along the Line
After drawing the lines, remove the old pins.
Now pin the fabric together along your marked lines.
Make sure the jeans fabric is flat. Pin through both layers.
Put pins about every 2-3 inches.
Start Sewing
Sew along the marked line on each leg. Again, you can use a machine or hand sew.
-
Using a Sewing Machine:
- Start sewing near the hip. Sew right on the marked line.
- Sew slowly down to the hem.
- Keep the seam smooth.
- Use a strong stitch. Sew over it again for strength.
- Backstitch at the start and end.
- Do the same on the other leg.
-
Hand Sewing:
- Use strong, doubled thread.
- Start at the hip. Sew small, tight backstitches along the line.
- Keep your stitches even.
- Sew all the way down to the hem.
- Tie off your thread strongly at the end.
- Sew the second leg the same way.
Check the Fit
Turn the jeans right side out. Try them on.
How do they feel? Are they still too loose? Are they too tight?
If they are too loose, turn them inside out again. Sew another line slightly closer to the edge.
If they are too tight, you can try to take out the stitches and sew a new line further from the edge. This is why pinning first is good. It lets you check before you sew.
Trim the Fabric
Once the fit is right, turn the jeans inside out again.
You will see the extra fabric outside your new seam.
Cut this extra fabric away. Leave about a half inch (1 cm) seam allowance.
Cut carefully so you do not cut your stitches.
Make Seams Strong
The raw edge of the fabric you cut can fray (unravel).
You can finish the seam to stop this.
A sewing machine with a zig-zag stitch works well. Sew a zig-zag stitch along the raw edge.
If sewing by hand, you can make small stitches along the edge to keep it flat and neat.
This makes the inside of your tailoring denim trousers look cleaner. It also helps the jeans last longer.
How to Add Elastic to the Waist
This is a very simple way to make the waist smaller. It’s great for jeans where the waist is a bit loose all around. It’s a good DIY jeans alteration for beginners. It works well for fixing gaping waist jeans quickly.
Deciphering This Quick Fix
You will put a piece of elastic inside the back waistband. The elastic pulls the fabric in. This makes the waist smaller and stretchy. It’s less visible than taking in a lot at the back seam.
Simple Steps for Elastic
This is a fast way to get a better fit.
Choose Your Elastic
Get elastic that is about 1 inch wide. Woven elastic is strong and doesn’t roll.
Cut a piece of elastic. How long? Put it around your waist where the jeans sit. Pull it until it feels comfortable but snug. This is how long it should be when stretched. Cut it a little shorter than this comfortable stretched length. This will make the jeans gather. Maybe start with a piece about 6-8 inches long. You can always use a longer piece later if needed.
Cut the Waistband Slits
Turn your jeans inside out.
Find the back waistband.
Using your seam ripper, carefully open a small slit on the inside of the waistband. Make it near the side seam on one side in the back. It should be just wide enough for the elastic to fit through. Maybe 1.5 inches wide.
Do the same thing on the other side of the back waistband. Make the slits even on both sides.
Pull the Elastic Through
Pin a safety pin to one end of your elastic.
Push the safety pin and elastic into one of the slits.
Work the safety pin and elastic through the waistband tunnel. Feel it moving inside the fabric.
Keep pushing and gathering the fabric as you go.
Guide the elastic all the way through to the other slit.
Be careful not to let the other end of the elastic slip inside the waistband! Hold it or pin it to the waistband edge.
Sew the Ends
Once the elastic is through both slits, try the jeans on.
Hold the elastic ends outside the slits. Pull them until the waist feels right.
Pin the elastic ends to the edge of the waistband fabric at the slits.
Take the jeans off.
Overlap the elastic ends a little on the inside of the waistband slits.
Sew the elastic ends down securely to the waistband fabric. Use your sewing machine or hand sew strong stitches. Go back and forth a few times. This is the final step for adjusting jean fit with elastic.
Close the Slits
You can leave the slits open if you want. The elastic will be held by the sewing.
Or you can sew the small slits closed. Sew them by machine or hand. This makes it look neater.
Important Tips for Denim
Working with denim is different from working with thin fabric. Denim is thick. It has strong seams.
Picking the Right Needle and Thread
Denim needles are stronger and sharper. They push through thick fabric better. A size 16 or 18 denim needle is good for a machine. For hand sewing, use a strong needle that can go through denim.
Use strong thread. Polyester thread is good. It is strong and does not break easily. Matching the color of the original thread makes your work look better.
Sewing Thick Spots
Denim is extra thick at seams. Where the waistband joins the jeans body is very thick. Where leg seams meet is also thick.
Go slowly over these spots.
If using a machine, you might need to help the fabric through.
If hand sewing, push the needle carefully. You might need pliers to pull the needle through very thick spots.
Taking It Slow
Do not rush. Sewing denim takes patience. Measure twice, cut once. Sew slowly and carefully. This helps avoid mistakes. It also makes your work look neat.
Common Issues and Fixes
Sometimes things don’t go perfectly the first time. Here are some common problems and what to do.
Waistband Looks Wrong
If the waistband looks bumpy or uneven after taking it in, check your sewing. Did you sew the new seam smoothly? Did you press the waistband flat before sewing it down? You might need to rip a few stitches and try again. Make sure the waistband is flat and smooth when you sew it back down.
Seams Aren’t Smooth
If your new leg seams look wavy or puckered, you might have stretched the fabric while sewing. Or you might have sewn too fast. Try to sew on a flat surface. Keep the fabric smooth as you sew. Press the seam with an iron after sewing. This can help flatten it.
Stitches Breaking
If your thread keeps breaking, your needle might be too small or dull. Use a stronger needle made for denim. Use strong thread. Slow down, especially over thick seams. Check that your machine tension is set right if you are using a machine.
Caring for Your Fixed Jeans
After you tailor your jeans, care for them well. Wash them inside out. Use cold water. This helps keep the color. Dry them on low heat or hang them to dry. High heat can make denim shrink in funny ways. It can also put stress on your new seams. Proper care helps your tailoring last.
When to Go to a Professional
DIY is great for simple fixes. Taking in the waist at the back is often easy. Slimming legs can be done at home. But some fixes are harder.
- Making the waist much smaller all around: This might need taking apart pockets or belt loops on the sides and front. It’s more complex.
- Changing the rise: Making low-rise jeans high-rise, or vice-versa, is hard.
- Adding or removing fabric: If you need to make jeans bigger (hard to do) or add panels.
If the job seems too big, or you are not sure, a tailor can help. They have special tools and skills. They can make your jeans fit perfectly. But for many common problems with jeans that are too big, you can do it yourself!
Questions People Ask
Here are answers to common questions about tailoring jeans at home.
Can I do this by hand?
Yes, you can sew jeans smaller by hand. It takes more time and effort than using a machine. You need a strong hand sewing needle. You need strong thread. Use small, tight stitches like the backstitch. Hand sewing jeans waist or legs is possible if you are patient.
How much can I take in?
You can take in the waist quite a bit, maybe 2-4 inches total at the back seam, depending on the jeans style. For legs, you can make them much slimmer. But be careful not to make them too tight to move in. Try them on as you go. Taking in too much fabric might change the hang of the jeans in ways you don’t expect.
Will my jeans look store-bought?
If you are careful and take your time, your tailoring can look very good. Matching the thread color helps a lot. Pressing your seams flat makes a big difference. Hand sewing might be visible up close. Machine sewing with matching thread can look almost like the original seam. Fixing gaping waist jeans often leaves a small, neat seam at the back.
Is it worth the time?
Tailoring jeans yourself saves money. It costs much less than buying new jeans. It also costs less than paying a professional tailor. If you have several pairs of jeans that are too big, it’s very worth it. You learn a new skill too!
What about stretch jeans?
Working with stretch denim can be tricky. Stretch fabric needs stitches that can stretch too. A sewing machine with a stretch stitch or a zig-zag stitch is best. If hand sewing, use stitches that are not too tight. Stretch jeans might stretch out again after tailoring.
How do I make sure it’s even?
Measuring is key. For the waist, measure the amount you pinch. Mark half that amount on each side of the back seam. For legs, pin one leg while wearing the jeans. Take them off and measure from the old seam to the pins. Make the same measurement marks on the other leg. This helps keep the alteration even. Pressing helps make seams flat and look even.
Making your too-big jeans fit is a rewarding project. It takes a little effort. But the result is jeans that feel comfortable and look great on you. Give it a try!