
Image Source: content.instructables.com
Beginner’s How To Embroider Letters On A Sewing Machine
Can you embroider letters on a regular sewing machine? Yes, you absolutely can! Many people think you need a special embroidery machine, but you can do machine embroidery lettering on lots of standard sewing machines. What tools do you need? You’ll need your sewing machine, special needle, embroidery thread types, stabilizer for embroidery, an embroidery hoop, and your fabric. Let’s learn how to add names, words, or cool designs to your sewing projects right from your home sewing machine.
Welcome to Lettering Fun
Putting letters on fabric with your sewing machine is a fun way to make things special. You can write names on kids’ clothes, add dates to quilts, or put cool sayings on bags. This is called machine embroidery lettering. It might seem hard at first, but we will break it down into easy steps. Soon, you will be adding letters like a pro!
What Kind of Machine?
Not all sewing machines do lettering the same way.
Machines with Built-in Fonts
Some sewing machines have letters saved inside them. This is the easiest way to do lettering. You pick the letter on the screen or dial, and the machine sews it perfectly for you. These are built-in fonts on sewing machine. They make putting names or words onto things very simple. You just tell the machine what to sew.
Machines with Decorative Stitches
Many sewing machines have special stitches that are not just straight lines or zigzags. These are decorative stitches. You can use these stitches to “draw” your letters. You guide the fabric carefully while the machine makes a fancy stitch. This takes more practice but gives you more control. You can make letters of any size or shape.
Machines for Free Motion Lettering
Most sewing machines can do free motion embroidery letters. This is like drawing with your needle. Your machine needs to be able to lower the feed dogs. Feed dogs are the little teeth under the needle plate that pull your fabric along. When they are down, you move the fabric yourself. You use a special foot (called a darning or free motion foot). You move the fabric to make your letters. This lets you make any style of writing you want. It needs lots of practice to make neat letters, but it is very freeing!
Things You Need to Get Started
To start embroidering letters, gather these items.
- Your Sewing Machine: Make sure it works well.
- Needles: Use embroidery needles. They have a special eye that lets the thread pass through easily. They also have a rounded tip that slips through the fabric without tearing it. Sizes 75/11 or 90/14 are good to start with.
- Embroidery Thread Types: You need thread that is strong and looks nice. Rayon or polyester embroidery thread is shiny and strong. Cotton embroidery thread is also an option, but it can break more easily. Use different colors to make your letters stand out. You will also need bobbin thread. Special embroidery bobbin thread is thin and smooth.
- Fabric: You can embroider on almost any fabric. Thicker fabrics like denim work well. Thin fabrics like cotton need good support.
- Stabilizer for Embroidery: This is very important! It is a special material you put under your fabric. It stops the fabric from puckering or stretching while you sew. It holds your stitches nicely. There are different types of stabilizer for embroidery. We will talk about them more later.
- Embroidery Hoop: This is two rings that fit together. You put your fabric and stabilizer inside the hoop. You pull the fabric tight like a drum. This keeps your fabric flat and stops it from moving around while you sew.
- Fabric Marker: A pen or chalk that washes away is good for drawing your letters on the fabric if you are doing free motion or using decorative stitches.
- Small Scissors: Sharp scissors are needed to cut threads neatly.
Grasping Stabilizer
Stabilizer for embroidery is like a hidden helper. It goes on the back of your fabric. It makes the fabric stiff. This stops the stitches from pulling the fabric out of shape. Using the right stabilizer is key to good results.
There are different kinds of stabilizer:
- Cut-Away Stabilizer: You leave this on the back of your fabric forever. You cut away the extra bit around your design after you finish. Use this for stretchy fabrics or designs with lots of stitches. It gives strong support.
- Tear-Away Stabilizer: This is like paper. You can tear it away easily after you finish sewing. It is good for stable fabrics like cotton or denim. It is easier to remove than cut-away.
- Wash-Away Stabilizer (Water-Soluble): This dissolves in water. You wash your finished project, and the stabilizer goes away. It is great for delicate fabrics where you don’t want stabilizer left behind. There are also wash-away stabilizers that look like clear plastic film you put on top of the fabric. This is called topping. It helps keep stitches from sinking into fabrics with a nap or pile, like terrycloth.
- Heat-Away Stabilizer: This melts away when you touch it with a hot iron. Use this when water might harm your project.
You might need one type or two types together for your project. The right stabilizer depends on your fabric and how many stitches your design has. For lettering, especially with many small stitches close together, using enough stabilizer is very important. It prevents puckering and keeps your letters looking crisp.
Setting Up Your Machine
Getting your sewing machine ready for embroidery is a bit different from regular sewing. This is Setting up sewing machine for embroidery.
- Change the Needle: Put in a new embroidery needle. Use the right size for your thread and fabric.
- Thread the Machine: Use your chosen embroidery thread types for the top thread. Use bobbin thread in the bobbin case. Make sure both are threaded correctly.
- Lower the Feed Dogs (for Free Motion): If you are doing free motion embroidery letters, you need to lower the feed dogs. Look for a lever or button on your machine to do this. If your machine cannot lower the feed dogs, you might need a special plate to cover them.
- Attach the Right Foot:
- For built-in fonts, you will use the foot your machine tells you to use for those stitches. Often, it’s an embroidery or decorative stitch foot.
- For decorative stitches for lettering, use the foot meant for those stitches, usually an open-toe foot or a clear foot so you can see where you are going.
- For free motion embroidery letters, you need a darning foot or a free motion foot. This foot hops up and down with the needle. It does not press on the fabric all the time, which lets you move the fabric freely.
- Adjust Tension: You might need to adjust the thread tension. Do a test run on a scrap piece of fabric first. Stitches should look the same on the top and bottom. If the bottom thread shows on top, the top tension is too tight. If the top thread shows on the bottom, the top tension is too loose.
- Choose Your Stitch (for Built-in or Decorative): If using built-in fonts on sewing machine or decorative stitches for lettering, select the letter or stitch you want to use. Pick the size if you can.
Preparing Your Fabric and Hoop
Getting the fabric and stabilizer ready is a key step before you start to sew.
- Plan Your Lettering: Decide what you want to write and where it will go on your fabric. Measure the space.
- Mark Your Fabric: If you are doing free motion or using decorative stitches, lightly draw your letters on the fabric using a wash-away marker. If using built-in fonts, your machine will guide you, but you might mark a center point or line.
- Cut Your Stabilizer: Cut a piece of stabilizer for embroidery that is larger than your embroidery hoop.
- Layer Your Fabric and Stabilizer: Place the stabilizer on the back of your fabric where your lettering will go.
- Hoop Everything: Take your embroidery hoop apart (inner and outer rings). Lay the outer ring flat. Place your layered fabric (right side up) and stabilizer over the outer ring. Push the inner ring down inside the outer ring. Make sure the fabric is pulled tight like a drum head. The fabric must be flat and smooth inside the hoop, with no wrinkles. Tighten the screw on the hoop if needed. The stabilizer should be included securely within the hoop along with the fabric.
Sewing Your Letters
Now comes the fun part! How you sew depends on the method you chose.
Using Built-in Fonts
This is the easiest way if your machine has this feature.
- Put the hooped fabric under the needle.
- Lower the presser foot.
- Select the first letter on your machine.
- Position the hoop so the needle starts at the right spot for your letter.
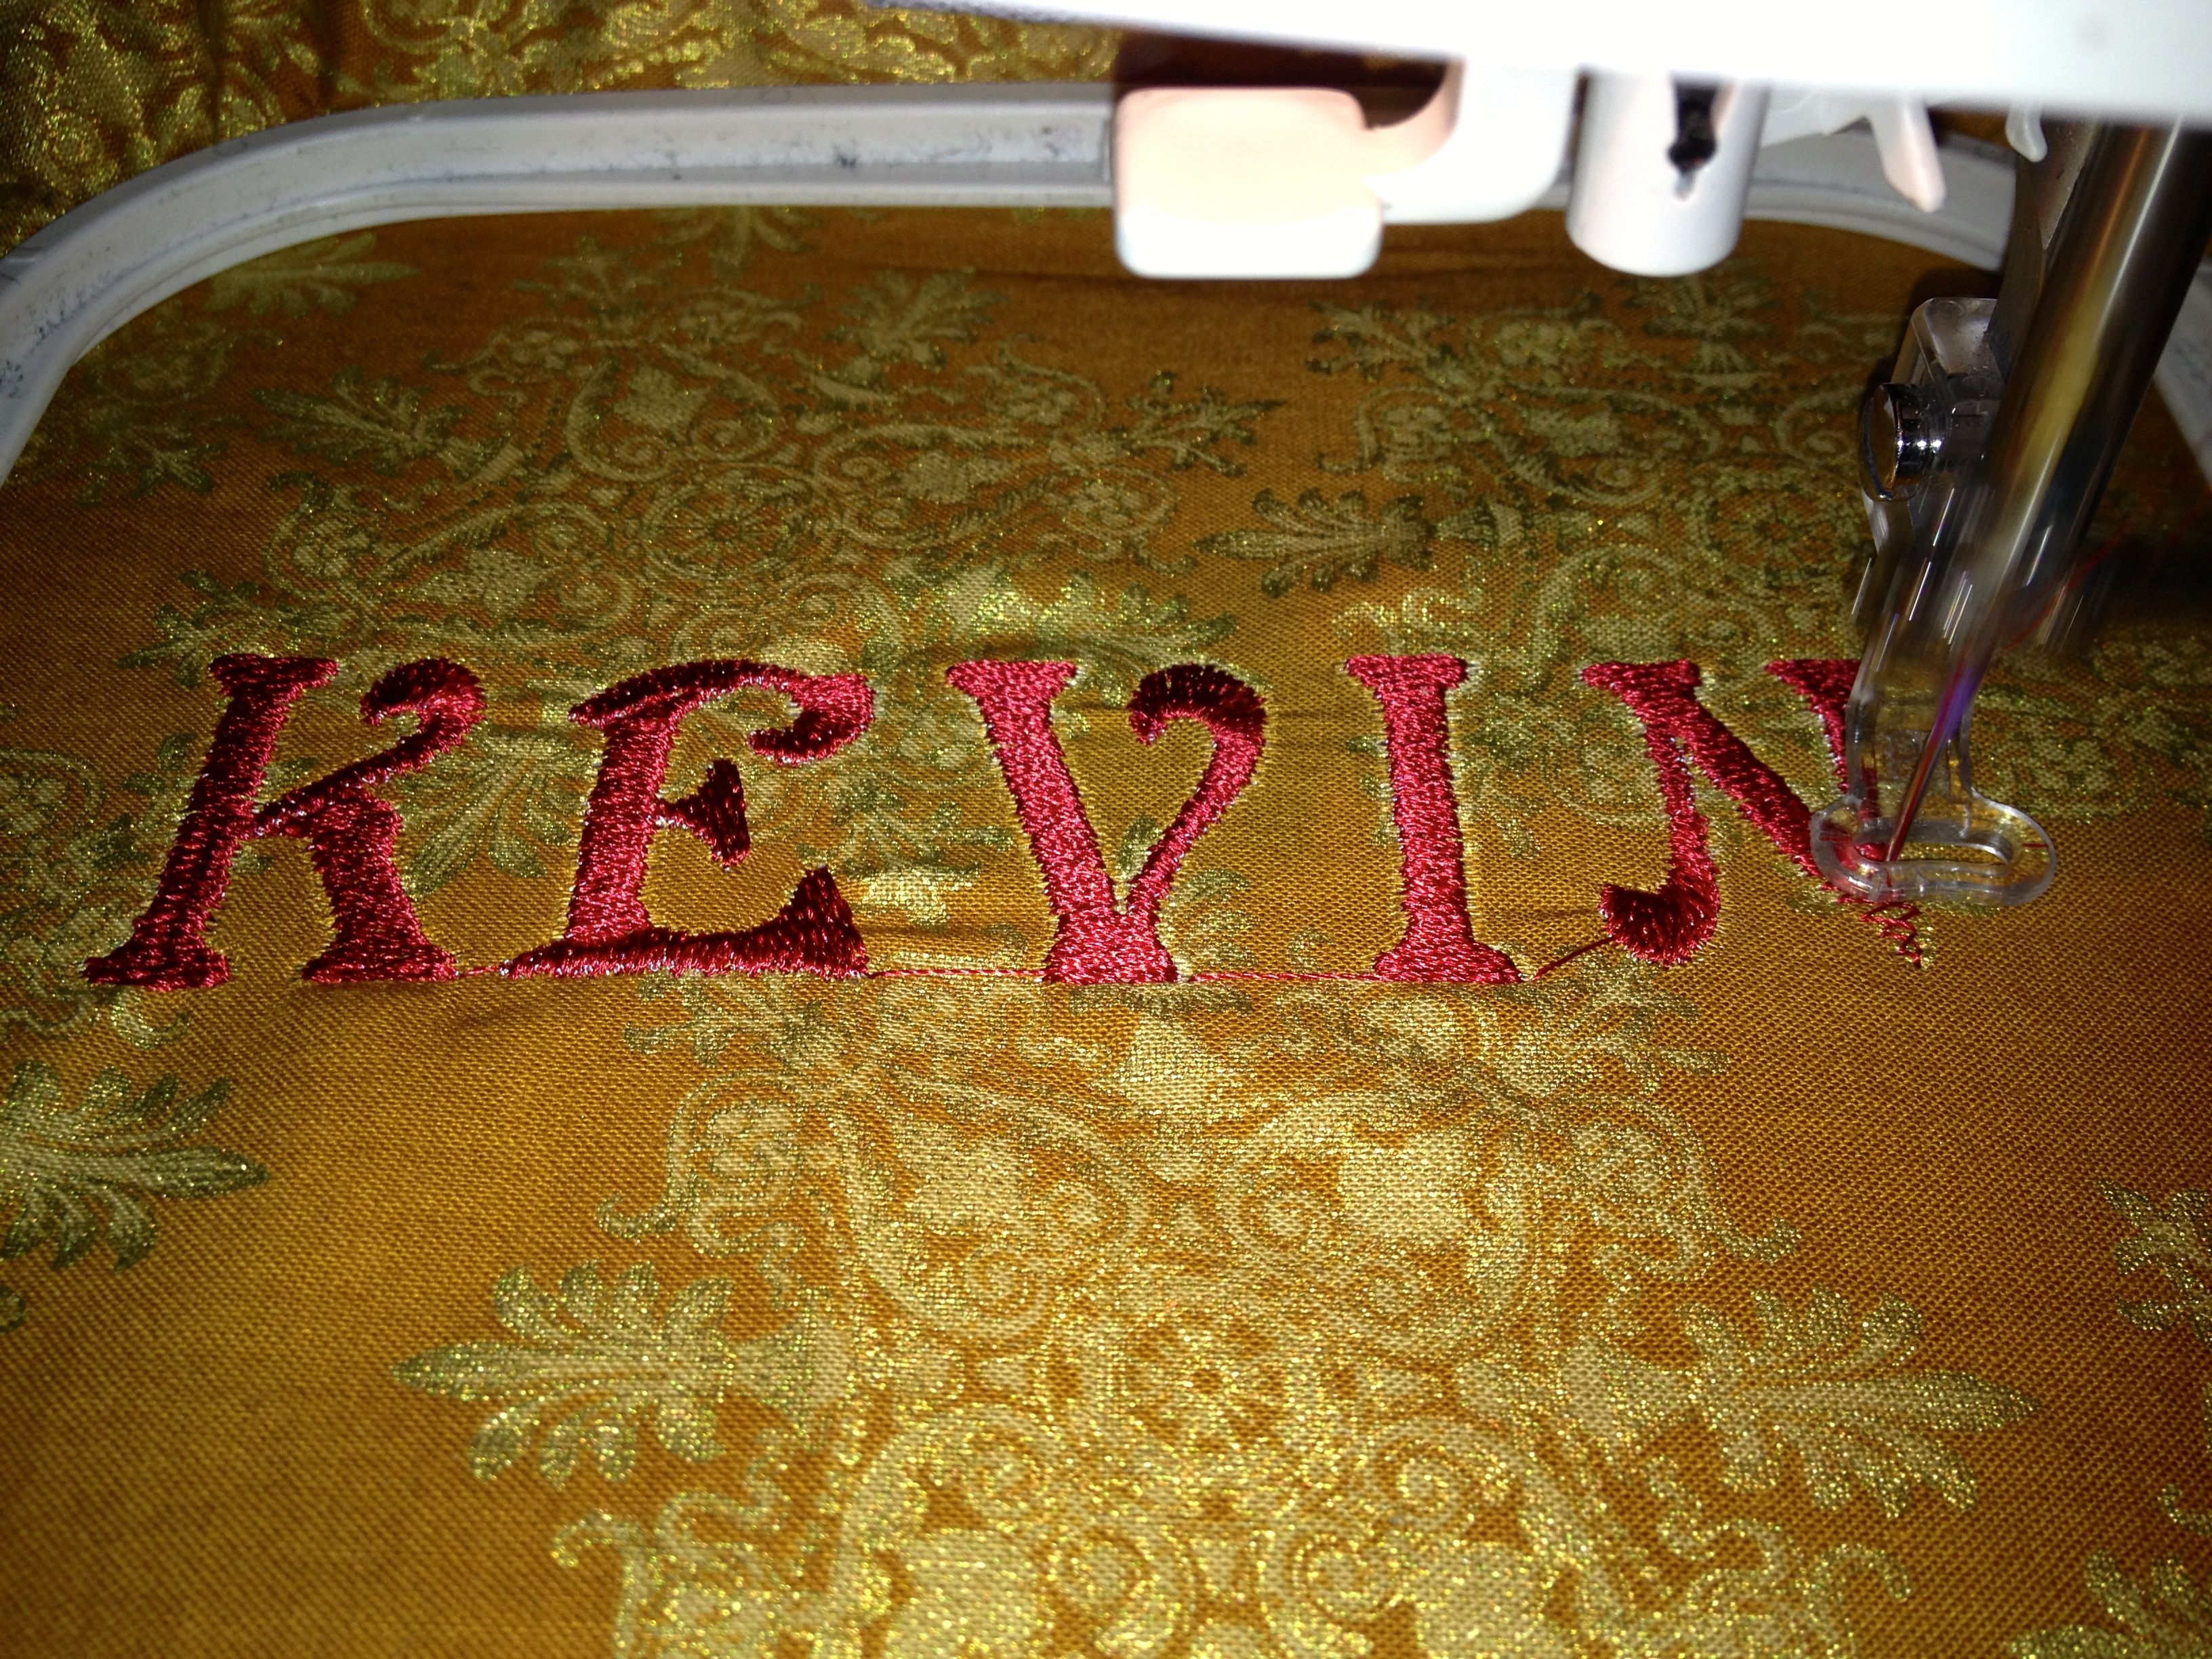
- Start sewing slowly. The machine will move the hoop (or guide you on where to move it if it’s not a fully automated embroidery machine) and sew the letter.
- Watch the machine work. It will make all the stitches needed for that letter.
- When the letter is done, stop sewing. You might need to cut the thread.
- Move the hoop to the start position for the next letter.
- Select the next letter and sew it.
- Keep going until your word or name is finished.
This method makes perfect, consistent letters every time. It’s great for monogramming with sewing machine on towels or shirts.
Using Decorative Stitches
This method lets you “draw” your letters using fancy stitches.
- Put the hooped fabric under the needle.
- Lower the correct presser foot for decorative stitches.
- Select the decorative stitch you want to use. Pick a stitch that is narrow and dense, like a close zigzag or a small satin stitch. This will make a clear line for your letters.
- Start sewing.
- Slowly and smoothly move the hoop under the needle to follow the lines of the letters you drew on the fabric.
- Keep your speed steady. Moving too fast or too slow will make the stitches uneven.
- Sew along all the lines of your letter. You might go over some lines twice to make them thicker.
- Lift the needle, cut threads, and move to the next letter.
This takes practice. You need to control both the machine speed and how you move the hoop. You can make big or small letters this way.
Doing Free Motion Embroidery Letters
This is the most like drawing. You have full control over movement.
- Put the hooped fabric under the needle.
- Lower the darning or free motion foot. This foot should just lightly touch the fabric, or float just above it.
- Make sure your feed dogs are lowered.
- Start sewing slowly.
- Begin to move the hoop smoothly under the needle to “draw” your letters.
- The stitch length is controlled by how fast you move the fabric compared to how fast the needle goes up and down. Move too fast, and stitches are long. Move too slow, and stitches are very short and pile up. Aim for a smooth, steady movement and machine speed.
- Practice making simple shapes and lines first. Then try printing letters. Then try cursive letters.
- Don’t worry if it’s not perfect at first. Free motion takes lots of practice to make neat lines and shapes.
- When you finish a letter or word, stop, lift the foot, and cut the threads.
This method is great for personalized, unique lettering. Monogramming with sewing machine using free motion gives a handmade look.
After You Finish Sewing
Once your letters are sewn, you are almost done.
- Remove the hoop: Take the fabric and stabilizer out of the embroidery hoop.
- Remove excess stabilizer: If you used tear-away stabilizer, gently tear it away from the back of your design. Be careful not to pull the stitches. If you used cut-away, carefully cut away the extra stabilizer around the design, leaving a small border. If you used wash-away, follow the instructions to dissolve it (usually rinsing in water). Remove any topping if you used it.
- Trim threads: Carefully snip any loose threads on the top and bottom of your work. Try to trim them close to the fabric without cutting the stitches.
- Press: Gently press your fabric from the back side using a pressing cloth. This helps flatten the stitches and fabric.
Tips for Great Letters
Here are some simple tips to help you get better results.
- Practice, practice, practice: Especially for free motion or using decorative stitches. Sew letters on scrap fabric before sewing on your real project.
- Use the right needle: A sharp embroidery needle makes a big difference. Change it often, maybe after every 8 hours of sewing.
- Pick the right stabilizer for embroidery: This is key! Test different types with your fabric. Using too little stabilizer will cause puckering. Using the wrong type might not support your stitches well.
- Hoop it tight: The fabric and stabilizer must be pulled tight in the hoop. No wrinkles! If it is not tight, stitches will pucker.
- Go slow and steady: Don’t rush. Sew at a speed you can control, especially with free motion.
- Watch your tension: Check your thread tension on a test piece. Adjust it so the stitches look good on both sides.
- Use good quality embroidery thread types: Cheap thread can break, fray, or not look good. Good thread makes your letters shine.
- Match thread weight and needle size: Thicker threads need bigger needles. Most embroidery threads work with 75/11 or 90/14 needles.
Problems You Might See
Sometimes things don’t go as planned. Here are some common issues and simple fixes.
- Puckering: The fabric looks wrinkled around the letters.
- Why: Not enough stabilizer, fabric not hooped tight enough, or stitches are too dense for the fabric/stabilizer.
- Fix: Use more or stronger stabilizer. Make sure the fabric is drum-tight in the hoop. Try a less dense stitch if possible.
- Thread Breaking: The top or bobbin thread keeps snapping.
- Why: Bad needle (bent, dull, wrong size), thread tension is too tight, poor quality thread, or machine is not threaded right.
- Fix: Change your needle. Check thread tension. Use better thread. Rethread your machine carefully.
- Skipped Stitches: The stitches are not forming correctly, leaving gaps.
- Why: Wrong needle, bent needle, needle not put in correctly, or thread tension is off.
- Fix: Change needle and make sure it is put in all the way and facing the right way. Check thread tension.
- Letters Don’t Look Sharp: Lines are messy or stitches sink into the fabric.
- Why: Not using topping on napped fabrics, or not enough stabilizer on the back.
- Fix: Add wash-away topping for fabrics like towels. Use enough stabilizer on the back.
Going Past the Basics
Once you feel good about sewing letters, you might want to try more.
- More Complex Monogramming: Try mixing fonts or adding small designs around your letters for monogramming with sewing machine.
- Different Stitch Effects: Experiment with filling in letters with different decorative stitches for lettering, not just outlining them.
- Digitizing (for special machines): If you get an embroidery machine later, you can use computer programs (digitizing software) to turn drawings or fonts into stitch patterns that the machine can read. This is how complex machine embroidery lettering is made for automated machines.
- Exploring Sewing Machine Embroidery Fonts: If your machine has many built-in fonts, try them all! See which ones you like best for different projects.
Sewing machine embroidery fonts vary from machine to machine. Some might have simple block letters, while others have fancy script or decorative styles. Check your machine’s manual to see what built-in fonts are available to you.
Making it Work: A Simple Checklist
Before you start sewing letters, go through this quick list:
- Did I pick the right needle?
- Is my machine threaded correctly with the right embroidery thread types?
- Are the feed dogs up (for built-in/decorative) or down (for free motion)?
- Is the right foot on the machine?
- Do I have enough stabilizer for embroidery cut?
- Is the fabric and stabilizer hooped tightly?
- Did I test on a scrap piece first?
Following these steps will help you have a good start with machine embroidery lettering.
A Closer Look at Thread
Choosing the right thread is like picking the right color for your drawing. Different embroidery thread types give different looks.
| Thread Type | Look | Good For… | Things to Know |
|---|---|---|---|
| Rayon | Very shiny, bright | Designs that need sparkle and color | Can be less strong than polyester |
| Polyester | Shiny, strong | Things that need to be washed a lot | Very durable |
| Cotton | Matte (not shiny) | Natural look, matches cotton fabrics | Can break more easily, less shine |
| Metallic | Very shiny, reflective | Special effects, adding sparkle | Needs special needle (metallic), can be tricky |
| Bobbin Thread | Thin, usually matte | Goes in the bobbin | Lighter weight than top thread |
For most beginner machine embroidery lettering, rayon or polyester thread is a good choice for the top thread. It flows well through the machine and looks pretty. Always use a lighter weight thread in the bobbin, often specifically made for embroidery.
Using Decorative Stitches for Lettering
This method lets you be creative! You don’t need letters saved in your machine. You use the stitches your machine already has.
Think of your decorative stitches as different pens or markers.
- A narrow, close zigzag stitch can make a thick line. Move your fabric to trace your letters.
- A satin stitch (a very close zigzag) makes a smooth, raised line. This can make very nice, solid letters.
- Some machines have tiny patterns, like small diamonds or waves. You could use these to fill in the space inside a letter outline you made.
To do this:
- Draw your letter shape on the fabric. Make it big enough to trace with your stitch.
- Put the hooped fabric under the machine.
- Select the decorative stitch. Set the stitch length and width. A short length makes stitches close together (dense).
- Sew slowly, moving the fabric to follow your drawn line.
- Go around the outline of your letter. If you want it thicker, go around again or slightly overlap your stitching path.
This method of using decorative stitches for lettering needs steady hands and good practice. It gives you unique results that look handmade.
Free Motion Embroidery Letters: The Art of Drawing
Free motion is exciting because you are the artist! You move the fabric freely under the needle to draw. This is how you do free motion embroidery letters.
Imagine your needle is a pencil drawing on paper. The paper is your fabric. Your hands move the paper to make the drawing.
- Prepare: Lower the feed dogs. Put on the darning/free motion foot.
- Setup: Hoop your fabric and stabilizer tightly. Mark your letters if you want a guide.
- Start: Put the hoop under the needle. Lower the foot. Start sewing. Take a few stitches in place or sew a tiny circle to lock the thread.
- Move: Start moving the hoop to form your letter shape. Move at a steady speed. Try to match your hand speed to your machine speed. This makes stitches that are about the same length.
- Form Letters: Draw the lines of your letters with the stitches. Lift the foot slightly (if possible with your machine/foot) and move to the next part of the letter or word. Lock stitches when you finish a letter or word.
- Practice: Start with simple letters. Then try connecting them. Making smooth curves is hard at first. Keep practicing on scraps.
Free motion embroidery letters let you write in cursive or create your own font style. It’s very flexible!
Monogramming with Your Sewing Machine
Monogramming with sewing machine means adding one, two, or three letters to something to show who it belongs to. This is a classic way to personalize items like towels, napkins, shirts, or bags.
You can monogram using any of the methods we talked about:
- Built-in Fonts: If your machine has them, this is fast and easy. Just select the letters and position them where you want the monogram.
- Decorative Stitches: You can outline or fill in large block letters using decorative stitches for lettering.
- Free Motion: Draw your monogram letters in any style you like using free motion embroidery letters. This gives a truly custom look.
When monogramming, think about:
- Size: How big should the letters be?
- Placement: Where should the monogram go? (pocket, cuff, corner of a towel?)
- Color: What thread color will look best on the fabric?
- Order: For a three-letter monogram, the middle letter is usually the last name initial and is larger. The first initial is on the left, and the middle initial (if used) is on the right. (Example: Mary Catherine Smith = MSC). For a two-letter monogram, it’s usually just the first and last initial.
Monogramming with sewing machine is a great way to make thoughtful, handmade gifts.
Frequently Asked Questions
Here are answers to some common questions about embroidering letters on a sewing machine.
Can my sewing machine do machine embroidery lettering?
Most sewing machines can do some form of lettering. Machines with built-in fonts are easiest. Machines with decorative stitches or the ability to lower feed dogs can do it with free motion. Check your machine’s manual or look for features like “decorative stitches,” “font stitches,” or the ability to lower feed dogs.
What kind of stabilizer for embroidery should I use?
It depends on your fabric. Use tear-away for stable fabrics like cotton or denim. Use cut-away for stretchy fabrics like knits or projects that will be washed a lot. Use wash-away if you want no stabilizer left on the fabric at all (good for delicate items or open designs). You might also need topping for fabrics with a texture like towels.
How do I choose the best sewing machine embroidery fonts?
If your machine has built-in fonts, look at the examples in your manual. Choose fonts that are easy to read for words or decorative for monograms. Consider the size of the font and how it will look on your project. Simple fonts are often best for beginners.
What are the best embroidery thread types?
Rayon and polyester threads are popular for their shine and strength. Cotton thread gives a more natural, matte look. Use a good quality thread that doesn’t break easily. Always use embroidery-specific bobbin thread in the bobbin.
Why is my fabric puckering around the letters?
This is usually because you need more support. Make sure your fabric and stabilizer for embroidery are hooped very tightly. Try using a stronger type of stabilizer or using two layers.
Do I need a special embroidery hoop?
You need an embroidery hoop to hold the fabric flat and tight. Standard hoops work for free motion. Some machines use special hoops with guides for built-in stitches or may require specific sizes. Check your machine’s manual.
How do I make my free motion embroidery letters look neat?
Practice is key! Start slow. Try to keep your hand speed and machine speed steady to make even stitches. Draw guide lines on your fabric first. Don’t expect perfection right away; it takes time to learn the movement.
Wrapping Up
Learning how to embroider letters on a sewing machine opens up a whole new world of projects. Whether you use built-in fonts on sewing machine, create designs with decorative stitches for lettering, or master free motion embroidery letters, you can personalize almost anything. Remember to use the right materials, like good quality embroidery thread types and the correct stabilizer for embroidery. Practice setting up sewing machine for embroidery correctly and hooping your fabric tightly with the embroidery hoop. With a little patience and practice, you’ll be adding beautiful machine embroidery lettering to your creations, making them truly yours. Happy stitching!