
Thinking you need a big, expensive machine to quilt? Think again! You can absolutely quilt beautiful projects using the regular sewing machine you already own. Many quilters start this way, and some stick with it forever. Your standard machine is perfect for making quilts, from small wall hangings to larger bed quilts. It just takes knowing a few simple tricks and techniques.
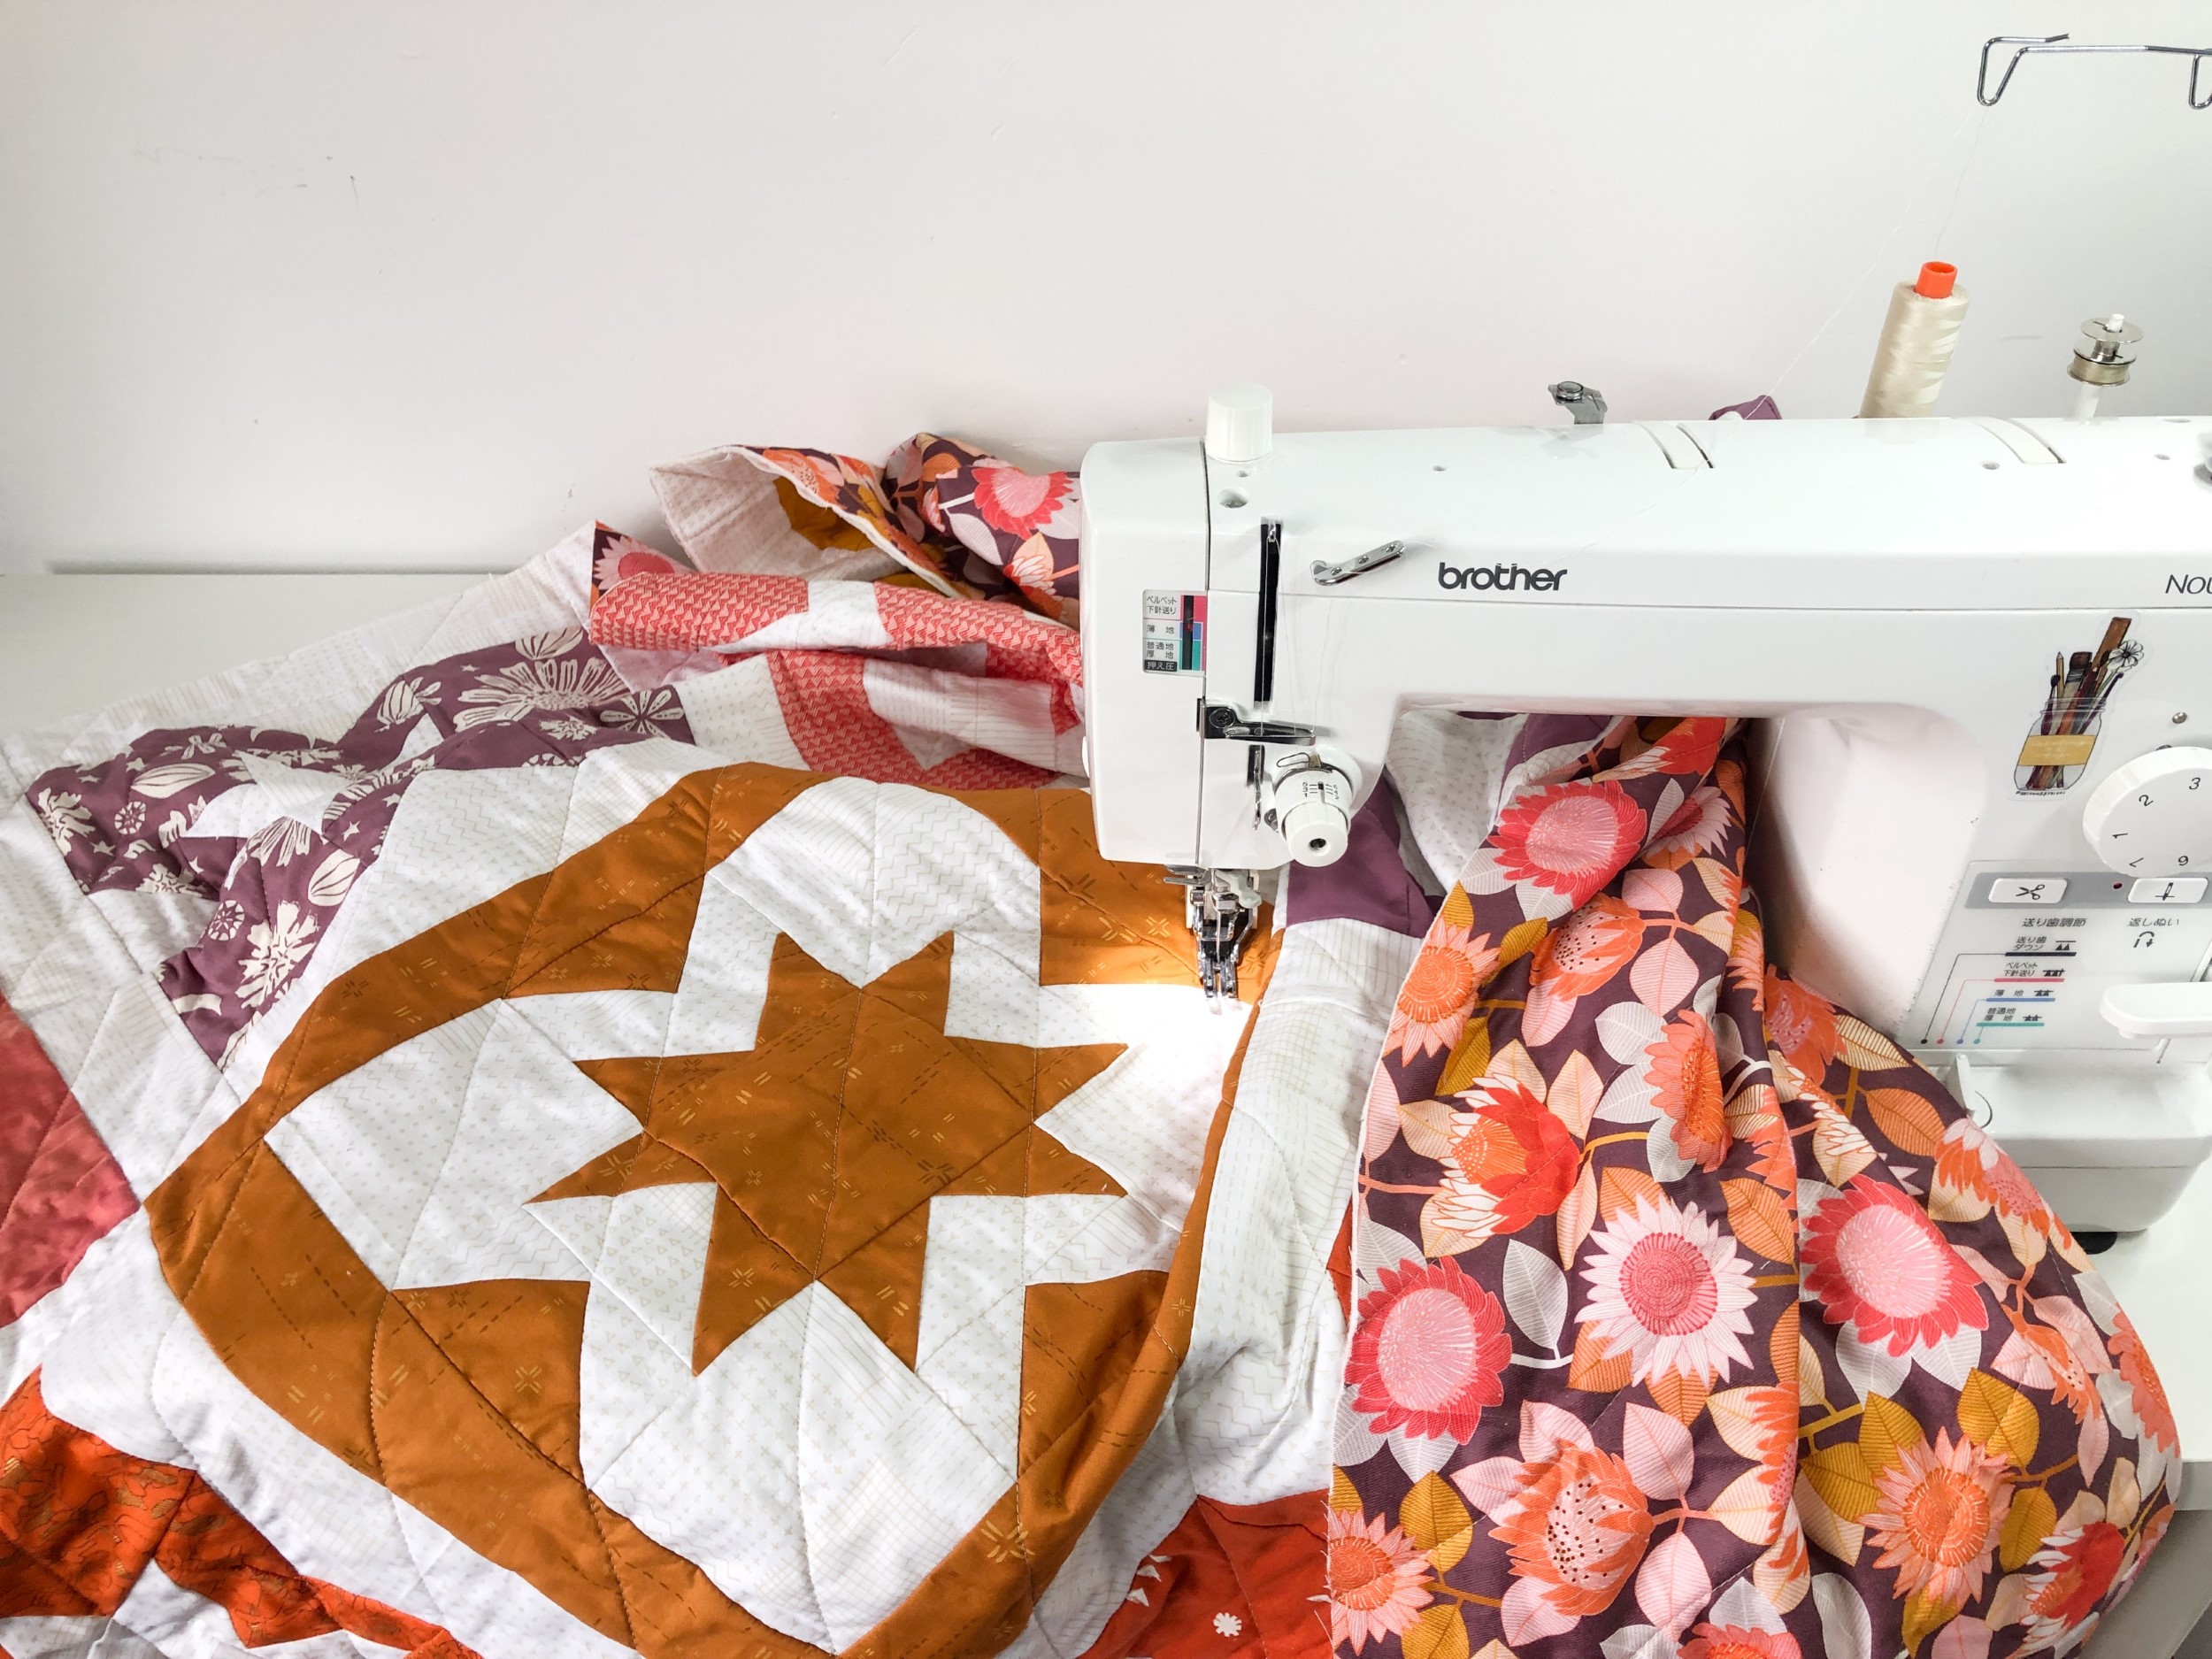
Image Source: www.blossomheartquilts.com
Grasping the Basics: What Quilting Is
Quilting is the process of sewing three layers together. These layers are the quilt top (your design), the batting (the soft middle layer), and the backing fabric. Sewing these layers together keeps the batting in place and adds texture and strength to the quilt. You can do this by hand, but using a sewing machine is much faster.
Getting Ready: What You Need
Before you start sewing those layers, you need the right tools and supplies. You likely have most things already if you sew. But a few items make quilting much easier on a regular machine.
Essential Supplies
- Your Quilt Sandwich: This is the top, batting, and backing fabric you prepared.
- Thread: Use good quality cotton or polyester thread. Cotton is popular for its look with cotton fabrics. Polyester can be stronger. Pick a color that blends or stands out, depending on your plan.
- Sharp Scissors: For cutting thread and fabric cleanly.
- Quilting Pins or Safety Pins: For holding your layers together.
- Measuring Tape or Ruler: To check your work.
Important Machine Aids
Your regular sewing machine has many features perfect for quilting. You just need to know how to use them and perhaps add a couple of accessories.
Machine Quilting Needles
Using the right needle is very important. A dull or wrong needle can cause skipped stitches or broken threads.
* Quilting Needles: These needles have a special tapered point. They are designed to go through many layers of fabric and batting easily. This helps prevent damage to your fabric and reduces skipped stitches.
* Topstitching Needles: These also work well sometimes. They have a very sharp point and a larger eye, which is good for thicker threads.
* Needle Size: For quilting, sizes 90/14 or 80/12 are common. Thicker batting or thread might need a larger needle. Always start with a fresh needle for each project. Needles get dull fast when sewing through layers.
Presser Feet for Quilting
Your machine came with different feet. Some are much better for quilting than others. Using the right presser foot for quilting makes a huge difference.
- Walking Foot for Quilting: This is arguably the most useful foot for quilting on a regular machine. A walking foot for quilting has its own set of ‘feed dogs’ or teeth on the bottom. These work with your machine’s feed dogs to grip and move the top layer of fabric at the same rate as the bottom layer. This prevents the fabric layers from shifting, puckering, or stretching as you sew straight lines or gentle curves. If you only buy one foot for quilting, make it a walking foot.
- Free Motion or Darning Foot: This foot is used for free motion quilting on regular machine. It doesn’t have teeth and it hovers slightly over the fabric. This lets you move the fabric in any direction you want – forwards, backwards, sideways, circles. You need to drop your machine’s feed dogs when using this foot so they don’t fight your movement.
- Open Toe Foot: Some presser feet, like a free motion foot or even some regular feet, come with an open toe design. This U-shaped opening gives you a better view of your stitching area. This is very helpful when you are trying to follow a line or sew a specific design.
- Edge Stitch Foot or Stitch-in-the-Ditch Foot: These feet have a guide that helps you sew perfectly in the ‘ditch’ between seams. This creates a neat, almost invisible line of quilting that makes the seam lines pop.
Here is a quick look at useful feet:
| Presser Foot | Use Case | Key Feature |
|---|---|---|
| Walking Foot | Sewing straight lines, gentle curves | Moves fabric layers evenly |
| Free Motion/Darning Foot | Free motion quilting (any direction) | Allows free movement, requires feed dogs down |
| Open Toe Foot | Better view of stitching area | U-shaped opening at the front |
| Edge Stitch/Stitch-in-Ditch | Sewing precisely along seam lines or edges | Has a guide for alignment |
Preparing Your Layers: Basting Your Quilt Sandwich
Before you can quilt, the three layers of your quilt need to be held together securely. This is called basting a quilt sandwich. Good basting prevents wrinkles and folds on the back of your quilt as you machine quilt.
Methods for Basting
There are a few popular ways to baste a quilt sandwich. Each has pros and cons.
Spray Basting
- Use a temporary fabric adhesive spray designed for quilting.
- Lay your backing fabric flat, face down, and tape it smooth to a clean floor or large table.
- Lay your batting smoothly on top of the backing.
- Spray a section of the batting (following can instructions).
- Lay your quilt top smoothly on top of the batting, lining up the edges. Smooth it with your hands, working from the center out.
- Lift the next section of the quilt top and batting, spray the batting, and smooth the layers down again.
- Repeat until the whole quilt is sprayed together.
- Pros: No pins to work around while quilting. Quick setup time.
- Cons: Can be messy. Needs good ventilation. Some sprays can make needles sticky. Might not be strong enough for very dense quilting.
Pin Basting
- Lay your backing fabric flat, face down, and tape it smooth.
- Lay your batting smoothly on top of the backing.
- Lay your quilt top smoothly on top of the batting, centered.
- Use quilter’s safety pins (these have a slight bend that makes them easier to close).
- Start pinning from the center of the quilt and work your way out to the edges.
- Place pins about every 4-6 inches in a grid pattern. Make sure to go through all three layers.
- Check the back often to make sure you aren’t pinning any tucks or folds.
- Pros: Secure hold. Easy to see where you’ve pinned. No chemicals.
- Cons: Pins can distort the layers slightly. You have to remove pins as you sew. Easy to poke yourself!
Thread Basting
- Lay out your quilt sandwich layers as for pin basting.
- Use a needle and thread (quilting thread or even cheap contrasting thread) to make long, loose stitches through all three layers.
- Stitch lines about 4-6 inches apart, creating a grid. No need for knots at the ends; leave long tails you can snip later.
- Pros: Very secure. No pins to remove while sewing. No chemicals. Lays very flat.
- Cons: Takes the longest time. Stitches need to be removed after quilting.
For machine quilting on a regular machine, especially for beginners, pin basting or spray basting are often the easiest. Spray basting avoids wrestling with pins, while pin basting is less messy. Try both to see what you like best.
How to Handle Large Quilt on Sewing Machine During Basting
Working with a large quilt on a small machine means dealing with a lot of fabric. This starts even when basting.
- Clear a Big Space: You need a large, flat surface. The floor is often the best place for big quilts. Make sure it’s clean!
- Tape It Down: Use painter’s tape or masking tape to secure the backing fabric to the floor or table. Pull it taut but not stretched.
- Work in Sections: Don’t try to smooth and baste the whole quilt at once. Do one half, then the other. Or work in columns or rows.
- Roll or Fold: As you smooth and baste, you might need to roll or loosely fold sections you aren’t currently working on to keep them tidy and out of the way.
- Get Help: An extra pair of hands can be a lifesaver for smoothing and aligning large layers.
Dealing with a large quilt is a key part of how to handle large quilt on sewing machine from start to finish. Planning for space is vital.
Setting Up Your Machine for Quilting
Your sewing machine needs a little preparation before you start quilting.
Adjusting Tension Settings for Quilting
Getting the right tension settings for quilting is super important. If your tension is off, you’ll see loops of thread on the top or bottom of your quilt.
* What is Tension? Tension controls how tight the top thread and the bobbin thread are pulled. They should meet and lock in the middle layer (the batting).
* How to Test: Always test your tension on a practice swatch. This swatch should be three layers thick, just like your quilt sandwich, using the same fabrics and batting.
* Sew Practice Lines: Sew some straight lines on your test swatch. Check both the top and the bottom stitches.
* Looking for Problems:
* Loops on the bottom: Top tension is too loose, or bottom tension is too tight. Try increasing your top tension (higher number).
* Loops on the top: Bobbin tension is too loose, or top tension is too tight. Try decreasing your top tension (lower number).
* Stitches look flat on top and bottom, like a straight line instead of slightly embedded: Tension might be too tight overall.
* Adjusting: Most tension adjustments are made using the dial or buttons for the top tension on your machine. Bobbin tension is rarely adjusted unless you are an experienced quilter dealing with persistent issues.
* Machine Specifics: Your machine’s manual will have specific instructions for adjusting tension. Start with the recommended setting for your stitch and fabric thickness, then adjust based on your test swatch.
Other Machine Settings
- Stitch Length: If using a walking foot, you’ll use a standard straight stitch. A stitch length between 2.5 and 3.0 mm is typical for quilting lines. Too short, and the stitches can be hard on the fabric. Too long, and the quilting might not be secure.
- Feed Dogs: These are the teeth under the presser foot that move the fabric.
- Walking Foot: Keep the feed dogs UP. The walking foot works with the feed dogs.
- Free Motion Quilting: You must LOWER or COVER your feed dogs. This is usually done with a switch on your machine or by adding a plate. Lowering them lets you move the fabric freely in any direction.
- Stitch Type: For most quilting, you’ll use a straight stitch. Your machine might have decorative stitches, which can also be used for quilting (quilting stitches on sewing machine), but this often works best with a walking foot to keep layers smooth.
- Needle Position: Usually, center needle position is fine.
Setting Up Your Space
- Work Surface: A larger surface around your machine helps support the weight of the quilt. Quilting tables that attach to your machine or simply pulling tables or ironing boards close can help.
- Lighting: Good light is essential to see your stitching clearly.
- Comfort: Make sure your chair and machine height are comfortable. You’ll be spending a lot of time here!
Sewing Machine Quilting Techniques
Now for the fun part – the actual sewing! There are two main ways to machine quilt on a regular machine: using a walking foot or doing free motion quilting. Both are great sewing machine quilting techniques.
Beginner Machine Quilting with a Walking Foot
This is often the recommended starting point for beginner machine quilting. Using a walking foot makes it much easier to get smooth, even lines without puckers.
Preparing to Sew
- Attach your walking foot.
- Insert a new machine quilting needle.
- Set your machine to a straight stitch, length 2.5-3.0 mm.
- Keep feed dogs up.
- Test tension on a swatch.
- Have extra bobbins wound.
Handling the Quilt
Remember how to handle large quilt on sewing machine? This is where it’s key.
* Support the Weight: The most important thing is to support the weight of the quilt. Don’t let it hang off the machine. This pulls on your needle and can cause tension problems, broken stitches, or even needle breaks.
* Roll or Fold: Roll up the parts of the quilt you aren’t currently sewing into manageable bundles. Use quilting clips or elastic bands to keep the rolls neat. Place these rolls on tables or surfaces around your machine so the weight is supported.
* Sew from the Middle: For straight lines, it’s often best to start stitching from the center of the quilt and work your way out to the edges. This pushes any extra fabric or fullness towards the outside.
Walking Foot Stitching Techniques
- Stitch in the Ditch: This means sewing right in the seam line where two pieces of fabric are joined. It’s a popular way to make the piecing stand out. An edge stitch foot can help here.
- Straight Line Quilting: Sew straight lines across the quilt. You can use the edge of your walking foot, masking tape placed on the quilt, or a Hera marker (makes a crease line) as a guide. Stitch lines parallel to seams or at an angle.
- Crosshatching: Sewing diagonal lines in a grid pattern. This adds a lot of texture.
- Gentle Curves: You can sew slightly curved lines with a walking foot, but don’t try tight turns.
When using a walking foot, you are guiding the fabric gently. Don’t push or pull hard. Let the walking foot and feed dogs do the work. Your hands are there to steer and support the weight.
Free Motion Quilting on Regular Machine
This is where you get to be creative! Free motion quilting on regular machine allows you to draw with thread. It takes practice, but it’s very rewarding.
Preparing to Sew
- Attach your free motion or darning foot.
- Lower or cover your feed dogs.
- Insert a new machine quilting needle.
- Set your machine to a straight stitch. The stitch length setting doesn’t control the stitch length anymore because the feed dogs are down. YOU control the stitch length by how fast you move the fabric and how fast your needle goes up and down.
- Test tension on a swatch. This is even more important for free motion as inconsistent movement can affect tension look.
- Have extra bobbins wound.
Handling the Quilt
Again, how to handle large quilt on sewing machine is critical.
* Support: Just like with the walking foot, support the weight of the quilt around your machine. Roll or fold edges.
* Space to Move: You need room to move the quilt freely under the needle. Clear your workspace.
* Grips (Optional): Some quilters use special quilting gloves or machingers (finger grips) to help grip the fabric better.
Free Motion Stitching Techniques
- Controlling Speed: Find a comfortable speed. Many beginners find it easiest to set the machine to a medium-high speed they can maintain constantly.
- Controlling Movement: You move the fabric to create the stitches. Move smoothly and evenly. The faster you move the fabric relative to the needle speed, the longer your stitches will be. The slower you move it, the shorter they will be. Try to keep them consistent.
- Basic Shapes: Start with simple patterns on your practice swatch.
- Meander: A simple, wavy line that fills the space. Like drawing a puzzle piece or a simple maze. Don’t cross lines at sharp angles.
- Loops: Connected circles or loops.
- Stippling: Very small, tight meanders that create a dense texture.
- Pebbles: Drawing small circles close together.
- Planning Your Path: For overall designs, think about where you are going and where you will end up. Avoid starting in a corner and trying to quilt to the opposite corner without a plan for filling the middle or returning.
Combining Techniques
You don’t have to choose only one technique. You can use a walking foot for the borders or stitch-in-the-ditch, and then switch to free motion for the centers of blocks. This mix of sewing machine quilting techniques adds interest.
Mastering Your Stitches: Tips for Success
Getting good at quilting on a regular machine takes time and practice. Don’t expect perfection on your first try.
The Importance of Practice
- Practice Swatches: Seriously, use practice swatches! This is the best way to test needles, thread, tension settings for quilting, and different quilting stitches on sewing machine or free motion patterns before you work on your actual quilt.
- Start Small: Your first machine-quilted project doesn’t need to be a king-size quilt. Start with a placemat, a mug rug, or a baby quilt. This helps you learn how to handle large quilt on sewing machine by starting with smaller versions.
- Consistent Movement: For free motion, focus on smooth, steady movement of the fabric and a steady machine speed. This helps create even stitches.
Troubleshooting Common Issues
- Skipped Stitches:
- Is your needle new and sharp?
- Is it inserted correctly?
- Is the right type of machine quilting needle being used?
- Check your tension settings for quilting.
- Thread Breaking:
- Is your needle new?
- Is the thread path correct (threaded properly)?
- Is the thread suitable for machine quilting? (Sometimes cheap thread breaks easily).
- Is your tension too tight?
- Are you pulling or pushing the fabric too hard?
- Puckers or Folds on the Back:
- Was your basting a quilt sandwich done well? This is the most common reason.
- Are you supporting the weight of the quilt while sewing (how to handle large quilt on sewing machine)?
- Are you using the right presser feet for quilting (walking foot for straight lines, free motion for free movement)?
- Are you forcing the fabric? Let the machine and foot do the work.
Embracing Imperfection
Handmade items have character. Don’t stress over every stitch being perfect. Even experienced quilters have stitches that aren’t flawless. Focus on finishing the quilt and making it usable and loved. The more you quilt, the better you will get. Beginner machine quilting is about learning and having fun.
Frequently Asked Questions
What is the best sewing machine for quilting for beginners?
You don’t need a special one! The best machine to start with is the one you already have. As long as it can sew a straight stitch, use different presser feet for quilting (like a walking foot), and preferably lower its feed dogs (for free motion), it can quilt.
Can I use decorative quilting stitches on sewing machine?
Yes! Many regular machines have decorative stitches. You can use these as quilting stitches on sewing machine to add unique textures and patterns. Using a walking foot is usually best for this to keep the layers flat as the machine creates the complex stitch.
How do I know if my tension settings for quilting are right?
The best way is to test on a small basting a quilt sandwich made from your project fabrics. Sew lines and check the stitches on both the top and back. The stitches should look the same on both sides, with no loops showing.
What is free motion quilting on regular machine?
It’s a technique where you lower your machine’s feed dogs and use a free motion foot. This lets you move the fabric freely under the needle in any direction to “draw” designs with thread. It allows for curves, swirls, words, or any shape you can imagine.
How do I handle large quilt on sewing machine?
Support is key. Don’t let the quilt hang down. Roll or fold the excess fabric and support it on tables or surfaces around your machine. This prevents the weight from pulling on the needle and fabric, which causes problems. Work from the center out when possible.
Do I really need a walking foot for quilting?
For straight lines or stitch-in-the-ditch on a regular machine, a walking foot for quilting is highly recommended, especially for beginners. It makes a huge difference in keeping layers smooth and preventing puckers. You can quilt without one, but it’s much harder to get good results on large projects.
What kind of batting should I use for machine quilting?
Most battings work for machine quilting. Cotton, polyester, blends, and wool are common. Check the batting package for the recommended maximum distance between quilting lines. This tells you how dense your quilting needs to be to keep the batting stable.
How often should I change my machine quilting needles?
Change your machine quilting needles often! Sewing through multiple layers dulls a needle quickly. Change it at the start of each new project, or even partway through a large project if you notice skipped stitches or hear the needle punching through the fabric with force.
Conclusion
Quilting on a regular sewing machine is not only possible, it’s how countless beautiful quilts have been made. By understanding the basics, gathering the right tools (like a walking foot for quilting and the correct machine quilting needles), preparing your layers with careful basting a quilt sandwich, and getting your tension settings for quilting just right, you are well on your way.
Whether you start with beginner machine quilting using simple straight lines or jump into free motion quilting on regular machine, remember to practice. Learn how to handle large quilt on sewing machine by managing the fabric weight. Use different presser feet for quilting and explore the quilting stitches on sewing machine you have available.
Your regular machine is a capable tool for all sorts of sewing machine quilting techniques. Don’t wait for a special machine. Start quilting today with what you have! With patience and practice, you can create stunning quilted items right in your own home.