
Image Source: www.blossomheartquilts.com
How Do You Quilt With A Regular Sewing Machine Guide
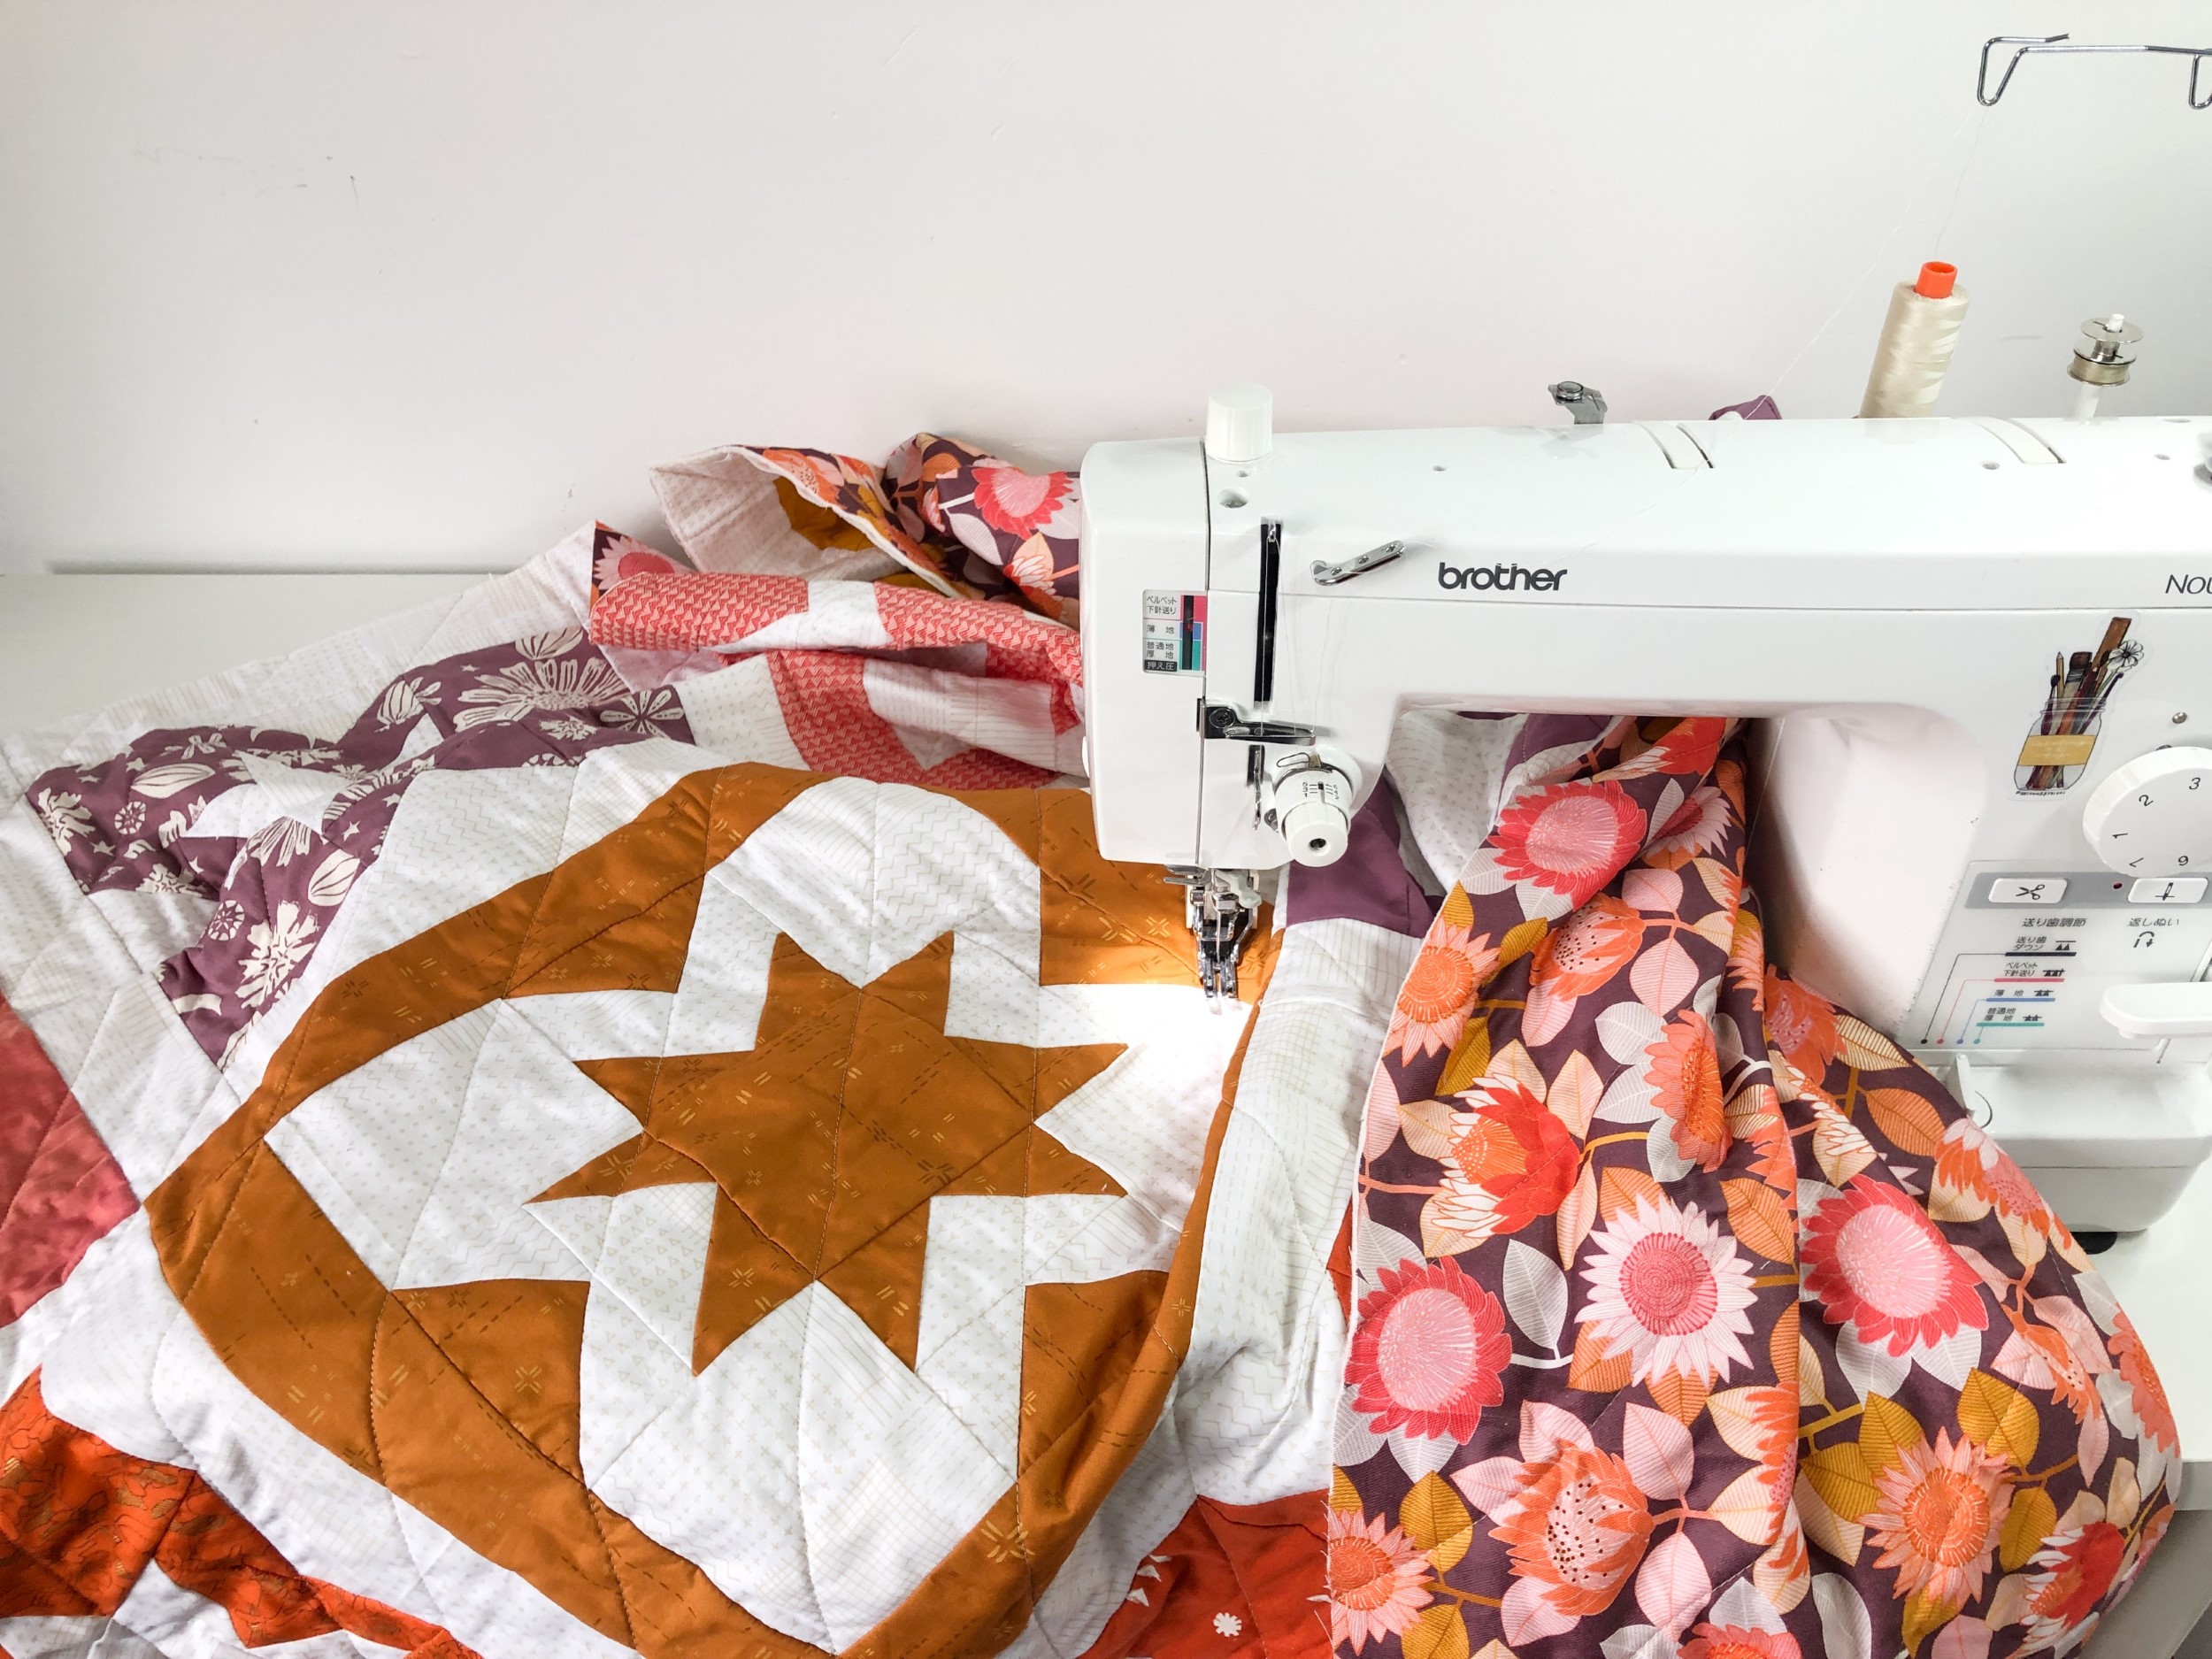
Yes, you absolutely can quilt with a regular sewing machine! Quilting on a standard machine is how many quilters start and continue to finish their projects. It just takes knowing a few key techniques and having the right tools to turn your quilt layers into a beautifully finished piece using the machine you already own. This guide will walk you through the simple steps and helpful tips to get you machine quilting today.
Getting Your Quilt Ready for Stitching
Before any stitches hit the fabric, you need to prepare your quilt. This means getting the three layers ready. Think of a quilt sandwich: the backing fabric is the bottom layer, the batting (the fluffy stuff) is the middle layer, and your pieced quilt top is the top layer. Making sure these layers are smooth and secure is the first big step. This process is called layering quilt for machine quilting.
Picking Your Quilt Layers
- Backing Fabric: Choose a fabric a few inches bigger all around than your quilt top. This extra size gives you room to handle the quilt and prevents the batting or top from peeking out at the edges while you work.
- Batting: This is the heart of your quilt. Batting comes in different fibers like cotton, polyester, wool, or blends. Pick one that gives the quilt the warmth and loft (puffiness) you like. Like the backing, the batting should be a few inches bigger than your quilt top.
- Quilt Top: This is the creative part you pieced together. Make sure it’s pressed flat and free of loose threads.
Putting the Layers Together
Lay your backing fabric flat on a large surface, like a table or the floor. Use painter’s tape to tape the edges down gently but firmly, smoothing out any wrinkles. The wrong side of the backing should be facing up.
Next, lay the batting smoothly over the backing. Make sure there are no bumps or wrinkles. Let the batting hang over the edges of the backing equally on all sides.
Finally, center your pressed quilt top over the batting. The right side of the quilt top should be facing up. Smooth it out from the center towards the edges, removing any wrinkles. Your quilt sandwich is now ready for the next step: securing the layers.
Securing the Layers: Basting
Basting a quilt for machine means temporarily holding the three layers together so they don’t shift while you are quilting. There are a few popular ways to do this.
- Pin Basting: This is very common. Use special curved safety pins (they are easier to push through the layers). Start pinning from the center of the quilt and work your way out. Place pins about a fist-width apart, making sure you catch all three layers with each pin. Be generous with pins to prevent shifting.
- Spray Basting: You can use a temporary fabric adhesive spray. Spray a section of the batting, smooth the top onto it, then lift the next section of the top and repeat. Do this from the center out. Follow the product directions carefully. Spray basting holds layers very smoothly, but ventilation is important.
- Thread Basting: This involves using a needle and thread to make long, loose stitches across the quilt. This method is more time-consuming but works well, especially for larger quilts. You will remove these stitches later.
Choose the method that feels best for you. The goal is to keep the three layers from moving independently as you quilt.
Essential Sewing Machine Tools for Quilting
While your regular machine can do the stitching, a couple of special presser feet and the right needles can make a big difference in your quilting success.
Grasping Presser Feet
Presser feet help guide the fabric under the needle and apply pressure. For quilting, specific feet are incredibly helpful.
- The Walking Foot: This foot is a game-changer for straight line quilting and stitching curves where you want even stitches. A walking foot for quilting has its own set of feed dogs (those little teeth under the foot that pull the fabric) on the bottom of the foot itself. As your machine’s feed dogs move the bottom two layers, the walking foot’s feed dogs move the top layer. This helps all three layers feed through the machine at the same rate, preventing bunching and puckering.
- When to use a walking foot:
- Straight lines
- Stitching in the ditch
- Gentle curves
- Quilting designs that require the machine to feed the fabric
- Working with bulky fabrics or layers
- When to use a walking foot:
| Presser Foot Type | Main Use Case | Feed Dog Setting | Key Benefit |
|---|---|---|---|
| Walking Foot | Straight lines, gentle curves | Up | Moves all layers evenly, prevents puckering |
| Darning/FMQ Foot | Free Motion Quilting | Down | Allows free movement of fabric |
| Standard Foot | Piecing, bindings | Up | Everyday sewing, not ideal for quilting |
- The Darning Foot (or Free Motion Quilting Foot): If you want to do free motion quilting regular machine style, you need a darning foot. This foot is different because it doesn’t rest on the fabric. It hovers just above it. This allows you to move the quilt sandwich freely in any direction – forward, backward, side-to-side, or in circles – to create your own designs like loops, swirls, or stippling. A darning foot for machine quilting often looks like a small hoop or an open-toe foot.
- When to use a darning foot:
- Free motion quilting (designs drawn freehand)
- Stippling
- Loops, swirls, feathers
- Any time you need to move the quilt in directions other than straight forward.
- When to use a darning foot:
Make sure the presser foot you get fits your specific machine model. They aren’t always universal.
Selecting Quilting Needles
Using the right needle is important for any sewing project, and quilting is no different. A specialized quilting needle for sewing machine work is designed to go through multiple layers of fabric and batting smoothly without breaking or snagging.
- Quilting Needles: These needles have a strong shaft and a sharp point. The sharp point is designed to penetrate the layers of a quilt sandwich cleanly, reducing skipped stitches and stress on the thread.
- Microtex (Sharp) Needles: These are also a good choice, especially if you are quilting a dense design or working with fine fabrics. They have a very sharp point that makes precise stitches.
- Needle Size: A common size for machine quilting is 90/14 or 80/12. Start with a 90/14; it’s sturdy enough for going through bulk. If you’re having issues with skipped stitches or breaking threads, sometimes a larger needle helps.
Change your needle regularly, especially when quilting. A dull or bent needle can cause frustration with skipped stitches, thread breaks, and even damage your fabric. Change it after every quilt project or after about 8-10 hours of sewing time.
Machine Settings for Quilting Success
Your sewing machine has a few settings you’ll need to adjust for quilting. The most important one relates to the feed dogs.
Deciphering Feed Dogs Up or Down
The feed dogs up or down quilting setting is crucial because it controls how the fabric moves.
- Feed Dogs UP: This is the normal setting for regular sewing and piecing. The feed dogs are the metal teeth under the presser foot that grip the fabric and pull it backward to create stitches. Keep the feed dogs UP when you are using a walking foot for straight line quilting or stitch in the ditch. The machine is controlling the movement of the fabric.
- Feed Dogs DOWN: When you are doing free motion quilting with a darning foot, you need to drop the feed dogs. This allows you to move the fabric freely in any direction you want to create your designs. Most machines have a lever or a button to drop the feed dogs. If your machine doesn’t have a way to drop them, you can get a “feed dog cover plate” that goes over them.
Stitch Length and Tension
- Stitch Length: When using a walking foot with feed dogs up, set your stitch length to a normal setting, maybe slightly longer than you would for piecing (2.5 to 3.0 mm). If your stitches are too short, they can perforate the fabric like a paper tear-off line. For free motion quilting (feed dogs down), there is no stitch length setting. The length of your stitch is determined by how fast your needle is moving and how fast you are moving the fabric. This is where practice comes in!
- Tension: Thread tension needs to be balanced so your stitches look the same on the top and bottom of the quilt. Too tight and the bobbin thread will show on top; too loose and the top thread will show on the bottom. It’s a good idea to make a small “quilt sandwich” sample with your fabrics, batting, and thread to test your tension before you start on your real quilt. Adjust your tension dial until the stitches look balanced.
Exploring Different Quilting Styles
Quilting adds texture and holds your layers together. You can achieve many different looks using a regular machine.
Simple Straight Line Quilting
Straight line quilting machine method is a fantastic way to start. It’s clean, modern, and effective. You use your walking foot and keep the feed dogs up. The machine controls the stitch length and helps keep your lines straight.
- How to do it:
- Install your walking foot.
- Set your stitch length to a comfortable length (e.g., 2.8 mm).
- Keep feed dogs up.
- Start stitching lines across your quilt. You can quilt lines parallel to seams, diagonally across blocks, or in grids.
- To keep lines straight and evenly spaced, you can use painter’s tape as a guide, draw lines with a water-soluble marker (test first!), or use a quilting guide bar that often comes with the walking foot and attaches to the side of the foot.
- Work from the center of the quilt outwards to push excess fabric towards the edges.
This style is great for beginners because it relies on the machine’s feeding system, making it easier to get consistent results.
Stitch in the Ditch
Stitch in the ditch with sewing machine means stitching exactly in the seam lines where two fabrics are joined. This method makes the quilting less visible and helps define the different sections of your quilt top.
- How to do it:
- Use your walking foot.
- Keep feed dogs up.
- Set your stitch length as you would for straight line quilting.
- Position your needle so it stitches right in the groove (the “ditch”) where the fabrics meet.
- Sew slowly and carefully, guiding the quilt to keep the needle in the ditch. You may need to gently pull the layers apart slightly as you stitch to see the ditch better.
- Start stitching near the center of the quilt and work outwards on one seam, then move to another seam, again working from the center outwards.
Stitch in the ditch is a great way to stabilize the quilt layers before adding more decorative quilting if you choose.
Venturing into Free Motion Quilting
Free motion quilting regular machine style is where you become the director of the fabric movement. With the feed dogs down and using a darning foot, you move the quilt sandwich under the needle to draw designs.
- How to do it:
- Install your darning foot.
- Drop your feed dogs (or put on the cover plate).
- Lower your presser foot lever (even though the foot doesn’t touch the fabric, lowering the lever engages the tension).
- Practice on a small quilt sandwich first! This is key.
- Start stitching slowly. Your stitch length is controlled by the speed of your needle and the speed you move the fabric. Move the fabric too fast, and stitches will be long; move it too slow, and stitches will be tiny and can build up in one spot. Aim for consistent movement.
- Gently hold the quilt sandwich taut with your hands spread wide on the quilt top, just outside the area you are stitching. This helps keep it flat.
- Move the quilt to create designs like loops, swirls, meanders (like rivers), or stippling (puzzle piece shapes). Keep the movement smooth and continuous.
- Relax! It takes practice to get smooth lines and consistent stitches. Don’t aim for perfection at first, just keep the fabric moving.
| Quilting Style | Foot Needed | Feed Dogs | Fabric Movement | Skill Level | Best For |
|---|---|---|---|---|---|
| Straight Line | Walking Foot | Up | Machine controlled | Beginner | Modern quilts, quick finish |
| Stitch in the Ditch | Walking Foot | Up | Machine controlled | Beginner/Moving | Blending quilting into seams |
| Free Motion Quilting | Darning/FMQ Foot | Down | You control movement | Intermediate | Custom designs, overall patterns (stipple) |
Machine Quilting Beginner Tips
Starting machine quilting can feel like a big leap, but with a few simple machine quilting beginner tips, you’ll find it’s very achievable.
- Start Small: Don’t quilt your first ever project on a king-size quilt. Start with something small like a placemat, a mug rug, or a baby quilt. These small projects are less intimidating and easier to manage on a regular machine bed.
- Make Practice Sandwiches: Before you sew on your real quilt, make mini quilt sandwiches (about 18 inches square) using the same fabric, batting, and thread. Use these to practice your basting, test your tension, and try out different quilting designs. Practice free motion on these until you feel comfortable with how the fabric moves.
- Support Your Quilt: As you quilt, the weight of the quilt can pull and distort your stitches. Set up your sewing area so the bulk of the quilt is supported. You can use a table extension, chairs, or even boxes to keep the weight from hanging off your machine. This is extra important for larger quilts.
- Go Slow and Be Patient: Speed is not your friend when you’re learning. Start at a slow, consistent speed. Focus on smooth movements. If you make a mistake, it’s okay! Decide if you can live with it or if you need to use your seam ripper. Quilting takes practice, and your skills will improve with each project.
- Good Lighting is Key: Make sure you can see your stitching area clearly. Use a bright lamp or the light on your machine to help you guide the fabric accurately, especially when stitching in the ditch or following lines.
- Take Breaks: Machine quilting, especially large projects, can be physically tiring. Take breaks to stretch your neck, shoulders, and back. Step away for a few minutes. This helps you stay focused and reduces fatigue.
- Use Quilting Gloves: Some quilters find special quilting gloves helpful. They have grippy fingertips that help you hold and move the quilt sandwich more easily, reducing strain on your hands.
- Plan Your Quilting Path: Before you start stitching, think about where you will begin and where you will end. For straight lines, often starting in the center and working out helps. For free motion, you might work in sections. Planning helps you avoid having to maneuver the entire quilt through a small opening later.
- Don’t Aim for Perfection: Your first machine-quilted project won’t be perfect, and that’s okay! Handmade items have charm. Focus on getting the layers secured and practicing consistent stitching.
Putting it All Together: Your First Stitches
Once your quilt is basted and you have your tools ready, you can start stitching.
Preparing Your Machine
- Clean out the bobbin area and put in a fresh bobbin with your chosen thread.
- Thread the top with your chosen thread.
- Install the correct needle (a quilting needle for sewing machine is a good choice).
- Attach the correct presser foot (walking foot for straight lines/ditch, darning foot for free motion).
- Adjust your feed dogs (feed dogs up or down quilting based on your foot and style).
- Test your tension on a practice sandwich.
Starting to Quilt
- Getting Started: Place your quilt sandwich under the presser foot where you want to start. Bring the bobbin thread up to the top by lowering the needle, taking a stitch, and pulling gently on the top thread loop to bring the bobbin thread up. Hold both threads for the first few stitches to prevent tangling.
- Stitching: Begin stitching slowly. Guide the fabric evenly. Don’t push or pull hard, just guide. Let the machine (with walking foot) or your hands (with darning foot) do the work of moving the fabric.
- Stopping: When you stop stitching, pull the threads to the top before cutting. This prevents thread tails on the back that can get caught.
Considerations for Large Quilts
Quilting a large quilt on a regular sewing machine can be done, but it requires managing the bulk of the fabric.
- Roll or Fold: Roll or gently fold the parts of the quilt you are not currently stitching. Hold or support this bulk so it doesn’t pull on your needle.
- Work from the Center Out: For many designs, especially straight lines or stitch-in-the-ditch, starting in the center of the quilt and working towards one edge, then going back to the center and working towards the opposite edge, helps distribute the fabric and prevent tucks or puckers.
- Adjust Your Workspace: Clear the area around your machine. Use tables or chairs to help support the weight of the quilt.
- Consider the Design: Simpler designs or edge-to-edge patterns are often easier to manage on a regular machine than complex custom quilting that requires a lot of stopping and turning.
Troubleshooting Common Issues
Even with the right setup, you might run into small problems.
- Skipped Stitches: Check your needle. Is it new? Is it inserted correctly? Is it the right type (quilting needles for sewing machine)? Check your tension.
- Thread Breaks: Could be tension, a dull needle, poor quality thread, or stitching too fast.
- Bunching/Puckering: Often caused by layers shifting or not enough basting. Make sure your basting is thorough. If using a walking foot, make sure it’s installed correctly and your feed dogs are up. If free motion quilting, make sure your darning foot is installed correctly, feed dogs are down, and your tension is balanced. Not supporting the weight of a large quilt can also cause this.
- Uneven Stitches (Free Motion): This is normal when learning! It’s controlled by your speed vs. fabric movement speed. Practice is the key to getting consistent stitches.
Continuing Your Quilting Journey
Once you’ve finished your first machine-quilted project, you’ve learned the basics! Each quilt you finish will teach you more. Don’t be afraid to try new quilting designs or practice free motion shapes on your samples. The world of machine quilting on a regular machine is vast and rewarding.
With a little practice and patience, your regular sewing machine will become a powerful tool for finishing beautiful quilts. Enjoy the process of adding that final layer of texture and structure to your creations!
Frequently Asked Questions
h4 What kind of thread should I use for machine quilting?
Use a good quality thread, typically 40 or 50 weight. Cotton or polyester threads specifically designed for machine quilting are recommended. Avoid cheap threads as they can cause lint buildup and break easily.
h4 What type of batting is best for machine quilting on a regular machine?
For beginners, a cotton or 80/20 cotton/poly blend batting works well. These have a nice drape and are easy to stitch through. Avoid very dense or stiff battings when you’re starting out.
h4 How often should I change my quilting needle?
Change your needle for every new project or after about 8-10 hours of stitching. Going through multiple layers dulls the needle faster than regular sewing.
h4 Can I quilt a very large quilt on a small machine?
Yes, it’s possible! It just requires careful management of the bulk. Roll or fold the quilt, use tables or chairs for support, and consider quilting simpler designs that don’t require constant turning. Working from the center outwards helps.
h4 Do I really need a walking foot and a darning foot?
While you can technically quilt with just a standard foot (using techniques like tying), a walking foot makes straight line quilting much easier and better looking by feeding layers evenly. A darning foot is essential if you want to do free motion quilting where you move the fabric freely. They are highly recommended investments if you plan to do machine quilting regularly.
h4 My stitches are too long or too short in free motion. How do I fix this?
This happens because the speed of your needle (controlled by the foot pedal) and the speed you move the fabric are not matched. If stitches are too long, you are moving the fabric too fast for the needle speed. If stitches are too short, you are moving the fabric too slow for the needle speed. Practice on samples to find a comfortable speed where your stitch length is consistent. Try sewing a little slower with the foot pedal or moving the fabric a little faster.