
Do you need to hem pants but lack a sewing machine? You can hem pants without a sewing machine! Many no-sew hemming methods exist. These methods let you fix your pants fast. They are great for a quick pant alteration. You can use things like iron-on hem tape or fabric glue. These options give you a neat hem. Some are for a temporary pant hem. Others can last a long time. This guide will show you how to do a DIY no-sew hem. You can make your pants fit perfectly without any stitches.
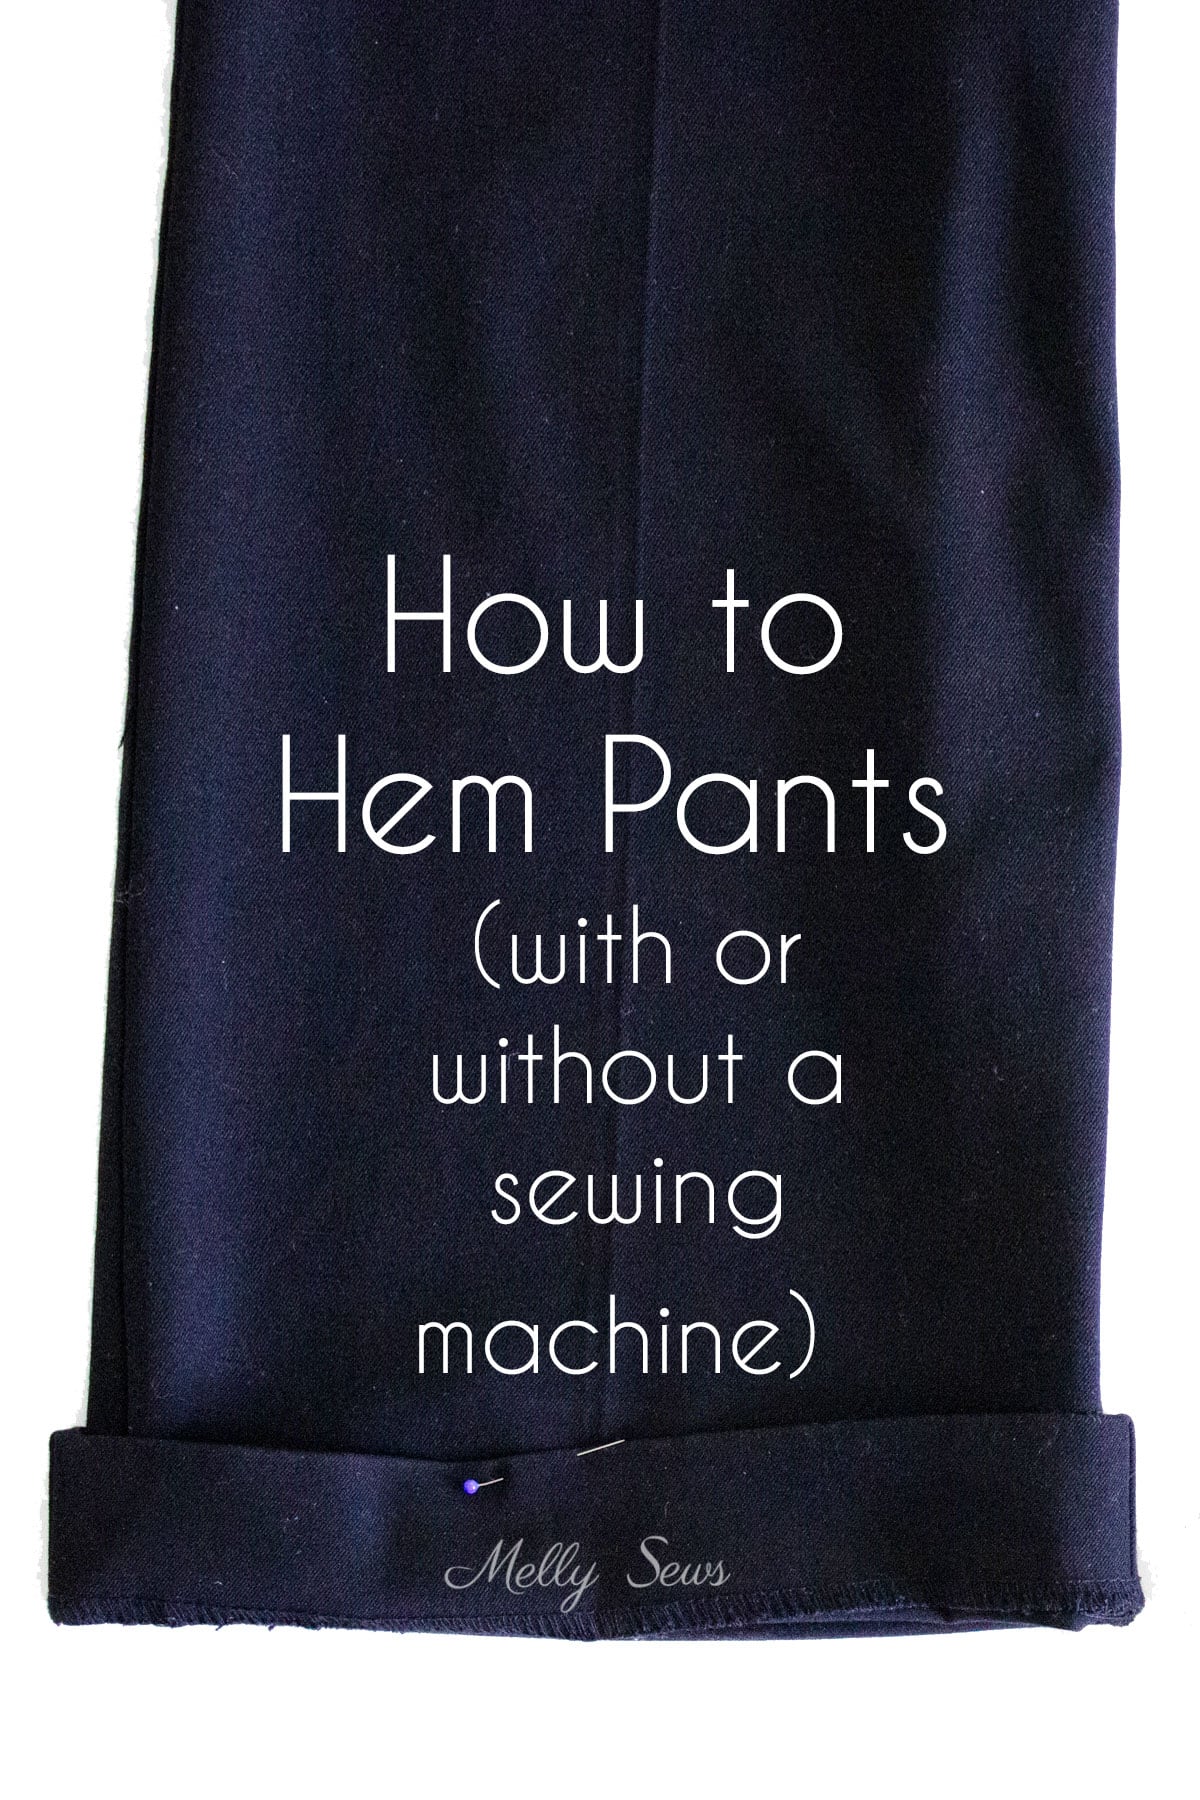
Image Source: mellysews.com
Why Hem Without a Machine?
Life moves fast. Sometimes, you need a quick fix. You might not own a sewing machine. Or you might not know how to use one. Maybe you just need pants shorter for one event. No-sew methods are great for these times.
They save you time. They save you money too. You do not need a tailor. You can do it yourself at home. This is perfect for students. It is good for busy parents. It works for anyone needing a fast fix.
You might have new pants. They might be too long. Or you have an old pair. You want to make them into shorts. No-sew hemming is a simple way to change your clothes. It gives your clothes a new look. It makes them fit better too.
Tools You Will Need
Before you start, get your tools ready. This makes the job easier. You do not need many things. Most items are easy to find.
Essential Items
- Pants: The pair you want to hem.
- Scissors: Sharp ones work best. Fabric scissors are great.
- Measuring Tape or Ruler: To get the right length.
- Fabric Chalk or Pin: To mark your new hemline.
- Iron and Ironing Board: Needed for iron-on methods.
- Clean Cloth or Towel: To protect your ironing board.
Specific No-Sew Items
- Iron-on Hem Tape: Also called fusing web for fabric. This is a common choice.
- Fabric Glue: Also known as liquid stitch or hemming adhesive.
- Other Temporary Options: Safety pins, fashion tape.
Have these things ready before you begin. This helps you work smoothly.
Deciphering Your Hemming Options
There are a few main ways to hem pants without sewing. Each method has its own steps. Each works best for different needs. Let’s look at the most popular ones.
Iron-On Hem Tape: A Popular Choice
Iron-on hem tape is very popular. It is easy to use. It gives a clean, strong hem. This tape has glue on both sides. Heat from an iron melts the glue. This glue sticks the fabric together. It creates a neat edge. You can find this tape at most craft stores. Look for it where sewing supplies are sold. It is also called iron-on adhesive for clothes.
Steps for Using Iron-On Hem Tape
- Try On Pants: Put on the pants. Wear the shoes you will wear with them. Stand in front of a mirror.
- Mark New Length: Fold the pant leg up. Find your perfect length. Use a pin or fabric chalk to mark it. Mark all around the leg.
- Take Off Pants: Carefully take off your pants.
- Measure and Mark: Lay the pants flat. Smooth them out. Measure from the marked line down. You need extra fabric for the hem.
- For a thin hem: Add about 1 inch (2.5 cm).
- For a wider hem: Add about 1.5 to 2 inches (3.8 to 5 cm).
- Draw a new line at this extra length. This is your cut line.
- Cut Off Extra Fabric: Use sharp scissors. Cut along your new bottom line. Do this for both pant legs. Try to cut straight.
- Fold and Press First Edge: Fold the cut edge up by about 0.25 to 0.5 inches (0.6 to 1.2 cm). This hides the raw edge. Press this fold with your iron. Use medium heat. This makes a crisp fold.
- Place Hem Tape: Open the folded edge. Place the iron-on hem tape inside. Put it close to the first pressed fold. Do not let it go past the first fold.
- Fold Up Hem: Fold the hem up again. Make sure it matches your first length mark. The tape should be inside the fold. It should be between the two layers of fabric.
- Press Hem: Place a damp cloth over the hem. Press firmly with a hot iron. Hold the iron in place for 10-15 seconds. Do not slide the iron. Lift it and move it to the next spot. Repeat all around the hem. The heat melts the fusing web for fabric. This glue sticks the fabric.
- Let Cool: Let the hem cool down completely. This helps the glue set. Do not touch it or move it until it is cool.
Tips for Iron-On Hem Tape
- Test First: Test a small piece of tape on an old fabric scrap. Make sure your iron heat is right.
- Use a Press Cloth: Always use a damp cloth. This protects your fabric from the hot iron. It also helps the tape stick better.
- Check Tape Width: Hem tape comes in different widths. Choose one that fits your hem size.
- Even Pressure: Apply even pressure when ironing. This makes sure the glue melts all over.
- Fabric Type: This method works best on cotton, denim, and blends. It might not work well on very thick or very thin fabrics.
Fabric Glue: A Liquid Solution
Fabric glue is another good choice. It is a liquid hemming adhesive. It dries clear. It creates a strong bond. Many people call it liquid stitch. This is because it works like stitches, but it is glue. It is great for small repairs too.
Steps for Using Fabric Glue
- Try On Pants: Put on the pants. Wear your shoes. Find the right length.
- Mark New Length: Mark your desired length. Use a pin or chalk. Do this all around the pant leg.
- Take Off Pants: Take off the pants carefully.
- Measure and Mark: Lay the pants flat. Smooth them out. Measure from your marked line down. Add 1 to 2 inches (2.5 to 5 cm) for the hem. This is your cut line.
- Cut Off Extra Fabric: Cut along your new bottom line. Cut both pant legs.
- Fold and Press First Edge: Fold the raw edge up by 0.25 to 0.5 inches (0.6 to 1.2 cm). Press with an iron. This makes a clean edge. This is important for a neat finish.
- Apply Fabric Glue: Unfold the hem. Apply a thin line of fabric glue along the inside edge of the first fold. Be careful not to use too much. A little goes a long way. Too much glue can make the fabric stiff. It can also seep through.
- Fold and Press: Fold the hem up again. Match it to your marked length. Press down firmly with your fingers. This spreads the glue.
- Let Dry: This is key. Let the glue dry completely. This can take a few hours. Some glues need 24 hours. Check the bottle for drying times. Do not wear the pants until the glue is fully dry.
Tips for Fabric Glue
- Thin Line is Best: Apply glue in a very thin, even line. Small dots can also work. This stops the glue from showing.
- Test on Scrap: Always test the glue on a hidden part of the fabric. Or use a scrap piece. Make sure it dries clear. Check that it does not stain the fabric.
- Ventilation: Use glue in a well-aired room. Some glues have strong smells.
- Clean Up Spills: If you get glue where you do not want it, wipe it off quickly. Use a damp cloth. Some glues are harder to remove once dry.
- Ironing After Dry (Optional): Once dry, you can lightly iron the hem. This helps set the bond. Use a low heat. Use a press cloth.
Other Methods for a Temporary Pant Hem
Sometimes you just need a very quick, short-term fix. These methods are not for long-term wear. But they work in a pinch.
Fashion Tape
- What it is: Double-sided tape made for fabric.
- How to use: Fold up the hem. Stick the tape between the fabric layers. Press firmly.
- Best for: A temporary pant hem for one event. It can peel off in the wash. Or with a lot of movement.
Safety Pins
- What it is: Small metal pins with a safety clasp.
- How to use: Fold up the hem. Use small safety pins to hold the fold. Put them on the inside of the pant leg. Place them every few inches.
- Best for: A very quick fix. For example, if you are at an event and your pants are too long. They can show through thin fabric. They can also poke you.
Hemming Clips
- What it is: Small plastic or metal clips that hold fabric.
- How to use: Fold up the hem. Use the clips to hold the fold in place.
- Best for: Trying on pants to find the right length. Not for wearing. These are mostly for marking.
Comparing No-Sew Methods
It is good to know the pros and cons of each method. This helps you choose the best one for your pants.
| Method | Pros | Cons | Best For |
|---|---|---|---|
| Iron-On Hem Tape | Clean, neat finish. Strong bond. Easy to use. No drying time needed after pressing. | Needs an iron. Can come undone in very hot washes. Might stiffen fabric a little. | Cotton, denim, blends. Long-term, durable hems. |
| Fabric Glue / Liquid Stitch | No iron needed. Strong, clear bond. Good for small areas. Versatile. | Needs drying time. Can make fabric stiff. Can seep through if too much is used. Might wash out over time. | Various fabrics. Hems, small repairs, patches. |
| Fashion Tape | Very quick. No tools needed besides tape. | Very temporary. Not durable. Can lose stickiness easily. Not for washing. | One-time wear for special events. |
| Safety Pins | Instant fix. No special products needed. | Very temporary. Can be visible. Can poke skin. Not for durable use. | Emergency situations only. |
Tips for a Perfect No-Sew Hem
Getting a good hem needs a bit of care. Here are some extra tips. They will help your DIY no-sew hem look great.
Measure Twice, Cut Once
This is an old rule. It is very important here. Take your time to measure. Mark your hemline clearly. Do this on both legs. Small mistakes here mean big problems later.
Even Hemline
Make sure your hemline is straight. Use your measuring tape. Check the distance from the floor. Check from the waist too. An uneven hem looks bad. Take extra care around curved seams.
Prepare Your Fabric
- Wash and Dry: Always wash your pants first. Wash them how you normally would. Dry them too. This helps stop shrinking later. If you hem unwashed pants, they might shrink. Then your hem will be too short.
- Iron Pants Flat: Iron out any wrinkles in the pant legs. A smooth surface helps you measure and apply glue or tape better.
Test on Scrap Fabric
Before you work on your good pants, test your method. Use a small piece of similar fabric. Try the iron-on hem tape or fabric glue. See how it sticks. See how it looks when dry. This helps you learn. It can save your pants from mistakes.
Less is More (for Glue)
When using liquid stitch or hemming adhesive, use a little bit. A thin line is enough. Too much glue can make the fabric hard. It can also soak through to the outside. This leaves a mark. Small dots work well too.
Pressing Matters (for Tape)
For iron-on adhesive for clothes, pressing is key. Use enough heat. Use even pressure. Hold the iron still for a few seconds. Do not slide it. This helps the glue melt well. It creates a strong bond.
Work One Leg at a Time
It is often easier to focus on one pant leg. Finish it completely. Then move to the next one. This helps you keep things even. It also makes sure you do not mess up one side while working on the other.
Check Both Legs
After hemming, put the pants back on. Check both legs in a mirror. Are they even? Do they feel right? If not, you might be able to make small fixes. It is easier to fix now than later.
Care and Maintenance of No-Sew Hems
A no-sew hem needs some care. This helps it last longer.
Washing
- Turn Inside Out: Always turn your pants inside out before washing. This protects the hem. It stops it from rubbing too much.
- Cold Water: Wash in cold water. Hot water can loosen the glue. This is true for both iron-on hem tape and fabric glue.
- Gentle Cycle: Use a gentle wash cycle. A harsh cycle can put stress on the hem.
- Air Dry or Low Heat: Air drying is best. If you use a dryer, use a low heat setting. High heat can melt or weaken the adhesive.
Ironing
- Use a Press Cloth: When ironing the hem area, always use a press cloth. This protects the adhesive. It stops it from sticking to your iron.
- Low to Medium Heat: Use low or medium heat. Too much heat can melt the adhesive again. This can make your hem come undone.
- Avoid Direct Heat: Do not put the hot iron directly on the adhesive area. Iron around it or use the press cloth.
Following these care tips will help your no-sew hemming methods last. They will keep your pants looking good for longer.
Addressing Common Concerns
People often have questions about no-sew hems. Here are answers to some of them.
Can I re-hem if I make a mistake?
Sometimes, yes. If you use iron-on hem tape, you can often reheat it. This lets you pull the hem apart. Then you can re-apply new tape. With fabric glue, it is harder. Once dry, glue is tough to remove. You might need to cut off the glued part and start over. Always try to get it right the first time.
How long do no-sew hems last?
It depends on the method and how you care for it.
* Iron-on hem tape can last many washes. It might last for years with good care.
* Fabric glue can also last a long time. Some glues are made for many washes. Others might break down faster.
* Temporary pant hem options like fashion tape are for one-time use.
Regular washing and wear will test any no-sew hem.
Are no-sew methods good for all fabrics?
No-sew methods work best on stable fabrics. Cotton, denim, linen, and most blends are good. They are not ideal for very thin, slippery fabrics. Think silk or satin. The glue might show through. They are also not great for very thick fabrics. Think heavy wool or canvas. The adhesive might not hold well enough. For these, sewing is often better.
Will the hem be stiff?
Sometimes, yes. Fabric glue can make the hem area feel a bit stiff. Especially if you use too much. Iron-on hem tape usually makes the hem slightly stiffer than a sewn hem. This stiffness often lessens after a few washes. It is a trade-off for not sewing.
Can I remove the tape or glue if I want to lengthen the pants later?
Removing iron-on hem tape is possible. You can heat it up and carefully pull it apart. This often leaves some glue residue. You can try to remove this with rubbing alcohol or a special adhesive remover. Test first.
Removing fabric glue is much harder. Most fabric glues are permanent. If you need to lengthen the pants, you might not be able to. Consider this before you hem. If you think the pants might need to be longer later, a temporary method might be better. Or use a very small hem.
Concluding Thoughts
Hemming pants without a sewing machine is simple. It is a fast way to get pants that fit. Whether you use iron-on hem tape or fabric glue, you can get good results. These no-sew hemming methods are perfect for a quick pant alteration. They help you update your wardrobe easily.
Remember to measure carefully. Choose the right method for your fabric. Take your time with each step. With these tips, your DIY no-sew hem will look neat and last well. Say goodbye to pants that drag on the floor. Hello to perfectly fitting clothes!
Frequently Asked Questions (FAQ)
h4 Does iron-on hem tape really work?
Yes, iron-on hem tape works very well. It uses heat to melt a strong glue. This glue makes a firm bond between fabrics. Many people use it for quick, lasting hems.
h4 Is liquid stitch washable?
Most liquid stitch products are washable once fully dry. Always check the product label for specific instructions. Some glues may wash out over time. It’s best to wash garments with liquid stitch in cold water on a gentle cycle.
h4 How do you fix a hem that has come undone without sewing?
If your iron-on hem tape hem has come undone, you can often re-iron it. You might need to add a new piece of tape. If using fabric glue, clean the area. Then apply a new thin line of glue. Let it dry fully.
h4 Can I use super glue for hemming?
No, do not use super glue for hemming fabric. Super glue is too stiff. It can make the fabric hard and brittle. It can also leave a permanent, hard mark. It is not made for fabric. Use specific fabric glue or hemming adhesive instead.
h4 What is the best no-sew hemming method for jeans?
Iron-on hem tape is often best for jeans. Jeans are a heavier fabric. The heat and strong bond of the tape work well. Make sure to use a good quality tape. A strong hemming adhesive glue can also work.
h4 How much hem tape do I need?
Measure the full bottom edge of both pant legs. Add a little extra for safety. Most hem tapes come in rolls. One roll is usually enough for a few pairs of pants.
h4 How long should a new hem cool down?
For iron-on hem tape, let the hem cool for at least 10-15 minutes. It should be completely cool to the touch. This helps the adhesive set fully. For fabric glue, follow the drying time on the bottle. This can be hours, or even a full day.