
What is the best way to cut out a sewing pattern? Cutting fabric from a sewing pattern needs care. It helps your sewing project turn out right. How do you cut fabric for sewing? You put the pattern on the fabric. Then you cut around it. This guide shows you how to do it well. Perfect cutting makes sewing easier and better.
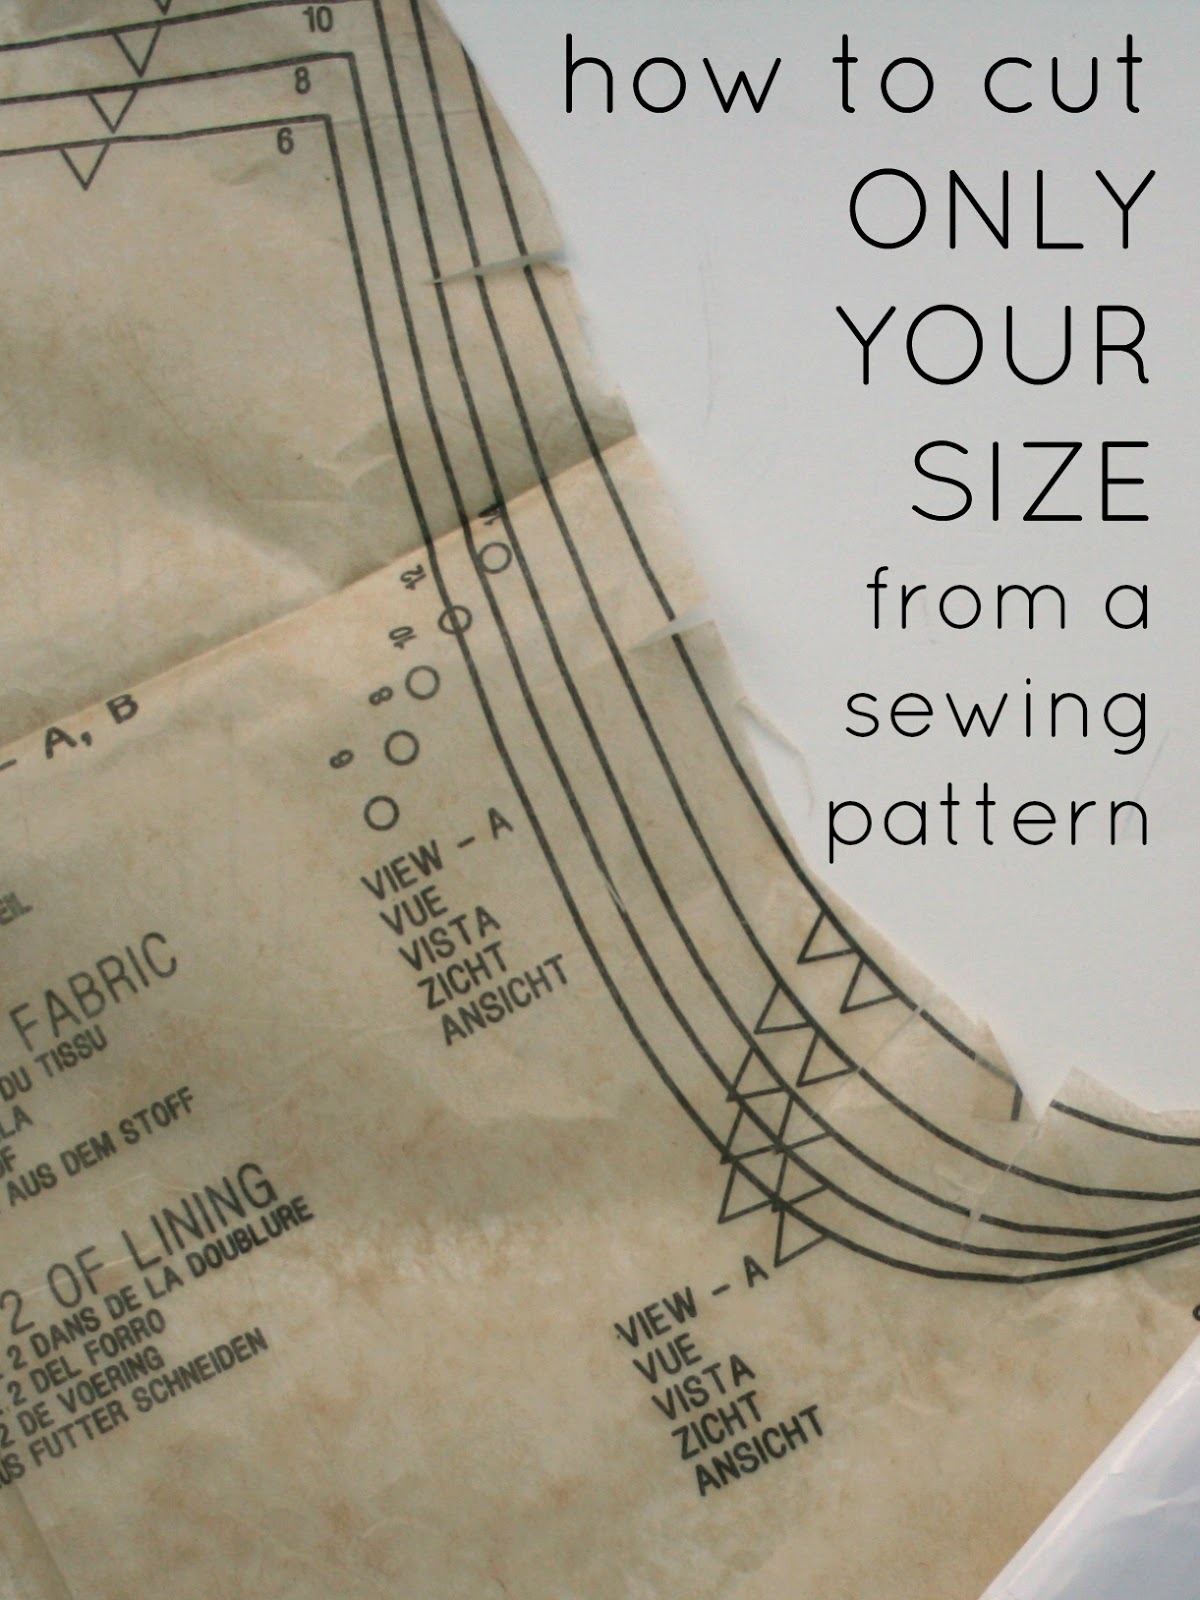
Image Source: blogger.googleusercontent.com
Why Cutting Matters A Lot
Cutting is the first step in sewing. It is very important. If you cut fabric wrong, your finished item might not fit. Or it might hang strangely. Bad cuts can make sewing harder later. They can lead to puckers or parts that don’t match. Good cutting makes sewing smooth and fun. It sets you up for success. Think of it like building. A good start makes the rest of the job easier.
Getting Fabric Ready
Before you cut, get your fabric ready. This step takes time. But it saves trouble later.
Pressing Your Fabric Flat
Fabric can have wrinkles. It might be creased from being folded. You need to press it smooth. Use an iron. Press out all the folds and wrinkles. Flat fabric is easy to cut. It lies still. A bumpy or wrinkled surface makes cutting hard. It can lead to wavy or uneven edges.
Checking Fabric Shrinkage
Some fabrics shrink. They shrink when you wash or steam them. It’s best to pre-wash your fabric. Wash it how you will wash the finished item. Dry it how you will dry the finished item. This shrinks the fabric before you cut it. If it shrinks after you sew, your project will get smaller. This can ruin the fit. Always pre-wash natural fabrics like cotton, linen, and rayon. Some synthetics can also shrink. Read the fabric’s care tag.
Knowing Fabric Sides
Fabric has a front side and a back side. The front is called the right side. The back is called the wrong side. Pattern pieces often tell you to place them on the wrong side. Or they might say place on right side folded. You need to know which side is which. The right side usually looks better. The print is brighter. Or the weave is tighter. Mark the wrong side if you need to. Use tailor’s chalk or a removable marker.
Getting Pattern Pieces Ready
Your pattern comes on large paper sheets. You need to get the pieces you need.
Finding Your Size
Look at the pattern envelope. It shows different sizes. Find your size based on your body measurements. Check the chart on the envelope. You might need a different size for the top and bottom. Most patterns include multiple sizes. They are shown with different lines.
Preparing Pattern Pieces
You have two main ways to use paper patterns.
- Cutting out the pattern pieces: You cut the paper itself. Cut on the line for your size.
- Tracing sewing patterns: You copy the pattern piece onto new paper. Use tracing paper or Swedish tracing paper. You trace the line for your size.
Tracing Sewing Patterns
Many sewers like to trace patterns. Why trace?
- It keeps the original pattern whole. You can use it again for a different size. Or for a friend.
- It lets you blend sizes easily. You can trace from one size at the bust to another size at the hip.
- You can make changes to the pattern paper without cutting the original.
- Tracing paper can be easier to handle than tissue paper.
Use a tracing wheel or a pencil to trace. Transfer all markings. This includes dots, squares, and notches.
Cutting Out Pattern Pieces
If you choose to cut the pattern paper, be neat. Use paper scissors, not your fabric scissors. Paper will dull fabric scissors fast. Cut exactly on your size line. Do not cut inside or outside the line. Cut smoothly.
Gathering Your Cutting Tools
You need the right tools. Good tools make cutting easier and more exact.
Fabric Scissors
These are a must-have. Use only for fabric. Never cut paper, tape, or anything else with them. Fabric scissors have very sharp blades. They glide through fabric.
- Bent handle scissors: These are common. The handle is bent. This lets the blade stay flat on the table. You can cut along the table surface. This helps keep fabric still and flat.
- Shears: These are usually 7-10 inches long. They are good for cutting long straight lines.
- Snips: These are small scissors. Use them for cutting notches. Or for clipping curves.
Keep your fabric scissors sharp. Get them sharpened when they feel dull. Dull scissors chew the fabric. They make jagged edges.
Rotary Cutter
A rotary cutter is like a pizza cutter for fabric. It has a round blade that spins. It is great for cutting straight lines. It also cuts curves well. Rotary cutters are very fast. They are used with a cutting mat.
- Sizes: Blades come in different sizes. 45mm is common for clothing. 60mm is good for thicker fabrics or long cuts. 28mm is good for small curves.
- Safety: Rotary blades are very sharp. Always close the blade guard when you are not cutting. Keep fingers away from the blade.
Cutting Mat
If you use a rotary cutter, you need a cutting mat. A cutting mat protects your table. It also protects the rotary blade. Cutting mats are self-healing. This means cuts close up after you cut on them. They often have grid lines. These lines help you cut straight or measure.
- Sizes: Mats come in many sizes. Get the largest one you can use easily. A big mat lets you cut larger pieces without moving the fabric.
- Care: Keep your mat flat. Do not roll it up. Do not put hot things on it. Clean it gently if needed.
Pattern Weights
Pattern weights hold your pattern pieces in place. They are heavy objects. You put them on top of the pattern paper. This keeps the pattern from moving.
- Types: You can buy special fabric weights. They are flat and covered in fabric. Or you can use common items. Washers from a hardware store work. Cans of food work. Smooth stones work. Just make sure they are heavy enough.
- When to use: Weights are great if you use a rotary cutter. They also work if you hate pinning sewing patterns.
Pins for Sewing Patterns
Many people use pins to hold the pattern. Pinning sewing patterns is a common way. Pins go through the pattern paper and the fabric. They hold the layers together while you cut.
- Types: Use sharp pins. Dull pins can snag delicate fabric. Silk pins are fine and sharp. Dressmaker pins are a bit thicker.
- How to pin: Place pins within the pattern piece. Keep them away from the cutting line. Put enough pins to keep the pattern flat. Place pins closer together on curves. Place them farther apart on straight lines.
Other Useful Tools
- Tailor’s chalk or fabric marker: Use these to mark your fabric. Mark dots, squares, and other pattern symbols.
- Tracing paper and wheel: If you are tracing patterns.
- Measuring tape or ruler: For checking grainlines or making straight cuts.
Arranging Fabric for Cutting
How you put the fabric on your table is key. This is called fabric layout for cutting. The pattern instructions show you how to lay out the fabric. Follow these pictures closely.
Folding the Fabric
Most patterns need the fabric folded.
- Folded in half: The most common fold. Fold the fabric in half lengthwise. Bring the two selvages together. Selvages are the finished edges of the fabric. They run along the length. Lay the fabric flat on your table. Make sure the fold is smooth. No wrinkles near the fold line.
- On the fold: Some pattern pieces are placed “on the fold”. The edge of the pattern piece lines up exactly with the fabric fold. When you cut this piece and open it, it will be whole. Like the front of a shirt.
- Selvage to selvage: Sometimes you fold the fabric across the width. Bring the cut ends together. This makes a wider fold. Good for short, wide pattern pieces.
- Single layer: Some pieces are cut on a single layer of fabric. This is less common for main garment pieces. You might cut lining this way. Or small parts.
Checking Fabric Grainline
This is maybe the most important step. Following pattern grainline is vital. Fabric has a grain. The grain runs parallel to the selvages. This is the lengthwise grain. It has the least stretch. The crosswise grain runs from selvage to selvage. It has a bit more stretch. The bias is diagonal to the grain. It has the most stretch and drape.
Pattern pieces have a grainline marking. It is usually a long line with arrows on the ends. This line must be parallel to the selvage or the fold.
- How to check grainline: Use a ruler or measuring tape. Measure the distance from one end of the grainline arrow to the selvage (or fold). Then measure the distance from the other end of the grainline arrow to the selvage (or fold). These two measurements must be the same.
- Adjusting: If the measurements are not the same, shift the pattern piece. Keep measuring until it is parallel. Do this before you pin or add weights.
Why follow the grainline? It makes sure your garment hangs correctly. A shirt cut off-grain will twist. Pants might not hang straight. Bias cuts give stretch and drape. You cut them on the bias grainline marked on the pattern.
Placing Pattern Pieces
Lay out all your pattern pieces before cutting. Look at the pattern layout diagram. It shows you how to fit the pieces on your fabric.
- Save fabric: Try to arrange pieces to waste less fabric. Put large pieces first. Then fit smaller pieces around them.
- Check grainline: Double-check the grainline for every piece.
- Right and wrong sides: Make sure you place pieces on the correct fabric side. Some pieces are cut as a pair (like sleeves). You need one for the left and one for the right. If you fold fabric right sides together, you cut both at once. If you fold wrong sides together, you cut both at once. If cutting on a single layer, flip the pattern piece over for the second side. The layout guide will show this.
- Pin or weight: Once pieces are in the right spot and on-grain, secure them. Use pins or pattern weights.
The Cutting Steps
Now it is time to cut. Take your time. Cutting fabric accurately is key here.
Cutting with Scissors
If you are pinning sewing patterns and using scissors:
- Hold the fabric flat with one hand. Keep the hand away from the cutting line.
- Use your fabric scissors.
- Cut smoothly along the pattern line. Make long, steady cuts on straight lines.
- On curves, make shorter cuts. Pivot the fabric slightly as you cut.
- Keep the lower blade of the scissors on the table or mat. This helps lift the fabric less. Lifting fabric can make the cut wavy.
- Cut through both layers of fabric at once (if folded). Make sure both layers are aligned and flat.
- Cut notches as you go, or mark them.
Cutting with a Rotary Cutter
If you are using pattern weights and a rotary cutter on a cutting mat:
- Place pattern weights firmly on the pattern pieces. Put them close to the edges you will cut. Use enough weights to keep the pattern and fabric from shifting.
- Use a ruler for straight lines. Line up the ruler with the cutting line. Place the rotary cutter against the edge of the ruler.
- Press down on the rotary cutter. Roll it smoothly along the ruler’s edge.
- For curves, guide the rotary cutter carefully along the pattern line. No ruler needed for curves.
- Keep fingers away from the blade path! Always use a ruler as a guide for straight cuts to keep your fingers safe.
- Cut through both layers of fabric if folded. Ensure layers are flat and aligned.
- Cut notches as you go, or mark them.
Cutting Fabric Accurately
No matter which tool you use, aim for smooth, exact cuts.
- Cut right on the line. Do not cut inside the line (this makes the piece smaller). Do not cut outside the line (this makes the piece bigger).
- Keep your body position comfortable. This helps you make steady cuts.
- Avoid stopping and starting often on long cuts. Try to make long, smooth strokes with scissors or the rotary cutter.
- If you are cutting a pair of pieces (like sleeves), make sure both layers of fabric are perfectly lined up. Any shift means the two pieces won’t be the same size.
Cutting Notches
Patterns have cutting notches. Notches are little marks on the edge of the pattern piece. They help you match pieces together later. They are like puzzle piece guides.
- Types of notches: They can look like single lines, double lines, or triangles.
- How to cut notches:
- Into the fabric: Cut small snips into the fabric edge. Cut away from the pattern piece body. Do not cut too deep! About 1/4 inch (6mm) is usually enough. Use small snips or the tip of your fabric scissors.
- Out of the fabric: Some patterns show notches that you cut out from the edge. These are often triangles or diamonds. Cut these exactly as shown on the pattern line.
- When to cut: Cut the notches after you cut the main outline of the piece. This way, if your main cut is slightly off, the notch is still in the right place relative to the edge.
Alternatively, you can mark the notches instead of cutting them. Use tailor’s chalk or a fabric marker to draw the notch shape on the fabric edge. This is safer for fabrics that fray easily. Or for pieces where the notch is very close to the seam line.
After Cutting: Marking Your Fabric
You have cut out all the pieces. But you are not done with the pattern markings.
Transferring Pattern Marks
Patterns have dots, squares, triangles, and lines inside the cutting line. These are important marks. They tell you:
- Where to sew darts.
- Where to place pockets.
- Where pieces meet (like shoulder points).
- Where gathers or pleats go.
- Button and buttonhole placement.
You must transfer these marks from the pattern to your fabric pieces. Do this before you unpin or unweight the pattern paper.
Ways to Transfer Marks
- Tailor’s chalk or fabric marker: Mark through the pattern paper onto the fabric. Lift the paper just a bit to make the mark. Or make a small snip at the mark if safe for your fabric (be careful!).
- Tracing wheel and carbon paper: Place carbon paper under the pattern and fabric (wrong side up). Roll a tracing wheel over the marks on the pattern. This transfers the mark onto the fabric as a dotted line. Use carbon paper made for fabric.
- Tailor’s tacks: Use needle and thread. Make loose loops of thread through the pattern and fabric at the mark. This is good for delicate fabrics or marks in the middle of a piece.
Mark all the important symbols. These marks are your guide for sewing the garment together correctly.
Checking Your Cut Pieces
Once everything is cut and marked, do a quick check.
- Count your pieces. Make sure you have cut all that are needed for your size.
- Compare left and right pieces (like sleeves, pants legs). Are they the same size and shape? Any difference means one layer of fabric shifted while cutting.
- Look at the edges. Are they smooth? Or jagged? Jagged edges can make sewing seams tricky.
- Make sure all important internal markings are transferred.
If you find a problem, see if you have enough fabric left to recut the piece. Sometimes, a slightly off cut is fixable during sewing. But big mistakes are hard to fix.
Common Problems and How to Fix Them
Even careful sewers have cutting problems sometimes.
Problem: Fabric Shifts While Cutting
- Fix: Use more pins or pattern weights. Place them closer together. Make sure your fabric is flat before laying out the pattern. Use a cutting mat if using a rotary cutter; the mat helps grip the fabric. Cut on a hard, flat surface.
Problem: Jagged or Uneven Edges
- Fix: Your scissors might be dull. Get them sharpened. If using a rotary cutter, the blade might be dull. Change the blade. Use long, smooth cutting strokes. Do not lift the fabric or pattern as you cut.
Problem: Cut Piece is Too Small/Big
- Fix: You might have cut inside or outside the line. Next time, look closely at the line you are cutting on. Check your grainline setup; off-grain cuts can distort pieces. If the piece is a little off, you might fix it with seam allowances. If it’s very off, you may need to recut if you have fabric.
Problem: Notches Don’t Line Up
- Fix: You might have cut the notches after removing the pattern. Always cut or mark notches while the pattern is still pinned or weighted to the fabric piece. Or you might have cut the main outline unevenly.
Storing Your Pattern and Fabric
Once you finish cutting, put your pattern away. Fold it neatly. Put it back in its envelope. This keeps it safe for next time. Keep the leftover fabric too. It can be used for future projects. Or for practice sewing.
The Next Step
Cutting is done! Your pieces are ready. Now you can move to the fun part: sewing! But you will see how much easier sewing is because you took care cutting. Your pieces will fit together well. Seams will match up. Darts and pleats will be in the right place.
Reviewing the Process
Let’s quickly look back at the steps for perfect cutting:
- Get fabric ready: Press and pre-wash.
- Get pattern ready: Find size, trace or cut paper.
- Gather tools: Fabric scissors, rotary cutter, cutting mat, pattern weights, pins, marking tools.
- Lay out fabric: Fold correctly based on pattern guide.
- Place pattern pieces: Follow layout guide, check grainline, pin or weight down.
- Cut carefully: Use scissors or rotary cutter, cut accurately on the line.
- Cut notches: Snip in or cut out notches on edges.
- Mark fabric: Transfer dots, squares, lines from pattern to fabric.
- Check pieces: Count, compare, look at edges.
By following these steps, you set yourself up for sewing success. Happy cutting!
Frequently Asked Questions (FAQ)
H5 What is the best surface for cutting fabric?
A hard, flat surface is best. A large table is ideal. If you use a rotary cutter, you need a cutting mat on top of the table. Avoid cutting on bumpy surfaces like a bed or a rough floor.
H5 Can I use a rotary cutter for all fabrics?
Yes, you can use a rotary cutter on most fabrics. It is great for quilting cottons, linen, and stable fabrics. It can be trickier on very slippery or stretchy fabrics. For these, sharp fabric scissors might give you more control.
H5 Do I have to cut notches?
Yes, you should cut or mark notches. They are important guides for putting your garment together. They show you which edges connect and where they should line up.
H5 What if my fabric doesn’t fit the pattern layout diagram?
Pattern layout diagrams are a guide. They show one way to fit pieces. You can try rearranging the pieces to fit your fabric width or length. Always check the grainline for every piece in your new layout. Make sure you still have enough fabric.
H5 How do I store paper patterns after cutting?
Fold the paper pieces neatly. Put them back in the pattern envelope. You can use pins or tape to close any holes you made when cutting pieces out of a large sheet. Store envelopes flat to avoid creasing.
H5 How do I keep slippery fabric from moving while cutting?
Slippery fabrics like silk or satin are hard to cut. You can try placing tissue paper under the fabric layer. Pin through the pattern, fabric, and tissue paper. Cut all layers together. Using pattern weights instead of pins can also help if used generously. Use a rotary cutter with a sharp blade and a good mat. Or try cutting on a single layer of fabric very carefully.
H5 Should I cut out all pattern pieces at once?
Yes, it’s a good idea to cut out all pieces for one project before you start sewing. This way you know you have everything. It also lets you arrange pieces on the fabric to save space.
H5 Is it okay if my cutting is not perfect?
No one is perfect! Your cuts don’t have to be robot-perfect. A little wiggle is okay. The seam allowance gives you some room. But try to be as accurate as you can. Better cuts make sewing much easier later on.
H5 My fabric scissors are dull, can I just sharpen them myself?
You can buy tools to sharpen fabric scissors at home. But it is best to have them sharpened by a professional. They can do it correctly without damaging the blades.
H5 Can I use kitchen scissors to cut fabric?
No! Never use kitchen scissors or paper scissors on fabric. They will dull your fabric scissors right away. Keep one pair of good scissors just for fabric. Mark them if needed so others know not to use them.