
Making your own clothes is fun. Getting a perfect fit starts with cutting. Accurate cutting is very important. It helps your clothes hang right. It helps the pieces sew together easily. Cutting correctly means following the lines on your sewing pattern. It means using the right tools. It means taking your time.
Cutting fabric might seem easy. But it takes practice. Little mistakes here can cause big problems later. If you cut a piece too small, you can’t add fabric back. If you cut it wavy, your seams might be wavy too. Let’s learn how to cut your sewing pattern pieces just right.
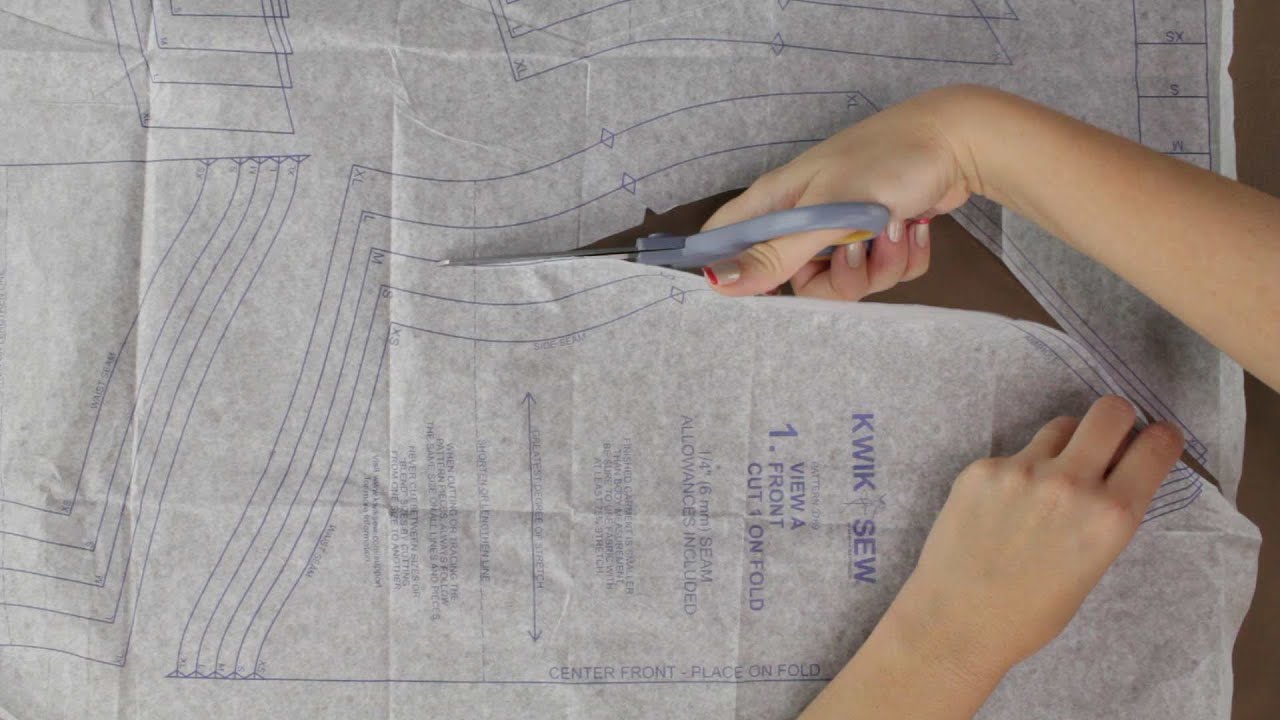
Image Source: i.ytimg.com
Getting Ready to Cut Fabric
Before you even pick up your sewing pattern cutting tools, you need to get ready. This step is super important. It makes cutting easier and more accurate.
Preparing Fabric Before Cutting
Your fabric needs some love before you cut it. Don’t skip this part!
- Wash and Dry Your Fabric: Most fabrics will shrink. They might shrink a little. They might shrink a lot. Always wash and dry your fabric the way you will wash the finished garment. This lets the fabric shrink before you cut. If you cut unwashed fabric and then wash the finished item, it could shrink and not fit anymore.
- Press Your Fabric: After washing and drying, your fabric will likely be wrinkled. Wrinkles can make your cuts wrong. You need a smooth, flat surface to cut accurately. Iron or press your fabric really well. Make sure there are no folds or bumps. Fold the fabric neatly if your pattern needs you to cut on a fold.
Getting your fabric ready is the first step to great results. It saves you from problems later.
Picking the Right Sewing Pattern Cutting Tools
Having good tools helps a lot. You need the right things to cut your fabric well.
Rotary Cutter vs Scissors for Fabric
This is a big question for many sewists. Should you use a rotary cutter or scissors? Both can work. They are good for different things.
- Fabric Scissors: These are special scissors. They are only for fabric. Never use them to cut paper! Paper makes them dull fast. Dull scissors chew fabric. Good fabric scissors have sharp blades. They make clean cuts. Scissors are great for:
- Small pieces.
- Curved lines.
- Corners.
- Notches (we’ll talk about these soon!).
- Thick fabrics.
- When you don’t have much space.
- Rotary Cutter: This tool has a sharp, spinning blade. It looks like a pizza cutter. You must use it with a special cutting mat. The mat protects your table and keeps the blade sharp. Rotary cutters are great for:
- Long, straight cuts.
- Cutting multiple layers of fabric at once (if your blade is sharp and your fabric isn’t too thick).
- Cutting along rulers or straight edges.
- Fast cutting.
- Cutting slippery fabrics, as they tend to move less than with scissors.
Which is better? It depends on what you are cutting and what you like. Many people use both! Use a rotary cutter for long, straight edges. Use scissors for curves and points.
Other Handy Tools
You need more than just a cutter. Here are other useful sewing pattern cutting tools:
- Cutting Mat: If you use a rotary cutter, you need a self-healing cutting mat. It protects surfaces and your blade. Mats often have grids on them. These grids help you line things up.
- Pattern Weights: These are heavy objects. You place them on your pattern pieces. They hold the pattern flat on the fabric. This is an alternative to pinning pattern to fabric.
- Pins: If you don’t use weights, you will be pinning pattern to fabric. Use sharp, fine pins. They should be long enough to go through your fabric and pattern paper.
- Fabric Marking Tools: You need to transfer marks from your pattern to your fabric. These marks help you sew pieces together. Tools include tailors chalk, fabric pens (check if they wash out!), or tracing wheels with tracing paper.
- Paper Scissors: Keep a separate pair of scissors just for cutting the paper pattern pieces out. Don’t use your fabric scissors!
- Measuring Tape or Ruler: Useful for checking grainlines and measuring your fabric.
Having all your tools ready makes the process much smoother.
Arranging Your Pattern Pieces
Now you have your prepared fabric and your tools. It’s time for fabric layout for cutting. This means putting your pattern pieces on the fabric. There is a specific way to do this. Following the pattern instructions is key.
Folding Your Fabric Correctly
Most pattern layouts show the fabric folded. Why? Because many pattern pieces are cut “on the fold.” This means you cut half a piece, and when you unfold the fabric, you get the whole piece. Like cutting a paper heart.
- Fold Line: Your pattern will show a line marked “Place on Fold.” This edge of the pattern piece goes right on the folded edge of your fabric.
- Right Sides Together or Wrong Sides Together? Most patterns tell you to fold the fabric with right sides together. This protects the fabric surface. But for some tricky fabrics (like velvet), folding wrong sides together can be better. This prevents crushing the nap (the soft surface fuzz). Check your pattern or fabric type.
- Make the Fold Smooth: Just like pressing the whole fabric, make sure the fold line is crisp and smooth. No bumps!
Laying Out Pattern Pieces on Fabric
Your pattern envelope or instruction sheet will have a layout guide. This diagram shows you how to place all the pattern pieces on your fabric. It tells you:
- How to fold the fabric.
- Which pieces go where.
- Which direction each piece should face.
Following this diagram is important for two reasons:
- Saving Fabric: The layout is planned to use the least amount of fabric. This saves you money!
- Getting the Grain Right: The layout makes sure each piece is placed correctly on the fabric grainline. This is super important!
Fabric Layout for Cutting: Planning is Key
Don’t just throw your pattern pieces down anywhere. Look at the layout diagram.
- Place the largest pieces first.
- Fit in the smaller pieces around them.
- Make sure every piece is placed correctly according to the grainline.
Sometimes you might not have enough fabric for the suggested layout. Or you might be cutting a different size. You might need to arrange the pieces differently. Always check the grainline symbol on every piece. Make sure it lines up with the fabric grain.
Making Sure Your Pieces Are Straight
Cutting on the grainline is one of the most important steps for good results.
Cutting Pattern Pieces on Grainline
What is the grainline? Fabric is made of threads woven together.
- Threads going up and down the fabric roll are called the warp. This is usually the straight grain.
- Threads going across the fabric are called the weft or crossgrain.
- The edge of the fabric that doesn’t fray is the selvage. The straight grain is parallel to the selvage.
Your pattern pieces have a long arrow symbol. This is the grainline arrow. This arrow must be placed parallel to the selvage edge of your fabric.
- How to Line Up the Grainline:
- Find the grainline arrow on your pattern piece.
- Pick a spot on the arrow (e.g., the tip).
- Measure the distance from that spot on the arrow to the selvage edge of your fabric.
- Move the pattern piece until the entire arrow is the same distance from the selvage. For example, if the tip is 10 inches from the selvage, the tail must also be 10 inches from the selvage. Check the measurement at several points along the arrow.
- Keep the pattern piece in this position while you secure it (with pins or weights).
Getting the grain right ensures your garment hangs correctly. If pieces are cut off-grain, they might twist, stretch, or not hang straight. This is a common cause of bad fit. Accuracy when cutting fabric pattern starts with placing the pattern piece correctly on the grain.
Securing Your Pattern Pieces
Once your pattern pieces are placed correctly, you need to hold them still. You have two main ways to do this: pinning or using weights.
Pinning Pattern to Fabric
Pinning is the traditional way to hold pattern pieces in place.
- Use sharp pins. Dull pins can snag or damage the fabric.
- Place pins within the pattern piece, not in the seam allowance if possible (to avoid cutting against pins later).
- Pin along the edges of the pattern piece.
- Pin more on curves to hold the paper flat.
- Use enough pins to keep the pattern from shifting while you cut. Don’t use too few!
- Pin perpendicular (at a right angle) to the cutting line or along the line. This holds the edge flat.
Pinning works well for most fabrics. It keeps the pattern paper very secure.
Using Pattern Weights
Pattern weights are heavy objects you put on top of the pattern pieces. They hold the paper flat without poking holes in the fabric.
- Place weights strategically on the pattern piece. Put them along edges, especially on curves and corners. Put some in the middle of larger pieces.
- Make sure the pattern piece is perfectly flat under the weights. No bumps or wrinkles in the fabric or paper.
- You cut around the weights. You might need to move weights as you cut.
Pinning vs. Weights: Which to Choose?
- Pins are good for:
- Small pieces.
- Fabrics that shift easily (like rayon or silk).
- Cutting with scissors (it can be tricky to cut around weights with scissors).
- When you need the fabric and pattern to be tightly bonded.
- Weights are good for:
- Larger pieces.
- Fabrics that might be damaged by pins (like leather, vinyl, or some delicate knits).
- Cutting with a rotary cutter (you glide the cutter along the edge, moving weights as you go).
- Saving time (some find placing weights faster than pinning many pins).
Try both methods! See what works best for you, your fabric, and your tools. Both methods, when done well, help with accuracy when cutting fabric pattern.
The Actual Cutting
Your fabric is prepped. Your tools are ready. Your pattern is laid out and secured. Now it’s time to cut! Accuracy when cutting fabric pattern is key here. Cut right on the lines.
Cutting with Scissors
- Use your fabric-only scissors.
- Keep the lower blade of the scissors flat on the table or cutting surface.
- Cut with long, smooth strokes. Don’t make tiny choppy cuts. This can make the edge wavy.
- When cutting curves, use shorter strokes, but still try to keep them smooth.
- Cut right on the line. Don’t cut inside the line (piece too small) or outside the line (piece too big).
- Keep the fabric flat. Don’t lift the fabric or the pattern as you cut. This can distort the shape.
Cutting with a Rotary Cutter
- Use your rotary cutter with a cutting mat.
- It’s best to use a ruler or straight edge with a rotary cutter for straight lines. This helps you cut perfectly straight.
- Hold the cutter at a 90-degree angle to the fabric.
- Apply even pressure. You need enough pressure to cut through all layers.
- Cut away from your body. Be careful! Rotary blades are very sharp.
- Use a cutting mat large enough for your pattern pieces.
- For curves, you can follow the pattern line freehand or use a curved ruler designed for rotary cutters. Take your time on curves.
Accuracy When Cutting Fabric Pattern
No matter if you use scissors or a rotary cutter, the goal is the same: cut exactly on the line.
- Look closely at the line you are cutting.
- Take your time. Don’t rush.
- Keep the pattern and fabric flat and still.
- Avoid lifting the fabric or pattern.
Even a little bit off the line can change how your garment fits or sews together. Cutting right on the line gives you the best chance for a perfect fit.
Cutting Notches on Sewing Patterns
Pattern pieces have little marks on the edges called notches. Cutting notches on sewing patterns is very important. Notches are like puzzle pieces. They show you which edges connect to which other edges when you sew. They help you match up seams correctly.
- How to Cut Notches:
- Outward Notches (Clipping): The easiest way is to clip a small triangle away from the edge of the fabric. The point of the triangle should be on the cutting line. This method keeps the seam allowance intact.
- Inward Notches (Cutting In): Some patterns show notches that are cut into the seam allowance. These are often V-shaped or U-shaped. Be careful not to cut too far into the seam allowance! Only cut as deep as the notch mark.
- Snips: For some fabrics that fray easily, you can make a tiny snip (about 1/4 inch) straight into the seam allowance at the notch mark.
Choose one method and be consistent. Cutting notches on sewing patterns accurately will save you confusion later when you start sewing. Cut them before you remove the pattern from the fabric piece.
What To Do After Cutting
You’ve cut out all your pieces! What’s next?
- Keep the pattern pieces pinned or weighted to the fabric until you need to use that fabric piece. This helps keep them from getting mixed up.
- Transfer all other pattern markings to your fabric. These could be dart points, pleat lines, buttonhole placements, etc. Use your fabric marking tools for this.
- Gather your cut pieces for the first sewing steps.
Tips for Tricky Fabrics
Some fabrics are harder to cut than others.
- Slippery Fabrics (like silk, rayon): These fabrics slide around!
- Use a rotary cutter and weights on a mat if possible. This keeps the fabric flatter.
- Lay the fabric on a non-slip surface, like an old sheet.
- Use extra pins or weights.
- Cut a single layer instead of on the fold. You’ll flip the pattern piece for the second layer. This takes more time but can be more accurate.
- Thick Fabrics (like wool, denim):
- Good sharp fabric scissors are often best. Rotary cutters might not cut through multiple thick layers well.
- Cut a single layer if needed.
- Knits: Knits can stretch and roll.
- Don’t stretch the fabric as you cut. Keep it flat.
- Use weights or a lot of pins.
- A rotary cutter can work well for knits if you don’t stretch them.
Why Accuracy Matters for Perfect Fits
Think about building something. If the first piece you cut is the wrong size or shape, the rest of the pieces won’t fit together right. Sewing is the same.
- If your bodice front is cut too narrow, the whole shirt will be tight.
- If your sleeve head is cut wavy, it will be hard to sew into the armhole smoothly.
- If your notches don’t line up, you might sew the wrong edges together.
Accuracy when cutting fabric pattern directly affects:
- How the garment fits your body.
- How the fabric hangs.
- How easy or difficult it is to sew the pieces together.
- The final look of your handmade item.
Taking the time to prepare your fabric, choose the right sewing pattern cutting tools, lay out your pieces correctly on the grainline, secure them well with pinning pattern to fabric or using pattern weights, and carefully cut on the lines (including cutting notches on sewing patterns) will make a huge difference. It turns cutting from a chore into a key step for success.
Don’t rush this part of the process. It’s worth the extra time for those perfect fits you want!
Frequently Asked Questions
What are the most important sewing pattern cutting tools?
You need good fabric scissors (or a rotary cutter and mat), pattern weights or pins, and tools to mark your fabric. Paper scissors for the pattern are also a must.
How do I know if I am cutting pattern pieces on grainline correctly?
Find the grainline arrow on the pattern piece. Measure the distance from the arrow ends to the selvage edge of your fabric. These measurements must be the same.
Is using pattern weights better than pinning pattern to fabric?
Neither is strictly “better.” They are different methods. Weights are great with rotary cutters and for fabrics you don’t want to put holes in. Pins secure the pattern tightly and work well for small pieces or with scissors. Many sewists use both depending on the project.
Why is preparing fabric before cutting important?
Washing and drying (pre-shrinking) prevents your finished garment from shrinking later. Pressing removes wrinkles, which helps you lay the pattern flat and cut accurately.
What are cutting notches on sewing patterns for?
Notches are marks on pattern edges that show you where pieces connect. They help you match up seams correctly when sewing, like alignment guides.
Should I use a rotary cutter vs scissors for fabric?
Use scissors for curves, corners, and small pieces. Use a rotary cutter for straight lines, multiple layers (check fabric type), and often with weights. Many sewists use both on one project.
How can I improve accuracy when cutting fabric pattern?
Prepare your fabric, use good tools, lay out pieces on the correct grainline, secure the pattern well (pins or weights), take your time, and cut right on the printed line. Practice helps a lot too!
Final Thoughts on Accurate Cutting
Getting perfect fits is a goal for many who sew. While sewing skills are important, the foundation of a good fit and a well-made garment is accurate cutting. Every piece you cut is part of the final puzzle. Taking the time to cut accurately sets you up for success in all the steps that follow.
Remember the key steps:
* Get your fabric ready (wash, press).
* Have the right sewing pattern cutting tools ready.
* Plan your fabric layout for cutting.
* Place each pattern piece correctly on the fabric, checking the grainline carefully.
* Secure your pattern pieces using pinning pattern to fabric or using pattern weights.
* Cut accurately, right on the line, whether you use a rotary cutter vs scissors for fabric.
* Don’t forget cutting notches on sewing patterns!
By focusing on accuracy when cutting fabric pattern, you are giving yourself the best possible start. Happy cutting, and enjoy making clothes that fit just right!