
Yes, you can absolutely do embroidery on clothes! It’s a wonderful way to personalize your wardrobe, repair small holes, or simply add a touch of handmade charm. This guide will walk you through everything a beginner needs to know to get started with hand embroidery on clothing.
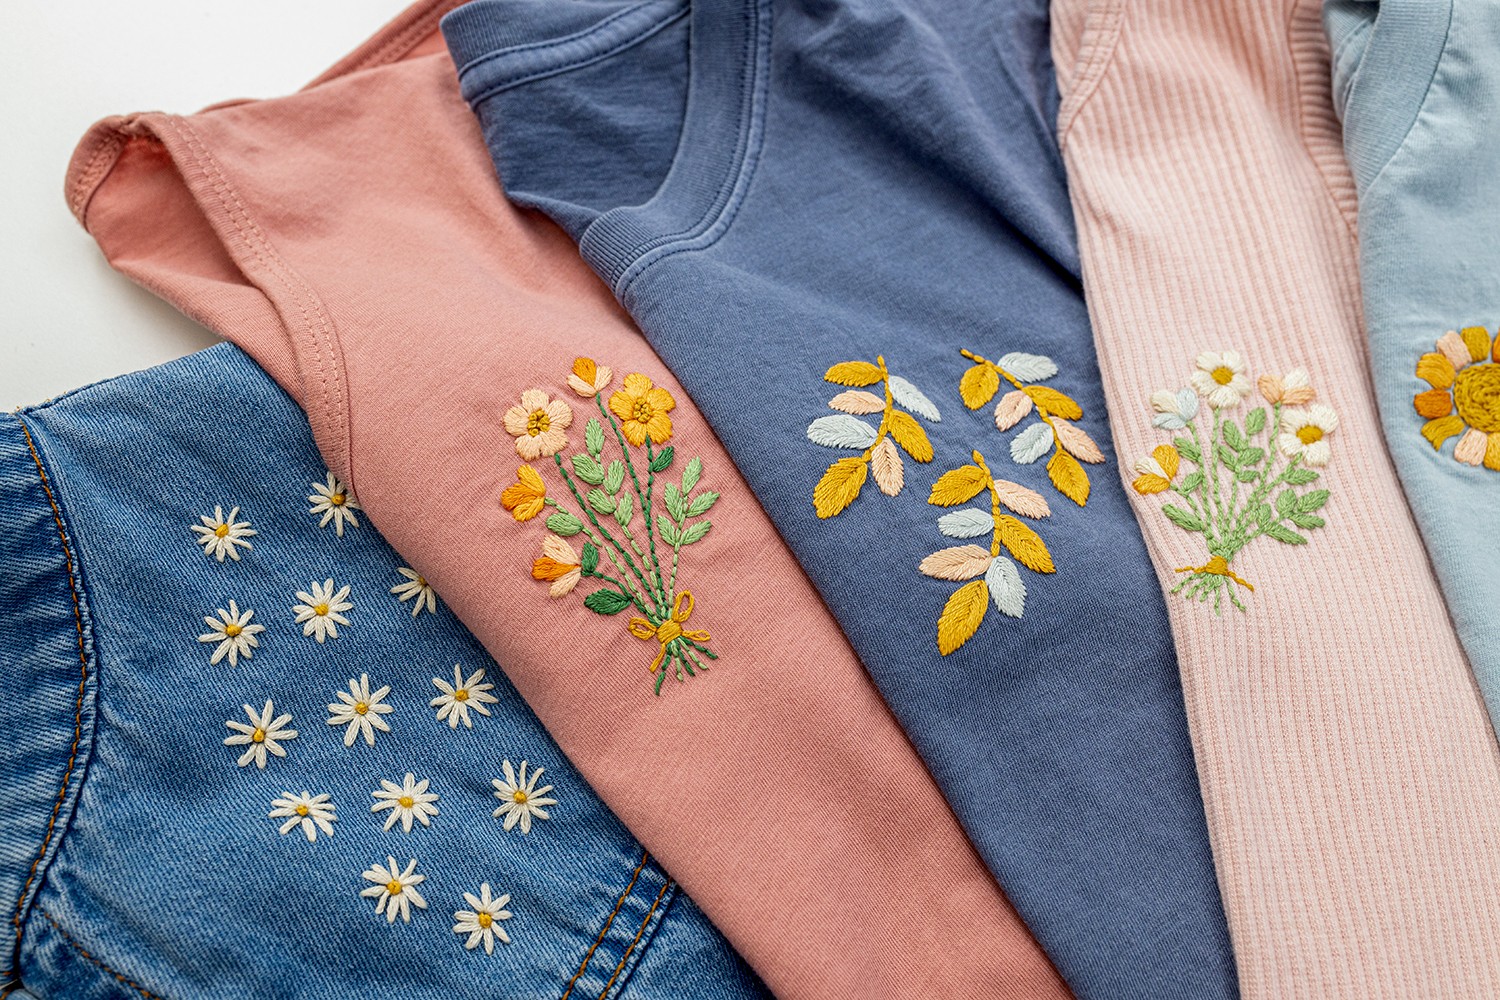
Image Source: cdn05.zipify.com
Getting Started with Beginner Embroidery
Embroidery is an art form that uses a needle and embroidery thread to create decorative designs on fabric. It might seem a bit daunting at first, but with a few basic tools and some practice, you’ll be creating beautiful pieces in no time.
What You’ll Need: Your Embroidery Toolkit
Before you begin, gather your essential supplies. Having the right tools makes the process much smoother and more enjoyable.
Essential Embroidery Tools
- Embroidery Hoop: This is crucial for keeping your fabric taut and preventing it from puckering as you stitch. Hoops typically come in pairs: one with a screw for tightening and another that fits snugly inside it.
- Embroidery Needles: These needles are specifically designed for embroidery. They have a larger eye than regular sewing needles, making it easier to thread embroidery thread, and a sharp point for piercing fabric. Different needle sizes are available, and a medium size is generally good for beginners.
- Embroidery Thread: This is the colorful yarn used for stitching. It comes in a vast array of colors and finishes. While you can buy pre-packaged embroidery floss, it’s often sold in skeins. Embroidery floss is typically made of six strands, which you can separate to achieve different thicknesses in your stitches.
- Fabric Shears or Embroidery Scissors: Sharp scissors are vital for cutting embroidery thread cleanly and trimming fabric if needed. Smaller, precise scissors are excellent for snipping threads close to the fabric.
- Fabric Marker or Water-Soluble Pen: This is used to transfer your design onto the fabric. Water-soluble pens wash away with water, while air-soluble markers disappear over time.
Choosing the Right Fabric
Not all fabrics are created equal when it comes to embroidery. Some are much easier to work with for beginners.
Fabric Types for Embroidery
- Cotton: Natural cotton fabrics are excellent for beginner embroidery. They are sturdy, easy to find, and hold stitches well. Quilting cotton and broadcloth are good choices.
- Linen: Linen is also a popular choice. It has a lovely texture but can be a bit more slippery than cotton. Start with a medium-weight linen.
- Denim: Denim is a very durable fabric, making it perfect for embroidering on jeans, jackets, and bags.
- Canvas: Sturdy canvas fabrics are great for projects like tote bags or wall hangings.
- Avoid: Very stretchy or loosely woven fabrics like jersey knits can be tricky for beginners as they can distort easily. Silk and satin can also be slippery and prone to snagging.
Selecting Your Embroidery Design
The design you choose will guide your stitching.
Embroidery Patterns
- Simple Motifs: For your first projects, opt for simple shapes like flowers, leaves, stars, or letters. These will help you practice different embroidery stitches without overwhelming you.
- Pre-Printed Designs: Many kits come with pre-printed patterns directly on the fabric, which makes embroidery design transfer unnecessary.
- Downloaded Patterns: You can find countless free and paid embroidery patterns online. Look for patterns labeled for beginners.
Transferring Your Design to Fabric
Getting your chosen design onto your garment is a key step. There are several effective methods.
Embroidery Design Transfer Methods
- Water-Soluble Stabilizer: This is a fantastic tool for beginners. Print or draw your design onto the stabilizer, then either iron or tape it onto your fabric. Once you’ve finished embroidering, simply wash away the stabilizer, leaving your design perfectly transferred.
- Transfer Paper/Pen: Special iron-on transfer paper or pens allow you to draw or print your design, then transfer it to the fabric with heat. Follow the product instructions carefully.
- Chalk or Tailor’s Chalk: For darker fabrics, tailor’s chalk can be used to draw or trace your design directly onto the cloth.
- Light Box or Window Method: Place your fabric over a light source (like a light box or a brightly lit window) with your pattern underneath. You can then trace the design onto the fabric with a fabric marker.
Mastering Basic Embroidery Stitches
The magic of embroidery lies in its stitches. Learning a few foundational stitches will open up a world of possibilities.
Common Embroidery Stitches for Beginners
These embroidery stitches are versatile and relatively easy to learn.
1. Backstitch
The backstitch is excellent for outlines and creating solid lines, similar to sewing machine stitching.
How to do it:
- Start by bringing your needle up through the fabric at point A.
- Take a small stitch forward, going down through the fabric at point B.
- Bring your needle up again at point C, which is one stitch length back from where your thread last emerged (i.e., at point A).
- Now, go down through the fabric at point B, where your previous stitch ended.
- Continue this pattern: come up one stitch length ahead (at point D), then go down at the end of the previous stitch (at point C).
Tips:
* Keep your stitch lengths consistent for a neat line.
* You can adjust stitch length for different looks. Shorter stitches create a more solid line.
2. Satin Stitch
The satin stitch is used to fill in areas with color, creating a smooth, satin-like appearance.
How to do it:
- Bring your needle up at point A.
- Go down at point B, leaving a small gap (the width of your desired satin stitch).
- Bring your needle back up at point A.
- Take your next stitch right next to the first one, going down at point C.
- Bring your needle up at point B and take your next stitch down at point D.
- Continue alternating, covering the entire area with parallel stitches.
Tips:
* Keep your stitches close together without overlapping for a smooth finish.
* For curves, you can slightly angle your stitches.
3. Running Stitch
The running stitch is the simplest stitch and is good for dashed lines or gathering.
How to do it:
- Bring your needle up at point A.
- Go down at point B.
- Bring your needle back up at point C, leaving a space between B and C.
- Continue in this manner, creating a series of “in and out” stitches.
Tips:
* For speed, you can load several stitches onto your needle at once before pulling it through the fabric.
* Vary the stitch and gap length to create different textures.
4. French Knot
French knots are small, textured dots that add dimension to your embroidery.
How to do it:
- Bring your needle up at point A.
- Wrap the embroidery thread around the needle two or three times (the more wraps, the bigger the knot). Hold the wraps with your non-dominant hand.
- Bring the needle down through the fabric very close to where it came up (point A). Keep tension on the thread as you pull the needle through the wraps.
- Hold the wraps taut with your fingers until the knot is formed and snug against the fabric.
Tips:
* Practice this stitch on a scrap piece of fabric first.
* The key is to keep the thread taut as you bring the needle down.
5. Chain Stitch
The chain stitch creates a line of looped stitches, resembling a chain.
How to do it:
- Bring your needle up at point A.
- Make a small stitch by going down at point B, but instead of pulling the thread all the way through, loop the thread back up through the fabric at point A, before the needle fully exits.
- Bring your needle up at point C, which is just ahead of point A, and loop the working thread under the needle. This loop will form the first “link” of your chain.
- Go down at point B again.
- Bring your needle up at point D, again looping the working thread under the needle to form the next link.
- Continue by going down at point C, coming up at point E, and so on.
Tips:
* Keep the tension of the working thread consistent.
* To secure the end of a chain stitch, make a small knotting stitch over the last loop.
Here’s a table summarizing these basic stitches:
| Stitch Name | Best For | Appearance | Difficulty |
|---|---|---|---|
| Backstitch | Outlines, lettering, solid lines | Continuous line with a slight overlap | Easy |
| Satin Stitch | Filling areas, petals, leaves | Smooth, solid color surface | Medium |
| Running Stitch | Dashed lines, gathering, simple patterns | Series of small stitches and gaps | Very Easy |
| French Knot | Texture, dots, small details | Small, raised knot | Medium |
| Chain Stitch | Decorative lines, borders, filling shapes | Series of looped stitches, like a chain | Medium |
The Embroidery Process: Step-by-Step
Now that you have your supplies and know some basic stitches, let’s put it all together.
Preparing Your Fabric and Hoop
This is a crucial step for achieving smooth, professional-looking results.
Securing Fabric in the Hoop
- Loosen the screw: Unscrew the outer hoop slightly so that the inner hoop can fit inside it.
- Place the fabric: Lay your fabric flat. Place the inner hoop on a flat surface, then position your fabric over it.
- Position the outer hoop: Place the outer hoop on top of the fabric and inner hoop.
- Tighten the screw: Press down on the outer hoop while you begin tightening the screw. As you tighten, the fabric will become taut. Continue tightening until the fabric is stretched smoothly, like a drum. Make sure there are no wrinkles.
- Trim excess fabric (optional): You can trim away excess fabric around the hoop, leaving about an inch or two, or you can leave it as is.
Threading Your Needle
- Separate strands: Embroidery floss usually has six strands. For most hand embroidery on clothing, you’ll want to use 1-3 strands. Pull the desired number of strands gently from the skein.
- Cut to length: Cut the separated strands to a manageable length, about 18-24 inches. Longer threads can tangle and knot easily.
- Thread the needle: Fold the strands in half so the ends meet. Pass the loop through the eye of your embroidery needle.
- Create a knot: Make a knot at the end of the doubled threads. A simple loop knot is effective: wrap the thread around your finger a couple of times, slide it off your finger, and pull through to create a knot.
Stitching Your Design
With your fabric hooped and needle threaded, you’re ready to stitch!
Starting and Ending Your Threads
- Starting: Bring your needle up through the back of the fabric where you want to start your stitch. Leave a small tail of thread on the back. You can secure this tail by making a few small stitches over it with your needle as you begin your design, or by tying a knot at the very beginning.
- Ending: When you need to change thread colors or finish a section, bring your needle to the back of the fabric. Before pulling the thread all the way through, pass your needle through the loop of thread that remains on the fabric to create a knot. You can also run your needle under a few existing stitches on the back of the fabric to secure the end before snipping.
Stitching Techniques
- Follow your pattern: Refer to your embroidery pattern and use the appropriate stitches to recreate the design.
- Maintain tension: Keep a consistent tension on your embroidery thread throughout your work. This will ensure your stitches look neat and even.
- Work from front to back: Always bring your needle up from the back of the fabric and down to the front to make a stitch.
- Color changes: Plan your stitching to minimize thread changes. You can often carry a thread across the back of the fabric to a new starting point if the jump is short (less than an inch) and will be covered by other stitches.
Finishing Your Embroidery
Once your design is complete, you’ll want to finish it off properly.
Removing the Hoop and Cleaning Up
- Unscrew the hoop: Carefully unscrew the hoop and remove the fabric.
- Remove stabilizer (if used): If you used water-soluble stabilizer, soak the fabric in cool water to dissolve it. Gently pat the fabric dry with a towel.
- Pressing: Iron your embroidered piece on the reverse side (the side with the knots) using a medium heat setting, preferably with a pressing cloth to protect the stitches.
Machine Embroidery vs. Hand Embroidery
While this guide focuses on hand embroidery, it’s worth mentioning machine embroidery as another way to add embroidery to clothes.
Key Differences
- Speed and Efficiency: Machine embroidery is significantly faster than hand embroidery. A machine can stitch out complex designs in minutes, while hand-stitching can take hours.
- Complexity of Designs: While modern embroidery machines can handle intricate designs, hand embroidery allows for more subtle variations in stitch tension and texture that can be hard to replicate with a machine.
- Cost: Embroidery machines can be a substantial investment, whereas hand embroidery requires only a small upfront cost for basic tools.
- Control and Craftsmanship: Hand embroidery offers a more intimate connection with the craft, allowing for personalized adjustments and a unique, handmade feel. Machine embroidery is about precision and repetition.
For beginners, hand embroidery is generally the recommended starting point due to its lower cost and the foundational skills it teaches.
Tips for Successful Beginner Embroidery Projects
- Start small: Your first projects should be simple and quick to complete. This builds confidence and helps you learn without getting frustrated.
- Practice stitches: Dedicate some time to practicing each stitch on a scrap piece of fabric before working on your actual garment.
- Use good lighting: Good lighting is essential for seeing your stitches clearly and avoiding eye strain.
- Take breaks: Embroidery can be intricate work. Take regular breaks to rest your eyes and hands.
- Embrace imperfections: Especially when you’re starting, don’t expect perfection. Every stitch is a learning opportunity. Your handmade pieces will have a unique charm.
- Experiment with thread colors: Don’t be afraid to play with different color combinations to see what looks best.
- Wash your garment first: It’s a good idea to pre-wash the garment you plan to embroider. This removes any sizing chemicals and prevents shrinkage after you’ve completed your design.
Common Problems and How to Solve Them
Even with the best intentions, you might encounter a few hiccups.
Troubleshooting Embroidery Issues
- Thread tangling:
- Cause: Using too long a thread, pulling the thread too quickly, or the needle eye being too small for the thread.
- Solution: Use shorter thread lengths (18-24 inches). Try to pull the thread smoothly through the fabric. Ensure you’re using the correct embroidery needles for your thread.
- Fabric puckering:
- Cause: Fabric not being taut enough in the hoop, or stitches being pulled too tightly.
- Solution: Ensure your fabric is very taut in the embroidery hoop. Don’t pull your stitches so tight that they draw the fabric in. Loosen the hoop slightly if needed.
- Uneven stitches:
- Cause: Inconsistent stitch length, pressure, or thread tension.
- Solution: Practice keeping your stitch lengths and tension consistent. Focus on making each stitch deliberate.
- Needle coming unthreaded:
- Cause: Not knotting the thread securely, or the thread has frayed.
- Solution: Make sure your knot is secure at the start. If the thread frays at the end, trim it and re-thread.
Frequently Asked Questions (FAQ)
Q1: Can I embroider on any type of clothing?
A1: While you can embroider on many fabric types for embroidery, some are easier than others. Sturdy, tightly woven fabrics like cotton, denim, and linen are excellent for beginner embroidery. Very stretchy or loosely woven fabrics can be more challenging.
Q2: How many strands of embroidery thread should I use?
A2: This depends on the stitch and the effect you want. For finer details and delicate stitches, 1-2 strands are often used. For bolder lines and filling areas, 3-6 strands can be effective. It’s best to experiment on a scrap piece of fabric to see what works for your chosen stitch and design.
Q3: How do I make sure my embroidery doesn’t come out in the wash?
A3: The best way to ensure your embroidery lasts is to use a strong knot when starting and ending your threads. You can also run your needle under a few existing stitches on the back of the fabric before snipping. For washable fabric types for embroidery, the stitches themselves should hold firm if done correctly.
Q4: What is the difference between embroidery floss and embroidery thread?
A4: In common usage, these terms are often interchangeable. “Embroidery floss” usually refers to the multi-strand cotton thread most commonly used for hand embroidery. “Embroidery thread” can be a broader term encompassing various types, including silk, metallic, or rayon threads, which might be used for specific effects or in machine embroidery. For beginners, standard embroidery floss is the go-to.
Q5: How long does it take to learn embroidery?
A5: Learning the basic embroidery stitches can take as little as a few hours. Becoming proficient and comfortable with different techniques and embroidery design transfer methods takes practice over weeks and months. The more you practice, the faster and more skilled you will become.
Embroidery is a rewarding craft that allows you to transform ordinary clothes into unique works of art. With this beginner’s guide, you have the foundational knowledge to pick up your embroidery hoop, thread your embroidery needle, and start stitching your way to a more personalized wardrobe. Happy stitching!