
Image Source: content.instructables.com
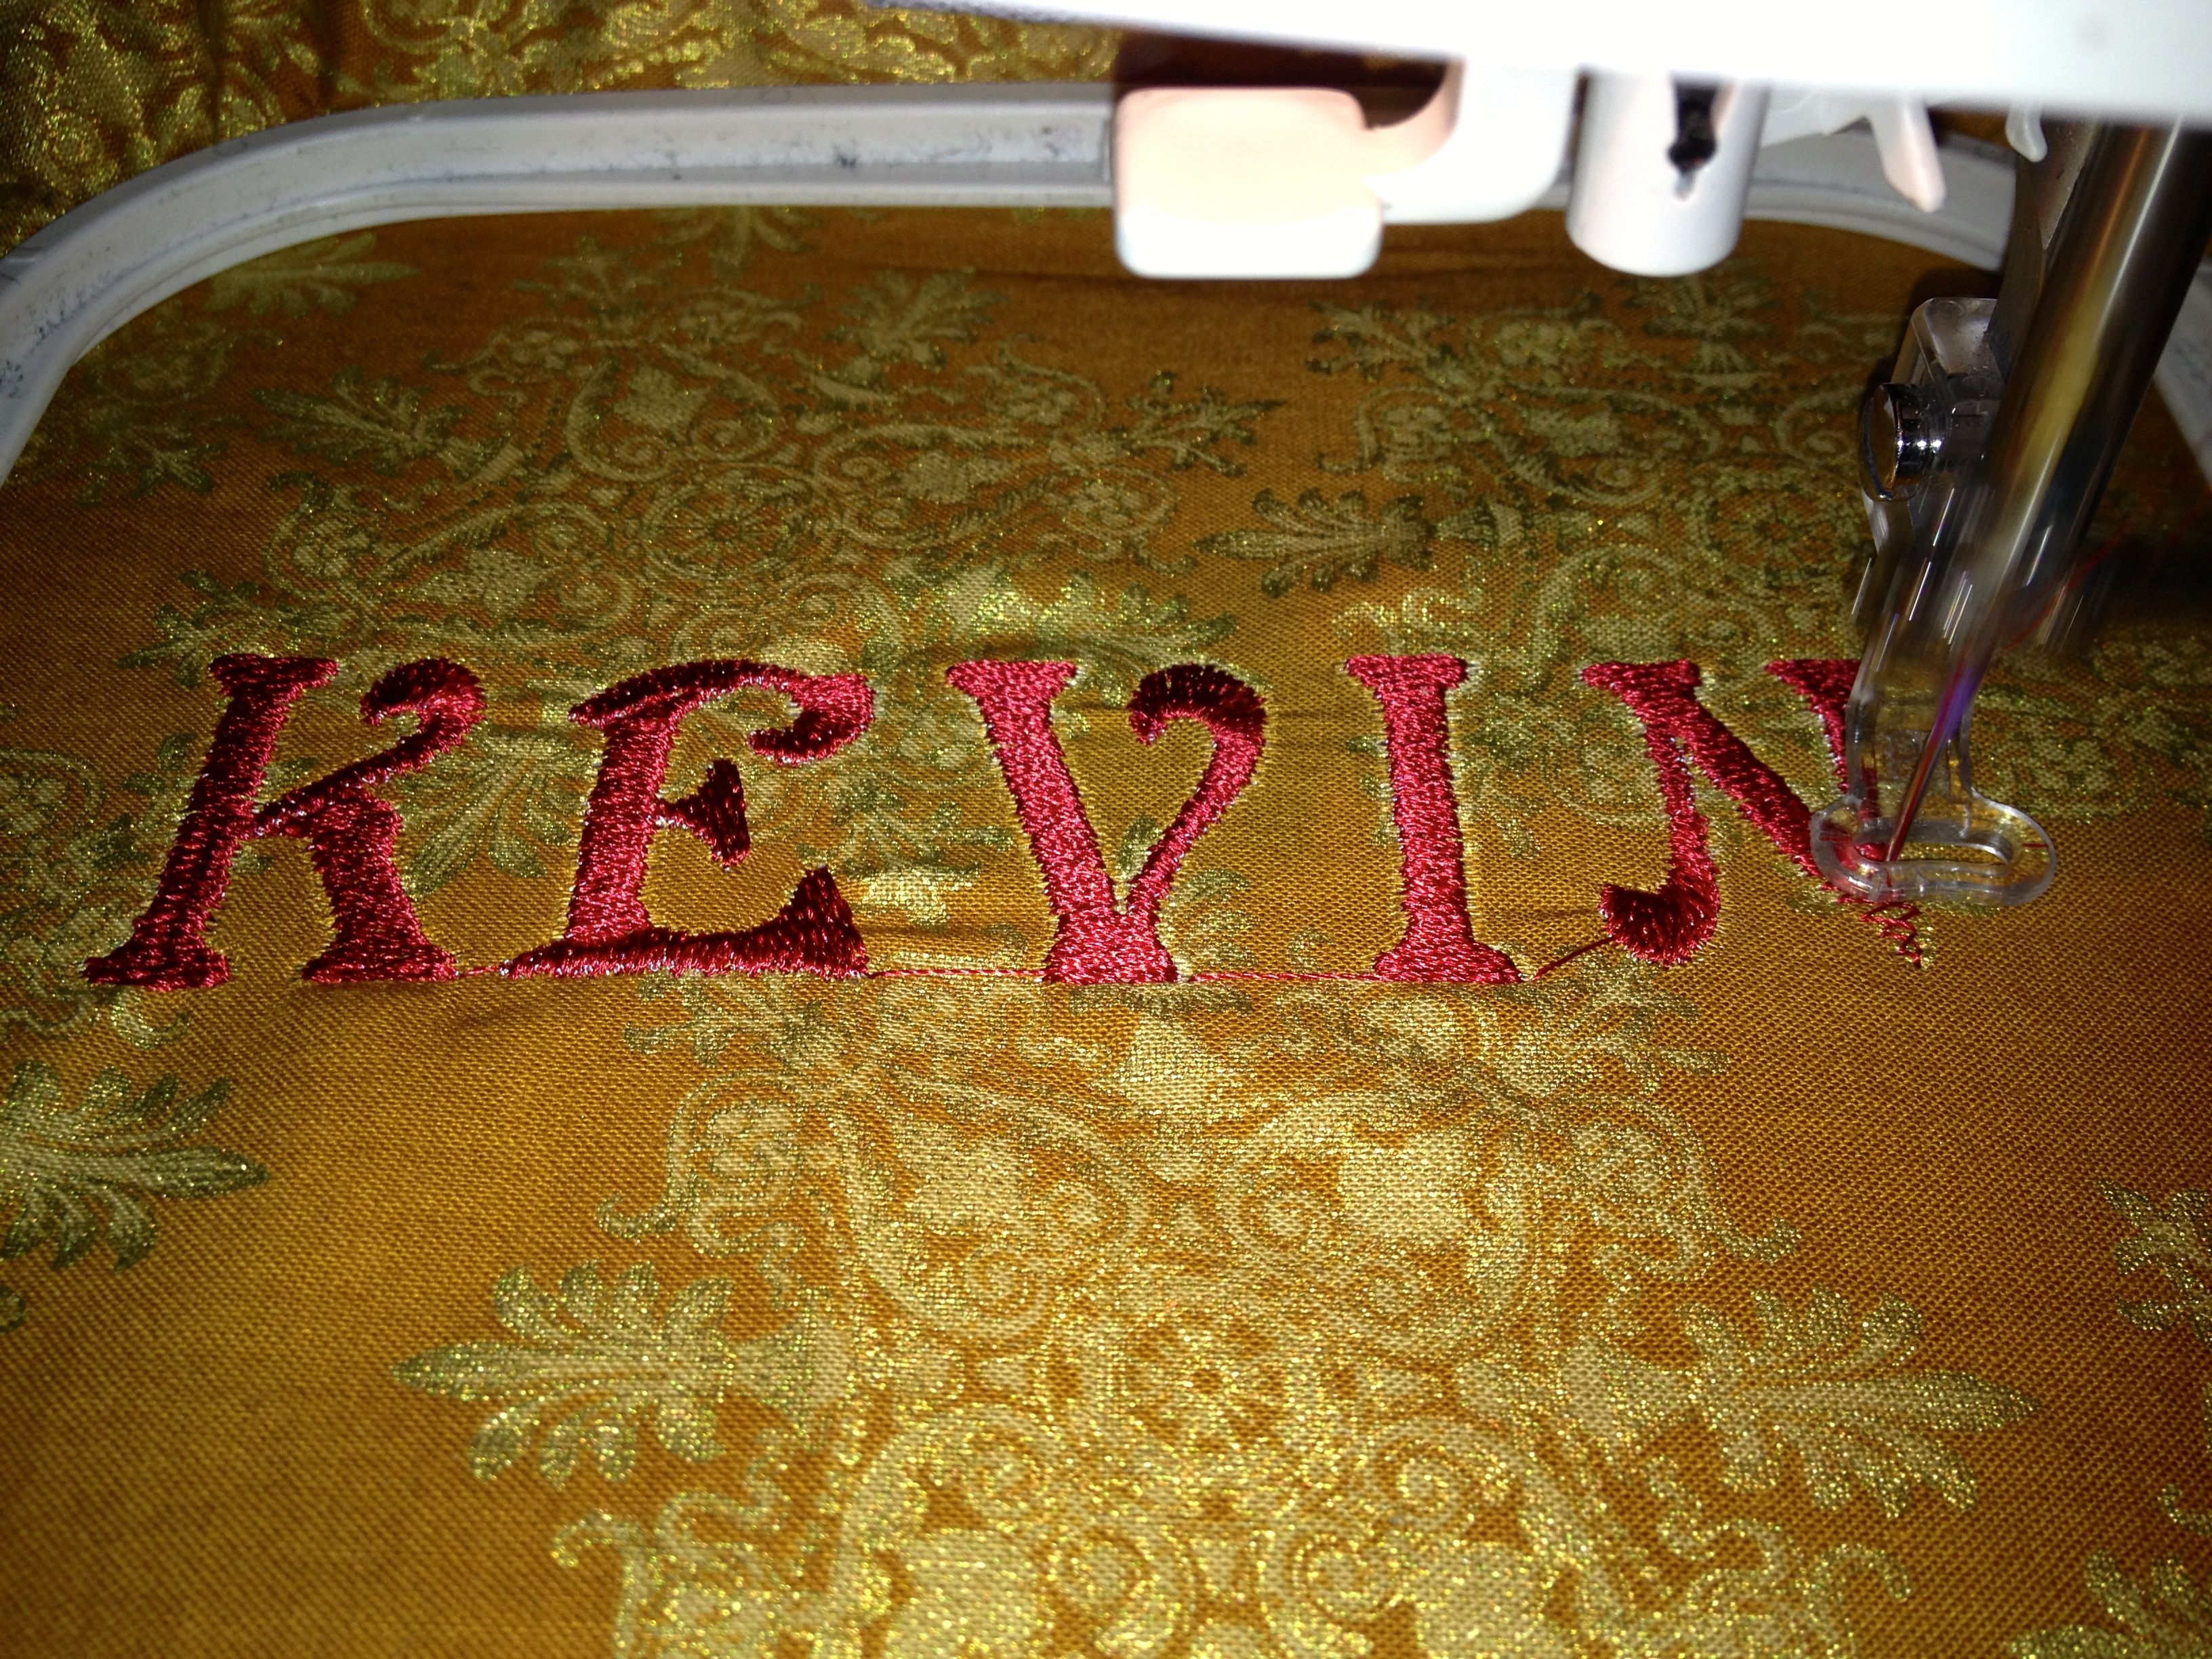
How To Embroider Letters On Sewing Machine Easy Guide
Can you embroider letters on a regular sewing machine? Yes, you can! Many modern sewing machines have a special function for embroidery, sometimes called a sewing machine monogram function. Even basic machines with zigzag stitches can make simple letters, though dedicated embroidery machines or sewing machines with embroidery capabilities make it much easier and offer many embroidery machine lettering fonts. This guide will show you how to add lovely letters to your projects using your sewing machine.
Why Put Letters on Fabric?
Putting letters on fabric is fun. It makes things special. You can write names. You can add words or phrases.
Think of baby blankets. Add the baby’s name.
Think of towels. Put a family initial.
Think of jackets or bags. Write something cool or funny.
Letters personalize gifts. They make things unique. It’s a great way to use your sewing machine skills.
Machines for Lettering
What kind of machine do you need? It depends on what you want to do.
Simple Stitch Machines
Some sewing machines only do straight and zigzag stitches. You can still make letters with these. It takes more work. You guide the fabric yourself. This is called free motion embroidery. It’s like drawing with your needle. It’s hard to get perfect letters this way. But you can make nice, flowing words.
Machines with Decorative Stitches
Many sewing machines have more stitches. They might have stitches that look like letters. Or they might have numbers and simple shapes. These machines often have an adding letters to embroidery designs function built-in. You pick the letter on the machine. The machine moves the fabric for you. This is much easier than free motion.
Embroidery Machines
These machines are made for embroidery. Some are only for embroidery. Some are sewing machines that also embroider. They have a special embroidery arm. You put the fabric in a hoop. The hoop connects to the arm. The machine reads a design file. It moves the hoop in all directions. It stitches the design perfectly. These machines offer the best and easiest way to make letters. They have many embroidery machine lettering fonts. They can make letters small or big. They can make them simple or fancy. This guide will focus mostly on using these types of machines or sewing machines with built-in embroidery features, as they are the easiest for making clear letters.
Getting Ready: What You Need
Before you start, gather your stuff. Having everything ready helps a lot.
- Your Sewing Machine: Make sure it has an embroidery function or can connect to an embroidery unit.
- Embroidery Hoop: Your machine came with hoops. You need one that fits your letter size. Hoops hold the fabric tight. This is very important.
- Needles: Use embroidery needles. They have a special eye. It lets the thread move smoothly. Use a size like 75/11 or 90/14.
- Embroidery Thread: Embroidery thread types for lettering are key. Rayon or polyester thread is common. It has a nice shine. Cotton thread works too. Pick the right colors for your project.
- Fabric: Choose fabric that works well for embroidery. Cotton, linen, and felt are good. Make sure it is ironed smooth.
- Stabilizer: This is maybe the most important supply. Stabilizer for machine embroidered letters stops the fabric from puckering. It holds the stitches neatly. There are different kinds.
- Small Scissors: For cutting threads close to the fabric.
- Water-soluble Pen or Chalk: To mark where your letter will go (optional).
- Design: Your letter design. It can be built into your machine. Or you might need software.
Choosing the Right Stabilizer
Let’s talk more about stabilizer. It’s like a secret helper. It goes under the fabric. Sometimes on top. It keeps the fabric flat while the needle stitches. Without it, your letters can look messy. The stitches can pull the fabric. This makes it wrinkle up.
There are different types of stabilizer:
- Cut-Away Stabilizer: This type is strong. You put it under the fabric. After embroidering, you cut away the extra. It stays under the stitches forever. Use this for knit fabrics or stretchy materials. It gives long-lasting support.
- Tear-Away Stabilizer: This is easier to remove. You put it under the fabric. After stitching, you just tear away the extra. It works well for stable fabrics. Fabrics like quilting cotton or canvas. It is good for designs that are not too dense.
- Wash-Away (Water-Soluble) Stabilizer: This dissolves in water. You can use it under the fabric. Or on top for fabrics with a nap (like terrycloth). It keeps loops down. After stitching, wash your project. The stabilizer goes away. Use this when you don’t want any stabilizer left. Like on sheer fabrics or towels.
- Heat-Away Stabilizer: This melts away with heat from an iron. Use it when you cannot wash the project. Or when water might stain the fabric.
- Sticky Stabilizer: This has a sticky side. You hoop the stabilizer only. Then you stick the fabric to it. Use this for things that are hard to hoop. Like small items or things with strange shapes.
For most lettering, especially on cotton or stable fabrics, tear-away or cut-away is a good start. For towels or fuzzy fabrics, use wash-away on top. Always test a small piece first if you are not sure.
Getting the Fabric Ready: Hooping
This step is super important. Hooping fabric for letter embroidery correctly makes a big difference. The fabric must be tight like a drum.
Steps for Hooping
- Get Your Fabric and Stabilizer: Iron your fabric smooth. Cut a piece of stabilizer. Make it bigger than your hoop size.
- Place the Stabilizer: Put the stabilizer under your fabric. Make sure it is centered where your letter will be. For some projects, you might use two layers of stabilizer. Or one layer on top and one on the bottom.
- Separate the Hoop: Hoops have two parts. An outer ring and an inner ring. Loosen the screw on the outer ring.
- Place the Outer Ring: Lay the outer ring on a flat surface. The screw part should be easy to reach.
- Lay Fabric and Stabilizer: Place your fabric (right side up) with the stabilizer underneath over the outer ring. Center the spot where the letter should go.
- Insert the Inner Ring: Push the inner ring down inside the outer ring. It might be a tight fit. This is good. It holds the fabric tight. Start pushing from one side. Then push down all around.
- Tighten the Hoop: Once the inner ring is in place, check the fabric. It should be smooth. No wrinkles inside the hoop. Pull the fabric gently from the sides to make it tight. It should feel like the top of a drum when you tap it. Be careful not to pull so hard it distorts the fabric grain.
- Tighten the Screw: Tighten the screw on the outer hoop. This locks the inner ring in place. The fabric should stay tight.
- Check Again: Make sure the fabric is still smooth and tight. If it’s not, take it out and try again. Bad hooping is a common problem. It causes messy letters.
A machine embroidery hooping guide often comes with your machine. Look at it for pictures and tips specific to your hoops. Some machines have special tricks for hooping.
Designing Your Letters
How do you choose your letters? Where do they come from?
Built-in Machine Fonts
Most embroidery machines have built-in fonts. These are ready to use. You select them on the machine screen. You type the letters you want. The machine sets them up for you. You can often change the size. You can change the style (like block letters or script). This is the easiest way to start.
Lettering Software
For more options, you can use digitizing embroidery letters software. This software runs on your computer. You can create your own words. You can pick from many more fonts. You can arrange letters in a circle or other shapes. You can combine letters with other pictures or designs. The software creates an embroidery file. You transfer this file to your machine. You can use a USB stick or a cable.
Using software gives you lots of creative power. It lets you customize things exactly how you want.
Adding Letters to Existing Designs
Sometimes you have an embroidery picture. You want to add a name or date. Adding letters to embroidery designs is common. Many machines or software programs let you do this. You load the picture design. Then you add the letters around it or on it. Make sure the colors work together. Make sure the letters fit the space.
Setting Up Your Machine
Now your fabric is hooped. You have your design. Time to set up the machine.
Attaching the Hoop
Find the embroidery unit on your machine. It might be a separate arm you attach. Or it might be built-in. There are clips or holders on the unit. These fit into special spots on your hoop. Slide the hoop onto the machine unit. Make sure it clicks or locks into place. It must be secure.
Loading the Design
If you use a built-in font, select it on your machine’s screen. Type your word. Arrange it how you like.
If you used software, transfer your design file. Put the USB stick in the machine. Or connect the cable. Follow your machine’s steps to load the file. Select the design on the screen.
Checking Machine Settings
Sewing machine settings for embroidery are important.
- Stitch Type: The machine will automatically use a satin stitch or fill stitch for letters. You don’t usually change this for basic lettering.
- Tension: Thread tension needs to be right. Usually, the machine handles this in embroidery mode. But if stitches look bad (loops on top or bottom), you might need to adjust tension. The top thread should meet the bottom thread neatly inside the fabric layers.
- Speed: You can often control the stitching speed. Starting slower is a good idea. It lets you watch and catch problems early.
- Needle Position: The machine controls this.
- Foot: Use the special embroidery foot. Your machine came with one. It’s often clear plastic. It lets the machine move the fabric freely under it.
Double-check the design on the screen. Make sure it’s the right size and in the right place (on the screen preview). Most machines let you move the design slightly on the screen. You can also use a placement sticker on your hooped fabric. Then tell the machine to center the design on the sticker. This helps you put the letter exactly where you marked it.
The Letter Stitching Process
Everything is set up. You’re ready to stitch!
- Lower the Foot: Make sure the embroidery foot is down. The machine will not stitch with the foot up.
- Start Stitching: Press the start button. The machine will begin. It will move the hoop. It will sew the letters.
- Watch: Keep an eye on the machine. Watch the first few stitches. Is the thread laying down smoothly? Is the fabric staying flat?
- Thread Changes: If your design has different colors, the machine will stop. It will tell you to change the thread. Follow the machine’s steps. Change the top thread. Sometimes you need to change the bobbin thread too if it’s a special color.
- Trimming Threads: Some machines cut jump stitches automatically. Jump stitches are the threads that connect parts of the design where the machine lifts the needle. If your machine doesn’t cut them, you will need to trim them later. You might also need to trim threads when the machine stops for a color change.
Don’t leave the machine alone for too long. Sometimes threads break. Or the bobbin runs out. Or the fabric gets caught. It’s good to be nearby.
Finishing Your Letter Embroidery
The machine is done stitching. What’s next?
- Remove the Hoop: Take the hoop off the embroidery unit.
- Remove Fabric from Hoop: Loosen the screw on the hoop. Carefully take the fabric and stabilizer out of the hoop.
- Remove Stabilizer: Now deal with the stabilizer.
- Tear-Away: Gently tear away the extra stabilizer from around the design. Tear slowly and close to the stitches.
- Cut-Away: Use small, sharp scissors to cut the stabilizer from the back. Cut about 1/4 inch away from the stitches. Be careful not to cut the fabric!
- Wash-Away: If you used this on top or bottom, trim the excess. Then follow its instructions. Usually, you soak the embroidered area in water. The stabilizer will dissolve. You might need to rinse it.
- Heat-Away: Follow its instructions. You usually put the embroidery face down on a pressing cloth. Then press the back with a warm iron. The stabilizer melts.
- Trim Loose Threads: Look at the front and back of your embroidery. Use your small scissors to carefully snip any loose threads or jump stitches. Cut them close to the fabric but don’t cut the fabric or stitches.
- Press: Place the embroidery face down on a soft towel or pressing cloth. Lightly mist with water if needed. Press the back with a warm iron. This helps flatten the stitches. It removes any hoop marks.
Your letter is now finished! You can add it to your project or show it off.
Understanding Machine Embroidery Lettering Techniques
There are different ways letters can look. The machine uses different stitch types.
- Satin Stitch: This is common for outlines and smaller letters. The stitches are very close together. They go back and forth across a shape. This makes a smooth, shiny surface. Like ribbon. Most built-in fonts use satin stitch.
- Fill Stitch: For very wide letters or big block letters, the machine might use a fill stitch. This is like coloring inside a shape with stitches. The stitches go in one direction or a pattern. They fill a large area.
- Outline Stitch: Some letters are just outlines. A single stitch line or a bean stitch outline can make letters. This uses less thread. It is good for simpler looks.
- Appliqué Letters: These letters are cut from a separate piece of fabric. The machine stitches the fabric letter onto the main fabric. It then stitches a border (often satin stitch) around the edge of the fabric letter. This is a fun way to add different colors and textures.
Knowing these techniques helps you choose the right font or design for your project. Some fonts are only satin. Some offer fill or outline options.
Fixing Problems (Troubleshooting)
Sometimes things go wrong. Don’t worry! Most problems can be fixed.
Stitches Look Messy or Loop
- Check Hooping: Is the fabric drum tight? If not, re-hoop it.
- Check Stabilizer: Did you use the right type and amount of stabilizer? Try a different type or add a second layer.
- Check Threading: Is the machine threaded correctly? Rethread both the top thread and the bobbin. Make sure the thread is sitting correctly in the tension discs.
- Check Tension: The automatic tension should work. But if it’s still looping, you might need to adjust it manually a little. Check your machine manual. Loops on top mean the bobbin tension is too tight or top tension is too loose. Loops on the bottom mean the top tension is too tight or bobbin tension is too loose.
- Check Needle: Is the needle bent or dull? Is it the right type (embroidery needle)? Put in a new needle.
- Check Bobbin: Is the bobbin wound smoothly? Is it inserted correctly?
Thread Breaks Often
- Check Thread Quality: Is the thread old or poor quality? Use good quality embroidery thread types for lettering.
- Check Needle: Is the needle too small for the thread? Is it bent or dull? Try a larger needle or a new needle.
- Check Speed: Are you stitching too fast? Slow down the machine.
- Check Thread Path: Is the thread catching on something? Is it threaded correctly?
- Check Bobbin Area: Is there lint or thread bits caught in the bobbin case? Clean it out.
Letter Is Not in the Right Place
- Check Hooping: Did you hoop the fabric straight? Is the hoop placed correctly on the machine unit?
- Check Design Placement: Did you tell the machine where to start? Use a placement sticker or the machine’s basting function (it stitches an outline so you can check placement before sewing the main design).
- Fabric Shifted: Was the fabric secure? Maybe you need sticky stabilizer or basting spray to keep it from moving on the stabilizer.
These are common issues. Your machine manual often has specific troubleshooting tips.
More Tips for Great Letters
- Test Stitch: If you are using a new fabric or stabilizer, stitch the letter on a scrap piece first. This lets you see how it will look and check settings.
- Use the Right Needle: Seriously, using a sharp embroidery needle (or a ballpoint for knits) makes a big difference. Change your needle often.
- Quality Thread: Good thread breaks less often and looks nicer.
- Clean Your Machine: Lint builds up. Especially in the bobbin area. Clean your machine often for smooth stitching.
- Read Your Manual: Every machine is different. Your manual has specific instructions for your sewing machine monogram function and embroidery features.
- Start Simple: Begin with simple block letters and smaller sizes. As you get better, try script fonts and larger designs.
- Consider Basting: Some machines can stitch a temporary outline around the design area before starting the main stitches. This “basting box” holds the fabric and stabilizer together even more securely. You tear it away later.
- Combine Letters and Designs: Once you are comfortable with letters, try adding letters to embroidery designs. Put a name under a picture, or add initials to a motif.
Mastering machine embroidery lettering techniques takes practice. Be patient with yourself. Each project is a chance to learn.
Choosing Embroidery Machine Lettering Fonts
Your machine or software will have many font choices. Think about your project.
- Project Style: Is it for a baby item? A fun shirt? Something elegant? Choose a font that matches the style.
- Size: Will the letter be big or small? Some fonts work better at certain sizes. Very small or very detailed fonts can be tricky.
- Readability: Can you easily read the letter or word? Some fancy script fonts look nice but are hard to read.
- Stitch Type: Does the font use satin stitch or fill stitch? Satin looks dense and shiny. Fill looks different. Choose what you like.
Most machines let you preview the font. Type your letters on the screen. See how they look before you stitch.
Final Thoughts
Embroidering letters on your sewing machine opens up a world of possibilities. You can make gifts truly personal. You can add a professional touch to your handmade items. By picking the right machine, getting the right supplies like stabilizer for machine embroidered letters, hooping carefully using a machine embroidery hooping guide, and practicing machine embroidery lettering techniques, you can make beautiful letters. Whether you use built-in fonts or digitizing embroidery letters software, the process is rewarding. Take your time, set your sewing machine settings for embroidery correctly, and enjoy watching your machine bring your words to life!
Frequently Asked Questions (FAQ)
Q: Do I need a special machine to embroider letters?
A: Yes, for easy and neat letters with different fonts, you usually need a sewing machine with a dedicated embroidery function or an embroidery-only machine. Some regular machines with advanced decorative stitches can make simple letters, but it’s harder.
Q: What is the most important supply for machine embroidery letters?
A: Stabilizer is very important. It supports the fabric and keeps stitches from puckering. Using the right type of stabilizer for machine embroidered letters makes a big difference in how your letters look.
Q: How do I get the letters to be exactly where I want them?
A: Proper hooping is key. Make sure you center the area you want to stitch in the hoop. Many machines let you preview the design position on the screen. You can also use a temporary placement sticker on the fabric or stitch a basting box outline first to check placement before stitching the actual letters.
Q: Why do my threads keep breaking?
A: Common reasons include using a dull or wrong type of needle, poor quality thread, incorrect threading, stitching too fast, or lint build-up in the machine. Try a new embroidery needle, good quality embroidery thread types for lettering, slow down the machine, and clean the bobbin area.
Q: Can I make letters really small?
A: Most embroidery machines have limits on how small letters can be. Very small letters (under 1/4 inch) are hard to stitch cleanly because there isn’t enough space for the stitches. Check your machine’s font size options. Using digitizing embroidery letters software might give you more control, but tiny letters are always a challenge.
Q: What are machine embroidery lettering techniques?
A: These are the different ways the machine stitches letters, like using satin stitch for outlines or fill stitch for wider areas. Different fonts use different techniques to create the letter shape.
Q: My sewing machine has a sewing machine monogram function. Is that the same as embroidery?
A: Yes, a monogram function on a sewing machine is a type of embroidery feature specifically for making letters or initials. It uses the machine’s embroidery capability to stitch letters automatically.
Q: Where can I find more embroidery machine lettering fonts?
A: Your machine has built-in fonts. You can buy more fonts online from embroidery design websites. Digitizing embroidery letters software also comes with many fonts and lets you convert computer fonts into embroidery designs.