
Can I embroider letters using a regular sewing machine? Yes, you can! While dedicated embroidery machines make adding complex letters and designs easy with the push of a button, you can still create beautiful lettering on a standard sewing machine. This guide will show you how to do it, mostly using a technique called free motion embroidery. It takes practice, but it lets you personalize projects and explore your creative side.
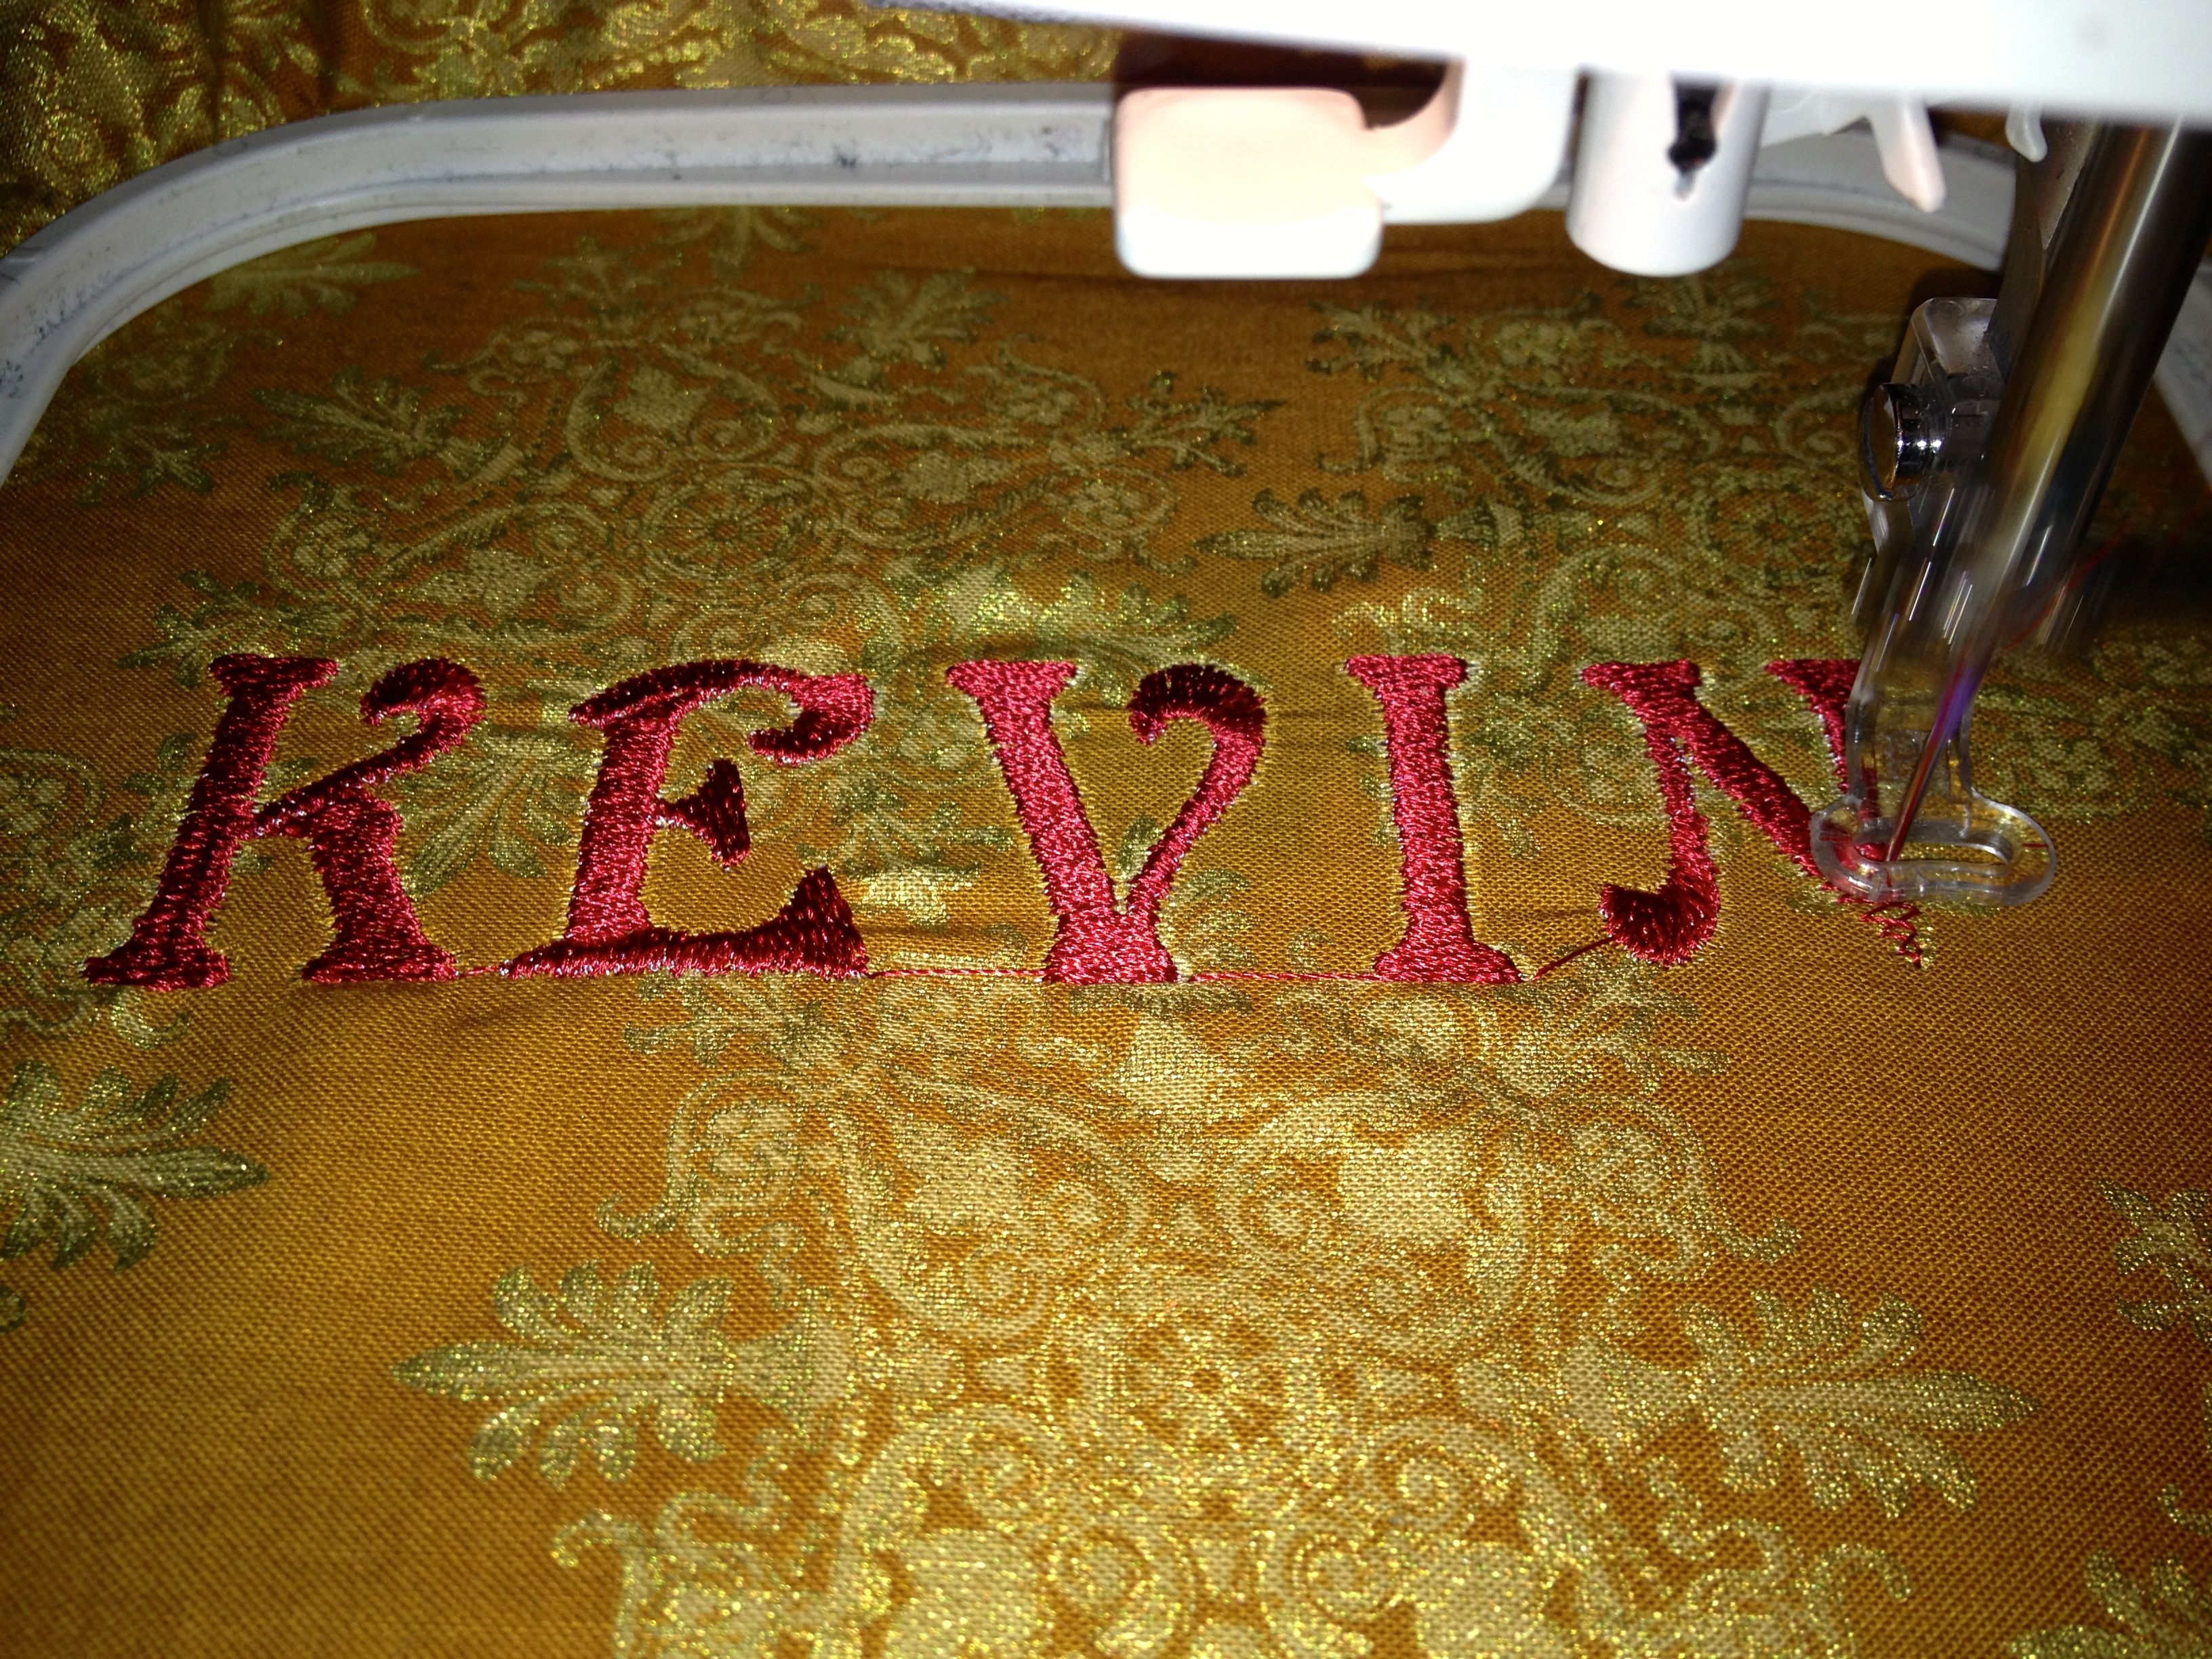
Image Source: content.instructables.com
Getting Ready to Stitch Letters
Before you start sewing letters, you need a few things. Gathering your supplies makes the job easier. You will need these items to get started.
Essential Tools and Materials
Think about what you will sew on. It could be a shirt, a bag, or a quilt square. The fabric you pick matters.
- Your Sewing Machine: Make sure it works well. It does not need to be fancy. It just needs to sew a stitch.
- Needles: Use a sharp needle. A size 80/12 or 90/14 is good for many fabrics. Ballpoint needles work for knits. Embroidery needles can also work well.
- Embroidery Thread: Regular sewing thread works. But embroidery thread looks better for letters. It has a nice shine. Polyester or rayon embroidery thread is strong and colorful. Pick colors that stand out or blend in, as you like.
- Fabric: Choose a woven fabric like cotton for learning. It does not stretch much. This helps keep your letters from getting wobbly.
- Embroidery Stabilizer: This is very important! Stabilizer gives your fabric support. It stops stitches from pulling and puckering. You need different kinds for different fabrics and projects. We will talk more about this soon.
- Embroidery Hoop: A hoop holds your fabric tight and flat. This is key for good stitches. A round plastic or wood hoop works fine.
- Marking Tool: A water-soluble pen or chalk helps you draw your letters. It washes away later.
- Small Scissors: Sharp scissors are good for clipping threads neatly.
- Darning or Free Motion Foot: Your machine needs this special foot. It lets you move the fabric freely under the needle. The foot hovers over the fabric.
- Gloves (Optional): Special gloves with grip can help you hold and move the fabric better.
Having everything ready saves you time. You can focus on stitching your letters.
Comprehending the Technique: Free Motion Embroidery
Most people use free motion embroidery to stitch letters on a standard machine. What is free motion embroidery? It means you control where the needle stitches by moving the fabric yourself. Your machine’s feed dogs are lowered or covered. The feed dogs are the little teeth that normally move the fabric for you.
With the feed dogs down, you are in charge. You move the fabric to draw with thread. This is different from machine embroidery lettering on a special embroidery machine. Those machines move the fabric by themselves following a design file. With free motion, your hands guide the way.
This technique lets you create any shape, including letters. You can make simple outlines or fill them in. It is like drawing with your sewing machine.
Preparing Your Sewing Machine
You need to set up your machine for free motion work. This setup is key for stitching letters freely.
Adjusting Machine Settings
Follow these steps to get your machine ready.
- Lower the Feed Dogs: Find the lever or switch on your machine that lowers the feed dogs. If your machine does not have one, some come with a plate to cover them. Check your machine’s manual.
- Attach the Darning/Free Motion Foot: Take off your regular presser foot. Put on the darning or free motion foot. Make sure it is attached correctly. The foot should hover just above your fabric.
- Set Stitch Length: Your stitch length setting usually does not matter for free motion. You control the stitch length by how fast you move the fabric and how fast the needle bobs. Set it to zero or the lowest setting if your machine allows.
- Set Stitch Type: You will use a straight stitch. Set your machine to a straight stitch. Do not use zigzag or other stitches unless you plan a different effect. For filling letters, you will sew many straight lines close together.
- Needle Position: Set your needle to the center position if you can. This is usually the default for a straight stitch.
Setting up your machine right makes a big difference. It lets you move the fabric smoothly.
Preparing Your Fabric for Lettering
Getting your fabric ready is as important as setting up your machine. Proper prep prevents problems like puckering.
Using Embroidery Stabilizer
Embroidery stabilizer is a must-have for stitching letters, especially with free motion embroidery. Fabric alone is often not stable enough. Stitches can pull on it. This causes wrinkles and makes letters look messy. Stabilizer gives the fabric a firm base to support the stitches.
Think of stabilizer like a foundation for your embroidery. It helps the fabric lie flat while you sew. It keeps your stitches from sinking into stretchy fabric. It also stops the fabric from puckering up as you add many stitches.
There are different types of stabilizer. The best one depends on your fabric and how the finished item will be used.
- Cut-Away Stabilizer: This type stays with the fabric after you finish stitching. You trim away the extra around the design. It is good for stretchy fabrics like knits. It gives lasting support. Use it for things that will be washed often.
- Tear-Away Stabilizer: This type is easy to remove. You just tear it away after stitching. It works well for stable woven fabrics. Use it when you do not need permanent support. It is good for things like towels or bags where the back might show.
- Wash-Away Stabilizer: This dissolves in water. There are two kinds: one feels like paper, the other is a film. The paper-like one is good for general support. The film-like one is great for topping tricky fabrics like velvet or terry cloth. It stops stitches from getting lost in the pile. It also works for stitching on water-soluble fabric. Use it when you want no stabilizer left at all.
Sometimes, you might use two layers of stabilizer for extra support. For free motion letters, a medium-weight tear-away or cut-away is a good start for most cotton fabrics. For knits, definitely use cut-away.
Hooping Fabric for Embroidery
Putting your fabric in a hoop correctly is another key step. Hooping fabric for embroidery keeps the fabric tight and flat. This is critical for getting smooth, even stitches when you move the fabric yourself.
Here is how to hoop your fabric:
- Place the outer ring of the hoop on a flat surface.
- Lay the stabilizer over the outer ring. Make sure it is smooth.
- Center your fabric over the stabilizer. Make sure the spot where you want the letters is over the center of the hoop. The right side of the fabric should face up.
- Push the inner ring of the hoop down into the outer ring. It should fit snugly.
- Pull the fabric gently around the edges of the hoop. Make it as tight as a drum. Be careful not to distort the fabric’s weave, especially on knits. Pulling too hard can stretch it out of shape.
- Tighten the screw on the outer hoop ring. Make sure it is very tight. The fabric must not move or sag in the hoop. If it is loose, your stitches will not look good.
The fabric must be taut. Tap it with your finger. It should make a drumming sound. If it is loose, take it out and try hooping again.
Designing Your Letters
You need a plan for your letters. What do you want them to say? What style should they be?
Choosing or Creating Letter Shapes
For free motion lettering, you are not limited by embroidery fonts for machines. You are your own font designer! You can draw any letter style you like.
- Draw Directly: Use your water-soluble pen to draw the letters directly onto your fabric inside the hoop. Keep the lines simple at first. Try block letters or simple script.
- Trace a Design: Find letter styles you like online or in books. Print them out. Tape the printed letters to a window or light box. Tape your hooped fabric over the design. Trace the letters onto your fabric using your marking tool.
- Use a Stencil: Buy or make letter stencils. Place the stencil on your hooped fabric and trace the inside or outside of the letters.
- Transfer Paper: You can use special transfer paper to iron or rub a design onto your fabric.
Start with simple shapes. Practice on scrap fabric first. This helps you get a feel for moving the hoop and machine speed. Remember, your hand movement controls the shape.
Thinking About Letter Style and Size
Think about the look you want. Do you want thin letters? Fat letters? Joined-up script?
- Outline: You can just stitch the outline of the letters you drew. This is the simplest way.
- Fill: You can fill the inside of the letters with stitches. You can use back-and-forth lines, swirls, or other patterns to fill. This makes the letters look solid.
- Satin Stitch: A satin stitch is made of many close, straight stitches that cover an area completely. To do this with free motion, you need to sew back and forth over a narrow area. The stitches should be very close together. This takes practice to get smooth edges. A satin stitch looks raised and full. It is common in machine embroidery lettering. Doing it free motion is harder but possible.
Choose a size that is easy for you to manage. Very small letters are hard to control with free motion. Bigger letters give you more room to move.
Stitching Your Letters
Now comes the fun part: sewing! Take your time and go slow at first.
Steps for Free Motion Stitching
Here is how to sew your letters using free motion.
- Place Hoop: Put your hooped fabric under the presser foot. The darning foot should be down, but it hovers.
- Bring Up Bobbin Thread: Hold the top thread tail. Lower the needle into the fabric at your starting point (like the top of a letter). Bring the needle back up. This pulls a loop of the bobbin thread to the top.
- Tie Off Threads: Pull the bobbin thread loop up with a pin or your finger. Grab both the top and bottom thread tails. Hold them firmly to the side or front as you start to stitch. Sew a few tiny stitches in place to lock them. Then you can trim the tails later. This stops the stitches from unraveling.
- Start Sewing: Begin moving your hoop gently and smoothly. Follow the lines you drew for your letters. Your machine foot does not move the fabric. You move the fabric.
- Control Speed: Try to find a rhythm. Move the hoop at a steady speed. Press the foot pedal at a steady speed. How fast you move the fabric compared to how fast the needle goes up and down controls your stitch length. Move the fabric slower for shorter stitches. Move it faster for longer stitches. Aim for consistent stitches.
- Sew the Letters: Carefully guide the fabric to sew the lines of your letters. If you are outlining, just follow the drawn lines. If you are filling, stitch back and forth within the letter shape.
- Turning Corners and Curves: Do not stop stitching unless you need to. Lift the presser foot lever only if you are moving to a new letter that is not connected. For corners and curves, slow down your fabric movement. Pivot the hoop smoothly.
- Finishing: When you reach the end of a letter or section, sew a few tiny stitches in place to lock the thread. Cut your threads, leaving tails.
- Moving On: If you need to move to a new spot (like from the end of an ‘A’ to the start of a ‘B’), lift the presser foot. Move the hoop. Lower the foot and start again, bringing up the bobbin thread and tying off as before.
Practice is key. Your first letters might look wobbly. That is normal! Keep practicing on scrap fabric until you feel more confident.
Simple Embroidery Stitches for Letters
While free motion is the main way, you can also use built-in stitches for letters if your machine has them. Some machines have decorative stitches. A few might even have very simple letter shapes built-in. But these are usually basic and limited in size.
For free motion, you are creating the stitches yourself. The most common look you can create is like a satin stitch by sewing back and forth very close together.
You can also use free motion to do a simple running stitch outline. Just sew along your drawn lines once.
Another way is a triple stitch or bold stitch look. Go over your free motion outline two or three times. This makes the lines thicker and stand out more.
Think about embroidery stitches for letters as different ways to fill or outline your shapes. With free motion, you draw these stitches with your hand.
Achieving a Professional Look
Even with free motion, you can make your letters look nice and neat. It is all in the details.
Managing Threads
Threads can make or break your work.
- Top and Bottom Threads: Use the same type of thread on top and in the bobbin. This helps make your stitches look balanced. Using embroidery thread on top and regular thread in the bobbin is okay for free motion, but using embroidery thread in both gives a fuller look.
- Tension: Machine tension can be tricky in free motion. The default setting is often fine. If your stitches look looped on top or bottom, adjust your tension slightly. Test on scrap fabric first.
- Trimming: After stitching, trim all thread tails closely. Do this on the front and the back. Be careful not to cut the fabric or the stitches.
Finishing the Back
The back of your embroidery will have threads.
- Tie-offs: The small stitches you made to lock threads will be visible.
- Stabilizer: If you used tear-away or wash-away, remove it carefully. For tear-away, hold the stitches down while you gently tear the stabilizer away from the edge of the stitching. For wash-away, soak the item according to the stabilizer instructions. If you used cut-away, trim it neatly around the design, leaving about half an inch.
A neat back shows careful work.
Exploring Related Ideas
While this guide is about using a standard sewing machine, it is helpful to know about other ways people do letter embroidery.
Machine Embroidery Lettering (Dedicated Machines)
Dedicated machine embroidery lettering machines are different. They are made just for embroidery. You load a design file, and the machine stitches it automatically. This is how people get very detailed logos and complex fonts.
These machines use specific embroidery fonts for machines. These are digital files. You often manage them using embroidery machine software. This software lets you choose fonts, type words, change sizes, and arrange designs.
With a standard sewing machine, you do not use these digital fonts or software. You are the one creating the design by moving the fabric. This makes free motion embroidery a different skill. It is more like drawing or quilting than automated embroidery.
Sewing Machine Monogramming
Sewing machine monogramming is a popular use for letter stitching. A monogram is usually one, two, or three letters, often initials. You can easily do simple monograms with a standard machine using free motion.
- Draw your initials in a style you like.
- Prepare your fabric with stabilizer and hoop it.
- Use free motion to stitch the outlines or fill the letters.
This is a great way to personalize items like towels, pillowcases, or bags without needing a special machine. The handmade look of free motion monograms can be very charming.
Digitizing Embroidery Designs (Beyond a Standard Machine)
Digitizing embroidery designs is the process of turning artwork (like letters or pictures) into a file that a dedicated embroidery machine can read and stitch. This is done with special embroidery machine software.
This is not something you do for free motion embroidery on a standard machine. When you are doing free motion, you are interpreting the design yourself as you stitch. You are the ‘digitizer’ in a way, but you are doing it live as you sew, not creating a digital file beforehand.
Knowing about digitizing helps you understand the difference between manual free motion and automated machine embroidery. Free motion gives you complete freedom but requires skill. Automated embroidery gives precision and speed but requires specialized machines and software.
Troubleshooting Common Issues
You might run into problems as you learn. Here are a few common ones and what to do.
Needle Breaks
- Cause: The needle might hit the hoop, or you might pull the fabric too hard or too fast.
- Fix: Make sure your hoop is tight and flat. Do not force the fabric movement. Use the right needle size for your fabric. Slow down.
Skipped Stitches
- Cause: Needle is bent or old, tension is off, wrong needle type for fabric, or maybe you are moving the fabric too fast.
- Fix: Change the needle. Check your tension. Make sure your needle matches your fabric type. Try moving the fabric a little slower.
Puckering Fabric
- Cause: Not enough stabilizer, wrong type of stabilizer, or fabric not hooped tightly enough. Too many stitches in one small area.
- Fix: Use the correct stabilizer for your fabric. Make sure the fabric is drum-tight in the hoop. For dense filling, you might need more stabilizer. Do not put too many stitches right on top of each other.
Uneven Stitches
- Cause: Your fabric movement is not smooth or steady. Machine speed is not constant.
- Fix: Practice! Try to move the fabric smoothly and at a constant pace. Keep your foot pedal pressure steady. It takes time to get a feel for matching fabric speed to needle speed.
Thread Breaks
- Cause: Upper thread tension is too high, bobbin thread is tangled, needle is old or wrong size, or thread quality is poor.
- Fix: Check upper thread path. Is it threaded right? Lower tension slightly. Check bobbin case for tangles. Change needle. Use good quality embroidery thread.
These are common issues. Do not get frustrated! Each problem helps you learn.
Practicing Your Lettering Skills
Free motion embroidery takes practice. Do not expect perfect letters right away.
Tips for Improvement
- Start Simple: Begin with simple block letters or large, gentle curves. Avoid tiny details or sharp corners at first.
- Scrap Fabric: Always practice on a scrap of the same fabric and stabilizer you plan to use for your final project. This tests your settings and technique.
- Draw First: Always draw your letters on the fabric before stitching. This gives you a path to follow.
- Slow Down: Go slowly. This gives you more control over the stitches and the fabric movement.
- Consistent Speed: Try to keep your machine speed and hand speed constant. This helps make stitches even.
- Exercise Your Hands and Arms: Free motion uses muscles you might not use often while sewing. Take breaks. Stretch.
- Observe and Adjust: Look at your stitches as you go. Are they too long or too short? Are they even? Adjust your fabric speed or machine speed as needed.
Practice is the most important thing. The more you do it, the better you will get. You will develop a feel for the movement.
Summary of the Process
Let’s quickly recap the steps for sewing letters with free motion embroidery on a standard machine.
- Get Supplies: Gather fabric, thread (embroidery thread), needles, embroidery stabilizer, hoop (hooping fabric for embroidery), marking tool, and your free motion foot.
- Prep Machine: Lower feed dogs, attach free motion foot, set to straight stitch.
- Prep Fabric: Use embroidery stabilizer appropriate for your fabric. Hoop the fabric and stabilizer together, making it drum-tight.
- Design: Draw or trace your letters onto the hooped fabric.
- Stitch: Place the hoop under the foot. Bring up the bobbin thread. Hold threads and stitch a few locking stitches. Move the hoop smoothly to sew the letters, following your drawn lines. Control your speed.
- Finish: Lock threads at the end. Trim threads. Remove tear-away or wash-away stabilizer, or trim cut-away.
This process allows you to do sewing machine monogramming and create various embroidery stitches for letters manually. It is a different skill than automated machine embroidery lettering which uses embroidery fonts for machines and embroidery machine software, but it is rewarding and offers unique creative control.
Using a standard sewing machine for letters, especially with free motion embroidery, lets you add a personal touch to many items. It requires patience and practice, but the results are truly handmade and special. Enjoy learning this new skill!
Frequently Asked Questions (FAQ)
Q: Is free motion embroidery hard to learn?
A: It takes practice. Controlling both the machine speed and the fabric movement at the same time can feel tricky at first. Start with simple shapes and go slow. You will improve quickly with practice.
Q: What kind of stabilizer is best for cotton fabric?
A: For stable woven cotton, a medium-weight tear-away stabilizer is often a good choice. If the design is very dense, or if the cotton is thin, you might use a cut-away or two layers of tear-away.
Q: Can I use regular sewing thread instead of embroidery thread?
A: Yes, you can. Regular sewing thread works for stitching letters. However, embroidery thread is usually shinier and makes the letters stand out more. It is designed to be visible. Try both to see which look you prefer.
Q: Do I need a special sewing machine for free motion?
A: No, most standard sewing machines can do free motion. You just need to be able to lower or cover the feed dogs and attach a darning or free motion foot. Check your machine’s manual.
Q: How do I make my free motion stitches look even?
A: The key is steady movement. Try to move your fabric at a constant speed while keeping the machine’s speed constant. This ratio of fabric movement to needle drops determines stitch length. Practice helps you find a smooth, even rhythm.
Q: Can I create detailed images or complex fonts with free motion?
A: Very detailed images and complex, small fonts are difficult to do with free motion. Automated machine embroidery lettering on a dedicated machine is better for high detail and precise fonts. Free motion is best for more flowing styles, outlines, or simpler block letters that you guide yourself. It is about your artistic control, not perfect replication of a digital design.