
So, you’re wondering, “What is the best way to end an embroidery stitch?” The best way to end an embroidery stitch is to secure your thread firmly at the back of your fabric so it doesn’t unravel. Can you knot embroidery thread? Yes, you can, but there are cleaner ways to finish. Who is this guide for? Anyone who stitches, from beginners to those looking to refine their technique!
Embroidery is a beautiful art form, turning simple fabric into vibrant creations. But even the most intricate designs can be marred by a single loose thread. That tell-tale tail peeking from the back, threatening to snag or unravel your hard work, is a frustration every stitcher has faced. Learning how to end an embroidery stitch effectively is as crucial as mastering the stitches themselves. It’s the final touch that ensures your embroidery’s longevity and professional finish. This guide will delve deep into the various techniques for securing an embroidery stitch, finishing embroidery threads, and ensuring your beautiful work stays pristine for years to come. We’ll cover everything from simple knotting to more advanced methods for how to hide embroidery tails, ensuring you’re confident in tying off embroidery and locking embroidery stitches.
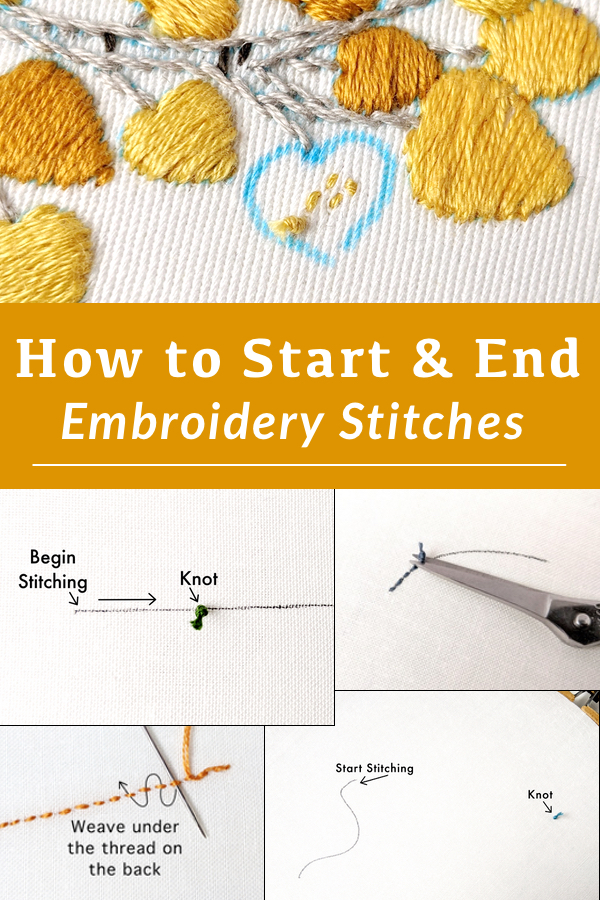
Image Source: www.wanderingthreadsembroidery.com
The Foundation: Why Securing Thread Matters
Before we dive into the “how,” let’s solidify the “why.” Securing thread in embroidery isn’t just about aesthetics; it’s about structural integrity. A well-secured stitch prevents your work from falling apart, especially after washing or wear. It also contributes to a clean, professional look on both the front and the back of your fabric. Think of it as the invisible foundation that holds your artistic masterpiece together.
The Risks of Neglecting Proper Finishing
- Unraveling: The most obvious risk. A loose end can easily snag on clothing or other objects, pulling stitches loose and potentially ruining your design.
- Snagging: Even if the thread doesn’t completely unravel, a protruding tail can catch on things, creating a messy appearance and potential damage.
- Messy Back: A disorganized back with many loose ends looks unprofessional and can be bulky, especially if you’re embroidering on thinner fabrics or creating items that will be handled frequently.
- Reduced Durability: Embroidery is often done on items that are meant to be used and enjoyed. Without proper securing, your embroidery might not withstand the test of time or regular use.
Mastering the Basics: Simple Ways to Secure Your Thread
When you’re starting out, or when working on projects where the back won’t be seen, simple and quick methods are perfectly acceptable. These techniques focus on creating a secure point to stop your stitching.
The Classic Knot: Embroidery Needle Knotting
This is often the first method new embroiderers learn. While effective, it’s not always the cleanest.
How to Tie a Basic Knot
- Thread your needle: Pass your embroidery floss through the eye of the needle.
- Create a loop: On the end of the floss, create a loop by bringing the working end back towards the main strand.
- Wrap and pull: Wrap the working end around the standing part of the floss two or three times.
- Insert needle into loop: Bring your needle up through the loop you just created.
- Tighten: Pull the needle, drawing the knot down to the end of the floss.
Pros of Knotting
- Quick and Easy: Requires minimal effort and is very fast.
- Secure: Generally effective at preventing unraveling.
Cons of Knotting
- Bulkiness: Knots can add noticeable bulk to the back of your embroidery, especially on delicate fabrics.
- Visible: Knots can sometimes show through lighter fabrics.
- Potential for Puckering: If pulled too tightly, a knot can distort the fabric.
The Tiny Knot: French Knots (as a finishing point)
While French knots are a decorative stitch in themselves, a single, small French knot can also be used as a very discreet way to anchor your thread.
How to Create a Finishing French Knot
- Secure your thread: Bring your needle up at the point where you want to start or end a stitch.
- Create a loop: Bring the needle back down into the fabric, but before it goes all the way through, wrap the thread around the needle two times.
- Twist and pull: Holding the thread taut, twist the needle slightly to keep the wraps tight, and pull the needle completely through the fabric.
Pros of Finishing French Knots
- Neater than a standard knot: Creates a small, raised knot that is less bulky than a traditional knot.
- Can be hidden: If placed strategically, it can be hidden under a subsequent stitch.
Cons of Finishing French Knots
- Takes practice: Can be tricky to get consistent and neat.
- Still adds a small bump: Though less noticeable than a standard knot.
Advanced Techniques: Securing Thread Without Visible Knots
For a truly professional and clean finish, especially on pieces that will be seen from both sides or are meant for display, avoiding visible knots is key. These methods rely on trapping the thread end securely.
The “Whip Stitch” or “Backstitch” Method
This is a favorite for many embroiderers because it’s secure and almost invisible. It involves creating tiny stitches at the back to anchor the thread.
Steps for Whipping
- Bring your needle up: At the back of your fabric, bring your needle up through the fabric where you want to start or end. Leave a tail of about 4-6 inches.
- Secure the tail: Make a tiny stitch, going back down into the fabric very close to where you came up. Aim to go under a few fabric threads with your needle.
- Whip the tail: Now, take your needle and thread and make several small, tight stitches over the tail you left hanging. Think of it like wrapping the tail tightly with your thread.
- Trim: Once you’ve whipped the tail sufficiently (3-4 wraps should do), trim the excess thread close to the fabric.
Variations for Securing
- Under a Stitch: If you’re ending a line of stitches, you can bring your needle up to the back, slide the needle under 2-3 stitches on the back of your work, and then tie a tiny knot around the thread tail you just pulled through. Then, slide the needle back through the fabric, under those same stitches, before trimming.
The “Stitch Trapping” Technique
This method is incredibly neat and is excellent for securing the very end of your floss.
How to Trap Your Thread
- Bring your needle up: Bring your needle up through the fabric at the back. Leave a tail of about 4-6 inches.
- Make a tiny stitch: Take your needle back down through the fabric very close to where you came up. Crucially, ensure your needle goes under a few strands of fabric.
- Pull thread through: Gently pull your thread until the knot (if you made one at the start) or the end of the thread is snug against the fabric.
- Trap the tail: Now, bring your needle up through the fabric again, but this time, slide the needle under the loop of thread you just pulled through the fabric. Don’t pull it all the way.
- Second loop: Take your needle and thread and make a second pass, sliding the needle under the same loop of thread you just went under.
- Pull tight: Pull your needle and thread firmly. This will create a secure “bar” that traps your thread tail.
- Trim: Trim the excess thread close to the fabric.
When to Use Stitch Trapping
This method is fantastic for:
* The end of a long stitch line: When you need to secure your thread before starting a new color or a new section.
* Thin fabrics: Where bulk is a major concern.
* Detailed work: When you want the back to look as neat as the front.
The “Needle Weave” or “Thread Weave”
This is a very secure method that involves weaving the end of your thread back through your existing stitches. It’s a fantastic way for tying off embroidery neatly.
Steps for Weaving
- Bring your needle up to the back: Leave a tail of 4-6 inches.
- Weave back through stitches: Gently slide your needle under 3-4 of your existing embroidery stitches on the back of the fabric. Ensure you are going under the loops of the stitches, not through the fabric itself.
- Pull through: Pull your needle and thread through.
- Repeat: Make another pass, weaving your needle back through a different set of 3-4 stitches, perhaps in a slightly different direction.
- Trim: Trim the excess thread close to the fabric.
Why This Works So Well
This method distributes the tension of securing the thread across multiple stitches, making it incredibly strong and virtually invisible. It’s a prime example of securing thread in embroidery without adding bulk.
Finishing Embroidery Threads: Specific Scenarios
Sometimes, the way you finish your thread depends on the stitch you’ve just completed or the next step in your embroidery project.
Ending a Line of Satin Stitch or Long Stitches
Satin stitch and other long stitches are prone to pulling if not secured properly at their ends.
- Bring needle to back: After your last satin stitch, bring your needle to the back of the fabric.
- Slide under stitches: Slide your needle under the base of the last few satin stitches (on the back side).
- Create a loop: Before pulling the thread all the way through, create a small loop with your thread tail.
- Pass needle through loop: Pass your needle through this loop.
- Pull tight: Gently pull your needle and thread to create a small, neat knot that is pulled back under the stitches.
- Trim: Trim the excess thread close to the knot.
Ending Thread When Changing Colors
When you’re done with one color and need to start another, you need a clean transition.
- Secure the old thread: Use one of the knot-free methods (like needle weave or stitch trapping) to secure the end of your current thread.
- Start the new thread: Bring your new thread up through the fabric from the back, leaving a tail.
- Trap the new tail: As you make your first few stitches with the new color, ensure you are trapping the tail of the new thread under those stitches. You can even lightly tack it down with a tiny stitch or two on the back.
Ending Thread on the Edge of Fabric
If your embroidery reaches the very edge of your fabric, you need to be extra careful.
- Weave and Trim: The best approach here is to weave your thread end securely back through several stitches, ensuring you leave enough thread to hold firm. Then, trim as close as possible to the fabric without cutting the fabric itself.
Securing an Embroidery Stitch: A Table of Techniques
Here’s a quick comparison to help you choose the right method:
| Technique | Best For | Visibility of Finish | Bulk Added | Difficulty |
|---|---|---|---|---|
| Basic Knot | Beginners, quick fixes, backs of work not seen | Moderate to High | Moderate | Easy |
| French Knot (Finishing) | Discreet securing, when a tiny bump is acceptable | Low to Moderate | Low | Medium |
| Whip Stitch/Backstitch | General securing, cleaner than basic knot, good for most fabrics | Very Low | Low | Easy |
| Stitch Trapping | Very neat finish, thin fabrics, detailed work, preventing bulk | Almost None | Very Low | Medium |
| Needle Weave | Secure, professional finish, distributing tension, no visible knots | Almost None | Very Low | Medium |
Locking Embroidery Stitches: Ensuring Longevity
The term “locking embroidery stitches” refers to the process of securing the end of your thread so that your stitches are permanently fixed in place. This is achieved through the methods we’ve discussed, particularly those that involve weaving or trapping the thread securely. The goal is to create a permanent anchor that prevents any unraveling, even after repeated washing or handling.
The Importance of Consistency
Whichever method you choose, consistency is key. Regularly practicing these techniques will make them second nature. A consistent approach to finishing your threads ensures that all your projects look polished and professional.
Cutting Embroidery Floss: When and How
Knowing when to cut your embroidery floss is as important as knowing how to secure it.
When to Cut
- After securing your thread: Always trim excess thread after you have securely anchored it using one of the methods above.
- When changing colors: Trim the old thread once it’s secured.
- When you’re completely finished: Once your entire embroidery piece is done, trim any stray threads that weren’t part of a secure knot.
How to Cut
- Sharp scissors: Always use small, sharp embroidery scissors. These allow for precise cutting close to the fabric.
- Cut close, but not too close: Aim to cut the excess thread as close to the fabric or the securing knot as possible without cutting the fabric itself or any part of your actual embroidery.
Frequently Asked Questions (FAQ)
Q: Do I really need to finish every thread perfectly?
A: For a professional and durable result, yes. While a casual project might tolerate a few visible knots, most embroidery benefits greatly from neat finishing.
Q: Can I just use one big knot at the end of my thread?
A: While it secures the thread, a large knot can be bulky and visible, detracting from the appearance of your embroidery. It’s generally better to use smaller, more discreet securing methods.
Q: What if I run out of thread in the middle of a stitch?
A: If you run out of thread mid-stitch, secure the tail of the current thread. Then, bring up a new thread close to where you left off and continue the stitch, trapping the tail of the new thread under your work.
Q: How do I avoid thread tangles when finishing?
A: Use shorter lengths of embroidery floss (around 18-24 inches). This significantly reduces the chance of tangles and makes securing the thread easier.
Q: Is there a way to fix a loose thread after I’ve finished?
A: Yes, you can often carefully re-stitch over the loose area or use a tiny needle to weave the loose end back through existing stitches on the back to secure it.
By mastering these techniques for how to end an embroidery stitch, you’ll elevate your embroidery from a hobby to an art form. No more loose threads, no more unsightly knots, just beautifully finished pieces that are a joy to behold and built to last. Happy stitching!