
Can you hem pants on a sewing machine? Yes, absolutely! Hemming pants on a sewing machine is a fundamental skill for anyone looking to do their own clothing alterations or create custom garments. This easy guide will walk you through the process step-by-step, making pants alterations a breeze and opening up a world of DIY fashion possibilities.
Learning how to hem pants is one of the most useful sewing basics you can master. Whether you’ve bought a pair of pants that are too long, want to shorten a favorite skirt, or are embarking on sewing projects from scratch, a good hem makes all the difference. This tutorial covers essential sewing techniques for achieving professional-looking results with your sewing machine.
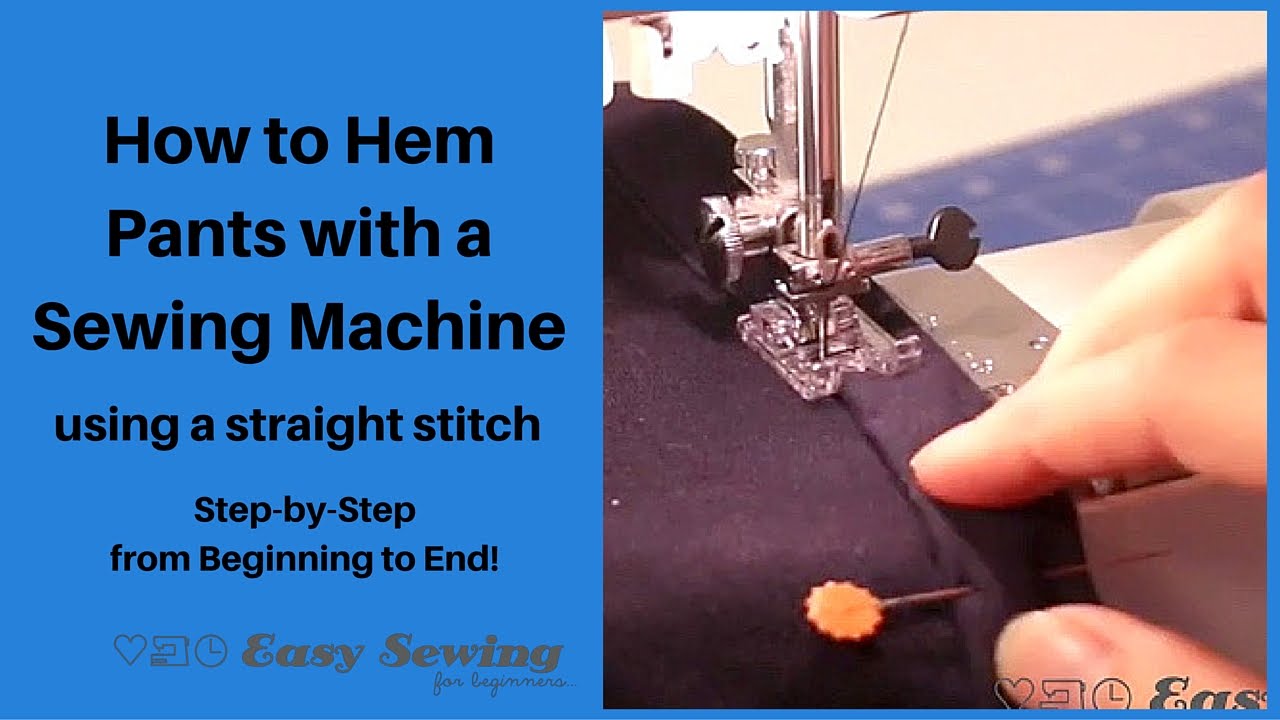
Image Source: i.ytimg.com
Preparing Your Pants for Hemming
Before you even thread your sewing machine, a little preparation goes a long way to ensure a perfect hem.
Gathering Your Supplies
Here’s what you’ll need to get started:
- Your Pants: The star of the show!
- Sewing Machine: Ensure it’s in good working order.
- Thread: Choose a color that matches or complements your pants.
- Scissors: Sharp fabric scissors are a must.
- Measuring Tape or Ruler: For accurate measurements.
- Fabric Marker or Chalk: To mark your hemline.
- Pins: To hold the fabric in place.
- Iron and Ironing Board: Crucial for crisp folds.
- Seam Ripper (Optional): If you need to undo an existing hem.
- Rotary Cutter and Mat (Optional): For precise fabric cutting.
Measuring and Marking the Hemline
Accurate measurement is key to successful hemming pants.
- Try Them On: Wear the pants you want to hem with the shoes you plan to wear with them. This ensures the hem length is just right.
- Mark the Length:
- Stand in front of a mirror.
- Carefully fold the bottom of the pant leg up to the desired length. You can use your fingers to hold it in place.
- Ask a friend to help, or use a long ruler or yardstick to measure from the floor to the folded edge.
- Alternatively, gently place a pin at the desired finished hemline.
- Repeat for the other pant leg, making sure the length is consistent.
- Add Hem Allowance:
- Once you have your desired finished length marked, you need to add fabric for the hem itself. This is called the hem allowance.
- A common hem allowance is 1 to 2 inches (2.5 to 5 cm). Check your pants or a sewing pattern for specific recommendations.
- On the inside of the pant leg, measure down from your marked finished hemline by your chosen hem allowance.
- Mark this new line all the way around the pant leg. This is your cutting line.
Cutting Off Excess Fabric
Once your new hemline is marked, it’s time to trim.
- Use sharp fabric scissors or a rotary cutter and mat to cut along the marked cutting line.
- Ensure you cut straight and evenly around the entire leg.
Creating the Hem: Step-by-Step
Now that your pants are prepped, let’s get to the sewing machine! This section focuses on the most common type of hem for pants: the double-fold hem.
Folding the Hem
A double-fold hem creates a clean, durable finish that prevents fraying.
- First Fold:
- Turn the pants inside out.
- Take the raw edge of the fabric (the cut edge) and fold it up towards the inside of the pant leg.
- Align this raw edge with your marked finished hemline.
- Press this fold firmly with your iron. This creates a crisp crease.
- Second Fold:
- Now, take this first folded edge and fold it up again, towards the right side of the pant leg.
- This second fold should also align with your marked finished hemline. The raw edge is now enclosed within these two folds.
- Press this second fold firmly with your iron. You should now have a neatly folded hem ready for sewing.
- Tip: For thicker fabrics, you might only need a single fold, or a narrower double fold. For thinner, more delicate fabrics, a wider double fold can offer more stability.
Pinning the Hem in Place
Once the folds are pressed, secure them with pins.
- Insert pins perpendicular to the folded edge, about every 2-3 inches.
- Make sure the pins go through both folded layers of fabric.
- Ensure the hem is still even and that there are no puckers or twists.
Sewing the Hem on Your Sewing Machine
This is where the magic happens! Properly using your sewing machine is crucial for neat pants alterations.
Selecting the Right Needle and Thread
- Needle: For most pants, a universal needle (size 80/12 or 90/14) is suitable. If you’re working with denim or heavier fabrics, consider a denim needle. For lighter fabrics like silk or chiffon, a finer needle might be better.
- Thread: All-purpose polyester thread is a good choice for most fabrics. Match the thread color to your pants for an invisible hem, or use a contrasting color for a decorative effect.
Setting Up Your Sewing Machine
- Thread the Machine: Ensure your sewing machine is correctly threaded, both the top thread and the bobbin.
- Choose a Stitch: A straight stitch is the standard for hemming.
- Adjust Tension: The thread tension should be balanced. A good starting point is usually the middle setting (often a ‘4’). Test on a scrap piece of fabric first.
- Select Stitch Length: A stitch length of 2.0 to 2.5 mm is generally good for hemming. Shorter stitches create a stronger, neater finish.
Sewing the Hem
- Position the Pants:
- Place the pants under the sewing machine arm, with the folded hem aligned along the edge of the presser foot.
- Lower the presser foot to hold the fabric in place.
- Start Sewing:
- Backstitch a few stitches at the beginning to secure the thread.
- Sew slowly and steadily along the folded edge, following the crease you pressed.
- Keep an even distance from the folded edge. This is called the seam allowance.
- Guideline: Aim to sew about 1/8 to 1/4 inch (3-6 mm) from the inner folded edge.
- As you sew, periodically remove pins to avoid hitting them with the needle.
- Finishing the Seam:
- When you reach the end of the hem, backstitch again for a few stitches to reinforce the seam.
- Lift the presser foot and carefully pull the fabric out.
- Cut the threads, leaving a few inches.
Handling Corners and Seams
When sewing around pant legs, you’ll encounter side seams and potentially inseams.
- Side Seams: When you reach a side seam, you might have extra bulk. You can help reduce this bulk by trimming the seam allowance of the side seam with your seam ripper and scissors. Then, press the seam allowance open or to one side before sewing the hem.
- Inseams: The inseam often has a thicker serged edge. You can leave it as is, or trim it slightly if it’s too bulky.
Finishing the Hem
- Remove Pins: Make sure all pins are removed.
- Trim Threads: Trim any loose threads close to the fabric.
- Press Again:
- Turn the pants right side out.
- Give the hem a final press with your iron. This ensures it lies flat and looks crisp.
- Press the seam you just created and then press the hem itself.
Alternative Hemming Techniques
While the double-fold hem is standard, other sewing techniques can be used for different looks or fabric types.
Single Fold Hem
This is a quicker method but may leave a raw edge that needs finishing.
- How to: Fold the raw edge up once by your chosen hem allowance, press, and sew close to the raw edge.
- Finishing: You can use a zigzag stitch or a serger to finish the raw edge before folding, or use a zigzag stitch after sewing the single fold to prevent fraying.
- Best For: Fabrics that don’t fray easily, or when a very subtle hem is desired.
Blind Hem
A blind hem creates a nearly invisible stitch from the outside of the garment.
- How to:
- Prepare the hem as for a double-fold hem, but when you do the second fold, you’ll be folding it to the right side of the fabric, just enough to cover the raw edge.
- Use a blind hem foot on your sewing machine. This foot has a guide that helps you catch just a few threads of the main pant fabric.
- Sew with a blind hem stitch (usually found on modern machines). This stitch looks like a zigzag but only catches a few threads on the upstroke.
- Best For: Formal wear, delicate fabrics, or when you want the hem to be as invisible as possible.
Lettuce Edge Hem (Knit Fabrics)
This creates a wavy, decorative edge, ideal for stretchy fabrics.
- How to: Use a serger with differential feed adjusted to create a ruffle, or a zigzag stitch on a regular sewing machine with a slight stretch setting.
- Best For: T-shirts, knit dresses, and other stretchy garments.
Troubleshooting Common Hemming Issues
Even with the best intentions, you might run into a few snags. Here are some solutions:
Uneven Hem
- Problem: The hemline looks wobbly or uneven.
- Solution: If you’ve already sewn it, you can carefully unpick the stitches and re-mark and re-sew. If it’s slightly off, you might be able to adjust it with a careful press. For future hemming, ensure you’re measuring accurately and using a steady hand when marking and cutting.
Puckering Thread
- Problem: The stitching looks bunched up and puckered.
- Solution: This usually means your thread tension is too tight, or your needle is too thick for the fabric. Adjust your machine’s tension settings, or try a different needle. Always test on a scrap piece of fabric first.
Skipped Stitches
- Problem: The sewing machine is skipping stitches.
- Solution: Ensure your needle is sharp and inserted correctly. Check that you’re using the right type of needle for your fabric. Make sure the machine is properly threaded and that the bobbin is wound correctly.
Fabric Bunching Under the Presser Foot
- Problem: The fabric bunches up instead of feeding smoothly.
- Solution: Make sure the presser foot is lowered correctly. Check that the feed dogs are engaged. Sometimes, using a walking foot can help with feeding tricky fabrics more evenly.
Table: Common Hem Allowances by Fabric Type
| Fabric Type | Recommended Hem Allowance | Notes |
|---|---|---|
| Denim/Heavy Cotton | 1.5 – 2 inches | Allows for a sturdy double fold to prevent fraying. |
| Wool/Suiting | 1 – 1.5 inches | A good balance for a neat finish without too much bulk. |
| Linen | 1 – 1.5 inches | Can fray; a double fold is recommended. |
| Silk/Chiffon | 0.5 – 1 inch | A narrower hem, potentially with a rolled hem or single fold for lightness. |
| Knit Fabrics | 0.5 – 1 inch | Often a double-fold hem or a lettuce hem; needs stretch. |
Final Touches for Professional Results
A few extra steps can elevate your hemming from amateur to professional.
Inspect Your Work
- After pressing, check your hem from all angles. Ensure the stitching is even and that there are no missed stitches or puckers.
Removing Fabric Scraps
- Ensure no small threads or fabric scraps are caught within the hem folds.
Caring for Your Hemmed Pants
- When washing your newly hemmed pants, follow the garment’s care label. Using a mesh laundry bag can help protect delicate hems.
Conclusion: Mastering Pants Alterations
Learning how to hem pants on a sewing machine is a rewarding skill that empowers you to tailor your wardrobe perfectly. This comprehensive guide covers everything from initial preparation and accurate measuring to various sewing techniques and troubleshooting. With a little practice, you’ll be confidently tackling pants alterations and creating custom-fit garments with ease. Embrace these sewing basics and enjoy the satisfaction of DIY fashion and perfectly tailored pants!
Frequently Asked Questions (FAQ)
Q1: How long should a pant hem be?
A1: The ideal length depends on personal preference, the style of the pants, and the shoes you’ll wear with them. Typically, pants should just touch the top of your shoe, or have a slight break in the fabric.
Q2: Can I hem pants without a sewing machine?
A2: Yes, you can hem pants by hand using a needle and thread. It takes more time but can achieve a neat finish. Fabric glue or hemming tape are also no-sew options, but they are generally less durable.
Q3: What is the best stitch for hemming pants on a sewing machine?
A3: A straight stitch is the most common and durable for most pants. For a nearly invisible finish, a blind hem stitch is recommended.
Q4: How much fabric do I need for a hem allowance?
A4: A common hem allowance is between 1 to 2 inches (2.5 to 5 cm), but this can vary depending on the fabric type and the desired look.
Q5: My sewing machine is making a strange noise while hemming, what should I do?
A5: Ensure the machine is properly threaded, the bobbin is seated correctly, and that you’re not trying to sew over pins. If the noise persists, it might be time for a professional cleaning and tune-up of your sewing machine.