
Yes, you can make a buttonhole on a sewing machine! It’s a common sewing task, and most modern sewing machines are equipped to handle it. The process might seem a bit daunting at first, but with a little practice and the right guidance, you’ll be creating neat buttonholes in no time. This guide will walk you through everything you need to know to achieve buttonhole success.
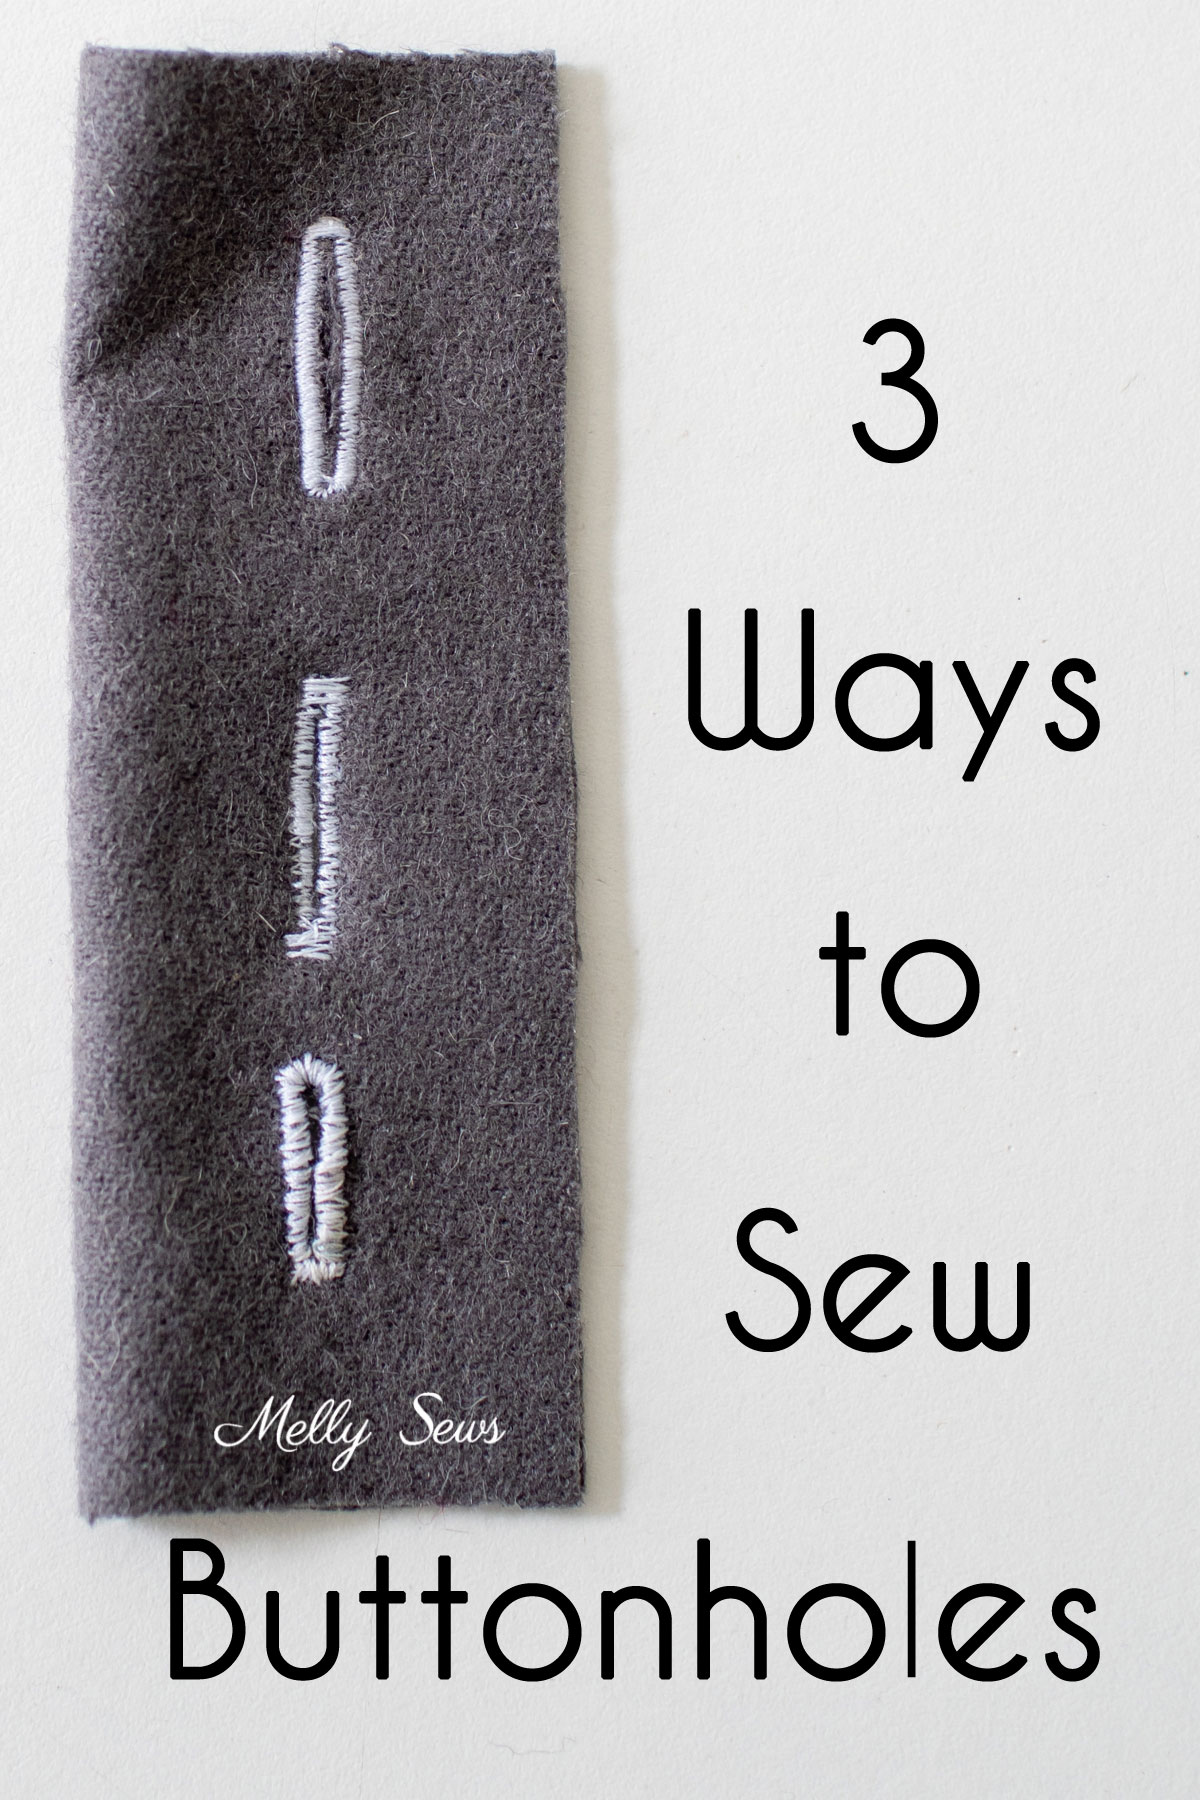
Image Source: mellysews.com
The Basics of Creating Buttonholes
Buttonholes are essential for garment construction, allowing buttons to pass through to fasten fabric. While they can be made by hand, using a sewing machine is significantly faster and yields more consistent results. There are several methods for creating buttonholes on a sewing machine, ranging from simple zigzag stitches to specialized automatic buttonhole functions.
Choosing Your Buttonhole Method
Your sewing machine’s capabilities will determine the primary method you’ll use. Many machines offer a dedicated buttonhole stitch, often referred to as an automatic buttonhole stitch. This is the easiest and most popular method for beginners. Older or more basic machines might require a zigzag stitch buttonhole, which involves manually sewing a dense zigzag over the buttonhole area. You might also have a separate buttonhole attachment, a specialized foot that guides the machine to create a buttonhole automatically.
Preparing for Buttonhole Creation
Before you start sewing, proper preparation is key. This includes selecting the right fabric, thread, and most importantly, the correct sewing machine settings for buttonholes.
Fabric Considerations
Different fabrics behave differently when sewing buttonholes.
* Woven Fabrics: Most woven fabrics, like cotton, linen, and polyester blends, are straightforward.
* Knit Fabrics: Knits can stretch, which can distort buttonholes. You might need to stabilize them with interfacing or a temporary adhesive spray.
* Delicate Fabrics: Silk, satin, or sheer fabrics can be tricky. Consider using a tear-away stabilizer underneath or trying a manual buttonhole technique with very fine thread.
* Thick Fabrics: Layers of thick fabric can challenge your sewing machine. You might need a heavier needle and thread, and sometimes, it’s best to make slightly shorter buttonholes or use a buttonhole cutter designed for thicker materials.
Thread and Needle Selection
- Thread: Use good quality all-purpose polyester thread. For a more prominent buttonhole, you can use buttonhole twist thread, which is thicker and stronger. Match your thread color to your fabric for a seamless look, or use a contrasting color for a decorative effect.
- Needle: A sharp universal needle is usually sufficient. If you’re working with thicker fabrics, consider a denim or microtex needle. For very fine fabrics, a fine sharp needle is recommended.
Stabilizing Your Fabric
For fabrics that tend to stretch or fray, adding a stabilizer is highly recommended.
* Interfacing: fusible or sew-in interfacing can be ironed or sewn to the wrong side of the fabric where the buttonhole will be. This adds body and prevents stretching.
* Stabilizer Sheets: Tear-away or wash-away stabilizer sheets can be placed beneath the fabric and sewn over. After sewing, the stabilizer is removed.
* Temporary Spray Adhesive: You can lightly spray the fabric and stabilizer together to hold them in place.
Using the Sewing Machine Buttonhole Foot
The sewing machine buttonhole foot is designed to automate the buttonhole process. It typically has a channel on the underside that guides the needle as it stitches the four sides of the buttonhole.
Types of Buttonhole Feet
- Four-Step Buttonhole Foot: This foot is used for machines that don’t have a dedicated buttonhole stitch. You manually move the stitch selector through four different stitches (usually a straight stitch, then zigzag, then straight stitch again, then zigzag in reverse) to create the buttonhole.
- One-Step or Automatic Buttonhole Foot: This is the most common type. The foot itself has a mechanism that senses the desired buttonhole length. You place the button in the slot at the back of the foot, and the machine stitches the buttonhole to that exact size automatically.
How to Use the Automatic Buttonhole Foot
- Attach the Foot: Remove your regular presser foot and attach the sewing machine buttonhole foot. Ensure it’s securely in place.
- Determine Buttonhole Size: Place your button on the fabric where you want the buttonhole. Measure the button’s diameter. You want the buttonhole to be just slightly larger than the button’s diameter so it can pass through easily but not be too loose. This is sewing buttonhole size determination.
- Position Fabric: Place your fabric under the foot. Align the needle with the starting point of your buttonhole.
- Select Buttonhole Stitch: Choose the automatic buttonhole stitch on your sewing machine. Refer to your machine’s manual for the specific stitch and settings.
- Sew the Buttonhole: Lower the presser foot. Most automatic buttonhole mechanisms start by stitching the sides and then the ends. Follow your machine’s instructions; usually, you just press the foot pedal and let the machine do the work. It will stitch the length you’ve set with the button in the foot.
- Finish: Once the machine completes the cycle, lift the presser foot and trim the threads.
The Zigzag Stitch Buttonhole Method
If your machine doesn’t have an automatic buttonhole stitch, or if you prefer more control, the zigzag stitch buttonhole is a viable alternative. This is essentially a manual buttonhole.
Steps for a Zigzag Stitch Buttonhole
- Mark the Buttonhole: Use tailor’s chalk or a fabric marker to draw the exact location and length of your buttonhole on the fabric. You’ll need to mark both the start and end points.
- Set Your Machine:
- Select a narrow zigzag stitch. The width should be just wide enough to cover the markings (around 1-2 mm).
- Set the stitch length to a short, dense setting (around 0.5-1 mm). This creates a solid bar tack effect.
- Stitch the First Side: Start at one end of your marked buttonhole. Sew along one side of the line, stitching from the start point to the end point.
- Stitch the First End (Bar Tack): At the end of the buttonhole, change the stitch to a straight stitch (or a very short, dense zigzag if your machine allows) and sew back and forth a few times across the end of the buttonhole to create a strong bar tack. This reinforces the end.
- Stitch the Second Side: Sew along the other side of your marked line, from the end point back to the starting point.
- Stitch the Second End (Bar Tack): At the starting end of the buttonhole, create another bar tack by sewing back and forth with the straight stitch or dense zigzag.
- Trim Threads: Cut any excess threads.
Table: Zigzag Stitch Buttonhole Settings
| Stitch Type | Stitch Width | Stitch Length | Purpose |
|---|---|---|---|
| Zigzag | 1-2 mm | 0.5-1 mm | To form the sides of the buttonhole |
| Straight (or Dense Zigzag) | N/A (or 0.5-1 mm) | N/A (or 0.5-1 mm) | To create the reinforcing bar tacks at ends |
The Four-Step Buttonhole
This method is a variation of the zigzag stitch buttonhole but uses your machine’s built-in stitches in a specific sequence. It’s a good option for machines that don’t have a dedicated buttonhole stitch or an automatic foot.
Steps for a Four-Step Buttonhole
- Mark the Buttonhole: Mark the start and end of your buttonhole on the fabric.
- Set Machine for Step 1 (Back Tack): Select a short, dense straight stitch. Sew a few stitches forward and then a few stitches backward at one end of the buttonhole to create a reinforced end.
- Set Machine for Step 2 (Left Side): Select a narrow zigzag stitch (width around 1-2 mm) with a short stitch length (0.5-1 mm). Sew down the length of the buttonhole on one side.
- Set Machine for Step 3 (Front Tack): Select a short, dense straight stitch again. Sew back and forth at the other end of the buttonhole to create the second reinforced end.
- Set Machine for Step 4 (Right Side): Select the narrow zigzag stitch again. Sew back up the length of the buttonhole on the other side, meeting the first side.
- Final Tack (Optional but Recommended): You can optionally do one last short straight stitch at the starting end to secure everything.
Using a Buttonhole Attachment
Some sewing machines, particularly older mechanical models, might come with a separate buttonhole attachment. This is a device that clamps onto the sewing machine bed and has a sliding mechanism that guides the fabric and needle to create a buttonhole.
How to Use a Buttonhole Attachment
- Attach the Attachment: Securely clamp the attachment to your sewing machine bed according to its specific instructions.
- Select Stitch: Set your sewing machine to a zigzag stitch.
- Prepare Fabric: Place your fabric under the sewing machine’s needle, aligning it with the guides on the attachment.
- Adjust Settings: Adjust the zigzag width and stitch length as recommended by the attachment’s manual.
- Sew the Buttonhole: Move the sliding mechanism on the attachment to stitch the sides and ends of the buttonhole. This often involves a series of movements to create the four sides and the bar tacks.
- Remove and Finish: Once complete, remove the attachment and finish your buttonhole as usual.
Critical Steps for Buttonhole Success
Regardless of the method you choose, certain steps are crucial for achieving well-made buttonholes.
Precision in Marking and Placement
- Buttonhole Placement: Deciding where to place your buttonholes is as important as sewing them. Consider the button size, the fabric overlap, and the garment’s design. Mark the center of each buttonhole clearly.
- Accurate Marking: Use tools like tailor’s chalk, disappearing ink pens, or a fabric pencil. Ensure your markings are straight and precisely where you want the buttonhole to begin and end.
Testing Your Buttonhole
Before committing to your garment fabric, always test your chosen method on a scrap of the same material. This allows you to:
* Verify the sewing machine settings for buttonholes.
* Check the sewing buttonhole size for your button.
* Ensure the stitches are dense enough and the thread tension is correct.
* Practice the technique.
Opening the Buttonhole
Once sewn, the buttonhole needs to be opened.
* Buttonhole Cutter: A specialized buttonhole cutter is ideal. It’s a sharp blade designed to open the buttonhole neatly without cutting the stitches at the ends.
* Seam Ripper: A seam ripper can also be used. Insert the tip carefully into the slit and use a gentle sawing motion. Be very cautious not to cut through the end stitches.
* Pin Method: Place a pin at each end of the buttonhole before sewing. After sewing, open the buttonhole with a seam ripper up to the pin. This prevents accidentally cutting through the bar tacks.
Advanced Buttonhole Techniques and Tips
- Buttonhole Size Adjustment: If your button doesn’t fit, you can adjust the length of the buttonhole stitch on your machine (if it’s an automatic model) or simply mark and sew a new one.
- Reinforcing Buttonholes: For areas of high stress, like on shirt cuffs or collars, you can reinforce the buttonhole by sewing an extra row of stitching around the edges or adding a small piece of interfacing behind it.
- Contrasting Thread: Using a contrasting thread color for your buttonholes can add a pop of color and a design element to your garment.
- Decorative Buttonholes: Experiment with different zigzag stitch widths and lengths, or use decorative stitches if your machine offers them for unique buttonhole effects.
Common Buttonhole Problems and Solutions
| Problem | Possible Cause | Solution |
|---|---|---|
| Buttonhole is too long | Incorrect sewing buttonhole size setting/marking | Re-sew the buttonhole, ensuring the correct size is set or marked. |
| Buttonhole is too short | Incorrect sewing buttonhole size setting/marking | Re-sew the buttonhole, ensuring the correct size is set or marked. |
| Buttonhole is loose/gappy | Stitch length too long or zigzag width too narrow | Reduce stitch length, increase zigzag width, or use a denser stitch. |
| Buttonhole is puckered | Thread tension too tight, or fabric not stabilized | Adjust thread tension, use stabilizer, or try a finer needle. |
| Stitches are skipping | Dull needle, wrong needle type, or lint in machine | Change the needle, use the correct needle type for the fabric, and clean the bobbin area and feed dogs. |
| Buttonhole opens unevenly | Inconsistent sewing or poor bar tacks | Ensure consistent speed when sewing, and make sure bar tacks are sufficiently dense and cover the ends of the buttonhole. |
| Cutting the buttonhole wrong | Using the wrong tool or cutting too deep | Use a sharp seam ripper carefully, or invest in a buttonhole cutter. Always place a pin at the end of the buttonhole before cutting. |
Frequently Asked Questions (FAQ)
Q1: What is the best stitch for a buttonhole?
A1: The best stitch depends on your machine. For machines with an automatic buttonhole stitch, that’s usually the best and easiest. For manual methods, a dense zigzag stitch is ideal for the sides, and a straight stitch or very dense zigzag is used for the bar tacks at the ends.
Q2: Can I sew buttonholes on a serger/overlocker?
A2: Some advanced sergers have a buttonhole function. However, typically, buttonholes are sewn on a sewing machine, as sergers are designed for edge finishing and seam construction, not typically for creating dense stitches required for buttonholes.
Q3: How do I determine the correct buttonhole size?
A3: The general rule is to make the buttonhole just slightly larger than the diameter of the button you intend to use. You want the button to slide through comfortably without falling out. Test on fabric scraps.
Q4: My sewing machine doesn’t have a buttonhole stitch. What can I do?
A4: You can use the zigzag stitch method described above. Many machines also come with a four-step buttonhole feature or can use a specialized buttonhole attachment.
Q5: How do I prevent my buttonholes from stretching out on knit fabrics?
A5: Stabilize the knit fabric. You can use a lightweight fusible interfacing on the wrong side, or a tear-away stabilizer placed under the fabric where the buttonhole will be sewn.
Q6: What is the purpose of the buttonhole foot?
A6: The sewing machine buttonhole foot is designed to help create buttonholes automatically or guide the fabric for more consistent results. Automatic versions have a slot that dictates the buttonhole length, while other types provide a wider base to accommodate the buttonhole stitch.
Q7: When should I use a manual buttonhole?
A7: You might use a manual buttonhole (like the zigzag stitch method) if your machine lacks an automatic feature, if you want finer control over the stitch density and length, or if you’re working with very delicate or thick fabrics where an automatic machine might struggle.
By following these detailed steps and tips, you can confidently tackle buttonholes on your sewing machine. Whether you use an automatic stitch, the zigzag method, or a specialized attachment, practice and attention to detail will lead to professional-looking results.