
Can you put the bobbin in a Singer sewing machine easily? Yes, with a little practice, it becomes a simple and straightforward process. This guide will walk you through every step, ensuring your Singer sewing machine is ready to create beautiful things. We’ll cover everything from understanding your machine’s bobbin area to troubleshooting common issues.
Getting your Singer sewing machine ready to sew starts with correctly placing the bobbin. This small, spooled disc holds your lower thread, and without it, your machine can’t form stitches. Whether you’re new to sewing or just need a refresher, this guide will help you master Singer bobbin insertion.
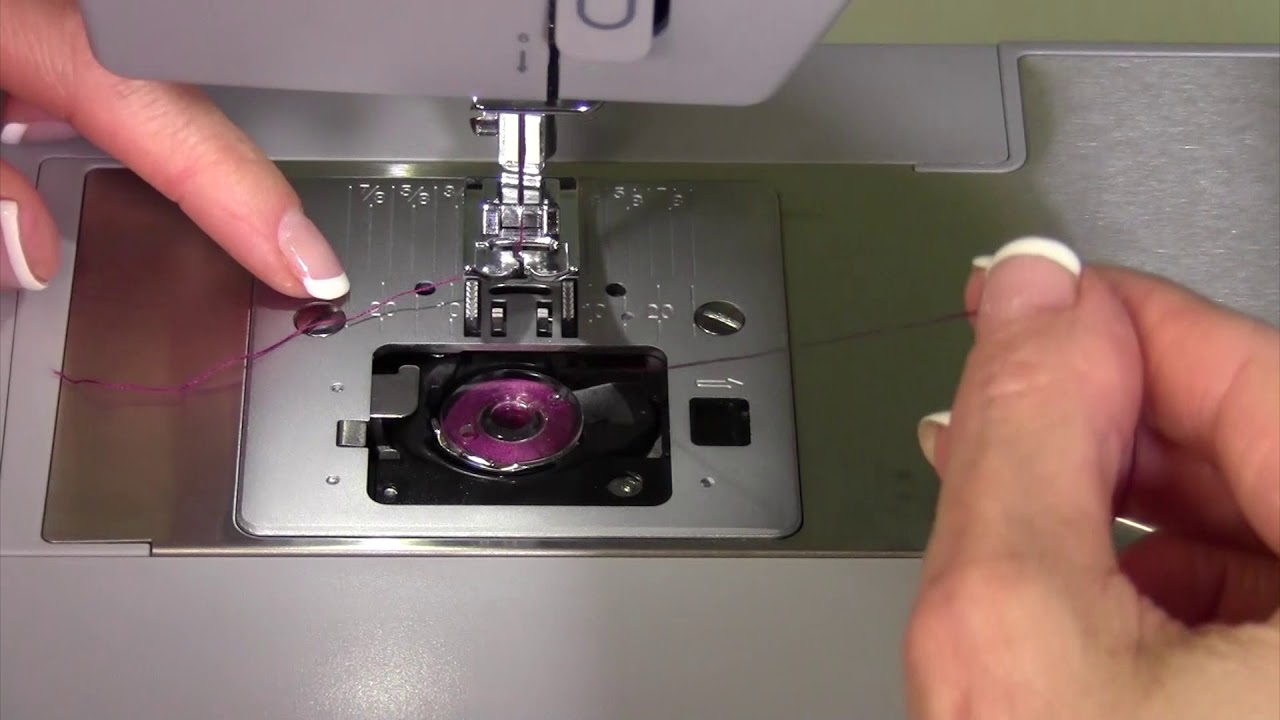
Image Source: i.ytimg.com
Fathoming Your Singer Sewing Machine’s Bobbin Area
Before we begin the actual Singer bobbin insertion, it’s helpful to know where to find the bobbin and its housing on your specific Singer model. Most modern Singer sewing machines use a front-loading or top-loading bobbin system, each with its own nuances.
Top-Loading Bobbin Systems
Many popular Singer models feature a top-loading bobbin system. This is often considered the easiest for beginners.
- Locating the Bobbin Area: Typically, you’ll lift the presser foot and remove the needle plate (the flat metal cover in front of the needle). Underneath, you’ll see a removable bobbin case or a direct bobbin holder.
- The Bobbin Case: If your Singer uses a bobbin case, it’s a small, often metal, cup-like component that holds the bobbin. This case itself is usually inserted into a larger housing within the machine. You’ll need to remove the bobbin case before placing the bobbin inside it.
- Direct Bobbin Holder: Some Singer machines have a slot where the bobbin is placed directly without a separate case.
Front-Loading (Drop-In) Bobbin Systems
Front-loading or drop-in systems are also very common and are praised for their ease of use.
- Accessing the Bobbin: For these machines, you’ll usually lift the presser foot and open a small compartment door located in front of the needle. This reveals the bobbin area, which is designed to receive the bobbin directly.
- No Separate Bobbin Case: In most front-loading systems, there isn’t a separate bobbin case to worry about. The bobbin simply drops into a designated slot.
Table: Common Bobbin Area Locations by Singer Model Type
| Singer Model Type | Bobbin Area Location | Bobbin Case Present? |
|---|---|---|
| Top-Loading (Removable Case) | Under the needle plate | Yes |
| Top-Loading (Direct Slot) | Under the needle plate | No |
| Front-Loading (Drop-In) | In a compartment in front of the needle | No |
Winding a Bobbin Singer: The First Step
Before you can insert the bobbin, you need to wind it. Every sewing machine, Singer included, needs a bobbin filled with thread. This is a crucial part of preparing your machine for sewing.
Preparing the Bobbin Winder
- Locate the Bobbin Winder: Almost all Singer sewing machines have a dedicated bobbin winder. It’s usually a small post or spindle on the top or side of the machine.
- Engage the Winder: To wind a bobbin, you’ll typically need to disengage the machine’s main needle from the sewing process. There’s usually a clutch mechanism on the handwheel (the large wheel on the side of the machine). Turn the handwheel towards you until the clutch loosens. This allows the bobbin winder to spin independently of the needle. Some machines have a separate bobbin winder spindle that automatically engages when you place a bobbin on it.
- Thread Path for Winding: You’ll need to follow a specific thread path for winding. This path guides the thread from the spool pin, through tension discs, and onto the bobbin. Consult your Singer sewing machine manual for the exact thread path for winding a bobbin.
The Winding Process
- Place the Bobbin: Put an empty bobbin onto the bobbin winder spindle. Ensure it’s seated correctly.
- Thread the Bobbin: Guide the thread from your spool pin through the threading path.
- Secure the Thread: Hold the tail of the thread with your finger. Start the winder slowly. Wind a few turns of thread around the bobbin by hand to secure it.
- Trim Excess Thread: Trim the thread tail so it doesn’t get caught.
- Start Winding: Engage the bobbin winder mechanism (if applicable, like pushing the spindle to the winding position). Gently press the foot pedal. The bobbin will begin to spin and wind thread.
- Guide the Thread: Use your finger to guide the thread evenly across the bobbin. This helps create a neat, uniform wind.
- Stop Winding: Stop winding when the bobbin is full. Most Singer machines have an automatic stop, or you’ll learn to recognize the sound change when it’s full. Overfilling can cause problems.
- Disengage the Winder: Disengage the bobbin winder spindle from the winding position. Loosen the clutch on the handwheel by turning it back to its original position until the needle moves when you turn the handwheel. This re-engages the machine for sewing.
- Trim the Thread: Cut the thread from the spool. Remove the wound bobbin.
Tip: For consistent results, always use the correct type of bobbin for your Singer machine. Plastic or metal bobbins are usually specified.
Singer Bobbin Insertion: Step-by-Step Loading
Now that you have a wound bobbin, let’s get to the core of the guide: Singer bobbin insertion. The method varies slightly depending on whether your Singer has a top-loading or front-loading system.
For Top-Loading Singer Bobbin Systems
If your Singer has a removable bobbin case:
- Remove the Bobbin Case: With the needle plate removed, you should see the bobbin case holder. There might be a small latch or lever to release the bobbin case. Gently pull it out.
- Place the Bobbin in the Case: Locate the notch on the bobbin case. Hold the bobbin with the thread coming off the top and in an anti-clockwise direction. Guide the thread into the small slot or notch on the side of the bobbin case. This is crucial for tension.
- Thread the Bobbin Case: Pull the thread through the small slit or hole at the end of the bobbin case’s tension spring. You should have about 4-6 inches of thread tail hanging out.
- Insert the Bobbin Case: Hold the bobbin case with the thread tail hanging down. Align the bobbin case with the housing in the machine. There will be a small metal “finger” or lug on the bobbin case that needs to fit into a corresponding groove in the bobbin housing. Gently push the bobbin case into place until it clicks or sits securely.
- Replace the Needle Plate: Put the needle plate back on, ensuring it’s properly aligned.
If your Singer has a direct slot bobbin system (no separate case):
- Remove Needle Plate: Lift the presser foot and remove the needle plate.
- Identify the Slot: You’ll see the bobbin compartment with a U-shaped slot.
- Place the Bobbin: Take your wound bobbin. The thread should be coming off the bobbin in an anti-clockwise direction. Place the bobbin into the designated slot.
- Guide the Thread: Find the small slit in the plastic or metal bobbin cover (the part the bobbin sits in). Guide the thread through this slit. You should have about 4-6 inches of thread tail.
- Replace Needle Plate: Put the needle plate back on securely.
For Front-Loading (Drop-In) Singer Bobbin Systems
- Open the Compartment: Lift the presser foot. Open the small door or cover at the front of the machine that reveals the bobbin area.
- Place the Bobbin: Take your wound bobbin. Ensure the thread is unwinding in the correct direction. For most Singer drop-in systems, the thread should be coming off the bobbin in an anti-clockwise direction. Place the bobbin into the bobbin holder.
- Guide the Thread: You’ll see a designated slot or groove in the bobbin holder. Guide the thread through this slot or slit. This engages the tension mechanism. You should have about 4-6 inches of thread tail extending from the holder.
- Close the Compartment: Gently close the compartment door.
Key Takeaway: The direction the thread comes off the bobbin is critical for successful Singer bobbin insertion and proper stitch formation. Always check your manual if unsure.
Threading the Bobbin Singer: Getting the Thread Through
Threading the bobbin is a distinct process from inserting it. This refers to getting the bobbin thread up to the needle level so you can start sewing.
Bringing Up the Bobbin Thread
This step is the same regardless of whether you have a top-loading or front-loading bobbin system.
- Ensure Top Thread is Ready: Make sure the top thread is correctly threaded through your Singer sewing machine, including through the needle. Leave a decent tail of the top thread.
- Turn the Handwheel: Hold the tail of the top thread loosely. Turn the machine’s handwheel towards you (one full rotation). The needle will go down and then come back up.
- Catch the Bobbin Thread: As the needle comes up, its eye will catch the loop of the bobbin thread. You should see a loop of bobbin thread coming up through the needle plate.
- Pull the Loop: Use your fingers or a seam ripper to gently pull this loop of bobbin thread out from under the needle plate.
- Position the Threads: You should now have a loop of both the top thread and the bobbin thread. Pull both thread tails out from under the presser foot and towards the back of the machine. Leave a tail of about 4-6 inches for both threads.
- Lower the Presser Foot: Before you start sewing, lower the presser foot. This engages the upper tension.
Placing Bobbin Singer: A Checklist for Success
Here’s a quick checklist to ensure your Singer bobbin placement is perfect every time:
- [ ] Bobbin is wound evenly.
- [ ] Bobbin is the correct type for your Singer machine.
- [ ] Bobbin is inserted with thread unwinding in the correct direction (usually anti-clockwise for drop-in and case-based).
- [ ] Thread tail is guided through the bobbin case notch/slit.
- [ ] Bobbin case (if applicable) is correctly seated in the housing with the lug aligned.
- [ ] Compartment door or needle plate is securely replaced.
- [ ] Bobbin thread has been brought up to the needle level.
Singer Bobbin Troubleshooting: When Things Go Wrong
Even with the best intentions, sometimes Singer bobbin troubleshooting is necessary. Here are common issues and their solutions:
Problem: Thread Bunching Under the Fabric (Bird’s Nesting)
This is the most common bobbin-related problem. It usually means the top thread is too loose, the bobbin thread is too loose, or the bobbin isn’t inserted correctly.
- Check Bobbin Insertion:
- Is the bobbin seated correctly?
- Is the thread running through the tension slot on the bobbin case (if applicable)?
- Is the thread direction correct when placing the bobbin?
- Check Top Thread Tension: Ensure the top thread is properly threaded through all the tension discs and the tension dial is set appropriately.
- Check Bobbin Tension: If your Singer has an adjustable bobbin case, the bobbin tension might be too loose. This requires careful adjustment. (See “Singer Bobbin Case Adjustment” below).
- Ensure Both Threads are Held: Make sure you are holding both thread tails for the first few stitches.
Problem: Skipping Stitches
Skipped stitches often point to a needle issue or improper bobbin thread engagement.
- Needle Check: Is the needle blunt, bent, or inserted incorrectly? Replace the needle.
- Bobbin Thread Engagement: Is the bobbin thread properly threaded through the bobbin case slot or drop-in holder slit?
- Bobbin Direction: Is the bobbin inserted with the thread coming off in the correct direction?
- Cleanliness: Is the bobbin area clean? Lint can interfere with the bobbin thread path.
Problem: Thread Breaking
Thread breaking can be caused by a sharp edge, poor quality thread, or incorrect tension.
- Check for Burrs: Inspect the bobbin, bobbin case, needle plate, and thread path for any rough spots or burrs that could be cutting the thread.
- Thread Quality: Try a different brand or type of thread.
- Tension: Extreme tension settings (either too high or too low) can cause thread to break.
- Needle: A bent or dull needle can also cause thread breakage.
Problem: Bobbin Not Spinning or Thread Not Feeding
This usually indicates an issue with how the bobbin is seated or threaded.
- Re-insert Bobbin: Remove the bobbin and re-insert it, making sure the thread is correctly routed through any tension slots or guides.
- Check for Obstructions: Ensure no lint or thread is caught in the bobbin housing.
Singer Bobbin Case Adjustment (For models with adjustable bobbin cases)
If your Singer bobbin case is adjustable, it will have a small screw on the side.
- The Screw: This screw controls the tension of the bobbin thread.
- Tightening: Turning the screw clockwise (usually a small amount, like a quarter turn) tightens the bobbin tension.
- Loosening: Turning the screw counter-clockwise loosens the bobbin tension.
- Testing: Make small adjustments, re-insert the bobbin case, and test sew. The goal is to have the bobbin tension work in harmony with the top thread tension to create a balanced stitch. If the top thread is consistently too tight, the bobbin tension might be too loose. If the bobbin thread is bunching, the bobbin tension might be too loose.
Important Note: Always make very small adjustments to the bobbin case screw. It’s easy to over-tighten and create new problems.
Singer Bobbin Winder Issues
Sometimes the Singer bobbin winder itself can be the source of problems.
- Bobbin Not Spinning: Ensure the winder spindle is properly engaged and that the clutch on the handwheel is disengaged.
- Uneven Winding: Guide the thread manually across the bobbin as it winds. Some machines have a thread guide that moves automatically; ensure this is functioning correctly.
- Bobbin Stops Too Soon/Too Late: Check if there’s a bobbin winder stopper or auto-stop mechanism that might be misaligned or malfunctioning. Consult your Singer manual.
Singer Sewing Bobbin Tutorial: Practice Makes Perfect
Learning to place the bobbin correctly is part of the journey of becoming proficient with your Singer sewing machine. Think of it like learning to load film in an old camera or putting ink in a fountain pen – it’s a tactile skill that improves with repetition.
Tips for Mastering Bobbin Insertion
- Read Your Manual: Every Singer model is slightly different. Your user manual is the ultimate resource for specific instructions on your machine.
- Visual Aids: Many Singer sewing machines have diagrams printed directly on the machine showing the thread paths and bobbin loading.
- Slow Down: Especially when you’re learning, take your time. Don’t rush the process.
- Practice with Scraps: Use scrap fabric to practice threading and stitching after inserting the bobbin. This allows you to make adjustments without fear of ruining a project.
- Consistency is Key: Once you find a method that works for your machine, stick to it. Consistency in bobbin winding and insertion will lead to more consistent sewing results.
Frequently Asked Questions (FAQ)
Here are some common questions people have about putting the bobbin in a Singer sewing machine:
Q1: What is the correct direction for the bobbin thread to unwind in my Singer sewing machine?
A1: For most Singer sewing machines, especially those with front-loading (drop-in) bobbins or removable bobbin cases, the thread should unwind in an anti-clockwise direction. Always check your machine’s manual for confirmation.
Q2: Can I use any bobbin with my Singer sewing machine?
A2: No, you should use only the bobbins specifically recommended for your Singer model. Using the wrong size or type of bobbin can cause stitching problems, damage your machine, or prevent the bobbin from fitting correctly.
Q3: My Singer sewing machine is making a funny noise when I sew. Could it be the bobbin?
A3: Yes, a misseated bobbin, a lint-filled bobbin area, or a damaged bobbin case can cause unusual noises. Ensure the bobbin is correctly inserted and the area is clean.
Q4: How do I know if my Singer sewing machine has a bobbin case or a drop-in system?
A4: If you need to remove a small, removable cup-like piece to insert the bobbin, you have a bobbin case system. If the bobbin drops directly into a slot and there’s no separate case, it’s a drop-in system. You can also check your Singer machine’s manual.
Q5: What if the bobbin thread keeps breaking when I try to bring it up?
A5: This often means the top thread isn’t properly seated in the tension discs, or the needle isn’t inserted correctly. Double-check your top threading and ensure the needle is inserted all the way up and secured. Also, ensure you’re holding the top thread tail while turning the handwheel.
By following these detailed steps and tips, you’ll be confidently placing the bobbin in your Singer sewing machine, ready to tackle any sewing project. Happy sewing!