
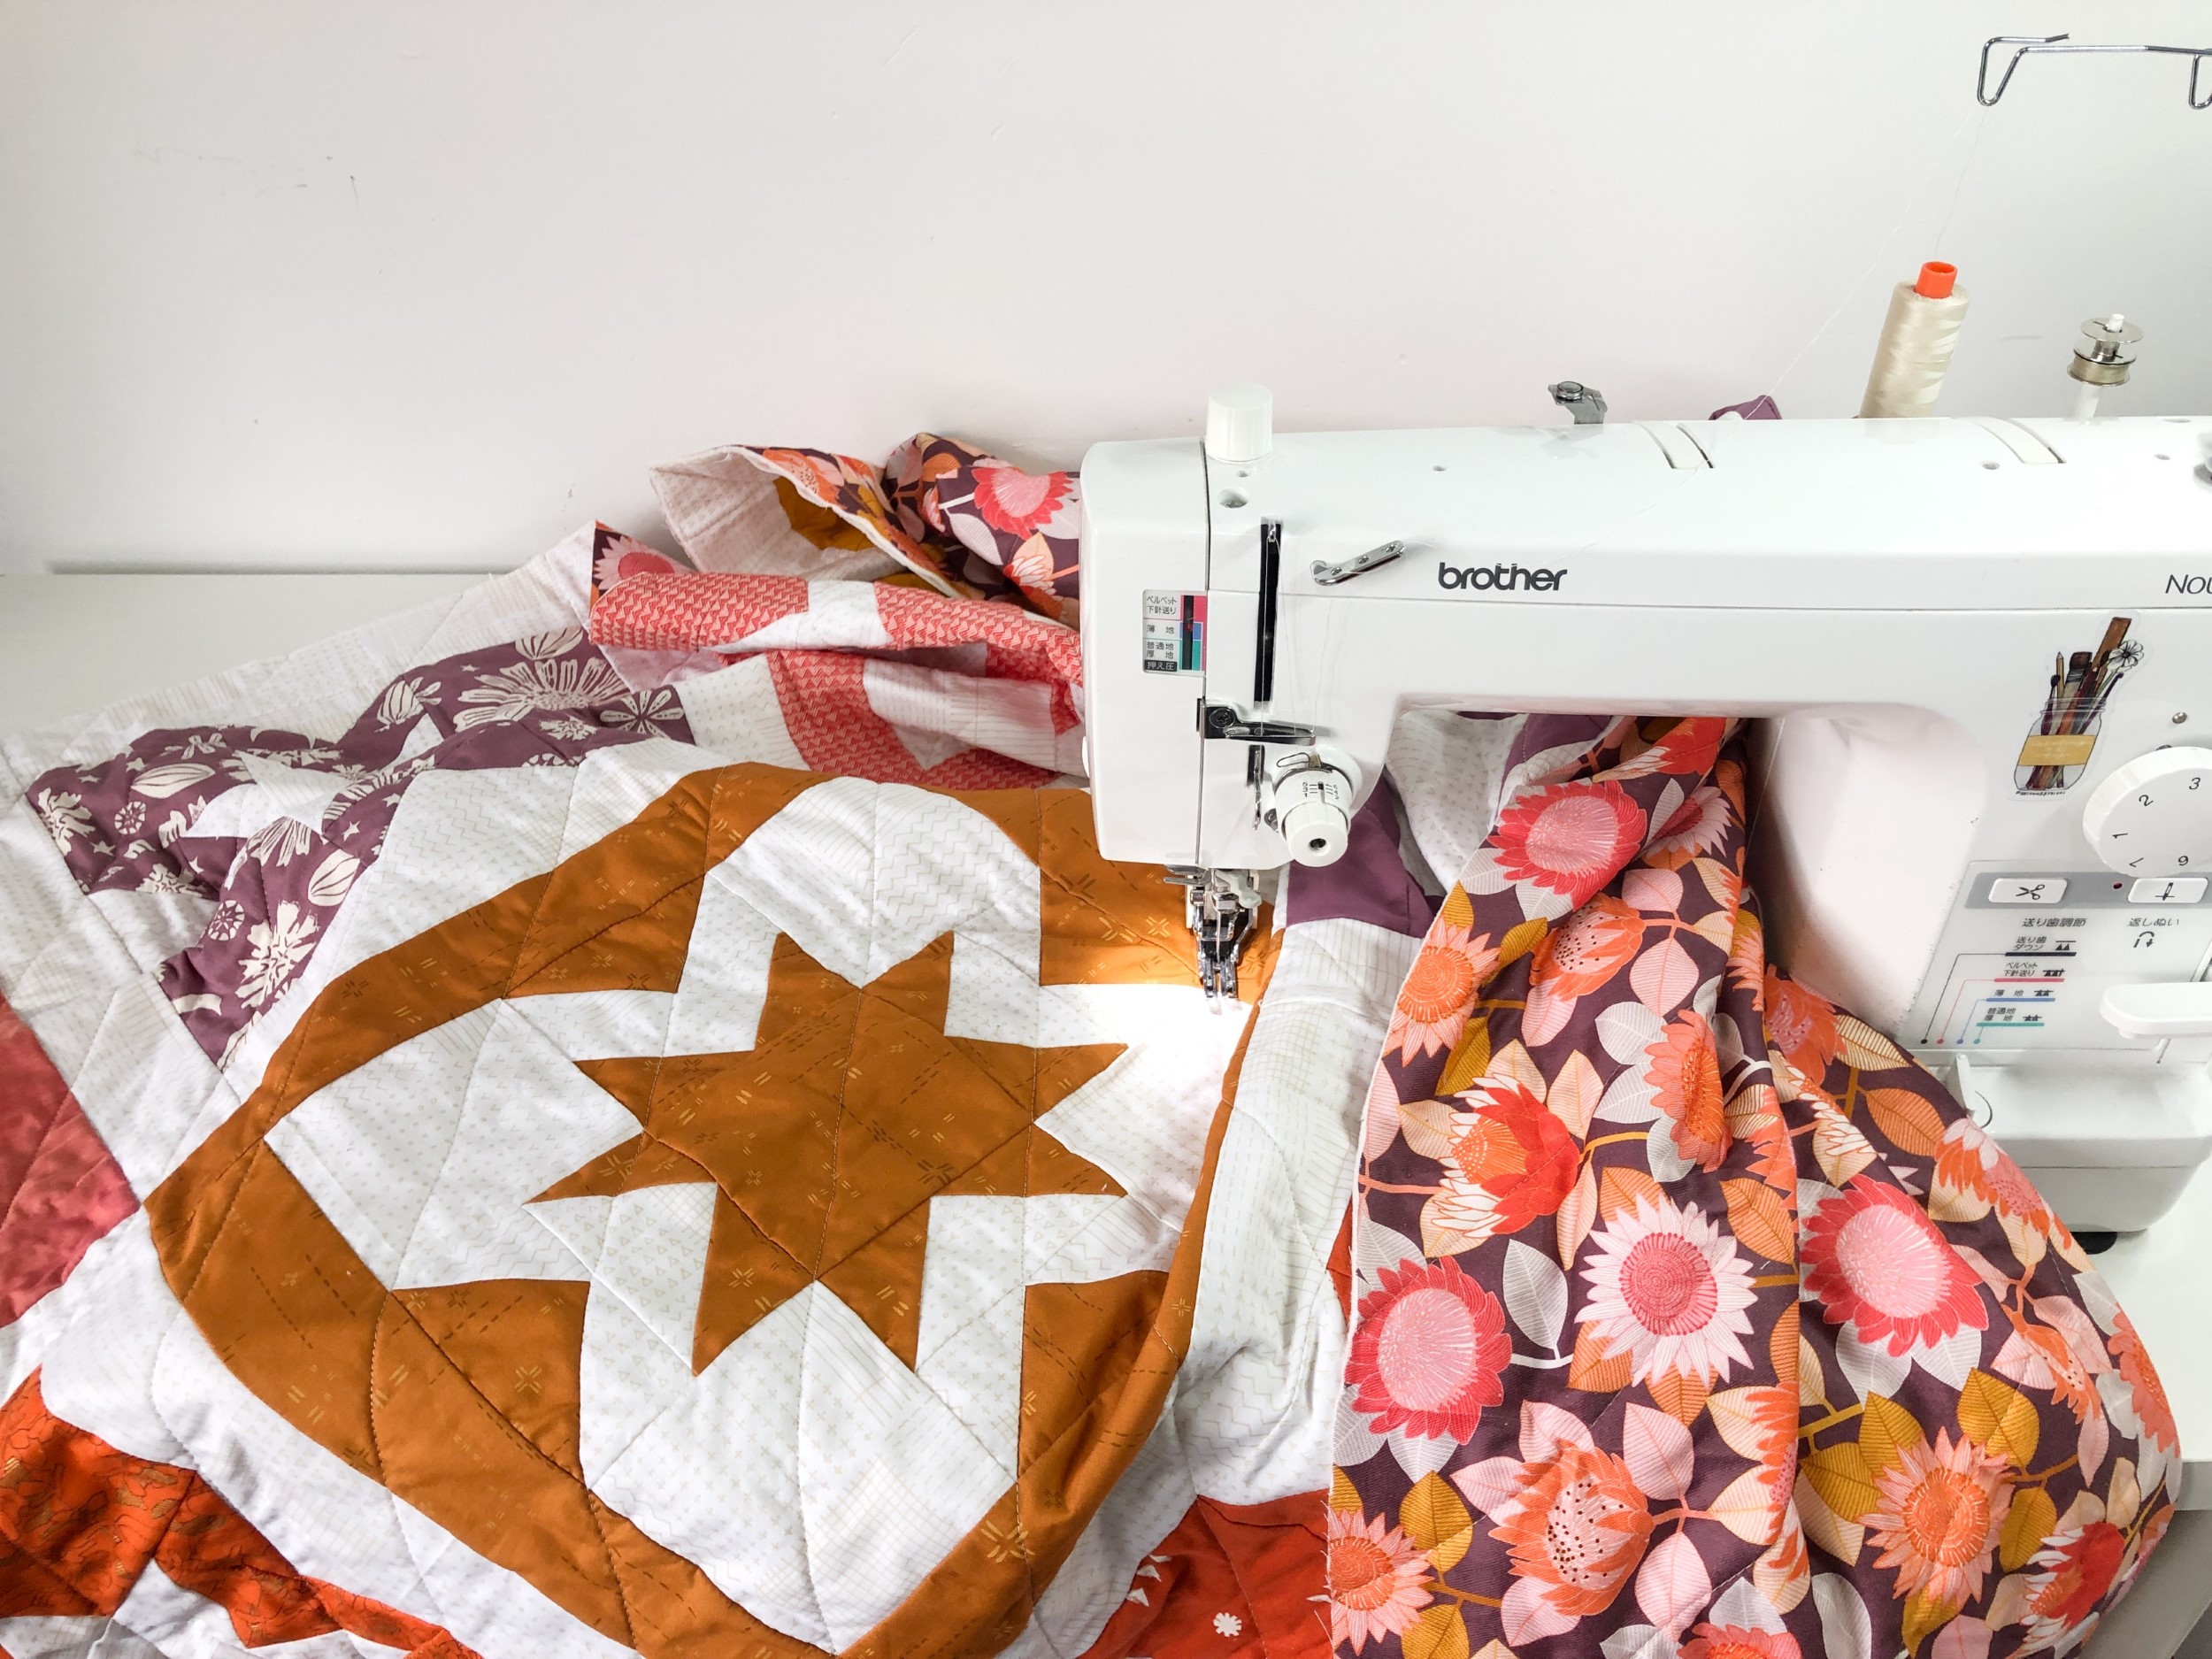
Image Source: www.blossomheartquilts.com
Ultimate How To Quilt By Sewing Machine Lesson
Many people ask, “What is machine quilting?” or “Can I quilt on my domestic sewing machine?” Yes, you absolutely can quilt on a regular home sewing machine! Machine quilting is simply using your sewing machine to sew the layers of a quilt together. It adds strength, texture, and beauty to your finished project. This guide will show you how to quilt your projects using your home sewing machine.
Getting Ready: What You Need
Before you start, gather all your supplies. Having everything ready makes the process much smoother.
The Layers of Your Quilt
A quilt is like a sandwich with three main parts. You need these parts before you can quilt them together:
- The Backing: This is the bottom layer of your quilt sandwich. It’s usually a single piece of fabric, but you can sew pieces together if needed. Make sure it is at least 4 to 6 inches bigger on all sides than your quilt top. This extra size helps when you baste and gives you room to handle the layers.
- Quilt Batting: This is the middle layer. It sits between the backing and the top. Quilt batting gives the quilt its warmth and puffiness. Quilt batting comes in different types like cotton, polyester, wool, or blends. Each type feels a little different and creates a different look. Like the backing, your quilt batting should be a bit bigger than your quilt top, maybe 2 to 3 inches extra on each side.
- The Quilt Top: This is the pretty top layer you made from sewing fabric pieces together. It should be ironed flat and free of loose threads.
Sewing Supplies
You need special supplies for machine quilting:
- Your Sewing Machine: Any working home sewing machine can be used for domestic sewing machine quilting. You don’t need a fancy, expensive one to start.
- Quilting Foot: You will need a special quilting foot for your machine. There are two main types:
- Walking Foot: This foot has its own set of feed dogs on top. It helps pull the top layer of fabric through the machine at the same speed as the bottom layer. This is great for straight line quilting or quilting wavy lines, as it helps prevent the layers from shifting and puckering.
- Free Motion Quilting Foot (or Darning Foot): This foot is different. It doesn’t touch the fabric lightly. It lets you move the fabric in any direction you want. You use this foot when you drop the feed dogs on your machine for free motion quilting.
- Quilting Needles: You need strong, sharp needles to go through the three layers of fabric and batting. Quilting needles are made just for this. They have a special point that goes through the layers more easily. Use a new quilting needles for each quilt or after several hours of quilting. Sizes 90/14 or 100/16 are common.
- Quilting Thread: Use good quality quilting thread. Cotton or polyester threads work well. Polyester is strong. Cotton is traditional and blends into the fabric. Choose a color that matches your fabric or stands out if you want the stitches to show. Avoid cheap thread, as it can break easily and cause problems with your machine quilting tension.
- Pins or Clips: You need these to hold your layers together.
- Basting Supplies: You will use pins, spray glue, or thread to hold the layers together before quilting. More on this later.
- Quilting Gloves (Optional): These gloves have grippy fingertips. They help you hold and move the quilt layers as you sew. Many quilters find they help.
- Marking Tools (Optional): You can use special pens or chalk to draw quilting designs on your quilt top. Make sure the marks will disappear.
Preparing Your Quilt Sandwich
This step is very important. It sets you up for successful machine quilting. You need to create the layering quilt sandwich.
Making the Sandwich
Find a large, flat surface. A big table or even a clean floor works well.
- Lay the Backing: Put the backing fabric down first. The wrong side of the fabric should face up towards you. Smooth it out completely. Tape the edges down with painter’s tape or masking tape to keep it flat and prevent wrinkles.
- Add the Batting: Lay the quilt batting on top of the backing. Make sure it is smooth. There should be no wrinkles or folds. Center it so you have extra batting and backing fabric all around the edges of your quilt top space.
- Place the Quilt Top: Put your finished quilt top on top of the batting. The right side should face up towards you. Center the quilt top carefully on the batting and backing. Make sure it is smooth and flat.
Now you have your layering quilt sandwich: backing, batting, and quilt top, all stacked up.
Holding the Layers Together (Basting)
You must hold these three layers together securely before you start quilting. This is called basting. It stops the layers from shifting and making ugly folds or puckers as you sew. There are a few ways to baste:
- Pin Basting: This is very common. Use special long safety pins made for basting (called quilting pins). Start in the middle of the quilt. Put pins every few inches (about a fist width apart) all over the quilt. Make sure you go through all three layers with each pin. Work your way out from the center to the edges. Use lots of pins! More pins are better than too few.
- Spray Basting: You can use a temporary fabric adhesive spray. Lay out your backing and batting. Spray the batting evenly with the adhesive. Then carefully lay your quilt top on top of the sprayed batting. Smooth it out from the center to the edges. You can also lift half the quilt top, spray the other half of the batting, and then lay the top down. Follow the product instructions carefully. This method can be faster but might make your machine sticky.
- Thread Basting: You can use a large needle and thick thread to sew long, loose stitches all over the quilt layers. This holds them together. This is more work but avoids pins or spray. This method is not as common for machine quilting large quilts but is good for small projects.
Choose the method that works best for you. The goal is to hold the layers flat and together everywhere.
Setting Up Your Sewing Machine
Now it’s time to get your machine ready for quilting.
Getting the Right Quilting Foot
As mentioned before, the quilting foot is key.
- For Straight Lines or Gentle Curves: Use a walking foot. Attach it to your machine according to its instructions. This foot is needed for straight line quilting.
- For Free-Form Designs: Use a free motion quilting foot (darning foot). Attach it to your machine. This foot is needed for free motion quilting. When using this foot, you must drop the feed dogs on your machine. Your machine will have a lever or button for this. Dropping the feed dogs lets you move the fabric freely under the needle instead of the machine pulling it forward.
Adjusting Machine Quilting Tension
This is one of the most important things to get right for nice-looking stitches. Machine quilting tension controls how tight the top thread and bottom thread are when they meet in the fabric layers.
- How to Test Tension: Get a small practice quilt sandwich. Use the same fabric, batting, thread, and needle you will use for your real quilt. Sew some lines on this practice piece. Look at the stitches on the top and the bottom.
- What Good Tension Looks Like: The stitches should look the same on the top and the bottom. The knot where the top thread and bottom thread meet should be hidden inside the batting layer, not sitting on top or pulling through to the other side.
- Common Problems:
- Top thread shows on the bottom: The top tension is too loose, or the bobbin tension is too tight. Try making the top tension tighter.
- Bobbin thread shows on the top: The top tension is too tight, or the bobbin tension is too loose. Try making the top tension looser.
- Adjusting: Your machine has a dial or setting for top tension. Usually, you need to make the top tension a little looser than normal sewing tension for quilting. This is because the thread has to go through more layers. Adjust the top tension dial one number at a time and test again on your practice piece until the stitches look good on both sides. Do not adjust the bobbin tension unless you know how to do it. It’s best to start by only changing the top tension.
- Table: Machine Tension Quick Fixes
| Problem | Stitches Look Like… | Likely Cause | Quick Fix (Try First) |
|---|---|---|---|
| Top thread shows on back | Loops or straight lines on the bottom layer | Top tension too loose | Increase (tighten) top tension |
| Bobbin thread shows on top | Dots or straight lines of bobbin thread on the top | Top tension too tight | Decrease (loosen) top tension |
| Uneven stitches | Some stitches are long, some are short (FMQ) | Fabric movement not smooth | Practice moving fabric smoothly |
| Skipped stitches | Gaps in the stitch line | Wrong needle, old needle, bad thread | Change needle, use quilting needle, use good thread |
Getting the tension right takes practice. Be patient and test on scraps!
Basic Machine Quilting Techniques
There are two main ways to quilt by machine: using a walking foot for straight lines, or dropping the feed dogs and using a free motion foot for free-form designs.
Straight Line Quilting (With a Walking Foot)
This is often the easiest way to start domestic sewing machine quilting. You use your walking foot and keep the feed dogs up. The machine pulls the fabric through, and you just guide it.
- What it Looks Like: You sew straight lines, wavy lines, or simple geometric shapes that rely on the machine’s feed dogs to move the fabric forward evenly.
- How to Do It:
- Attach your walking foot and set your stitch length. A slightly longer stitch length (2.5 to 3.0) often looks nice for quilting.
- Keep your feed dogs up.
- Start sewing a line. You can follow the lines of your piecing, sew lines a certain distance apart, or sew diagonally across the quilt.
- You can use masking tape as a guide to sew straight lines a set distance apart. Place the tape where you want your needle to go. Sew along the edge of the tape. Then move the tape for the next line.
- Another way is to use the edge of your walking foot or a quilting guide bar (if your foot has one) to measure the distance from your last stitched line.
- Quilt from the center of the quilt outwards to help prevent pushing fullness to the edges. Quilt one line, then sew the next line parallel to the first. You can do rows of stitches or sew in blocks.
- Remember to secure your stitches at the start and end of each line. Some machines have a locking stitch feature. Or you can sew a few small stitches in place.
Straight line quilting with a walking foot is great for beginners. It gives a modern look and helps keep the layers from shifting.
Free Motion Quilting (With a Free Motion Foot)
This is where you become the ‘feed dog’! You drop the feed dogs on your machine and use a free motion quilting foot. You move the quilt sandwich under the needle to create any design you want.
- What it Looks Like: You can make loops, swirls, stippling (a dense, random pattern), flowers, or complex custom designs.
- How to Do It:
- Attach your free motion quilting foot and drop your feed dogs.
- Lower the presser foot lever, even though the foot doesn’t press down hard. This activates the tension discs.
- Set your stitch length to zero or to the free motion setting if your machine has one. The stitch length is now controlled by how fast you move the fabric and how fast the machine sews.
- Start sewing by taking a few tiny stitches in place to secure the thread.
- Begin moving the quilt sandwich smoothly under the needle. Move at a steady pace. Your hand speed and the machine’s speed need to work together. If you move too fast, your stitches will be long. If you move too slow, they will be very short, almost in place.
- Practice! Use practice sandwiches first. Draw designs on paper and practice moving your hand smoothly. Then practice sewing those designs on fabric.
- Keep your hands flat on the quilt sandwich, slightly spreading the layers, to guide it. You are in control of the direction and the ‘stitch length’ by how you move.
- Relax your shoulders and arms. Quilt from your arms and body, not just your wrists.
Free motion quilting takes more practice than straight lines, but it offers much more creative freedom. Start with simple shapes like loops or wavy lines before trying complex patterns.
Other Quilting Techniques
Beyond basic straight lines and free motion, you can combine methods or use specific placements.
- Stitching in the Ditch: This means sewing right in the seam lines where two fabrics meet on your quilt top. This makes the quilting blend in and makes the patches puff up around the seams. A walking foot is best for this. You might use a special quilting foot with a guide blade in the center to help you stay right in the ditch.
- Echo Quilting: This is sewing lines a set distance away from a shape (like an appliqué or a block design), following its outline. This makes the shape stand out. You can do this with a walking foot for gentle curves or a free motion quilting foot for more detailed shapes.
- Outline Quilting: Similar to echo quilting, but you sew exactly on the outline of a shape.
Mastering the Art: Tips for Success
Machine quilting takes practice. Don’t expect your first quilt to be perfect! Here are some tips to help you:
- Practice First: Always make a small quilt sandwich using the same fabrics, batting, and thread as your real quilt. Practice your stitches and tension on this sample before you sew on your actual quilt. This is the best way to test your machine quilting tension and get a feel for moving the layers.
- Start Small: Don’t try to quilt a king-size quilt for your first project. Start with placemats, table runners, or baby quilts. This helps you get comfortable with handling smaller amounts of fabric.
- Manage the Bulk: A quilt sandwich is thick and can be heavy, especially a large one. Make sure your work surface is large enough to support the weight of the quilt so it doesn’t hang and pull on your needle. Roll up parts of the quilt sandwich and hold them with clips to manage the bulk around your machine.
- Use Your Hands (or Gloves): Keep your hands flat on the quilt sandwich around the needle area. Gently guide the fabric. Don’t push or pull too hard, as this can bend the needle or break threads. Quilting gloves can give you a better grip.
- Control Your Speed: For walking foot quilting, let the machine feed the fabric. For free motion quilting, try to find a comfortable, steady rhythm between your machine’s speed (pedal control) and how fast you move the fabric.
- Good Posture: Sit up straight. Your sewing machine should be at a comfortable height. This helps prevent back and shoulder pain, especially during long quilting sessions.
- Plan Your Path: For both straight line quilting and free motion quilting, think about where you will start and end. How will you get from one area to another without breaking thread constantly? How will you handle starting and stopping lines?
- Baste Well: A well-basted quilt is easier to quilt. If you have puckers while quilting, it might be because the basting wasn’t done properly or there weren’t enough pins/spray. Stop, remove stitches, and rebaste the area if needed.
- Change Your Needle: As mentioned, use a new quilting needles often. A dull or damaged needle can cause skipped stitches, broken threads, or damage to your fabric.
- Clean Your Machine: Quilting creates a lot of lint from the thread and batting. Clean your machine’s bobbin area regularly while you are quilting to keep it running smoothly and help maintain good machine quilting tension.
Deciphering Machine Quilting Tension Issues
Let’s look a bit deeper at tension problems, as they are very common for beginners.
Why Tension Matters
Good tension makes your stitches strong and look nice on both sides. Bad tension means your stitches will look different on the top and bottom. The thread from one side might pull through to the other. This looks messy and your stitches might not hold well over time.
Testing Your Tension
- Cut three squares: two fabric (like your quilt top and backing) and one batting.
- Make a tiny practice sandwich.
- Thread your machine with the actual quilting thread you will use. Use different colors for the top and bobbin thread (e.g., red on top, blue in bobbin). This makes it easy to see which thread is causing problems.
- Quilt a few lines on your practice sandwich. Try quilting curves and corners too if you are doing free motion quilting.
- Look closely at both the top and bottom of the sample.
Fixing Tension Problems
- Always start with the top tension dial. This is the easiest to adjust.
- Increase the number on the dial to make the top tension tighter. Decrease the number to make it looser.
- Adjust only a little bit at a time (one number).
- Sew another test line after each adjustment.
- Keep testing and adjusting until the stitches look balanced and the knot is in the middle of the batting.
- Check the bobbin: Make sure the bobbin is wound evenly and inserted correctly. Sometimes, simply re-threading the machine (top and bobbin) can fix tension problems.
- Check the needle: An old or bent quilting needles can mess up tension. Put in a new one.
- Check the thread path: Make sure the top thread is going through all the guides correctly.
- Clean your machine: Lint build-up can affect tension.
Don’t get frustrated with tension. It takes practice to learn how your specific machine behaves with different threads and layers.
Planning Your Quilting Design
What kind of quilting should you do? The design you choose adds texture and style.
- Simple All-Over Designs: Straight line quilting, wavy lines, or simple loops in free motion quilting are good for beginners. They cover the whole quilt evenly.
- Following the Piecing: You can quilt around the shapes in your quilt blocks. For example, outlining squares or triangles. This often uses stitching in the ditch or outline quilting.
- Custom Designs: For more experience, you can plan different quilting designs in different blocks or areas of the quilt. This can really make the quilt blocks stand out.
- Density: How close together your quilting stitches are affects the look and feel. Dense quilting (stitches close together) makes the fabric around the stitches puff up more. It also makes the quilt stiffer. Wider quilting (stitches farther apart) makes the quilt softer and more flexible. The type of quilt batting also affects how much the fabric puffs up.
Think about the overall look you want for your quilt. Do you want the fabric and piecing to be the main focus, or do you want the quilting design to stand out?
The Importance of Practice
Seriously, practice is the most important thing. Quilting on a machine feels different from regular sewing. You are moving a large, bulky item through a small space.
- Use scrap fabric and leftover batting to make practice squares.
- Draw simple shapes (like circles, squares, wavy lines, loops) on your practice fabric.
- Practice sewing these shapes with your free motion quilting foot until you can make them look smooth and even.
- Practice sewing straight lines with your walking foot, trying to keep them parallel and evenly spaced.
- Practice starting and stopping stitches neatly.
The more you practice, the more comfortable you will feel guiding the quilt and controlling your stitches.
Finishing Up
Once all your quilting is done, you’re almost finished!
- Remove all your basting pins or if you spray basted you can trim.
- Trim the excess backing and batting fabric evenly with the edges of your quilt top. Use a rotary cutter and ruler for a straight edge.
- Now your quilt sandwich is ready for the final step: binding. Binding is sewing a strip of fabric around the edges to finish them neatly.
Frequently Asked Questions (FAQ)
- Q: Do I need a special machine for machine quilting?
- No, you can do domestic sewing machine quilting on almost any regular home sewing machine. A machine with adjustable speed control and the ability to drop the feed dogs is helpful, but not strictly needed for simple quilting.
- Q: What size needle should I use?
- Use a quilting needles in size 90/14 or 100/16. These are strong enough to go through the layers.
- Q: Why does my thread keep breaking?
- Check your machine quilting tension – it might be too tight. Also, check your quilting needles – it might be old, bent, or the wrong type. Make sure you are using good quality quilting thread. Your machine might need cleaning.
- Q: Why are my stitches uneven in free motion quilting?
- This happens when your hand speed (how fast you move the fabric) and your machine speed (how fast the needle goes up and down) don’t match. Practice moving the fabric at a steady speed while keeping the machine speed constant. Or, try to move the fabric faster if the machine is sewing fast.
- Q: How often should I change my quilting needle?
- Change your quilting needles for each new project or after about 8-10 hours of sewing time. A fresh needle makes a big difference.
- Q: Can I quilt on top of old stitches?
- Yes, you can sew over stitches you have already made. This is sometimes part of a quilting design, especially in free motion quilting.
- Q: My quilt is too big to fit under the machine arm easily. What can I do?
- Roll up the sides of the quilt sandwich that are not under the needle. Use clips (like binder clips) to hold the rolls. Support the weight of the quilt on a table around your machine. Move slowly and adjust the rolls as you go.
Conclusion
Learning how to quilt by sewing machine is a rewarding journey. It takes patience and practice, but it is totally achievable on a home sewing machine. Start with simple projects and techniques like straight line quilting with a walking foot. As you gain confidence, try free motion quilting and more complex designs. Pay attention to your supplies, prepare your layering quilt sandwich carefully, and always test your machine quilting tension. With practice and this guide, you can add beautiful texture and finish your quilts all by yourself! Happy quilting!