
Image Source: www.blossomheartquilts.com
Learn How To Quilt On A Sewing Machine: A Beginner’s Guide
Quilting on a sewing machine is a rewarding craft anyone can learn. It lets you turn layers of fabric and batting into beautiful, finished projects like blankets, wall hangings, and more. This guide will show you how to start machine quilting, even if you are new to sewing or quilting. You absolutely can learn this skill with practice and patience.
Grasping the Basics: What Quilting Means
Quilting is the process of sewing through three layers: the quilt top (the design), the batting (the middle layer for warmth and puffiness), and the backing fabric. These layers are held together with stitches. Quilting on a sewing machine is faster than hand quilting. It also offers many creative ways to add texture and design to your project.
Learning machine quilting opens up a world of possibilities. You can finish your own quilt tops quickly. You can add simple lines or fancy patterns. It is a skill that grows with you.
Gathering Your Tools: What You Need
Starting machine quilting does not need a room full of gadgets. You likely have some items already. Here are the key things you will need:
H4 Fabric, Batting, and Backing
You need these three layers for any quilt.
* Quilt Top: This is the decorated front. It can be a single piece of fabric or many pieces sewn together (patchwork).
* Batting: This goes in the middle. It gives the quilt warmth and body. Batting comes in different materials like cotton, polyester, wool, or blends. Cotton is popular for its natural feel. Polyester is light and fluffy.
* Backing: This is the fabric for the back of the quilt. It can be one piece or several sewn together. It should be a few inches bigger than the quilt top on all sides.
H4 Sewing Machine Feet for Quilting
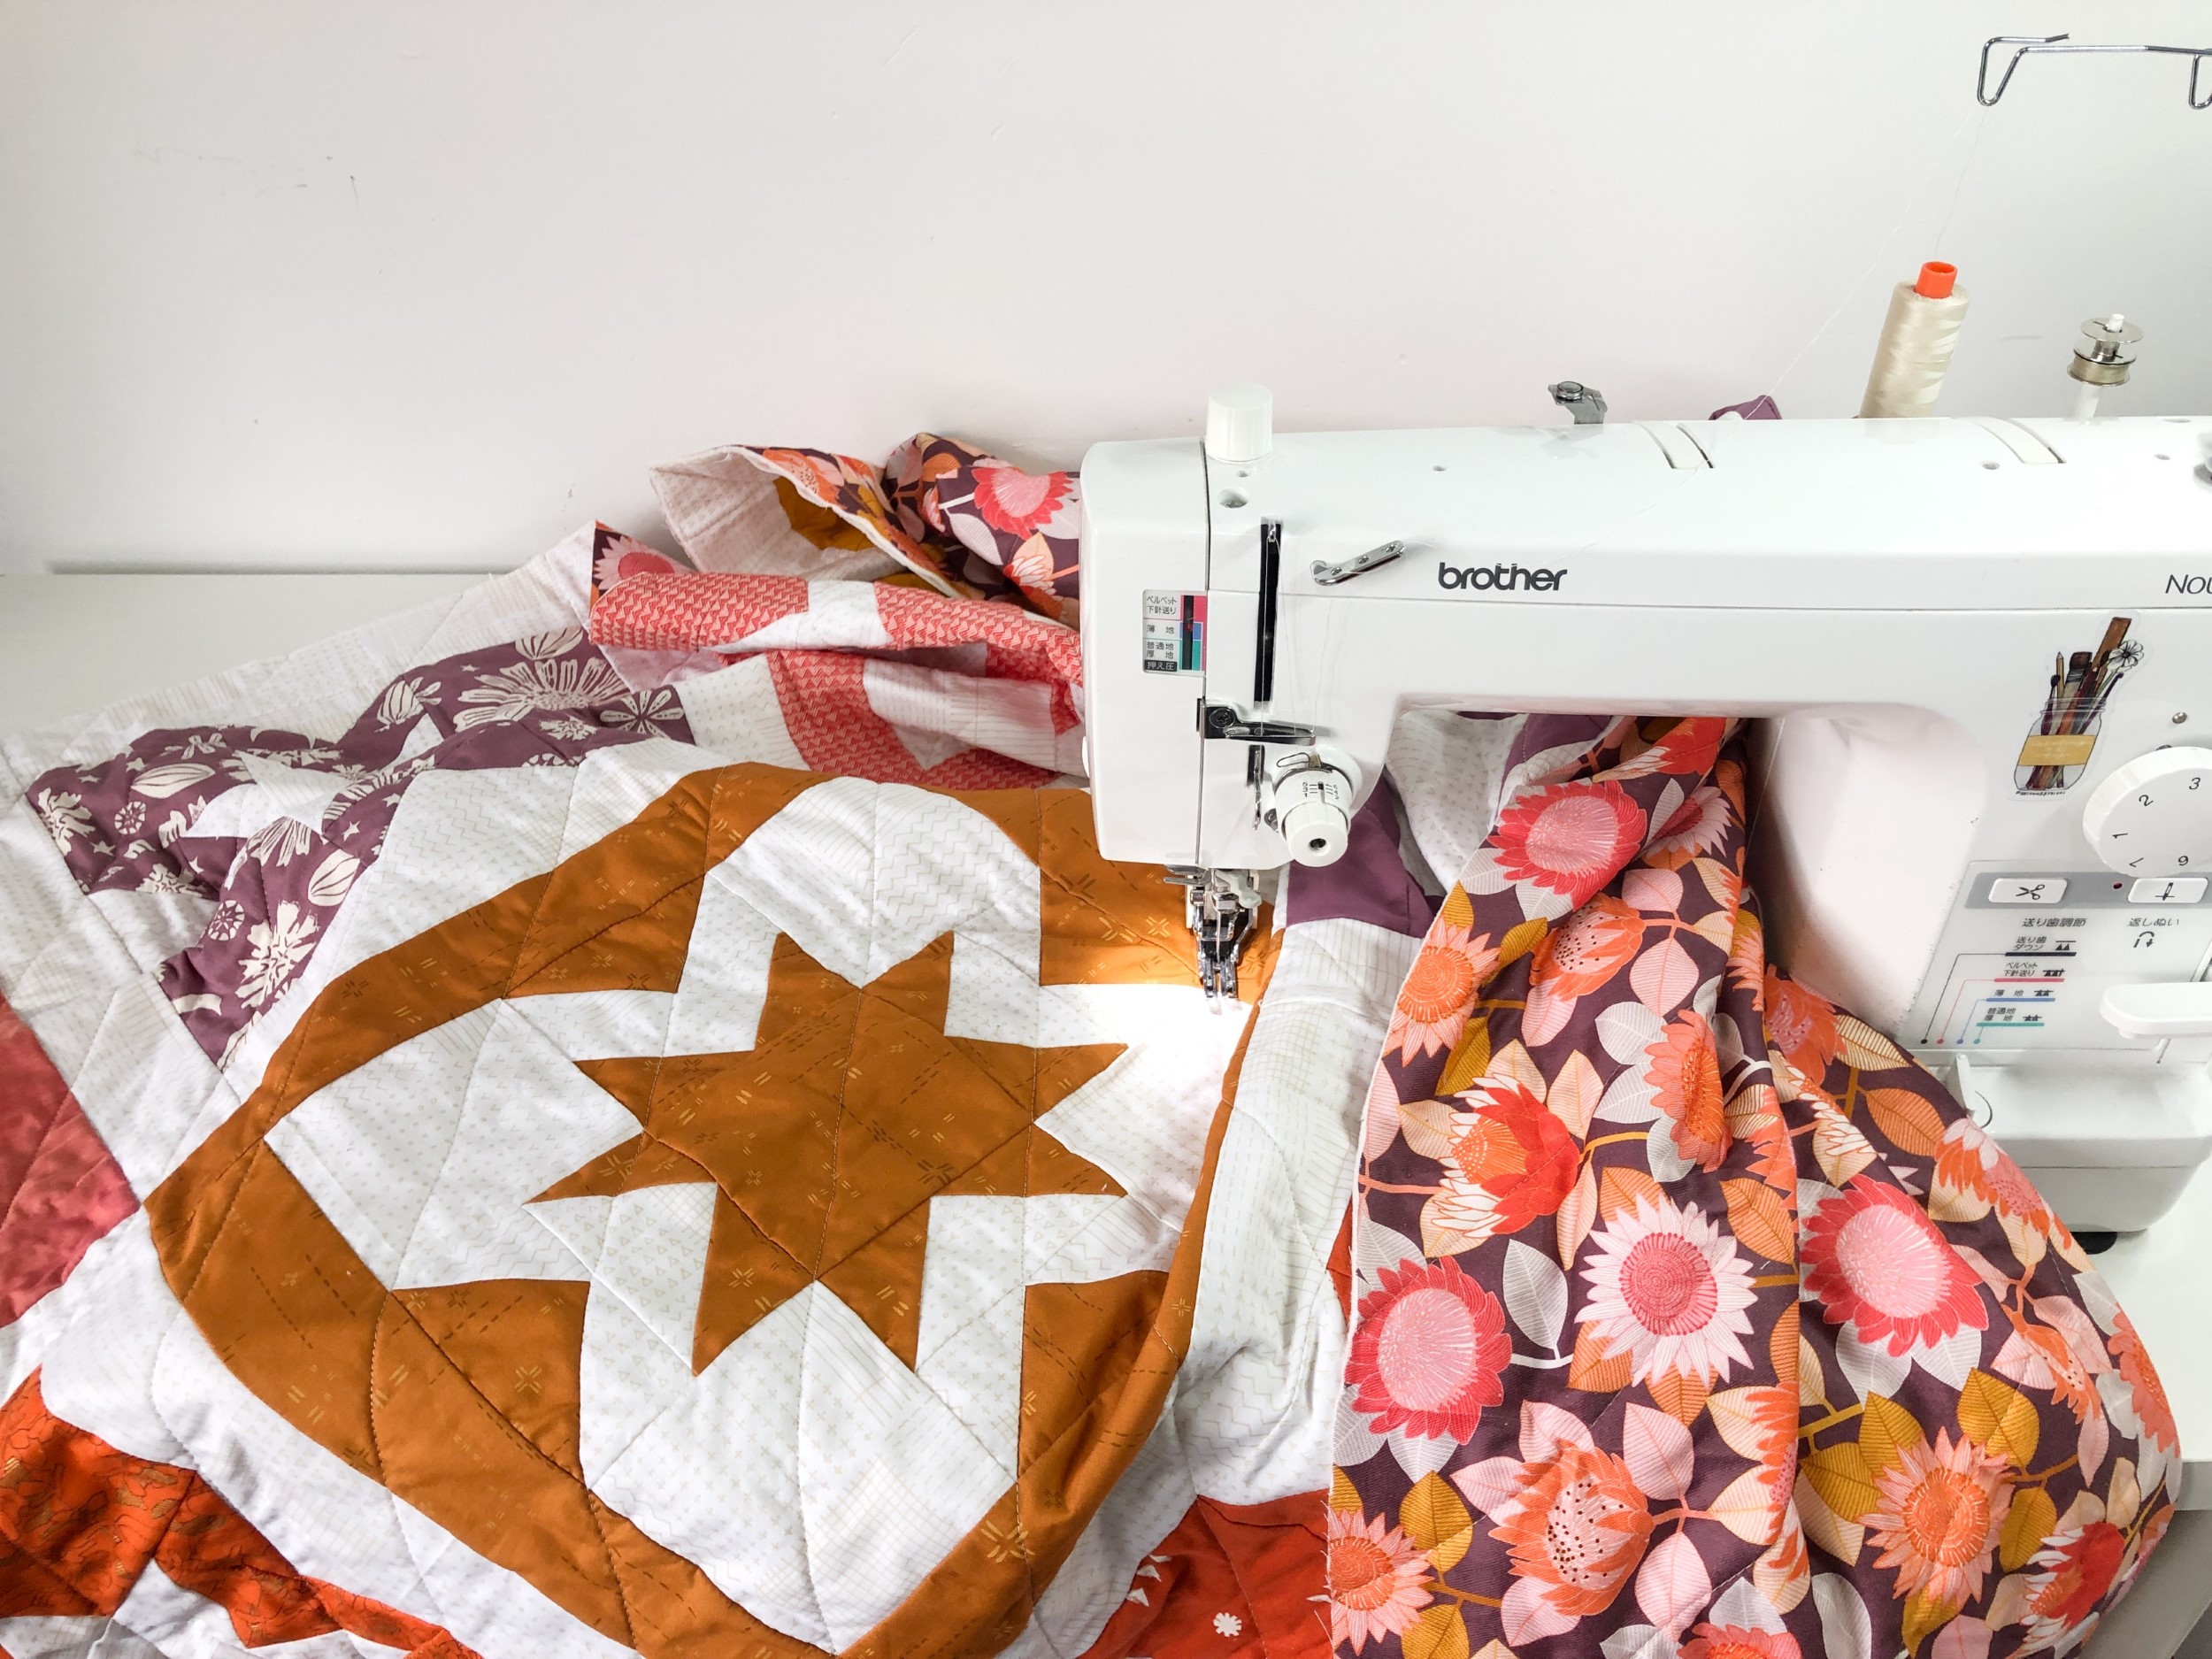
Your regular presser foot is good for sewing pieces together. But special sewing machine feet for quilting make the quilting part easier and better. The two most important are:
* Walking Foot: This foot helps feed all three layers of your quilt sandwich evenly through the machine at the same time. This stops the fabric layers from shifting and causing puckers or wrinkles. It is perfect for straight line quilting or gentle curves. Many machines come with one, or you can buy one separately.
* Free Motion Quilting Foot (or Darning Foot): This foot does not press down on the fabric. It lets you move the quilt freely under the needle in any direction. This is how you create swirling patterns, loops, or stippling. It usually looks like a hoop or open circle. You need to drop or cover the feed dogs on your machine to use this foot.
H4 Quilting Thread for Sewing Machine
Choosing the right quilting thread for sewing machine work is important.
* Material: Cotton thread is a common choice. It is natural and strong. Polyester thread is also strong and has less lint than cotton. You can use rayon or metallic threads for decorative stitches, but they can be tricky.
* Weight: Thread weight tells you how thick the thread is. Lower numbers mean thicker thread. Higher numbers mean thinner thread. A common weight for quilting is 40wt or 50wt. This thread is thin enough to blend in but strong enough to do the job. Thicker threads (like 30wt or 12wt) show more and are good for decorative quilting.
* Color: You can choose thread that matches your fabric to hide the stitches. Or, choose a contrasting color to make the stitches stand out. Often, a neutral color like gray, cream, or beige works well on many quilts.
H4 Needles
Use a new needle when you start a quilting project. Needles get dull over time. A dull needle can cause skipped stitches or thread breaks.
* Type: Quilting needles are a good choice. They have a sharp point designed to go through multiple layers. Topstitching needles are also sharp and have a larger eye, which is good for thicker threads. Universal needles can work for basics, but dedicated quilting needles are better.
* Size: A common size is 90/14 or 80/12. The size depends on the thickness of your layers and your thread. Thicker materials or threads might need a larger needle (like 100/16).
H4 Pins, Clips, and Other Helpers
- Safety Pins or Basting Spray: You need to hold the three layers of your quilt together before quilting. Safety pins made for quilting have a slight bend and work well. Basting spray is a temporary adhesive that is fast and easy.
- Quilting Gloves: Some quilters like gloves with grip on the fingertips. They help you hold and move the fabric easily under the machine, especially for free motion quilting.
- Large Table or Surface: A big, flat area around your machine helps support the weight of the quilt. This makes it easier to move the quilt smoothly. Many quilters use extension tables for their machines.
Finding the Right Machine: Is Yours Good Enough?
Many sewing machines can be used for quilting. You do not need a fancy, expensive one to start. The best sewing machine for quilting for a beginner is one that you are comfortable using and that can handle layers of fabric.
Here are things to think about:
* Space: Look at the space to the right of the needle (the “harp space”). A larger space is helpful for fitting larger quilts under the machine, but you can quilt any size quilt on a standard machine. You just have to learn to manage the bulk.
* Stitches: Your machine needs a straight stitch. A zigzag stitch can also be used for some decorative quilting.
* Ability to Lower Feed Dogs: For free motion quilting, you need to be able to lower the feed dogs (the little teeth under the presser foot that move the fabric). Most machines have a lever for this. If yours does not, you might need a special plate to cover them.
* Speed Control: Some machines have a speed slider. This lets you set a slower maximum speed, which is helpful when you are learning.
* Sturdiness: A machine that feels solid will likely handle the layers better than a very light one.
If you already have a sewing machine, check its manual. See if it mentions quilting or if it has options for using walking or free motion feet. Chances are, your current machine is perfect for starting getting started machine quilting.
Setting Up Your Machine: Getting Ready to Stitch
Once you have your tools and your machine ready, set it up for quilting.
H4 Threading and Tension
- Clean Your Machine: Remove lint from the bobbin area and under the needle plate. Lint can cause tension problems.
- Insert New Needle: Put in the correct type and size of needle (quilting or topstitching needle, size 90/14 or 80/12).
- Thread the Machine: Thread the top thread path correctly with your chosen quilting thread for sewing machine. Put the bobbin in.
- Check Tension: Tension is how loose or tight the threads are. You want the top thread and bobbin thread to meet evenly in the middle of the fabric layers. Stitch a test piece using scraps of your quilt fabric, batting, and backing.
- If the bobbin thread shows on top, the top tension is too tight.
- If the top thread shows on the bottom, the bobbin tension is too tight or the top tension is too loose.
- Adjust the top tension dial slightly and test again until the stitches look good on both sides.
H4 Machine Settings
- Stitch Length: For most machine quilting (using a walking foot), a stitch length of 2.5mm to 3.0mm is a good starting point. Test on scraps. You want stitches that are secure but not so short they are hard to remove if needed. For free motion quilting, you control the stitch length by how fast you move the fabric compared to how fast the needle moves. Start with a medium speed and try to get even stitches.
- Feed Dogs: For walking foot quilting, the feed dogs are up. They help move the fabric. For free motion quilting, the feed dogs are down or covered.
Preparing the Quilt Sandwich: Laying Out Layers
Before you can quilt, you must prepare your quilt layers. This is called layering quilt for machine quilting. You make a “quilt sandwich”.
H4 Steps for Layering
- Prepare Backing: Lay the backing fabric flat on a large surface, right side down. Tape it down smoothly with masking tape to keep it flat. Make sure it is smooth with no wrinkles.
- Add Batting: Place the batting on top of the backing. Smooth it out gently. Make sure it is centered and hangs over the backing slightly on all sides.
- Add Quilt Top: Place the quilt top on top of the batting, right side up. Center it. The batting and backing should stick out a few inches around all sides of the quilt top. Smooth it out from the center towards the edges. Make sure there are no folds or wrinkles in any layer.
H4 Basting the Layers
Now you need to hold the three layers together so they do not shift while you quilt. This is called basting.
* Pin Basting: Use curved safety pins made for quilting. Start from the center of the quilt and work your way out. Place pins about a hand’s width apart in a grid pattern across the whole quilt. Make sure to pin through all three layers. Use many pins! More pins mean less shifting.
* Spray Basting: Use a temporary fabric adhesive spray. Follow the product instructions. You usually spray one side of the batting, lay it on the backing, smooth it, then spray the other side of the batting and lay the quilt top on it. This method is faster but can make your machine and needle sticky. Make sure you use a spray made for fabric/quilting.
Choose the method you are most comfortable with. Pin basting is very common for beginners.
Exploring Quilting Methods: How to Stitch
There are two main machine quilting techniques you will use as a beginner: walking foot quilting and free motion quilting.
H4 Walking Foot Quilting
This is often the easiest way to start. You use your walking foot, and the feed dogs move the fabric. You guide the quilt to stitch straight lines or gentle curves.
- Stitching Lines: You can stitch lines straight across, up and down, or diagonally. You can follow seam lines (“stitch-in-the-ditch”). You can stitch lines a set distance apart using a quilting guide bar attached to your walking foot or by marking lines on your quilt top (use a removable fabric marker!).
- Process: Start stitching from the center of the quilt and work outwards. This helps push wrinkles towards the edges instead of trapping them in the middle. Stitch lines next to each other until the whole quilt is covered with quilting.
- Tips: Go slowly and at a steady speed. Let the walking foot and machine feed the fabric. Do not push or pull the quilt hard. Support the weight of the quilt with your hands or table so it does not pull on the needle.
H4 Free Motion Quilting
This method gives you more freedom to draw with stitches. You lower the feed dogs, attach a free motion foot, and move the quilt yourself.
- Basic Movements: Practice moving the quilt smoothly in different directions: circles, curves, waves. Do this without thread first (“drawing” with the needle). Then practice with thread on scrap fabric sandwiches.
- Common Patterns:
- Stippling: This looks like puzzle pieces or pebbles. You stitch random, non-crossing curved lines that fill an area. You need to make sure your lines do not cross each other.
- Loops: Stitching loops connected together. This is a simple, fluid pattern.
- Meandering: Similar to stippling but the lines can cross.
- Process: Start stitching in one area and work your way across the quilt. You need to guide the fabric to create the pattern. Your stitch length depends on how fast you move the fabric and how fast the needle is stitching. Aim for even stitches.
- Tips: Use quilting gloves for better grip. Keep your movement smooth and fluid. Start with simple patterns like stippling or loops. Practice on scrap sandwiches a lot before going to your real quilt. Free motion quilting takes practice to get smooth, even stitches and movements. Do not worry if it looks messy at first.
Deciphering Quilting Stitches: What Your Machine Does
The most common quilting stitches are the straight stitch for walking foot quilting and free motion quilting.
- Straight Stitch: Your basic stitch. For walking foot quilting, you set the stitch length on your machine. For free motion, the machine’s stitch length setting is usually ignored, and you control the length by moving the fabric.
- Stitch Length: As mentioned, 2.5mm to 3.0mm is good for walking foot. For free motion, aim for stitches that are about 2-3mm long, like tiny running stitches. If your stitches are very long, you are moving the fabric too fast. If they are very short (almost stitching in place), you are moving too slow.
- Other Stitches: Some people use a small zigzag stitch (like 1.5mm width, 2.0mm length) for stitch-in-the-ditch or to join batting pieces. Decorative stitches can also be used, but they use more thread and can make the quilt stiff if overused. For beginners, focus on the straight stitch.
Getting Started Machine Quilting: Taking the First Step
Okay, your quilt sandwich is basted, your machine is set up with the right foot and thread. It is time to start! This is the core of getting started machine quilting.
- Choose a Starting Point: It is often best to start near the center of the quilt and work outwards.
- Bring Up Bobbin Thread: Before stitching, hold the top thread end. Stitch a few stitches in place or turn the handwheel to bring the bobbin thread loop up to the top. Pull the bobbin thread all the way up. This prevents a thread nest on the back.
- Start Stitching: Put the presser foot down. Stitch a few stitches. Then stitch backward over those stitches for a few stitches to lock them in place. Or, leave long thread tails and bury them later (a neater finish).
- Quilt: Follow your plan (straight lines with walking foot, or free motion patterns). Move the quilt smoothly. Stop and adjust the quilt as needed. Do not let it hang off the machine pulling on the needle.
- Ending Stitch: When you reach the end of a line of stitching, stitch backward a few stitches to secure the end. Or, leave long tails to bury.
- Advance the Quilt: Shift the quilt to work on the next section. If using a walking foot, continue stitching parallel lines. If free motion, move to the next area you want to fill.
- Remove Pins/Spray: As you quilt towards a pin, stop, remove the pin, then continue stitching. If spray basting, you do not have pins to remove.
Remember your test piece! Stitching on a small sample helps you feel how the machine handles the layers and helps you get used to the movement.
Common Concerns and Fixes: Troubleshooting Machine Quilting
Even with the best setup, things can sometimes go wrong. Knowing how to fix common issues is key to enjoying troubleshooting machine quilting.
| Problem | What it Looks Like | Possible Causes | How to Fix It |
|---|---|---|---|
| Thread Breaks | Thread snaps often. | Needle is old or wrong type/size. Thread is poor quality. Tension is too tight. Lint buildup. Machine needs oil. | Change the needle. Use good quality thread. Lower the top tension slightly. Clean out lint. Oil your machine. |
| Skipped Stitches | Stitches are missing along the seam line. | Needle is bent, dull, or wrong type/size. Threading is wrong. Tension issue. | Change the needle. Re-thread the machine carefully with the presser foot up. Adjust tension. |
| Puckering/Pleats | Fabric layers bunch up or fold, especially on the back. | Layers not basted well enough. Fabric shifting. Pulling or pushing the fabric. Walking foot needed (for straight lines). | Baste more thoroughly (more pins/spray). Support the quilt weight. Let the machine/foot move the fabric. Use a walking foot for straight lines. |
| Uneven Stitches | Stitches are sometimes long, sometimes short. | Speed of fabric movement is not steady (free motion). | Practice moving the quilt at a consistent speed. Try setting your machine speed slower if it has that option. |
| Thread Nests | A big tangle of thread on the back of the fabric. | Forgetting to put the presser foot down before stitching. Bobbin thread not pulled up before starting. | Always lower the presser foot before sewing. Bring up the bobbin thread before starting a seam. Start stitching slowly. |
| Tension Problems | Loops or straight lines of one thread showing on the opposite side. | Top or bobbin tension is too loose or too tight. | Adjust the top tension dial slightly. Re-thread both top and bobbin. Make sure the bobbin is inserted correctly. Test on scraps. |
| Crunchy/Sticky Feel | Can happen with spray basting. | Too much basting spray used. | Often washes out, but use less spray next time. Clean your needle and machine parts with rubbing alcohol. |
Do not get discouraged if you have problems. Everyone does! Stopping, checking your setup, and trying again is part of the learning process.
Practice Makes Perfect: Stitching Samples
You would not run a marathon without training, right? Machine quilting is similar. Getting started machine quilting means practicing. Before you quilt your finished quilt top, make sample sandwiches.
- Use leftover fabrics, batting, and backing.
- Make small squares or rectangles (like 18 inches x 18 inches).
- Baste them just like a real quilt.
- Practice walking foot quilting (straight lines, curves).
- Practice free motion quilting (stippling, loops, shapes).
Practicing helps you get a feel for moving the fabric, controlling the machine speed, and achieving even stitches. It also lets you test how different threads and needles work with your fabrics. Keep your practice pieces! They show you how much you have improved.
Moving Forward: After the Quilting
Once the quilting is done, your quilt is almost finished! The next main step is adding the binding. The binding is the fabric strip sewn around the outer edge of the quilt. It covers the raw edges of the three layers and makes a neat border. Binding can be sewn mostly by machine or by hand for a hidden stitch.
Another step is to add a label to your quilt. This is a small piece of fabric sewn onto the back. You can write who made the quilt, for whom, the date, and the quilt’s name. This is a lovely way to record the history of your handmade item.
FAQ Section: Answering Common Questions
Here are some questions many beginners ask about machine quilting.
H5 How do I choose the right batting for my project?
Think about the final use of the quilt. Cotton is breathable and gets softer over time, good for bed quilts. Polyester is lightweight and lofty, good for puffier quilts or wall hangings. Blends offer benefits of both. Wool is warm but can be more expensive. Read the batting package for information on how far apart your quilting lines can be (this is called the “maximum quilting distance” or “stitch distance”).
H5 How much extra backing and batting do I need?
It is best to have your backing and batting at least 3-4 inches larger than your quilt top on all four sides. This extra margin helps when loading the quilt onto the machine and gives you room for slight shifting or straightening during quilting.
H5 Can I quilt a large quilt on a small machine?
Yes, you can! It takes more effort to manage the bulk of the quilt. Roll or fold the parts of the quilt you are not currently stitching. Support the weight of the quilt on your table or an extension table. Work from the center outwards to push excess fabric away from the needle area.
H5 How do I hide the thread ends when I start and stop?
You can stitch a few stitches backwards at the start and end. For a neater look, especially in visible areas, leave long thread tails (about 4-6 inches). After quilting, use a needle threader or a special tool to pull the top thread tail to the back of the quilt. Tie the top and bobbin threads together in a small knot close to the fabric. Then, thread the tails onto a hand sewing needle and bury them inside the batting layer for about an inch. Trim the excess thread.
H5 My free motion stitches are uneven. What am I doing wrong?
Uneven free motion stitches usually mean your hands are moving the fabric at a different speed than the machine’s needle is going up and down. If stitches are too long, move your hands slower or increase machine speed. If stitches are too short, move your hands faster or decrease machine speed. Practice is the best way to get a consistent rhythm between your hands and the machine. Try setting your machine to a medium speed that is easy for you to keep up with.
H5 Do I have to pre-wash my fabrics before quilting?
Many quilters pre-wash cotton fabrics to remove sizing, check for shrinking, and test for colorfastness. Whether you pre-wash is a personal choice. If you do not pre-wash, your quilt will likely shrink slightly the first time it is washed, giving it a crinkly, old-fashioned look. If you mix pre-washed and non-pre-washed fabrics, you might have issues with uneven shrinkage.
Getting Started
Learning to quilt on a sewing machine is an exciting journey. Start with simple projects and techniques. Use the right tools, prepare your layers carefully, and take the time to set up your machine correctly. Practice on scraps before you quilt your main project. Do not be afraid to make mistakes – they are how you learn. With patience and practice, you will soon be machine quilting with confidence!