
Yes, you absolutely can quilt on your home sewing machine! Many people think you need a big, fancy machine to quilt. That is not true. You can make beautiful quilts using the machine you already have. This guide will show you how. It makes machine quilting for beginners easy to learn.
Quilting is the process of sewing through three layers: the quilt top, the batting (the middle fuzzy layer), and the backing fabric. This sewing holds the layers together. It also adds texture and beauty to your quilt. Let’s learn how to do this on your sewing machine.
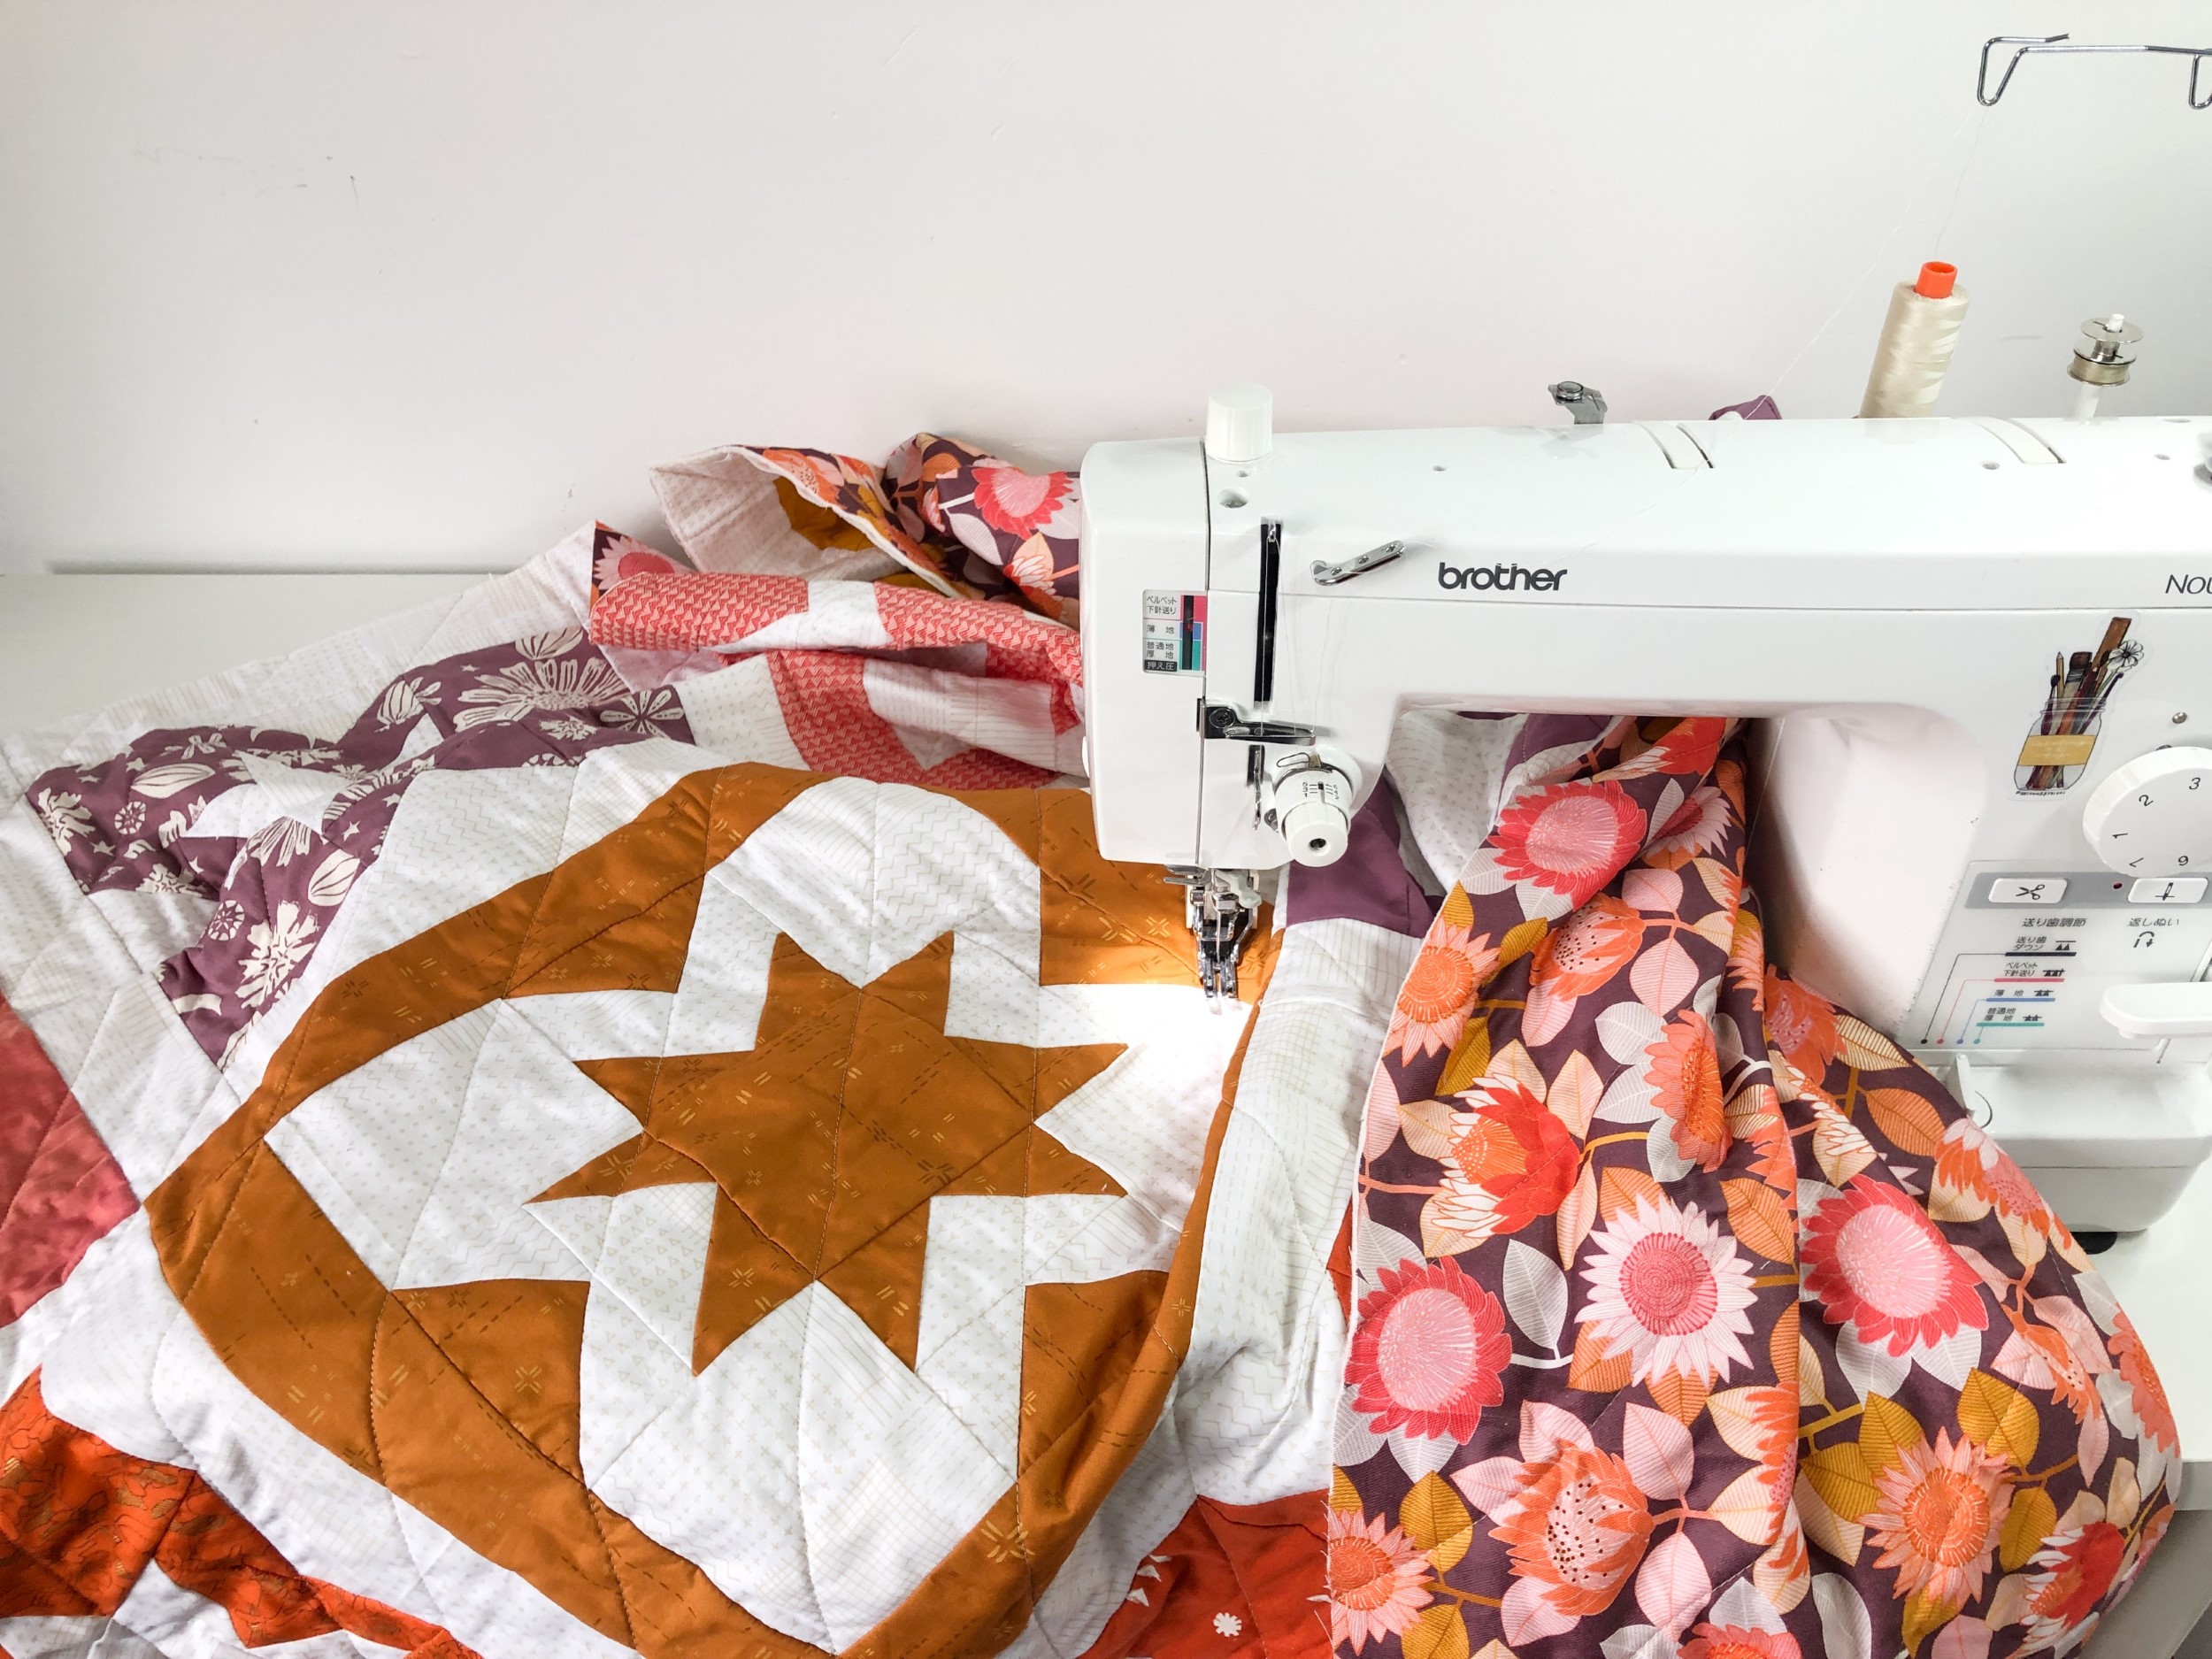
Image Source: www.blossomheartquilts.com
Getting Started: What You Need
Before you start sewing, get your tools ready. Having the right things makes quilting much smoother.
Your Sewing Machine
You do not need a special quilting machine. Most home sewing machines can quilt.
- Check your machine: Look in your machine’s manual. See if it mentions quilting or free motion sewing.
- Space: Make sure you have a flat surface around your machine. This helps you move your quilt easily. Some people use tables that attach to their machine.
Quilting Presser Feet
Presser feet are very important for machine quilting. They help the fabric move correctly under the needle. There are a few types you will want to know about.
- Walking Foot: This foot is a must-have for many types of machine quilting. It has its own set of feed dogs on top. These dogs work with your machine’s feed dogs below. They pull the top layer and the bottom layers through at the same speed. This stops the fabric from shifting. It prevents wrinkles on the back of your quilt. This foot is great for straight lines and simple curves.
- Free Motion Quilting Foot (or Darning Foot): This foot is used for free motion quilting. It does not touch the fabric like a regular foot. It hovers just above the fabric. This lets you move the fabric in any direction you want. It allows you to draw designs with your stitches. Some feet are open-toe, some are closed-toe.
- Other Feet: Some quilters like a 1/4-inch foot for piecing the quilt top. A ditch quilting foot helps you stitch right in the “ditch” or seam line between blocks. But for the quilting process itself, the walking foot and the free motion foot are key.
Needles
Using the right needle is important. A sharp needle goes through the quilt layers cleanly.
- Size: A size 90/14 or 80/12 needle is often good for quilting. These are strong enough for the layers.
- Type: Use a “Quilting” needle or a “Microtex” needle. These needles have a very sharp point. They go through fabric and batting easily. Change your needle often, maybe every 8-10 hours of sewing. A dull needle can skip stitches or damage fabric.
Thread
The best thread for machine quilting is strong and smooth. It should not break easily. It should not make a lot of lint.
- Types:
- Cotton: This is a popular choice. It is a natural fiber. It works well with cotton fabric. Look for good quality thread. Cheaper cotton thread can break and make a lot of lint. Common weights are 40wt or 50wt. A lower weight number means thicker thread.
- Polyester: Many quilters use polyester thread. It is very strong. It has less lint than cotton. It has a slight stretch. This stretch helps prevent breaks. Good quality polyester thread is fine.
- Specialty Threads: You can also find rayon, silk, or metallic threads. These add shine or texture. They can be tricky to use for quilting your first few projects.
- Color: You can match the thread to your fabric. This helps the quilting blend in. Or you can use a different color. This makes the quilting stand out. Variegated thread changes color as you sew. This adds interest.
- Tips: Use the same type and weight of thread in the top and the bobbin. This helps with tension. Always use good quality thread. Cheap thread causes problems.
Other Helpful Tools
- Quilting Gloves: These gloves have grippy fingertips. They help you hold and move the quilt layers.
- Quilting Pins or Safety Pins: Needed for basting. Curved safety pins work best for pin basting.
- Basting Spray: Another way to hold layers together.
- Marking Tools: Water-soluble pens or chalk to draw quilting lines on your quilt top.
- Quilting Rulers: For guiding your stitches, especially with a walking foot.
- Large Surface: A big table helps support your quilt’s weight.
Preparing Your Quilt Layers
Before you can quilt, you need to make your quilt sandwich. This is the term for putting the three layers together.
What is a Quilt Sandwich?
It is like making a sandwich, but with fabric!
- Bottom Layer: This is your backing fabric. It should be bigger than your quilt top. Add at least 4-6 inches extra on all sides. This gives you room to work.
- Middle Layer: This is the batting. Batting gives the quilt warmth and puffiness. It also needs to be bigger than your quilt top.
- Top Layer: This is your finished quilt top. It has all your pieced blocks sewn together.
Making the Layers Ready
- Press Everything: Iron your backing fabric, batting (if it’s wrinkled), and quilt top. Smooth layers are easier to quilt.
- Trim Loose Threads: Check your quilt top and backing. Cut off any loose threads. This stops them from showing through lighter fabrics.
- Square Up: Make sure your backing and batting are somewhat square. This makes layering easier.
Securing the Layers: Basting Quilt Layers
Basting holds the three layers together so they do not shift while you are quilting. There are two main ways to baste.
Pin Basting
This is a common method. You use many safety pins or special quilting pins.
- Find a Flat Surface: Lay your backing fabric face down on a large, flat surface. A table, the floor, or even a large wall can work. Tape the edges down with painter’s tape. Make sure it is smooth and tight, like a drum.
- Add the Batting: Lay the batting smoothly on top of the backing. Try not to stretch it.
- Add the Quilt Top: Center your quilt top on top of the batting. Make sure it is smooth.
- Start Pinning: Begin pinning from the center of the quilt. Work your way out to the edges. Put a pin about every 4-6 inches. Place them in a grid pattern. This keeps all parts of the quilt sandwich held together well. Use curved safety pins. They are easier to get through the layers.
Spray Basting
This method uses a special adhesive spray. It glues the layers together temporarily.
- Prepare the Surface: Lay the backing fabric face down and tape it smooth.
- Spray and Add Batting: Fold the backing fabric back halfway. Spray a thin, even layer of basting spray on the exposed half of the backing. Smooth the batting onto the sprayed area. Then fold the backing back the other way and repeat.
- Spray Batting and Add Quilt Top: Fold the batting back halfway. Spray a thin layer of basting spray on the exposed half of the batting. Smooth the quilt top onto the sprayed area. Repeat for the other half.
- Smooth it All: Smooth the whole quilt sandwich well with your hands. Make sure there are no wrinkles. You might want to use a few safety pins around the edges for extra hold, especially on a large quilt.
Both methods work. Try both and see which one you like best. Good basting is very important! Poor basting leads to wrinkles and puckers in your finished quilt.
Setting Up Your Machine
Your machine needs a few small changes before you start quilting. This is part of setting up sewing machine for quilting.
Clearing Your Space
Quilting takes space! You need room for the quilt sandwich to move around.
- Clear the area: Take everything off your sewing table. Give yourself plenty of room in front, back, and to the sides of your machine.
- Support the Quilt: For larger quilts, set up extra tables or chairs around your machine. This stops the quilt’s weight from pulling on the needle as you sew. You can also roll up parts of the quilt to manage the bulk.
Lowering the Feed Dogs
The feed dogs are the little metal teeth under the presser foot. They normally pull your fabric along.
- For Free Motion Quilting: You need to lower or cover the feed dogs. This is so you can move the fabric freely in any direction. Look for a switch or lever on your machine to drop the feed dogs. If your machine does not have this, it might have a plate to cover them.
- For Walking Foot Quilting: Do not lower the feed dogs. The walking foot works with the feed dogs to move the fabric evenly.
Adjusting Tension
Getting the right thread tension is key for nice-looking stitches. Tension is how tight the thread is.
- Check Stitch Quality: Sew a few lines on a test piece. Use a scrap of your quilt sandwich (three layers: backing, batting, top). Look at the stitches on the top and the bottom.
- Balanced Tension: You want the stitches to look the same on the top and the bottom. The bobbin thread should pull up slightly into the batting from the bottom. The top thread should pull down slightly from the top. The place where the threads meet should be in the batting.
- Fixing Problems:
- If loops are on the bottom of your fabric, your top tension is too loose. Make the top tension number higher.
- If loops are on the top of your fabric, your bobbin tension is too loose or your top tension is too tight. Check that your bobbin is threaded correctly. If it is, make the top tension number lower.
- Start in the Middle: Set your tension dial to the middle number first. Then adjust from there. Test on your scrap piece often.
Using the Right Foot
Attach the correct presser foot for the type of quilting you want to do.
- Walking Foot: Use this for straight lines, wavy lines, or when you want the machine to help feed the fabric.
- Free Motion Foot: Use this when you want to move the fabric yourself to create any design. Make sure your feed dogs are down when using this foot.
Starting to Quilt: Techniques
There are two main ways to machine quilt on your home machine. Let’s look at both.
Walking Foot Quilting
Walking foot quilting uses the walking foot to help the machine move the quilt. It is great for straight line quilting with machine and gentle curves. This is often easier for machine quilting for beginners.
What is Walking Foot Quilting?
In this method, your machine’s feed dogs and the walking foot work together. They grab the top and bottom layers at the same time. This moves the fabric smoothly. It prevents the layers from shifting against each other.
Using the Walking Foot
- Attach the Foot: Put the walking foot on your machine. Make sure it is attached correctly.
- Set Stitch Length: Use a normal stitch length, perhaps 2.5 to 3.0 mm. A longer stitch length shows the stitches more. A shorter one is less visible.
- Check Tension: Sew on a scrap piece of your quilt sandwich. Adjust tension until it looks good.
- Start Sewing: Place your quilt under the foot. Lower the presser foot. Start sewing slowly and steadily. Let the machine feed the fabric. Do not push or pull the quilt hard. Just guide it gently.
Straight Line Quilting with Machine
This is a very popular and simple way to quilt with a walking foot.
- Stitch in the Ditch: Sew right along the seam lines between your quilt blocks. This makes the blocks stand out.
- Parallel Lines: Sew lines that are parallel to each other across the quilt. You can space them evenly. You can use a ruler or guide attached to your walking foot to help keep the lines straight and evenly spaced.
- Diagonal Lines: Sew lines across the quilt at an angle, often 45 degrees. You can make a grid of diagonal lines.
- Tips for Straight Lines:
- Use painter’s tape on your quilt top as a guide. Sew next to the tape.
- Use a ruler base with the walking foot. The ruler helps keep your lines straight.
- Start sewing in the middle of the quilt. Sew a line to one edge. Cut thread. Go back to the middle. Sew a line to the opposite edge. This helps stop fullness from building up at the edges. Work outwards from the center.
- Roll up the parts of the quilt you are not sewing. This makes it easier to manage the bulk.
Other Walking Foot Patterns
You are not just limited to straight lines!
- Wavy Lines: Gentle curves work well with a walking foot. Just guide the fabric in a smooth, wavy path.
- Grids: Sew horizontal and vertical lines to make squares or rectangles.
- Spirals: You can quilt large spirals from the center outwards.
These patterns make the quilt top slightly flat and modern. The stitching lines are the main feature.
Free Motion Quilting
Free motion quilting lets you move the fabric freely. You can draw any design you like with stitches. This takes more practice than walking foot quilting.
What is Free Motion Quilting?
With the feed dogs lowered, you control the movement of the quilt sandwich. You become the “feed dogs.” You move the quilt under the needle to create your design. This method is used for complex designs, swirls, flowers, or stippling.
Using the Free Motion Foot
- Lower Feed Dogs: Make sure the feed dogs are down or covered.
- Attach the Foot: Put on your free motion (darning) foot. It will hover just above the fabric.
- Set Stitch Length: You do not set a stitch length on your machine. The stitch length is made by how fast your needle goes up and down and how fast you move the fabric.
- Move too fast: Stitches will be long.
- Move too slow: Stitches will be short and bunched up.
- You need to find a smooth, even speed for both the machine (controlled by your foot pedal) and your hands (moving the quilt).
- Check Tension: Test on a scrap. Getting tension right for free motion can be tricky. Adjust as needed.
- Start Sewing: Lower the foot. Start sewing. Take 2-3 stitches in place to lock your thread. Or bury your thread tails later. Move the quilt smoothly to create your design.
Moving the Fabric
This is the hardest part of free motion quilting.
- Use Your Hands: Use your hands to gently push and pull the quilt. Think of drawing with a pencil. Your hands guide the fabric like the pencil point.
- Use Gloves: Quilting gloves help you grip the fabric better.
- Find a Rhythm: Try to keep your machine speed and hand speed constant. This makes stitches even. It takes practice! Start slow.
- Manage the Quilt: Roll up large parts of the quilt to make it smaller and easier to move. Let the weight of the quilt rest on your table or support stands. Do not let it hang and pull on the needle.
Simple Free Motion Patterns
Start with easy shapes.
- Stippling: This looks like a puzzle piece or river rocks. You sew random lines that curve and fill an area. The lines should not cross each other. This is a good way to fill background areas.
- Loops: Sew simple loop shapes. Connect them as you go.
- Meanders: This is like a relaxed stippling. You sew curvy lines that fill the space.
- Basic Shapes: Draw simple shapes like stars, hearts, or flowers. Follow the lines you drew or make them up as you go.
These machine quilting patterns help you get used to moving the fabric. They build your confidence for free motion quilting.
Practice and Progress
Learning to quilt by machine takes time and practice. Do not expect perfect results on your first try! This is especially true for machine quilting for beginners.
Start Simple
- Small Projects: Begin with small projects. Quilt a placemat, a table runner, or a baby quilt. Handling a small quilt sandwich is much easier than a large bed quilt.
- Simple Patterns: Choose easy quilting patterns like straight lines, wavy lines, or simple stippling.
Practice Swatches
Cut small pieces of your quilt sandwich (backing, batting, top). Practice your stitches and patterns on these pieces.
- Test Tension: Use these scraps to check and adjust your thread tension.
- Try Designs: Practice different
machine quilting patternswithout worrying about messing up your main project. This helps you find a comfortable rhythm for moving the fabric.
Managing Size
One of the biggest challenges with machine quilting on a home machine is handling the size and weight of the quilt.
- Roll or Fold: Roll or neatly fold the parts of the quilt you are not actively quilting.
- Use Support: Let the quilt rest on your sewing table or extra tables. Never let it hang off the machine. This puts stress on the needle and can break it or make stitches uneven.
Troubleshooting Common Issues
Even experienced quilters run into problems. Here are a few common ones and how to fix them.
Skipping Stitches
Your machine misses a stitch now and then.
- Check the Needle: Is it new? Is it the right type for quilting? Is it put in correctly? Often, a dull or bent needle causes skipping. Put in a new needle.
- Check the Thread: Is it good quality? Is it the right type for your needle?
- Rethread: Sometimes, just taking all the thread out and threading the machine again fixes the problem. Make sure the thread is seated correctly in all the guides and the tension discs.
- Check Bobbin: Is the bobbin threaded correctly in its case?
Thread Breaks
Your thread keeps snapping while you sew.
- Check the Needle: Same as skipping stitches. A rough spot on the needle can fray and break the thread.
- Check Thread Path: Is the thread getting caught on anything? Are the tension discs clean? Is the thread wrapped around the spool pin incorrectly?
- Check Tension: Is your tension too tight? This can put too much stress on the thread.
- Check Speed: Are you sewing too fast? This can overheat the needle and break the thread.
- Check Thread Quality: Cheap thread breaks easily.
- Check Bobbin Area: Is there lint or old thread caught in the bobbin case or area?
Uneven Stitches (Loops or Tight Stitches)
The stitches look good on one side but bad on the other.
- Tension: This is almost always a tension problem. Adjust your top tension (and check bobbin threading) using a scrap piece. Remember, loops on the bottom mean top tension is too loose. Loops on the top mean top tension is too tight (or bobbin tension is loose).
- Speed (for Free Motion): If you are doing free motion, your hand speed and machine speed are not matched. Stitches are long if you move too fast for the machine speed. Stitches are short if you move too slow for the machine speed. Find a smooth, even speed.
Be patient when troubleshooting. Take a break if you are getting frustrated.
Finishing Your Quilt
Once all your quilting stitches are done, you are almost finished!
- Remove Pins or Wash Spray: If you pin basted, remove all the pins. If you spray basted, some sprays wash out. Read the product instructions.
- Square Up: Trim the edges of your quilt. Use a ruler and rotary cutter. Make the edges straight and square. Cut off the extra batting and backing.
- Add the Binding: Sew the binding strip around the edge of your quilt. The binding finishes the edge and makes it look neat.
- Label: Write your name and the date on a small piece of fabric. Sew it to the back of the quilt. This makes it a record of your work.
Frequently Asked Questions (FAQ)
- Do I need a special sewing machine to quilt? No, you do not. Most home sewing machines can handle quilting. You will likely need a walking foot and maybe a free motion foot, but your machine itself is probably fine.
- What stitch length should I use for machine quilting? For walking foot quilting, a stitch length of 2.5mm to 3.0mm is common. For free motion quilting, you do not set the length. It depends on how fast your needle goes and how fast you move the fabric. Practice helps you find the right speed for even stitches.
- How do I handle a very large quilt on my home machine? Use extra tables or chairs to support the weight. Roll up the parts of the quilt you are not sewing. Keep the quilt resting on the table, not hanging. Work from the center outwards.
- What type of batting is best? There are many types: cotton, polyester, wool, blends. Cotton is popular and breathes well. Polyester is puffy and lightweight. Wool is warm and drapes nicely. Start with a common type like 80/20 cotton/polyester blend.
- My stitches on the back are looping. What is wrong? This is usually a tension problem. The most common cause is the top tension being too loose. Make the number on your tension dial higher. Always test on a scrap first.
- Can I quilt just using straight lines? Yes! Straight line quilting with machine is a wonderful way to finish a quilt. It looks clean and modern. It is a great skill to learn first.
Conclusion
Quilting on your home sewing machine is a fun and rewarding skill. You can start with simple projects and basic tools. Prepare your quilt sandwich well. Set up your machine correctly. Choose the right presser foot for your design. Practice walking foot quilting for straight lines. Practice free motion quilting to move the fabric freely.
Do not be afraid to start. Every quilter was a beginner once. Take your time. Be patient with yourself. With practice, you will feel more comfortable guiding the fabric and creating beautiful stitches. Soon, you will be adding lovely texture and design to all your quilts!