
Image Source: www.blossomheartquilts.com
Easy Guide: How To Quilt With A Sewing Machine
Can you quilt using a regular sewing machine? Yes, you absolutely can quilt with a sewing machine! Machine quilting is a popular way to finish your quilt projects. It lets you add lovely designs that hold the layers together. This guide will show you how to do it, step by step, even if you are just starting out with beginner machine quilting. We will look at different machine quilting techniques, from simple straight lines using a walking foot to more flowing designs with free motion quilting.
Getting Started with Machine Quilting
Quilting is the process of sewing together the three layers of a quilt: the top fabric (your pieced or wholecloth design), the middle layer (quilt batting), and the backing fabric. This stitching holds the layers together, gives the quilt structure, and adds texture and design. While hand quilting is beautiful, using a sewing machine is much faster and opens up a world of design possibilities. It’s a great skill for anyone who loves making quilts.
Why Quilt by Machine?
- Speed: Machines are much faster than hand sewing.
- Durability: Machine stitches are often stronger for hard-wearing quilts.
- Variety: You can create many complex designs easily.
- Control: Machines offer precise stitch length and tension.
What You Need: Tools and Supplies
Before you start stitching, gather your materials. Having the right tools makes a big difference in how easy and fun machine quilting is.
Your Sewing Machine
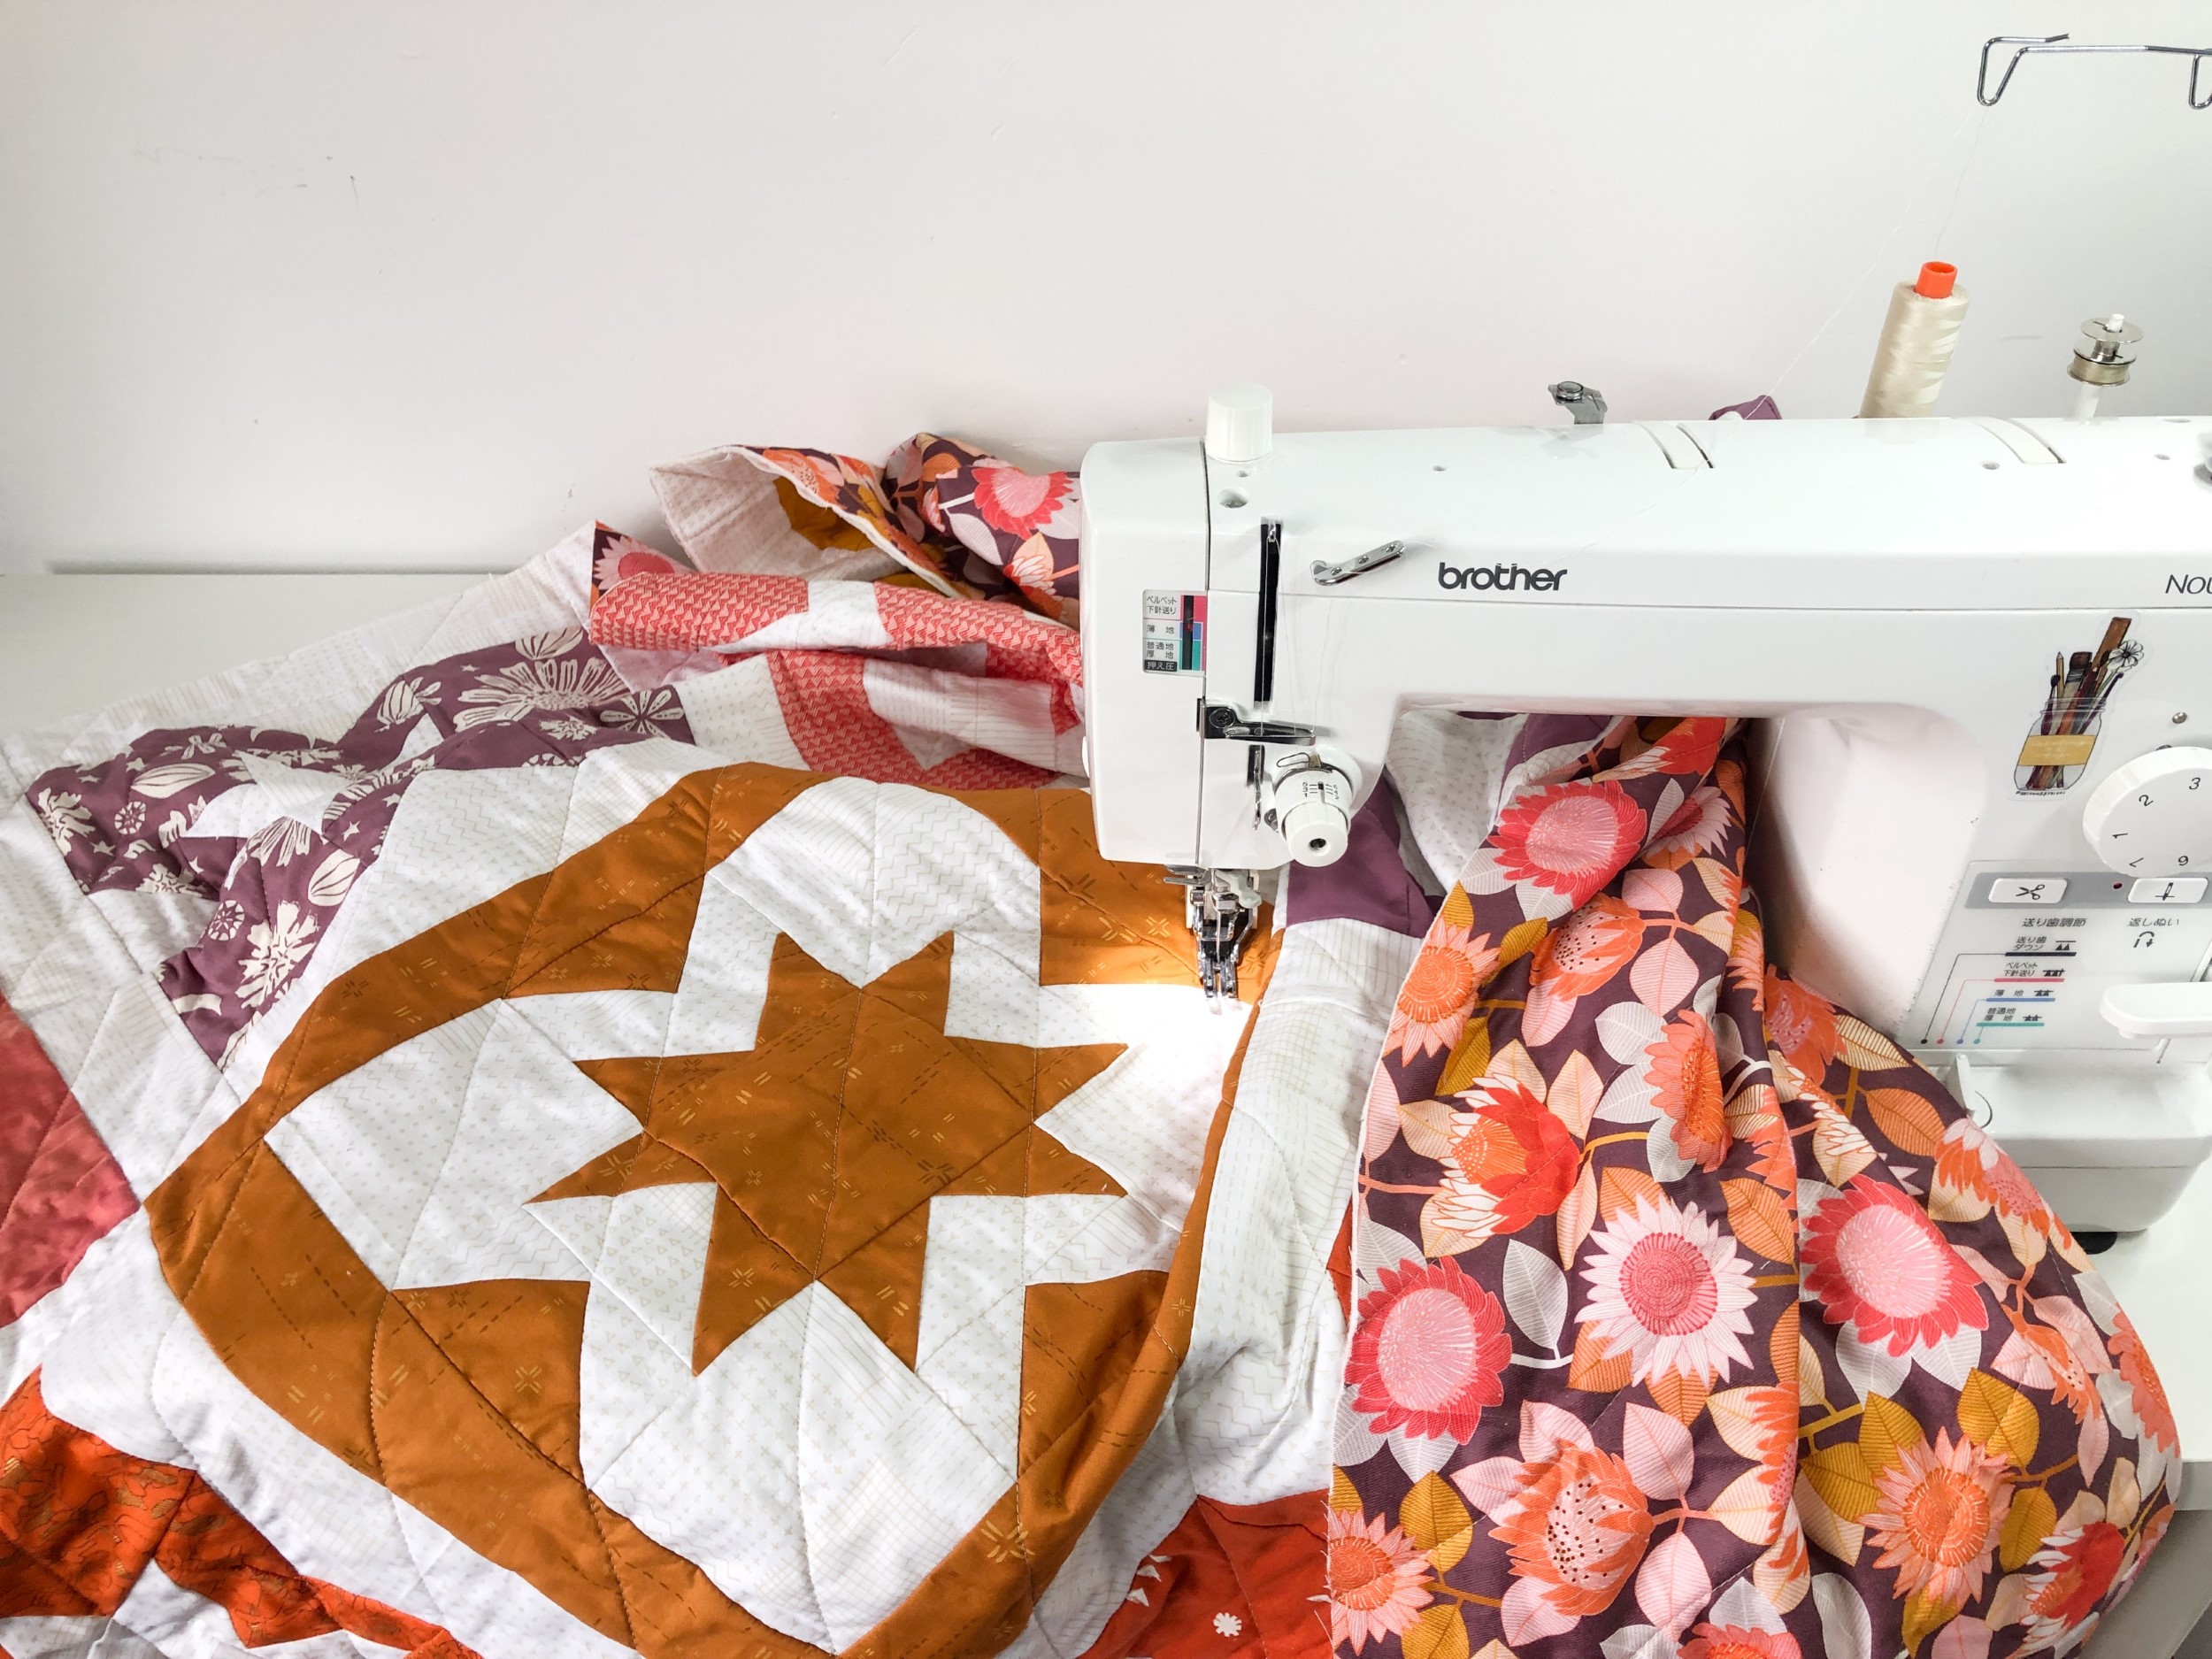
Almost any sewing machine can be used for quilting. Some features help a lot, like a larger throat space (the area between the needle and the machine’s body) and adjustable speed control. However, don’t worry if you have a basic machine. You can still quilt beautifully on it. Make sure your machine is clean and recently oiled according to the manual. A well-maintained machine runs smoother and makes better stitches.
Quilting Needles
Using the right needle is very important. Quilting needles are specially designed to go through multiple layers of fabric and batting without bending or breaking. They have a sharp point to pierce the fabric easily. A good starting size is a 90/14 or 80/12 “Quilting” needle. You should change your needle often, maybe after every quilt or every 8-10 hours of sewing, to keep your stitches nice and avoid skipped stitches.
Quilting Thread
Choosing the right Quilting thread matters for how your stitches look and how strong they are. For machine quilting, cotton or polyester threads are common.
- Cotton Thread: Natural fiber, less shine, good for a traditional look. Can sometimes create lint.
- Polyester Thread: Stronger, less lint, sometimes has more shine.
Start with a good quality 40 or 50 weight thread. Use the same type and weight of thread in the bobbin as on top for even tension. Pick a thread color that matches your fabric if you want the stitches to blend in, or a contrasting color if you want them to stand out.
Quilt Batting
Quilt batting is the middle layer of your quilt sandwich. It adds warmth, loft, and helps the quilting stitches stand out. Batting comes in different materials:
- Cotton: Breathable, lies flat, softens with washing. Needs closer quilting lines to prevent shifting.
- Polyester: Lightweight, good loft, dries quickly. Can sometimes “beard” (fibers poke through fabric).
- Wool: Lightweight, warm, good loft, springs back well. Needs closer quilting lines.
- Bamboo/Blends: Soft, breathable, drapes well. Often blended with cotton.
Choose a batting that matches the feel you want for your finished quilt. Also, check the package for the recommended quilting distance – how far apart your stitched lines can be.
Essential Presser Feet
You will need different presser feet depending on the machine quilting techniques you choose.
- Walking Foot: This foot feeds all layers of the quilt sandwich through the machine evenly at the same time. It’s essential for straight-line quilting and helps prevent puckering.
- Darning Foot (or Free Motion Foot): This foot hovers over the fabric. It lets you move the fabric in any direction to draw designs with your stitches. It is used for Free motion quilting.
Other Helpful Tools
- Quilting Ruler: A long, clear acrylic ruler helps you measure and cut fabrics accurately. Some rulers are also used with special ruler feet for Free motion quilting, but this is more advanced.
- Marking Tools: Fabric pens or pencils that disappear with water or heat help you draw lines on your quilt top if you plan to follow a specific design.
- Quilting Gloves: These can help you grip the fabric better during Free motion quilting.
- Safety Pins or Basting Spray: Used to hold the quilt sandwich layers together before quilting.
- Large Table or Surface: Helps support the weight of the quilt as you stitch.
| Item | Purpose | Notes |
|---|---|---|
| Sewing Machine | To make the stitches | Clean and oiled is best |
| Quilting Needle | Stitch through layers easily | Use size 90/14 or 80/12 Quilting needle |
| Quilting Thread | Forms the stitches | Use 40 or 50 weight, same in bobbin |
| Quilt Batting | Middle layer, adds warmth/loft | Choose material based on desired feel |
| Walking Foot | Feeds layers evenly | Good for straight lines |
| Darning/Free Motion Foot | Lets you move fabric freely | For Free motion quilting techniques |
| Quilting Ruler | Measuring, cutting (or guiding) | Useful for straight lines/marking |
| Basting Supplies | Holds layers together | Safety pins or spray |
Putting the Quilt Sandwich Together
Before you can start stitching, you need to create the Quilt sandwich. This is the step where you layer the backing, batting, and quilt top and hold them in place. Doing this step well prevents wrinkles and puckers when you quilt.
Steps for Making the Quilt Sandwich
- Prepare the Backing: Lay the backing fabric flat on the floor or a large table, wrong side up. Make sure it is smooth and free of wrinkles. The backing fabric should be a few inches bigger than your quilt top on all four sides (at least 3-4 inches extra is good). Use masking tape to tape the edges of the backing securely to the floor or table. Pull it gently so it is smooth but not stretched too tight.
- Add the Batting: Place the quilt batting smoothly on top of the backing fabric. Make sure it is centered and also extends beyond the edges of the quilt top. Smooth it out with your hands to remove any wrinkles or folds. The batting should also be larger than your quilt top.
- Add the Quilt Top: Place your finished quilt top centered on top of the batting, right side up. Smooth it out carefully, working from the center towards the edges. Make sure there are no wrinkles or folds. Check that the quilt top is smaller than both the batting and the backing.
- Baste the Layers: Now you need to hold the three layers together so they don’t shift while you are quilting. There are two main ways to baste:
- Safety Pin Basting: Use curved safety pins (they are easier to close through layers). Start in the center and place pins every 4-6 inches across the entire quilt. Use lots of pins! This is a very secure method.
- Spray Basting: Use a temporary fabric adhesive spray designed for quilts. Spray a section of the batting, then smooth the quilt top onto it. Lift the top and spray the next section, continuing until the whole top is attached to the batting. Then, flip the sandwich over and spray the backing onto the batting in the same way. Spray basting is fast but can sometimes gum up your needle or wash out over time.
No matter which method you use, make sure the layers are smooth and flat as you baste. A well-basted Quilt sandwich is key to successful machine quilting.
Preparing Your Machine
Setting up your sewing machine correctly is vital for good machine quilting.
Checking the Needle and Thread
- Install a new Quilting needle: Use a sharp needle suitable for quilting (like a Schmetz or Organ 90/14 Quilting needle).
- Thread the machine: Use high-quality Quilting thread. Put your chosen thread on the spool pin. Make sure the thread goes through all the guides correctly. Thread your needle.
- Wind the bobbin: Wind a bobbin with the same type and weight of thread you are using on top. Wind it evenly, not too tight or too loose. Insert the bobbin correctly into its case.
- Test the tension: Get a small piece of your Quilt sandwich (backing, batting, top). Sew a few lines of stitches. Check the stitches on both the top and bottom. They should look the same, with no loops or knots. If the bottom stitch looks like dots or loops from the top thread, your top tension is too tight. If the top stitch looks like dots or loops from the bobbin thread, your bobbin tension is too tight or top tension is too loose. Adjust your machine’s tension dial until the stitches are balanced.
Setting Up Your Workspace
Clear a large area around your machine. You need space to support the weight of the quilt so it doesn’t pull or drag on the needle. Set up an extra table if you have one, or use the space behind and to the sides of your machine.
Machine Settings
- Stitch Type: For most quilting, you will use a straight stitch.
- Stitch Length: If using a walking foot, set your stitch length to a medium size, perhaps 2.5 to 3 mm. Avoid very short stitches, as they can be hard to remove if you need to. Avoid very long stitches, as they can look loose and weak. If doing Free motion quilting, the stitch length is controlled by how fast you move the fabric.
- Speed: Set your machine speed to a comfortable pace. Many machines have a speed slider. Start slow until you get used to controlling the quilt.
- Feed Dogs: These are the little teeth under the presser foot that move the fabric.
- For Walking foot quilting, the feed dogs stay UP.
- For Free motion quilting, the feed dogs must be DOWN. Most machines have a switch or button to lower them. If yours doesn’t, some machines come with a plate to cover them.
Exploring Machine Quilting Techniques
There are two main ways to quilt with your sewing machine. The technique you choose depends on the look you want and the level of control you prefer. These are the primary machine quilting techniques for beginners.
Walking Foot Quilting
Walking foot quilting uses the walking foot to feed the quilt layers through the machine evenly. This is great for straight lines, gentle curves, and geometric designs.
How It Works: The walking foot has its own set of ‘feed dogs’ or grips that move along with your machine’s feed dogs. This helps pull the top layer and batting at the same rate as the bottom layer, preventing puckering.
Good For:
* Stitching in the ditch (sewing along the seams of your pieced blocks).
* Straight lines across the quilt.
* Simple grids or cross-hatching.
* Gentle wavy lines.
Steps for Walking Foot Quilting:
- Attach the Walking Foot: Remove your standard presser foot and attach the walking foot according to your machine’s manual.
- Set Up Machine: Feed dogs UP, straight stitch, medium stitch length (2.5-3 mm). Adjust tension with a test piece.
- Plan Your Lines: Decide where you will stitch. You can use a Quilting ruler and marking tool to draw lines, or use existing seams as guides (stitch in the ditch). You can also use masking tape as a temporary guide for straight lines.
- Start Stitching: Place your Quilt sandwich under the walking foot. Lower the foot. Bring your bobbin thread up to the top surface by taking one stitch down and pulling the bobbin thread loop up with the top thread. Hold the thread tails as you start sewing for the first few stitches to prevent a thread nest.
- Quilt a Line: Begin sewing slowly. Guide the quilt gently with your hands. Let the walking foot and feed dogs move the quilt. Your job is to guide the quilt straight along your planned line and support its weight. Do not push or pull the quilt.
- Manage the Quilt: As you quilt, the bulk of the quilt will need to be supported. Let it rest on your table, lap, or an extra surface. Roll or fold parts of the quilt gently to fit through the machine’s throat space.
- Stitching Directions: Work from the center of the quilt outwards to push fullness towards the edges. If sewing straight lines, consider sewing lines that are parallel to each other first, perhaps going in one direction across the quilt, then turn the quilt and sew lines going the other direction. You can also sew from edge to edge.
- Ending a Line: Sew to the end of your line. Use a few backstitches or tiny stitches to secure the thread, or leave long tails to bury later.
Walking foot quilting is often recommended for beginner machine quilting because it uses the machine’s feed dogs, making it easier to control stitch length and movement.
Free Motion Quilting
Free motion quilting (FMQ) allows you to “draw” with your sewing machine. You lower the feed dogs and use a darning or free motion foot. You control both the movement of the fabric and the speed of the machine to create stitches of any length and direction.
How It Works: With the feed dogs lowered, the machine doesn’t move the fabric for you. You move the quilt sandwich yourself under the needle. The stitch length depends on how fast you move the fabric relative to how fast the needle is stitching. Faster fabric movement = longer stitches. Slower fabric movement = shorter stitches.
Good For:
* Swirls and loops.
* Stippling (a puzzle-piece like filler design).
* Feathers and floral designs.
* Following printed panels or drawing complex designs.
* Custom quilting specific areas of a quilt.
Steps for Free Motion Quilting:
- Attach the Darning/FMQ Foot: Replace your walking foot (or standard foot) with a darning or free motion foot. Ensure the foot is installed correctly – it often has an arm that rests on the needle clamp screw.
- Set Up Machine: Feed dogs DOWN. Straight stitch. You might need to adjust your tension specifically for FMQ thread (some people loosen the top tension slightly, but test first). Stitch length setting does not matter as you control it.
- Prepare to Move: Wear quilting gloves if you have them – they help grip the fabric. Sit comfortably and ensure your workspace supports the quilt.
- Start Stitching: Lower the presser foot lever (even though the foot hovers, lowering the lever engages the tension). Bring up your bobbin thread. Hold thread tails.
- Quilt: Begin sewing at a steady medium speed. At the same time, start moving the quilt sandwich smoothly under the needle. Aim for a consistent movement. If you move too fast, you’ll get long, loose stitches. If you move too slow, you’ll get tiny, tight stitches (or potentially break your needle).
- Coordinate Speed: The key to even stitches is coordinating your machine speed with your fabric movement speed. Start slowly with both until you find a comfortable rhythm. Think of it like patting your head and rubbing your stomach at the same time – it takes practice!
- Design: Draw your design with stitches. Keep the fabric moving smoothly and continuously. Avoid stopping with the needle up unless you plan to change direction sharply. Stopping with the needle down helps hold your place.
- Managing the Quilt: Just like with walking foot quilting, support the weight of the quilt. Roll or fold it to fit.
- Ending: Secure your stitches by taking a few stitches very close together or by sewing over stitches you’ve already made for a short distance. Trim threads or leave tails to bury.
Free motion quilting offers creative freedom but requires more practice to control stitch length and movement compared to walking foot quilting.
Choosing Your Quilting Stitches
While the straight stitch is the most common for machine quilting, your machine might offer other Quilting stitches.
- Straight Stitch: The primary stitch for securing layers and creating lines.
- Zigzag Stitch: Can be used for quilting, especially for utility quilts or tying layers together quickly. A wide, short zigzag can look interesting.
- Decorative Stitches: Many machines have built-in decorative stitches. Some quilters use these to add extra texture or detail, often with a walking foot.
For beginner machine quilting, master the straight stitch first with a walking foot. Then, explore free motion. Decorative stitches are more advanced for quilting the main body of the quilt but can be fun for borders or specific accents.
Beginner Machine Quilting Tips
Starting out can feel like a lot. Here are some tips to help you get going and build your confidence.
- Practice, Practice, Practice: Don’t start on your most prized quilt top! Use fabric scraps and batting to make small Quilt sandwiches. Practice making straight lines, curves, and simple Free motion quilting shapes (like loops or swirls). Practice helps you find the right machine speed and fabric movement.
- Start Simple: Begin with easy quilting designs. Stitch in the ditch or simple straight lines with a walking foot are great starters. For Free motion quilting, start with large, simple shapes like loops or a meandering stipple.
- Keep It Smooth: Always try to keep the Quilt sandwich flat and smooth as it goes under the needle. Check for wrinkles on the back as you go.
- Support the Quilt: Do everything you can to support the quilt’s weight. Don’t let it hang off the machine. Use tables, chairs, or your lap.
- Relax Your Shoulders: It’s easy to tense up, especially with Free motion quilting. Try to stay relaxed. Tension in your body can make your quilting stitches uneven.
- Look Ahead: When quilting lines, look a few inches ahead of the needle, not right at it. This helps you stitch straighter lines and smoother curves.
- Check Your Bobbin Often: Running out of bobbin thread in the middle of a line is annoying! Check it before you start a large section of quilting.
- Don’t Compare: Your first machine quilting won’t look like an expert’s. That is okay! Every stitch is a learning experience. Focus on finishing the quilt and improving with each project.
- Embrace Imperfection: Handmade quilts have character. A few wobbly lines are part of the charm. Your quilt is meant to be used and loved.
Managing the Quilt During Quilting
One of the biggest challenges, especially with larger quilts, is handling the bulk of the fabric.
- Rolling: For straight-line quilting, you can often roll up sections of the quilt neatly and feed the rolled part through the throat space.
- Folding: For Free motion quilting, gentle folding and arranging of the fabric can help fit it under the machine. Avoid sharp creases.
- Workspace: As mentioned, having a large, flat surface around your machine is a game-changer. Quilting extension tables for your machine can also help.
- Starting Point: Often, it’s easiest to start quilting from the center of the quilt and work your way out to the edges. This helps prevent trapping fullness in the middle.
Stitching Designs
Once you are comfortable with the basic movements, you can explore different machine quilting techniques and designs.
Simple Walking Foot Designs
- Stitch in the Ditch: Sewing directly on top of the seam lines connecting your fabric pieces. This blends in and makes the piecing stand out.
- Parallel Lines: Sewing straight lines a set distance apart across the quilt. Use a ruler or the edge of your walking foot as a guide.
- Cross-Hatching: Sewing parallel lines in one direction, then rotating the quilt and sewing another set of parallel lines crossing the first set, creating a grid.
- Wavy Lines: Gentle, flowing curves sewn with the walking foot. Mark them first or eyeball them if you are feeling brave.
Basic Free Motion Designs
- Meandering/Stipple: A random, continuous line design that fills the background. Think of drawing puzzle pieces or amoebas that don’t touch. Keep the lines relatively close together so they don’t shift.
- Loops: Simple connected circles or loops. A very easy and forgiving FMQ design for beginners.
- Pebbles: Sewing small, tight circles next to each other to fill an area. This creates dense texture.
- Simple Flowers or Stars: Drawing basic shapes repeatedly.
Start by practicing these shapes on small pieces. Once you can stitch them smoothly and evenly, try them on a practice Quilt sandwich.
Fixing Mistakes
It happens! You will make a stitch you don’t like. The good news is you can use a seam ripper to take out stitches.
- Rip Carefully: Use a good seam ripper. Rip stitches on the less visible side (usually the back). Go slowly to avoid cutting the fabric or batting.
- Check Both Sides: After ripping, make sure all thread pieces are removed from both the top and bottom of the quilt.
- Restitch: Smooth the area and stitch again.
It is better to rip out a section you dislike than leave it and regret it every time you see it.
Keeping Records
As you get more into machine quilting techniques, it can be helpful to keep a small notebook. Write down:
- What machine you used.
- What needle you used (size and type).
- What Quilting thread you used (brand, weight, fiber).
- What tension settings worked best.
- What batting you used.
- Notes about the design or any challenges.
This helps you remember what worked well for future projects.
Advancing Your Skills
Once you are comfortable with basic walking foot and free motion quilting, you can try more complex things:
- Using Templates or Rulers: Special rulers and ruler feet for FMQ allow you to create precise shapes.
- Combining Techniques: Use walking foot quilting for borders and Free motion quilting for the centers of blocks.
- More Dense Quilting: Quilt areas very closely together to make other areas stand out (this is called “background quilting”).
- Threads: Experiment with different types of Quilting thread, like monofilament (clear) or specialty threads.
- Needles: Try different needle types for specialty threads.
Remember to always test new threads, needles, or techniques on a practice Quilt sandwich first.
Table of Needle Types
Using the right needle for the job makes a huge difference. For quilting, a dedicated quilting needle is usually best, but sometimes others work too.
| Needle Type | Description | Best Use for Quilting |
|---|---|---|
| Quilting | Strong, sharp point specifically for piercing multiple layers. | Ideal for machine quilting through quilt sandwiches. |
| Microtex/Sharp | Very sharp, fine point. | Good for piecing and piercing dense fabrics, sometimes for fine quilting. |
| Universal | Slightly rounded point, general use. | Okay for some quilting, but quilting needle is better. |
| Metallic | Larger eye, smoother groove for specialty threads. | Use with metallic Quilting thread. |
| Topstitching | Very sharp point, larger eye. | Can be used for quilting with thicker threads. |
Always check your machine’s manual for recommended needle types and sizes.
Table of Common Batting Types
The batting you choose impacts the feel and look of your finished quilt.
| Batting Type | Pros | Cons | Best Uses |
|---|---|---|---|
| 100% Cotton | Breathable, soft, lies flat. | Can shrink (pre-wash if needed), less loft. | Traditional quilts, wall hangings. |
| 100% Polyester | Lightweight, high loft, quick drying. | Less breathable, can beard. | Utility quilts, baby quilts, projects needing puffiness. |
| 100% Wool | Warm, breathable, good drape/loft. | Can be expensive, needs closer quilting. | Heirloom quilts, warm blankets. |
| Cotton/Poly Blend | Combines features of both. | Varies by blend ratio. | Versatile, good all-around choice. |
| Bamboo Blend | Soft, breathable, drapes well. | Can be more delicate. | Lightweight quilts, wearables. |
Pay attention to the ‘Maximum Quilting Distance’ noted on the batting package. This tells you how far apart your quilting lines can be to keep the batting stable.
Frequently Asked Questions (FAQ)
Q: What is the best machine quilting technique for beginners?
A: Walking foot quilting is often best to start with. It uses the machine’s feed dogs, making stitch length control easier while you practice guiding the quilt. Straight lines or stitch-in-the-ditch are good first projects.
Q: How do I know if my tension is correct?
A: Stitch a practice piece with the same layers as your quilt. Look at stitches on the top and bottom. If they look the same (like a perfectly formed straight stitch), your tension is good. If the top thread shows on the bottom or vice-versa, adjust the tension dial.
Q: How do I choose Quilting thread color?
A: Use thread that matches your fabric if you want the quilting to blend in. Use a slightly darker shade than the fabric it will cross. Use a contrasting color if you want your quilting design to stand out as a feature. A neutral color like grey or beige can blend with many fabrics.
Q: Can I use regular thread for quilting?
A: You can, but Quilting thread is often stronger and designed to create nicer stitches when going through multiple layers. Using a good quality Quilting thread (cotton or polyester, 40 or 50 weight) will give better results and is less likely to break.
Q: My stitches are uneven in Free Motion Quilting. What am I doing wrong?
A: This is common! Uneven stitches mean your machine speed and fabric movement are not coordinated. Practice moving the fabric at a steady pace while maintaining a consistent machine speed. Slow down your machine speed until you can move the fabric smoothly. It takes practice to find your rhythm.
Q: How do I handle a large quilt on a small machine?
A: Support the quilt’s weight! Roll or fold sections of the quilt to fit them through the throat space. Use tables or chairs to hold the weight. Work from the center out to manage bulk. Take breaks often.
Q: Do I have to mark my quilt top before quilting?
A: No, not always. For walking foot quilting, you can use seams or the edge of the foot as guides. For Free motion quilting, you can quilt freehand (like stippling or loops). Marking is helpful if you want a precise, complex design or need guide lines for straight quilting.
Q: How far apart should my quilting lines be?
A: Check the package directions for your Quilt batting – it will give a maximum distance (e.g., “Quilt up to 8 inches apart”). Staying within this distance keeps the batting from shifting over time. Closer quilting creates a denser, flatter, more textured look and makes the quilt more durable.
Quilting your projects on your sewing machine is a rewarding skill. Start with the basics, practice often, and don’t be afraid to experiment. Soon, you’ll be adding beautiful finishes to all your quilts!