
Sewing a buttonhole on a sewing machine is a skill many people want to learn. It makes your handmade clothes and projects look neat and professional. Yes, you can sew a buttonhole with a sewing machine. Most modern machines, even basic ones, have a buttonhole feature. This guide will show you how to do it step by step. You will learn the easiest ways to make perfect buttonholes every time.
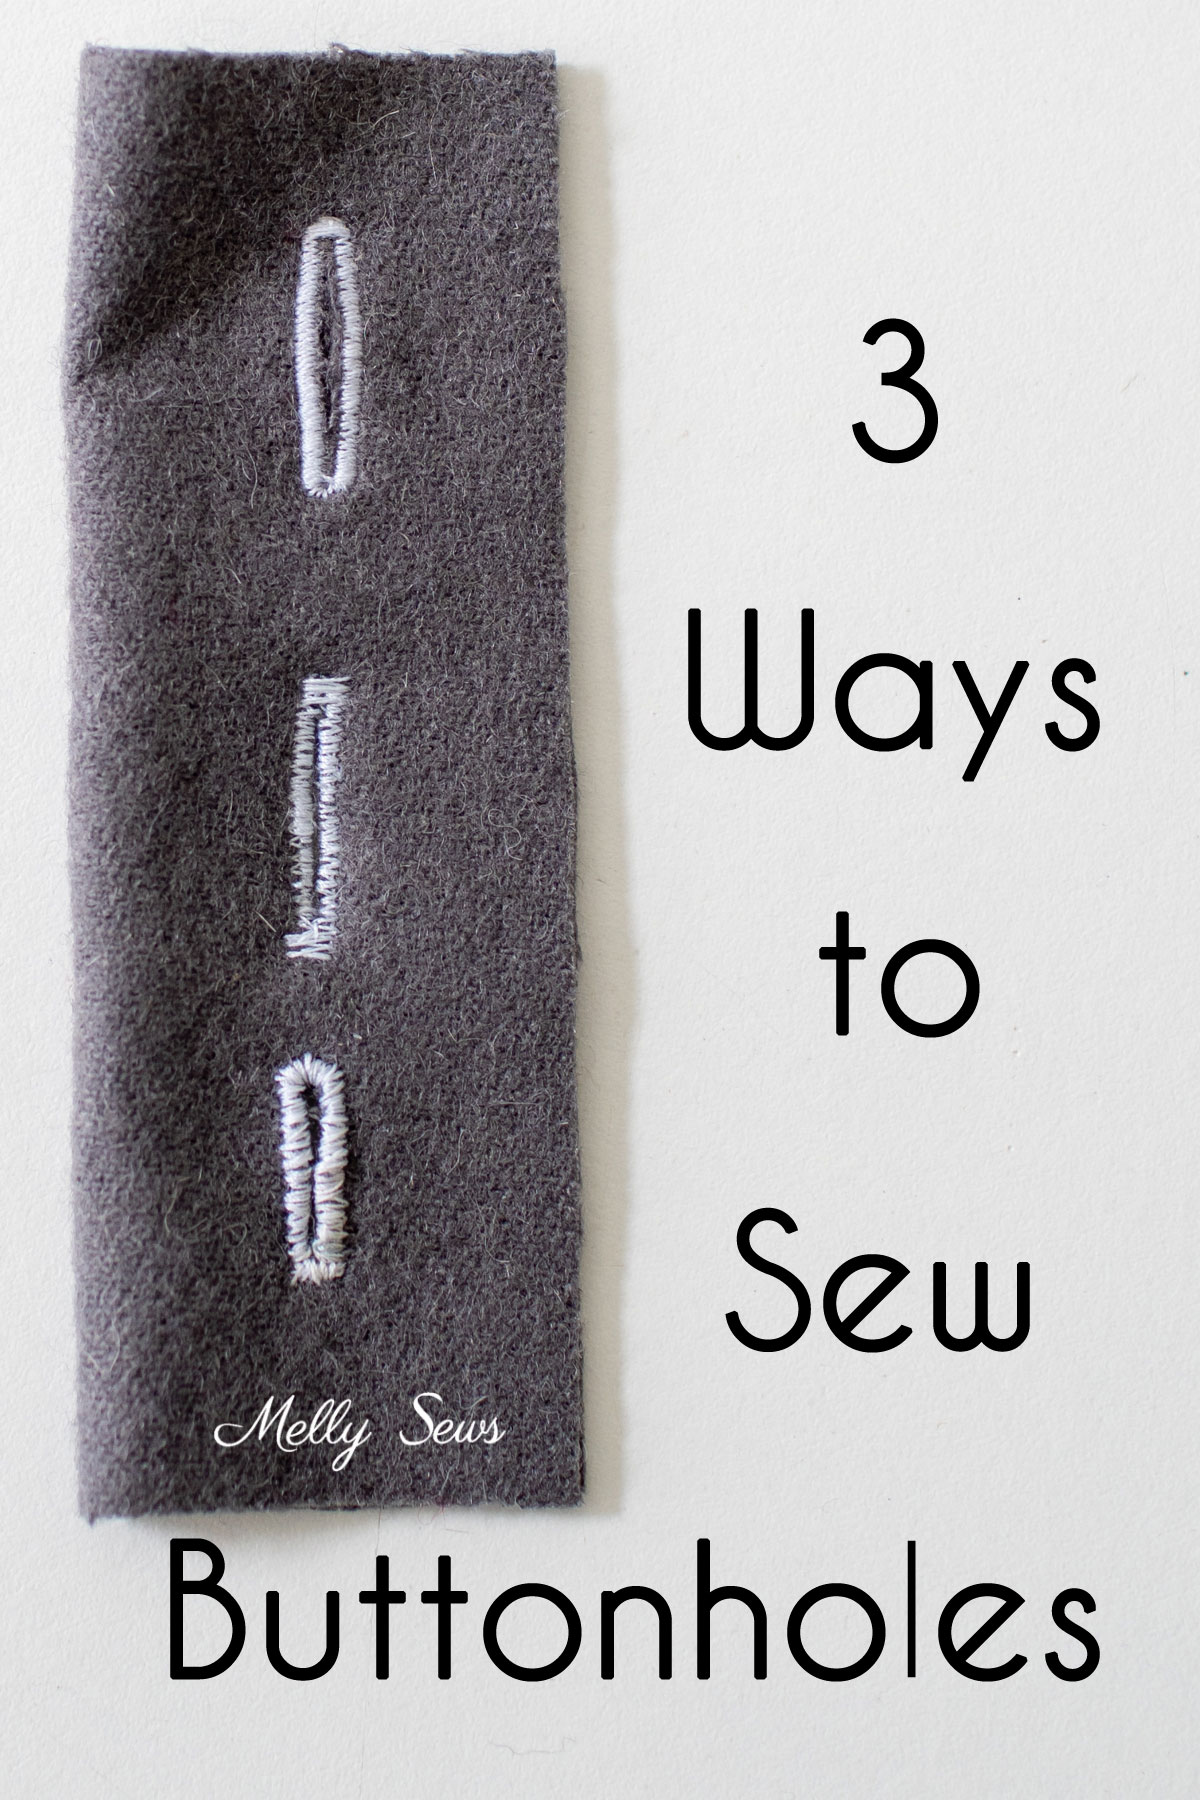
Image Source: mellysews.com
Getting Ready for Great Buttonholes
Making good buttonholes starts before you even touch your machine. Good prep work makes a big difference. It helps you get nice, clean stitches.
Gathering Your Tools
You need a few key items to sew buttonholes. Having them ready saves time and makes the process smooth.
- Your Sewing Machine: Make sure it is clean and threaded. Use a fresh needle.
- The Right Thread: Use thread that matches your fabric. Or, pick a fun color to make the buttonhole stand out.
- Your Fabric: Always use a scrap piece of your main fabric first. This lets you test your settings.
- A Button: Have the button you plan to use ready. Your buttonhole size depends on this.
- Fabric Marking Tool: A fabric pen, chalk, or pencil helps mark where buttonholes go.
- Small Sharp Scissors: Good for snipping threads.
- Seam Ripper: Great for opening the buttonhole.
- Buttonhole Foot: This special foot is key. Most machines come with one. It helps the machine know how long to make the buttonhole.
- Stabilizer (Optional but Recommended): This is a material that goes behind your fabric. It stops the fabric from stretching. It helps your stitches look even.
Choosing the Right Buttonhole Style
Sewing machines can make different kinds of buttonholes. The type you use depends on your machine and your project.
Automatic buttonhole(orOne-step buttonhole): This is the easiest type. The machine does all the work in one go. You put your button into thebuttonhole foot. The machine measures the button. Then it sews the whole buttonhole from start to finish. It is fast and simple. Many new machines have this feature.Four-step buttonhole: Older or more basic machines often have this type. You sew each side of the buttonhole in four separate steps. You turn a dial or set the machine for each step. It takes more time and practice. But it still makes a good buttonhole.Keyhole buttonhole machine(or keyhole buttonhole function): This type of buttonhole has a round end. It is often used on coats, jackets, or thicker fabrics. The round part lets larger buttons fit better. Some machines have a specialkeyhole buttonhole machinesetting. Or, you might use a regular buttonhole setting and add the round part later.
Knowing your machine’s abilities helps you choose the best method. Read your sewing machine manual. It will tell you what buttonhole styles your machine can make.
Picking the Best Buttonhole Foot
The buttonhole foot is a must-have tool for making buttonholes. It is a special presser foot. It looks different from your regular foot.
- For
One-step buttonholefeet: These feet have a slider or cradle. You place your button in this part. The machine uses the button’s size to sew the perfect length buttonhole. This means your buttonholes are always the right size. - For
Four-step buttonholefeet: These feet often have markings. They help you guide the fabric. You use these marks to sew each of the four steps evenly. - Why it matters: The
buttonhole foothelps keep your stitches even. It stops the fabric from moving too much. It also helps the machine create the densebuttonhole stitchneeded. Without this foot, sewing a buttonhole is very hard. It is almost impossible to make it look good.
Always attach the correct buttonhole foot before you start. Make sure it clicks into place.
Preparing Your Fabric for Success
Good fabric prep is vital for neat buttonholes. It helps prevent puckering or stretching.
- Press Your Fabric: Iron your fabric flat. This removes wrinkles. Flat fabric helps the machine sew more evenly.
- Fuse Interfacing or Stabilizer: This is often the most important step.
Stabilizing buttonholesmakes them stronger. It helps the fabric hold the stitches better.- What is it? Interfacing is a fabric you iron onto the back of your main fabric. Stabilizer is similar. It adds body and support.
- Why use it? Without stabilizer, your fabric might stretch. Buttonholes can look messy. Stitches might skip. The buttonhole might not hold its shape over time.
- How to use it: Cut a piece of interfacing. Make it a bit bigger than your buttonhole area. Iron it to the wrong side of your fabric. Do this before you mark and sew. For stretchy fabrics like knits, this step is a must. It keeps the fabric from stretching while sewing.
Taking these steps gets your fabric ready. It sets you up for great buttonholes.
Setting Up Your Machine for Buttonholes
Once your fabric is ready, you need to set up your sewing machine. These settings tell your machine how to sew the buttonhole.
Sewing Machine Settings Buttonhole Explained
Every sewing machine has its own way to select buttonholes. Look at your machine’s dial or screen.
- Choose the Buttonhole Stitch:
- Dial Machines: Turn the stitch selector dial. Find the buttonhole symbol. It often looks like a rectangle with lines inside. Or it might show the four steps for a
four-step buttonhole. - Electronic Machines: Select the buttonhole stitch on the screen. Press the button for your chosen buttonhole type (e.g.,
one-step buttonholeorkeyhole buttonhole).
- Dial Machines: Turn the stitch selector dial. Find the buttonhole symbol. It often looks like a rectangle with lines inside. Or it might show the four steps for a
- Adjust Stitch Length and Width:
- Stitch Length: For buttonholes, you want very short, dense stitches. This makes the satin stitch look full. The machine usually sets this for you when you choose the buttonhole stitch. But you might need to fine-tune it. A good setting is often between 0.3 and 0.5.
- Stitch Width: This controls how wide the buttonhole’s sides are. Again, the machine often sets this automatically. But you can change it. A common width is 3.0 to 3.5. Too narrow and the buttonhole looks weak. Too wide and it looks chunky.
- Tension Settings: Your machine’s tension knob might need a small change. Often, a normal tension setting (like 4 or 5) works well. If stitches look loose or messy, try adjusting it. Test on scrap fabric first.
- Presser Foot Pressure (If Adjustable): Some machines let you change how much the foot pushes down. For buttonholes, a slightly lighter pressure can help. It stops the fabric from pushing down too much. This helps the stitches form well.
Always check your machine manual for specific sewing machine settings buttonhole. Each machine is a little different.
Attaching the Buttonhole Foot
This step is simple but important.
- Raise the Needle: Turn your handwheel to lift the needle all the way up.
- Raise the Presser Foot: Use the lever to lift the presser foot.
- Remove Regular Foot: Press the button or lever to unclip your regular foot.
- Attach Buttonhole Foot: Slide the
buttonhole footinto place. Make sure it snaps on firmly. Forone-step buttonholefeet, remember to pull out the button holder at the back. Put your button in it. This tells the machine the size.
Test Stitching for Perfect Results
Never sew a buttonhole on your project without testing first.
- Use Scrap Fabric: Take a piece of fabric the same as your project. Use the same number of layers. Add stabilizer if you used it on your project.
- Mark a Test Buttonhole: Draw a line where your test buttonhole will go.
- Sew Your Test: Follow the steps for your machine (one-step or four-step).
- Check:
- Does the button fit through the hole?
- Are the stitches even?
- Does the
buttonhole stitchlook full and neat? - Is the fabric puckering?
- Adjust if Needed: If something is wrong, adjust your
sewing machine settings buttonhole. Change stitch length, width, or tension. Sew another test. Keep testing until it looks perfect. This makes sure your real buttonholes will be great.
Step-by-Step Guide: Sewing a One-Step Buttonhole
The one-step buttonhole is the easiest way to make buttonholes. Your machine does almost all the work.
Marking Your Fabric Clearly
- Decide Placement: Figure out where your buttonholes will go. Measure carefully. Space them out evenly.
- Mark the Start: Use your fabric pen or chalk. Draw a line. This line marks the center of your buttonhole. This is where your needle will start. Make it long enough for the buttonhole.
- Mark the Stop: For
one-step buttonholemachines, you only need to mark the start. The machine measures the length. But a light line for the buttonhole’s full length can still help for alignment. Make sure your markings will rub off or wash out.
Placing the Button
- Grab Your Button: Take the button you will use for your project.
- Insert into Foot: Slide the button into the special holder at the back of your
buttonhole foot. Make sure it fits snugly. This tells the machine the exact size.
Beginning to Sew
- Position Fabric: Place your marked fabric under the
buttonhole foot. Align the marked line with the center guide on the foot. The needle should be exactly where you want the buttonhole to start. - Lower Foot: Lower the
buttonhole foot. - Pull Down Buttonhole Lever: This is crucial for
one-step buttonholemachines. There is a small lever next to the needle bar. It usually points down. Pull it all the way down. Make sure it sits in the notch of thebuttonhole foot. This lever tells the machine when to change directions and finish. If you forget this, the machine will just sew in one direction forever. - Start Sewing: Gently press the foot pedal. The machine will start sewing the buttonhole.
Watching the Machine Work
The machine will sew the first side of the buttonhole. Then it will sew the end (bar tack). Then it will sew the second side. Finally, it will sew the other end (bar tack). It will stop automatically when the buttonhole is done. This is the beauty of the automatic buttonhole function. You just watch it work.
Finishing the First Buttonhole
- Lift Foot and Needle: Once the machine stops, raise the needle. Lift the presser foot.
- Remove Fabric: Carefully pull your fabric out from under the foot.
- Cut Threads: Snip the threads close to the fabric. Leave a small tail. Do not cut too close.
- Check Fit: Place your button next to the sewn buttonhole. Make sure the size looks right.
Repeat these steps for all your buttonholes.
Step-by-Step Guide: Sewing a Four-Step Buttonhole
The four-step buttonhole gives you more control. But it needs more attention. Each step needs you to change a setting.
Marking and Starting
- Mark Clearly: Draw the full length of your buttonhole on the fabric. Mark the start, end, and center line. These marks will guide you for each step.
- Attach Foot: Put on your
four-step buttonhole foot. It often has clear markings to help align your fabric. - Set Up Machine: Select the
four-step buttonholesetting on your machine. This might be a special button or a setting on your stitch dial.
Sewing Side One (Step 1)
- Set Machine to Step 1: Turn your dial to the first step of the buttonhole. This usually sews the first side, going backwards.
- Position Fabric: Place your fabric under the foot. Align the needle with your marked starting point. This is usually the end of the buttonhole furthest from you.
- Sew: Lower the foot. Start sewing. The machine will sew a dense
buttonhole stitchbackward. Sew until you reach your marked end point. Stop with the needle down in the fabric. This helps keep it steady.
Making the Bar Tack (Step 2)
- Set Machine to Step 2: Turn the dial to the second step. This step usually sews the bar tack. This is the short, dense line across the end of the buttonhole.
- Sew: Start sewing. The machine will stitch a few times back and forth. This creates the bar tack. Stop when it looks full and even. The needle should be down on the same side as the first stitch line.
Sewing Side Two (Step 3)
- Set Machine to Step 3: Turn the dial to the third step. This sews the second side of the buttonhole. This side will sew forward.
- Sew: Start sewing. The machine will stitch forward. Sew along your marked line. Make sure it is parallel to the first side. Sew until you reach the start point of your buttonhole. Stop with the needle down. Try to make it the same length as the first side.
Completing the Second Bar Tack (Step 4)
- Set Machine to Step 4: Turn the dial to the last step. This sews the final bar tack.
- Sew: Stitch back and forth a few times. This creates the final bar tack at the start of your buttonhole. It closes the loop.
- Finish: Lift the needle and presser foot. Remove your fabric. Cut the threads.
Remember, practice on scrap fabric is even more important for four-step buttonholes. It helps you get the timing and length right for each step.
Making the Opening: Cutting Buttonhole
Once you sew your buttonhole, you need to open it up. This is where the button will go. This step needs care. You do not want to cut through your stitches.
Tools for Cutting
- Seam Ripper: This is the most common tool. It has a small blade and a red ball. The ball helps protect your fabric.
- Buttonhole Cutter and Awl: These are special tools. A buttonhole cutter is a chisel-like tool. You place it over the buttonhole and hit it with a hammer. It makes a very clean cut. An awl is a pointed tool. You can use it to start the cut.
- Small Sharp Scissors: You can use these for a small part of the cut, but they are less precise than a seam ripper for the main opening.
Safe Cutting Steps
- Place Pins: This is the most important tip for
cutting buttonholesafely. Place a pin at each end of the buttonhole. Put them just inside the stitched bar tack. These pins stop your seam ripper from cutting too far. - Choose Your Starting Point:
- For a regular buttonhole: Start at one end of the buttonhole.
- For a
keyhole buttonhole machinebuttonhole: Start at the straight end. The round end will not be cut through.
- Careful Cut:
- Using a Seam Ripper: Insert the sharp point of your seam ripper into the center of the buttonhole. Start from one end. Push the ripper along the center line towards the other end. Go slowly. Stop when you hit the pin. Turn the fabric around and cut from the other end. Or, you can make a small cut in the middle. Then cut towards each pin.
- Using a Buttonhole Cutter: Place the cutter directly over the buttonhole stitches. Make sure it is straight. Use a mallet or hammer to tap the cutter. This will make a clean cut. This is often the best method for a very clean, crisp opening.
- Check: Make sure the buttonhole is fully open. Be careful not to cut any stitches. If you do, you might need to reinforce it by hand with thread.
- Trim Threads: Snip any loose threads.
Now your buttonhole is ready for your button!
Troubleshooting Machine Buttonholes
Sometimes buttonholes do not turn out perfectly. Do not worry. Many common issues have simple fixes.
Common Problems and Quick Fixes
- Uneven Stitches or Gaps:
- Problem: Stitches look messy. There are gaps.
- Fix:
- Check
Stabilizing buttonholes: Did you use interfacing? Is it firm enough? Add more stabilizer. - Thread Quality: Use good quality thread. Cheap thread can break or fray.
- Tension: Adjust your upper thread tension. If the bobbin thread shows on top, loosen top tension. If top thread shows on bottom, tighten top tension.
- Needle: Is your needle sharp and new? A dull needle can skip stitches.
- Check
- Skipped Stitches:
- Problem: Some stitches are missing.
- Fix:
- Needle: Use a new needle. Make sure it is the right type for your fabric (e.g., ballpoint for knits).
- Thread: Is your machine threaded correctly? Re-thread it.
- Speed: Sometimes sewing too fast can cause skips. Slow down.
- Stabilizer: Add stabilizer.
- Fabric Puckering or Bunching:
- Problem: The fabric around the buttonhole pulls together. It looks crinkled.
- Fix:
Stabilizing buttonholes: This is often the main reason. Use a stiffer interfacing or stabilizer.- Presser Foot Pressure: If your machine has this setting, reduce the presser foot pressure slightly. This lets the fabric feed more smoothly.
- Stitch Density: Your stitches might be too dense. Slightly increase the stitch length. This makes the
buttonhole stitchless tight.
- Machine Not Moving or Stopping:
- Problem: The machine sews one side and then stops. Or it keeps sewing in one direction. (For
one-step buttonhole.) - Fix:
- Buttonhole Lever: Did you pull down the buttonhole lever next to the needle bar? This tells the machine when to stop and turn. Make sure it is fully down and in the
buttonhole footnotch. - Button in Foot: Is the button correctly placed in the
buttonhole foot? The machine needs to measure it.
- Buttonhole Lever: Did you pull down the buttonhole lever next to the needle bar? This tells the machine when to stop and turn. Make sure it is fully down and in the
- Problem: The machine sews one side and then stops. Or it keeps sewing in one direction. (For
- Buttonhole Too Short or Too Long:
- Problem: The button does not fit, or the hole is too big. (For
one-step buttonhole.) - Fix:
- Button in Foot: Is the button in the
buttonhole footcorrectly? Take it out and put it back in. Make sure it is snug. - Test, Test, Test: Always test on scrap fabric first. Adjust if needed.
- Button in Foot: Is the button in the
- Problem: The button does not fit, or the hole is too big. (For
Tips for a Better Buttonhole Stitch
- Clean Your Machine: Lint and dust can affect stitch quality. Clean around your bobbin case and feed dogs regularly.
- Use Good Thread: Quality thread makes better stitches. It is stronger and smoother.
- Iron Often: Pressing your fabric and stabilizer well makes a big difference.
- Practice: The more you sew buttonholes, the better you will get. Keep a scrap fabric bin just for buttonhole practice.
Advanced Tips for Super Buttonholes
Once you are comfortable with basic buttonholes, you can try more advanced tricks.
Different Fabrics, Different Needs
- Knits and Stretchy Fabrics: Always use a knit interfacing or a very stable woven one. Use a ballpoint or stretch needle. This stops stitches from skipping.
Stabilizing buttonholesis crucial here. - Thick Fabrics (like denim, wool): Use a thicker needle (e.g., a denim needle). The machine might struggle to feed thick layers. Take it slow. Make sure your
buttonhole footcan handle the thickness. - Fine Fabrics (like silk, rayon): Use a fine, sharp needle. Use a lightweight, sheer interfacing. Be gentle. These fabrics can pull easily.
Getting Keyhole Buttonhole Machine Ready
If your machine has a keyhole buttonhole machine setting, use it for coats or heavy items.
- Select Setting: Choose the keyhole option on your machine.
- Use Keyhole Foot: Your machine might have a special
keyhole buttonhole foot. Use it if you have one. - Marking: Mark your fabric carefully. The machine will sew a straight line, a bar tack, the keyhole end, and then the other straight line.
- Cutting: When
cutting buttonholefor a keyhole, cut the straight part with a seam ripper. For the round keyhole end, you might use a fabric punch or a very sharp, curved pair of small scissors. Be careful not to cut the stitches around the keyhole.
Practice Makes Perfect
- Sewing is a Skill: No one is perfect on their first try.
- Keep Practicing: Sew buttonholes on scrap fabric whenever you have time.
- Save Test Swatches: Keep your test buttonholes. Write notes on them. What settings worked? What did not? This builds your knowledge.
- Challenge Yourself: Try different fabrics. Try different buttonhole sizes. This will make you a buttonhole pro.
Frequently Asked Questions (FAQ)
Q1: My buttonholes look uneven. What should I do?
A1: Uneven buttonholes are common. First, check your fabric. Make sure it is pressed flat. Always use stabilizer or interfacing. This makes your fabric firm. It stops the stitches from pulling. Also, check your thread tension. It might be too tight or too loose. Do a test on scrap fabric. Adjust the tension until the stitches look smooth on both sides.
Q2: Can I sew buttonholes on stretchy fabric?
A2: Yes, you can. It is very important to use stabilizer for stretchy fabric. Iron a firm, knit interfacing to the back of your fabric. This stops it from stretching while sewing. Also, use a ballpoint or stretch needle. This needle pushes fabric fibers aside. It does not cut them. This helps stop skipped stitches.
Q3: How do I know what size buttonhole to make?
A3: Most one-step buttonhole machines measure your button for you. You just put the button into the buttonhole foot. For four-step buttonhole machines, you need to measure your button. Add about 1/8 inch (3mm) to its diameter. This gives the button a bit of room. Always test the size on scrap fabric first.
Q4: What if my sewing machine does not have a buttonhole foot?
A4: Most machines come with a buttonhole foot. Check all your machine’s accessories. If you truly do not have one, you can often buy one separately. Make sure it fits your machine brand and model. You can sew a buttonhole without the special foot. But it is very hard to make it look good or even. It is best to get the right foot.
Q5: My automatic buttonhole keeps getting stuck or sewing too long.
A5: This usually means the buttonhole lever is not down. On many machines, there is a small lever near the needle. It must be pulled down. It clicks into a notch on the buttonhole foot. This lever tells the machine when the buttonhole is done. If it is not down, the machine does not know when to stop. Check your machine manual for its exact location and use.
Q6: What is the best way of cutting buttonhole?
A6: The safest way is to use a seam ripper. Put a pin across each end of the buttonhole. Place the pins just inside the bar tack stitches. This stops the seam ripper from cutting too far. Then, gently push the seam ripper from the middle of the buttonhole towards each pin. For a very clean cut, a specialized buttonhole cutter (a chisel-like tool) is excellent.
Q7: Can I use keyhole buttonhole machine setting for all my projects?
A7: No, not usually. The keyhole buttonhole machine setting is best for thicker fabrics and larger buttons. Think coats or jackets. The round end helps big buttons sit better. For shirts and blouses, a regular straight buttonhole is fine. Use the right type of buttonhole for your project.
Conclusion
Sewing buttonholes might seem scary at first. But with a sewing machine, it is much easier than you think. Modern machines make it simple with automatic buttonhole features. Even four-step buttonhole methods are easy to learn. The key is to prepare your fabric well. Use the right buttonhole foot. Set your sewing machine settings buttonhole carefully. Always test on scrap fabric. And remember to use pins when cutting buttonhole.
With practice, you will make perfect, neat buttonholes every time. This skill will make your sewing projects look truly professional. So, thread your machine, grab a button, and start sewing!