
Can you thread an antique Singer sewing machine? Yes, absolutely! Threading an antique Singer sewing machine is a rewarding process that connects you to a rich sewing heritage. While it might seem daunting at first, with a little patience and these step-by-step instructions, you’ll be stitching in no time. This guide will cover the essential steps for Singer sewing machine threading, from preparing your machine to getting that perfect stitch. We’ll explore the nuances of vintage Singer needle threading, antique sewing machine bobbin winding, and the general old Singer machine setup.
Many people wonder about the specifics of manual Singer sewing machine operation and how it differs from modern machines. The core principles of threading remain similar, but the mechanics and the path of the thread are unique to each model. We will also touch upon threading a Singer treadle machine and the specific considerations for a Singer Featherweight threading process, as well as connecting Singer sewing machine components and the intricacies of threading a hand-crank Singer. Finally, we’ll delve into the fascinating world of the Singer shuttle mechanism threading.
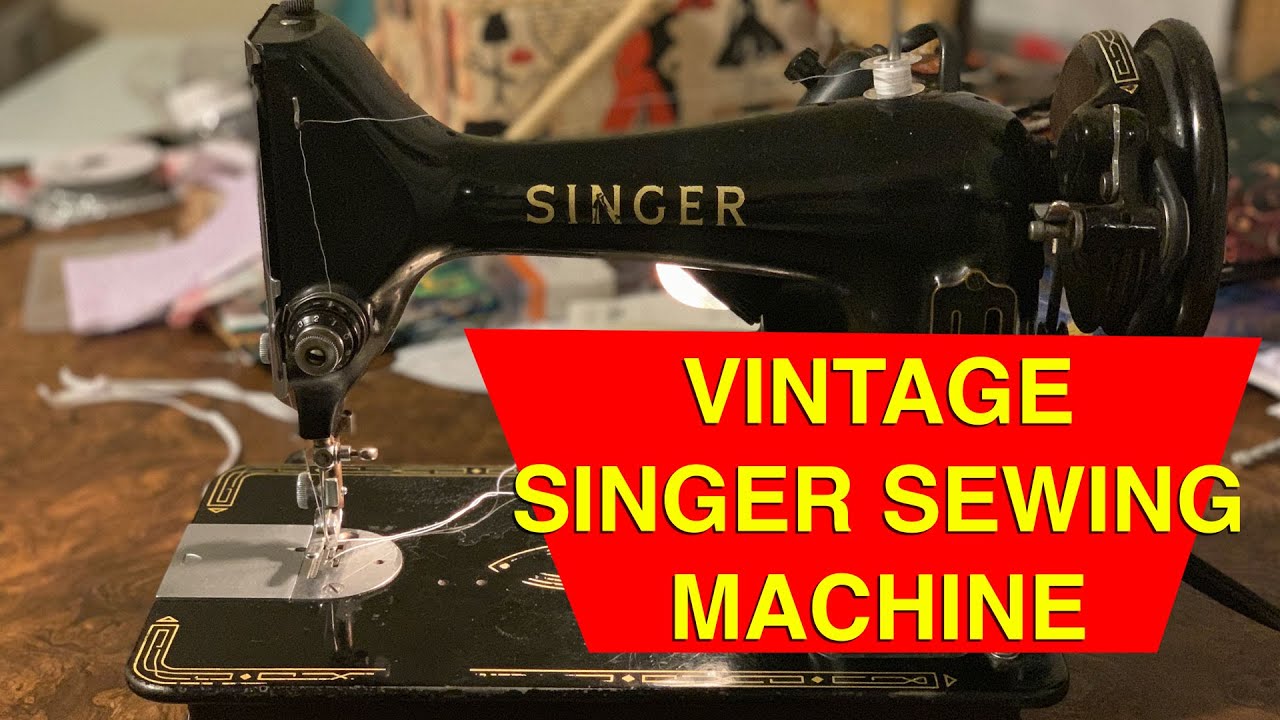
Image Source: i.ytimg.com
Getting Started: Preparing Your Antique Singer
Before you embark on the threading journey, it’s crucial to ensure your antique Singer is ready to sew. This involves a few preliminary checks and preparations.
Essential Preparations
- Cleanliness is Key: Dust and old oil can interfere with the smooth operation of your machine. Gently clean any accessible areas with a soft brush or a dry cloth. Avoid using harsh chemicals.
- Lubrication Check: Antique machines require regular lubrication. Consult your machine’s manual (if available) or look for diagrams online specific to your model. Apply a small amount of sewing machine oil to the designated oiling points. Over-oiling can be as problematic as under-oiling.
- Needle Inspection: Ensure your needle is straight, sharp, and properly inserted. A bent or dull needle will cause skipped stitches and thread breakage. For vintage Singer needle threading, make sure the needle is inserted correctly with the flat side facing the back, unless your specific model dictates otherwise.
- Bobbin and Case: You’ll need a bobbin and, for many models, a bobbin case. Make sure they are clean and free of lint. If your machine uses a shuttle mechanism, ensure the shuttle itself is clean and ready to receive the bobbin.
Threading the Upper Thread: A Detailed Walkthrough
The upper thread is the lifeline of your stitch. Following the correct path is paramount for successful sewing.
Step-by-Step Upper Threading
Most antique Singers follow a similar threading path, although the exact placement of tension discs and guides can vary.
1. Securing the Thread Spool
- Place your spool of thread onto the spool pin. Most machines have a vertical spool pin, but some may have a horizontal one. Ensure the spool is seated securely and can rotate freely.
2. The Thread Path: From Spool to Needle
- First Guide: The thread typically passes through a guide near the spool pin.
- Upper Tension Assembly: This is a critical step. The thread must be properly seated between the tension discs.
- Accessing the Discs: You might need to turn the handwheel towards you to open the tension discs slightly.
- Thread Insertion: Guide the thread down through the opening in the top of the tension assembly and then carefully between the two tension discs. It should feel like it’s being gripped but not strained.
- Lower Guide: After the tension discs, the thread usually goes through a small guide or loop below the tension assembly.
- Take-Up Lever: This is a prominent arm that moves up and down as you sew. Thread the yarn through the eye of the take-up lever, making sure it goes from the outside to the inside as the lever moves up.
- Lower Guides and Check Spring: Following the take-up lever, the thread will navigate through a series of small guides, often a check spring, and then down towards the needle area. Pay close attention to the order and direction specified by the wire guides and metal loops on your machine.
- Presser Foot Bar Guide: Before reaching the needle, the thread usually passes through a guide on the presser foot bar.
- Needle Clamp Screw: Loosen the needle clamp screw to insert the needle if you haven’t already. Make sure the needle is inserted with the flat side facing the back, and push it up as far as it will go. Tighten the needle clamp screw firmly.
- Threading the Needle Eye: Finally, thread the needle from front to back, or side to side, depending on the needle type and machine design. Some machines have a needle threader, but most antique Singers rely on manual threading. For vintage Singer needle threading, holding the thread taut and using good lighting is essential.
Winding and Inserting the Bobbin: The Foundation of the Stitch
A properly wound and inserted bobbin is as important as the upper thread for creating a balanced stitch. Antique sewing machine bobbin winding is a distinct process.
Preparing the Bobbin
1. Bobbin Winding Process
- Engaging the Bobbin Winder: Most Singers have a bobbin winder spindle, often located on the side or top of the machine. You’ll usually need to disengage the drive mechanism from the handwheel to engage the bobbin winder. This often involves pushing a small lever or sliding a clutch.
- Placing the Bobbin: Slip an empty bobbin onto the bobbin winder spindle. Some machines have a small notch or hook to secure the bobbin.
- Initial Threading: Thread the bobbin as instructed. Typically, you bring the thread from the spool pin, through the upper tension discs (sometimes a specific bobbin winding tension guide), and then down through a small hole in the bobbin. Leave a tail of thread.
- Starting the Wind: Hold the thread tail firmly against the bobbin and start the winder. Once a few wraps have been made, you can trim the excess thread tail close to the bobbin.
- Even Winding: Guide the thread back and forth across the bobbin to ensure an even wind. Many machines have an automatic thread guide for the bobbin winder. Do not overfill the bobbin, as this can cause problems with the stitch.
2. Inserting the Bobbin
The method for inserting the bobbin varies significantly between Singer models.
-
Center-Action Bobbin: Some machines use a “center-action” bobbin, where the bobbin is housed in a stationary bobbin case beneath the needle plate.
- Thread Direction: The bobbin should be placed in its case so that the thread unwinds in a counter-clockwise direction.
- Thread Tail: Pull a few inches of thread from the bobbin.
- Insertion: Place the bobbin and its case into the bobbin shuttle. There’s usually a small hook or latch that needs to be engaged. Ensure the thread tail is pulled through the small slit in the bobbin case.
- Singer Shuttle Mechanism Threading: For machines with a shuttle mechanism, the thread needs to be guided through a small tension spring within the shuttle itself. This is a crucial step in Singer shuttle mechanism threading. The thread tail should emerge from the front of the shuttle.
-
Drop-In Bobbin (Less Common on Very Antique Models): Later antique models might have a drop-in bobbin system, which is more similar to modern machines, but the threading path for the upper thread will still be traditional.
Connecting the Machine and Starting to Sew
Once threaded, it’s time to get your machine ready to move and sew.
Powering Your Antique Singer
Antique Singers come with various power sources:
- Treadle Machines: These are powered by your feet moving a treadle connected to a belt, which turns the flywheel. To start threading a Singer treadle machine, ensure the belt is properly tensioned and connected to the motor pulley (or the treadle wheel).
- Hand-Crank Machines: For threading a hand-crank Singer, the crank is turned manually by hand to operate the machine.
- Electric Motors: Many later antique Singers were fitted with electric motors. For connecting Singer sewing machine electric models, ensure the motor is in good working order and the power cord is safe to use.
Bringing Up the Bobbin Thread
This is the final step before you can begin sewing.
- Hold the Upper Thread: Gently hold the tail of the upper thread with your left hand.
- Turn the Handwheel: Slowly turn the handwheel towards you. This will pull the upper thread down, catch the bobbin thread, and bring a loop of bobbin thread up through the needle plate.
- Retrieve the Bobbin Thread: Use your fingers or tweezers to gently pull the loop of bobbin thread up through the needle plate.
- Position the Threads: Pull both the upper thread and the bobbin thread tails back and under the presser foot, towards the rear of the machine. Leave about 4-6 inches of thread from both the needle and the bobbin.
Common Issues and Troubleshooting
Even with careful threading, you might encounter some snags. Here are common problems and their solutions.
Thread Breakage
- Causes: Needle is bent or dull, thread is poor quality, tension is too tight, thread path is obstructed (lint, rough guide), incorrect needle size for thread.
- Solutions: Replace the needle, use good quality thread, adjust tension, clean the thread path, ensure proper needle/thread combination.
Skipped Stitches
- Causes: Needle is not inserted correctly, needle is bent, needle is inserted backwards, wrong type of needle for the fabric, bobbin is not seated correctly, lint in the bobbin area.
- Solutions: Re-insert the needle correctly, replace the needle, check bobbin placement, clean the bobbin area thoroughly.
Puckering Fabric
- Causes: Tension is too tight (usually upper tension), thread is too heavy for the fabric, needle is too large.
- Solutions: Loosen the upper tension, use a lighter thread, use a smaller needle.
Thread Bunching Underneath
- Causes: Upper thread tension is too loose, bobbin tension is too tight, or the bobbin is not wound evenly.
- Solutions: Increase upper tension, decrease bobbin tension (this can be tricky on antique machines and sometimes involves adjusting the bobbin case screw or the shuttle mechanism), ensure even bobbin winding.
Specific Model Considerations
While this guide provides a general overview, specific Singer models have unique characteristics.
Singer Featherweight Threading
Singer Featherweight threading is slightly simpler due to its more compact design. The general path is similar, but the guides are often more streamlined.
- Key Differences: The tension discs are usually more accessible, and the path to the needle is quite direct. Ensure the needle is correctly seated with the flat side to the back, as is standard for most Singers.
Singer Treadle Machine Threading
When threading a Singer treadle machine, the primary difference lies in the power source. The threading path for the thread itself remains the same as for other antique Singers. However, ensuring the treadle belt is correctly tensioned and the flywheel is turning smoothly is crucial for consistent sewing.
Threading a Hand-Crank Singer
For threading a hand-crank Singer, the same threading principles apply. The consistency of your stitch will depend on the regularity of your hand cranking. Take your time, and focus on maintaining a steady rhythm.
Maintaining Your Antique Singer
Proper threading is part of a larger maintenance routine.
Regular Maintenance for Longevity
- Cleaning: Dust your machine regularly.
- Oiling: Follow a consistent oiling schedule.
- Needle Changes: Change needles frequently.
- Storage: Store your machine in a dry place, covered to prevent dust accumulation.
Frequently Asked Questions (FAQ)
Q1: What kind of thread should I use for my antique Singer?
A1: It’s best to use good quality cotton or cotton-blend thread. Avoid very coarse or very fine threads initially. Polyester threads can also work, but cotton often feels more authentic for antique machines. Start with a medium weight, like a 50wt or 60wt.
Q2: Can I use modern bobbins in my antique Singer?
A2: This depends heavily on the specific Singer model. Many antique Singers used unique bobbin shapes and sizes. You will likely need to find original Singer bobbins or compatible reproductions specifically made for your model. Check the machine’s manual or online resources for your model number.
Q3: My antique Singer is making a terrible noise, what could be wrong?
A3: Noises usually indicate a need for cleaning and lubrication. Check for any lint buildup in the bobbin area, under the needle plate, or in the bobbin winder. Ensure all moving parts are properly oiled. Sometimes, a loose part can also cause noise.
Q4: How do I adjust the tension on my antique Singer sewing machine?
A4: The primary tension adjustment is usually a knob or dial on the upper tension assembly. Turning it clockwise increases tension, and counter-clockwise decreases it. Bobbin tension is less easily adjusted and often involves a small screw on the bobbin case or shuttle mechanism. Make small adjustments and test frequently.
Q5: Where can I find a manual for my specific antique Singer model?
A5: Many vintage Singer manuals are available online through digitized archives or sewing machine enthusiast websites. Searching for your specific Singer model number (e.g., “Singer 15-91 manual”) is usually the best approach.
Threading your antique Singer sewing machine is a rewarding skill. By following these detailed steps, you’ll be well on your way to enjoying the smooth, reliable stitching that these classic machines are known for. Happy sewing!