
Learning how to thread a bobbin on a Brother sewing machine is a fundamental skill for any sewer. Can you sew without a bobbin? No, the bobbin works with the top thread to create a strong stitch. Who is this guide for? It’s for anyone who owns a Brother sewing machine and wants to ensure their machine is set up correctly for successful sewing. This comprehensive guide will walk you through each step of Brother bobbin winding, making the process simple and efficient. We’ll cover everything from selecting the right Brother sewing machine bobbins to troubleshooting common issues.
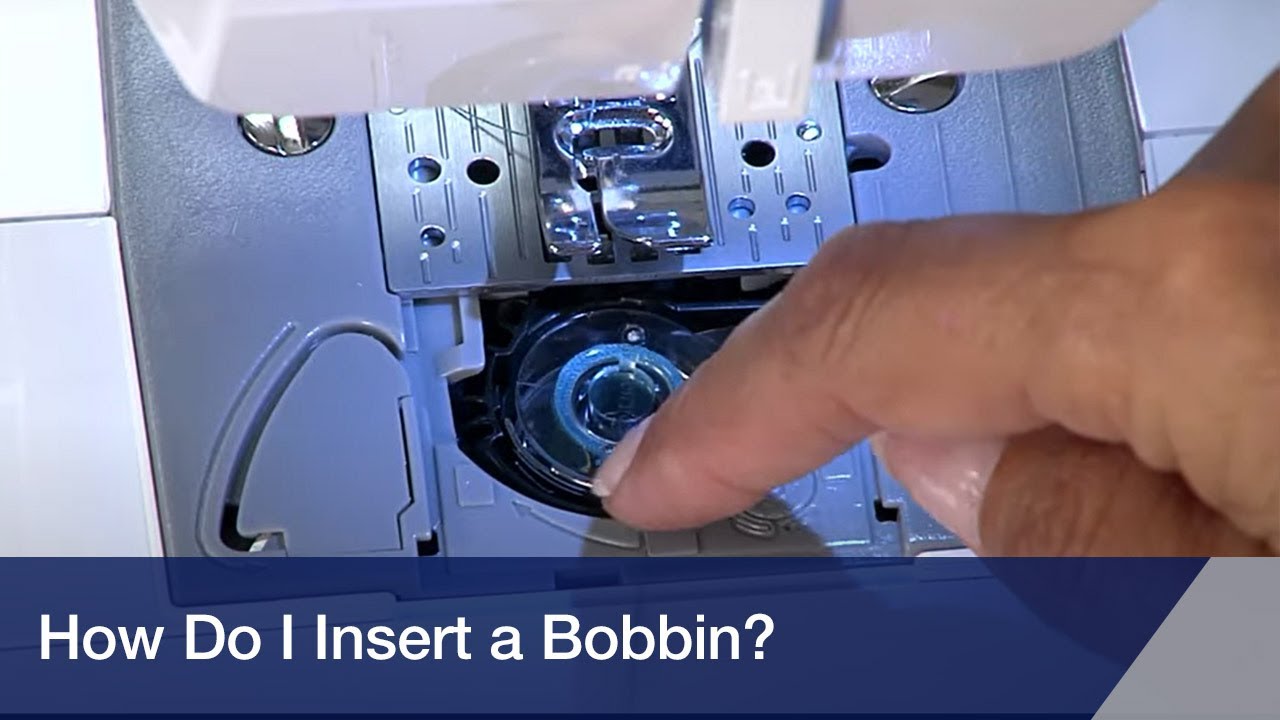
Image Source: i.ytimg.com
Preparing Your Brother Sewing Machine for Bobbin Winding
Before you can start winding a bobbin, it’s crucial to prepare your machine correctly. This ensures the bobbin winds evenly and your machine functions as it should. Proper Brother sewing machine setup is key to a smooth sewing experience.
Locating the Bobbin Winder
Every Brother sewing machine has a dedicated bobbin winder. This is usually a small spindle or post located on the top or side of your machine. It’s designed to hold your bobbin while the thread is wound onto it. Some models might have a cover that needs to be opened to access the bobbin winder.
Identifying Necessary Brother Sewing Machine Parts
To wind a bobbin, you’ll need a few key Brother sewing machine parts:
- Bobbin: The small, cylindrical spool that holds the lower thread. Ensure you are using genuine Brother sewing machine bobbins or bobbins specifically compatible with your model.
- Thread Spool: The larger spool of thread you’ll use for sewing.
- Bobbin Winder Spindle: The post on the machine where the bobbin is placed for winding.
- Thread Guide: A small hook or eyelet on the machine that directs the thread from the spool to the bobbin.
Step-by-Step Guide to Brother Bobbin Winding
Following these steps will help you wind bobbin Brother machine correctly every time.
Step 1: Placing the Bobbin on the Winder
- Find the Bobbin Winder Spindle: Locate the bobbin winder spindle on your Brother sewing machine.
- Slide the Bobbin: Slide a bobbin onto the spindle. Make sure the bobbin is placed with the grooved or slotted end facing outwards. This groove is important for securing the thread initially.
- Engage the Bobbin Winder: Most Brother machines have a mechanism to engage the bobbin winder. This often involves sliding the bobbin winder mechanism to the right or left, away from the needle area. Consult your machine’s manual if you’re unsure.
Step 2: Threading the Bobbin Winder
This is where the thread from your spool is guided to the bobbin.
- Start with the Thread Spool: Place your thread spool onto the main spool pin of your Brother sewing machine. Ensure the thread unwinds smoothly.
- Follow the Thread Path: Your machine will have a designated thread path for bobbin winding. This path typically involves:
- Passing the thread through the first thread guide.
- Going down and around a tension disc (often part of the bobbin winder unit).
- Passing through a small hole or loop specifically for bobbin winding.
- Moving towards the bobbin winder spindle.
- Secure the Thread: Take the end of the thread and pass it through the small hole or slot on the side of the bobbin.
- Loop the Thread: Wrap the thread around the bobbin several times, going in the direction indicated by arrows on the bobbin itself or the machine. You want to ensure the thread starts winding neatly.
Step 3: Winding the Bobbin
Now it’s time to wind the thread onto the bobbin.
- Start the Machine: Gently press the foot pedal. The bobbin winder will start spinning, winding the thread onto the bobbin.
- Monitor the Winding: Keep an eye on how the thread is being wound. It should be neat and even. If it starts to wind unevenly or bunch up, stop the machine and re-thread the bobbin winder.
- Automatic Stop: Most Brother sewing machines have an automatic stop function. When the bobbin is full, the winder will disengage or stop automatically.
- Manual Stop: If your machine doesn’t have an automatic stop, stop the machine manually when the bobbin appears full. Don’t overfill it, as this can cause sewing issues.
Step 4: Cutting the Thread and Removing the Bobbin
Once the bobbin is wound:
- Disengage the Bobbin Winder: Move the bobbin winder mechanism back to its original position (usually to the left, towards the needle area).
- Cut the Thread: Use the thread cutter on your machine, or scissors, to cut the thread between the spool and the bobbin.
- Remove the Bobbin: Carefully slide the wound bobbin off the bobbin winder spindle.
Threading the Lower Bobbin into the Bobbin Case
After winding, the next critical step is threading lower bobbin correctly into the bobbin case and then into your Brother sewing machine. This is essential for the machine to create stitches.
Understanding the Bobbin Case
Most Brother sewing machines, especially mechanical ones, use a removable bobbin case Brother that holds the bobbin. Newer computerized models often have a top-loading bobbin system that doesn’t require a separate bobbin case. We will cover both scenarios.
Scenario 1: Brother Sewing Machines with Removable Bobbin Cases
- Locate the Bobbin Case Area: Open the needle plate or the machine cover to access the bobbin case compartment.
- Remove the Bobbin Case: If a bobbin case is currently in the machine, remove it.
- Insert the Wound Bobbin: Take your wound bobbin and place it into the bobbin case. The thread should unwind from the bobbin in a counter-clockwise direction. You’ll see a small slot or tab on the bobbin case where you should tuck the thread end.
- Pull the Thread Through the Slot: Gently pull the thread tail through the slot in the bobbin case. This ensures the bobbin is seated correctly.
- Insert Bobbin Case into Machine: Now, carefully place the bobbin case (with the bobbin inside) back into the machine’s bobbin compartment. Pay attention to the orientation. There is usually a small notch or tab on the bobbin case that aligns with a corresponding groove in the machine.
- Ensure Proper Seating: The bobbin case should sit snugly and evenly.
Scenario 2: Brother Sewing Machines with Top-Loading Bobbin Systems
Many modern Brother sewing machines feature a top-loading bobbin system, which simplifies the process.
- Remove the Needle Plate: Lift off the needle plate or presser foot, depending on your machine’s design, to access the bobbin area.
- Insert the Wound Bobbin: Take your wound bobbin and place it directly into the designated bobbin holder. The thread should unwind from the bobbin in a counter-clockwise direction.
- Guide the Thread: There’s usually a small slot or guide within the bobbin holder where you need to pull the thread.
- Pull Thread Through the Guide: Gently pull the thread tail through this guide until it comes out the side.
- Replace Needle Plate/Presser Foot: Put the needle plate or presser foot back in place.
Bringing Up the Bobbin Thread to the Needle
Once the bobbin is loaded, you need to bring the bobbin thread up to meet the needle thread. This is a crucial step in sewing machine bobbin threading.
- Hold the Top Thread: With one hand, hold the tail of the top thread coming from the needle.
- Turn the Handwheel: Slowly turn the handwheel of your Brother sewing machine towards you (counter-clockwise). This will lower the needle, catch the bobbin thread, and pull it up through the hole in the needle plate.
- Pull Up the Bobbin Thread: Continue turning the handwheel until the needle has gone all the way down and started to come back up. You should see a loop of bobbin thread emerge.
- Hook the Loop: Use your fingers or a seam ripper to catch this loop of bobbin thread.
- Pull Through: Gently pull the loop of bobbin thread upwards until it comes through the needle plate completely. You will now have both the top thread and the bobbin thread in front of the machine.
- Lay Threads Back: Lay both thread tails towards the back of the machine, under the presser foot.
Key Considerations for Brother Bobbin Winding
To ensure successful Brother bobbin winding and overall sewing, keep these points in mind:
Choosing the Right Bobbins
- Genuine Brother Bobbins: Always try to use genuine Brother sewing machine bobbins. They are designed to the exact specifications of your machine and will ensure proper tension and smooth winding.
- Compatibility: If you use generic bobbins, ensure they are specifically listed as compatible with your Brother sewing machine model. Wrongly sized bobbins can cause damage and poor stitch quality.
- Material: Most modern machines use plastic bobbins. Older machines might use metal bobbins. Check your machine’s manual for the correct type.
Threading Tension
- Bobbin Tension: The tension of the thread on the bobbin is critical. It should be taut enough not to unravel but not so tight that it hinders winding. The bobbin winder has a tension disc that controls this.
- Top Thread Tension: While this guide focuses on the bobbin, remember that the top thread tension also needs to be correctly set for balanced stitches.
Threading Path Accuracy
- Follow the Numbers/Diagrams: Brother sewing machines often have numbered thread guides or diagrams printed on the machine itself to show the correct path for both sewing and bobbin winding. Always follow these.
- Double Check: Before starting to wind, trace the thread path with your finger to ensure you haven’t missed any guides.
Troubleshooting Common Bobbin Winding Issues
Even with careful attention, you might encounter problems. Here are solutions for common issues related to Brother bobbin winding.
Bobbin Not Winding Evenly
- Problem: Thread is bunching up or winding unevenly on the bobbin.
- Possible Causes:
- Thread not fed correctly through the bobbin winder tension disc.
- Bobbin not seated properly on the winder spindle.
- Thread spool is not sitting correctly or is snagged.
- Solutions:
- Re-thread the bobbin winder, ensuring the thread goes through all guides and the tension disc.
- Ensure the bobbin is securely on the spindle and the thread is through the bobbin’s starting hole.
- Check the thread spool for any knots or tangles.
Bobbin Stops Winding Prematurely
- Problem: The machine stops winding the bobbin before it’s full.
- Possible Causes:
- The automatic stop mechanism has engaged early.
- The thread is caught on the spool or elsewhere.
- Solutions:
- Check if the bobbin winder arm has been accidentally bumped or if there’s an issue with the auto-stop sensor.
- Ensure the thread path is completely clear.
Bobbin Doesn’t Wind at All
- Problem: The bobbin winder spins, but no thread is winding onto the bobbin.
- Possible Causes:
- The bobbin winder mechanism is not properly engaged.
- The thread is not threaded through the bobbin’s hole or starting slot.
- The machine is not set to bobbin winding mode (on some models).
- Solutions:
- Ensure the bobbin winder is fully engaged (usually by sliding a clutch mechanism).
- Double-check that the thread is secured through the bobbin’s hole and wound a few times around it.
- Refer to your Brother sewing machine manual for any specific mode selection for bobbin winding.
Bobbin Tension is Too Loose or Too Tight
- Problem: Wound bobbin thread is too loose (easily breaks or comes undone) or too tight (pulls the top thread too hard).
- Possible Causes:
- Incorrect tension setting on the bobbin winder tension disc.
- Thread snagged in the tension disc.
- Solutions:
- Carefully adjust the tension disc. If it’s too loose, increase the tension slightly by threading the thread tighter through the discs. If too tight, loosen it.
- Ensure the thread passes smoothly through the tension disc without getting caught.
Maintenance of Bobbin Winder and Related Parts
Regular maintenance ensures your bobbin winder Brother and other Brother sewing machine parts function correctly for years.
Cleaning the Bobbin Area
Dust and lint can accumulate in the bobbin area, affecting stitch quality and winding.
- Remove Lint: After each use, or as needed, remove the needle plate and bobbin case. Use a small brush or a lint roller to clean out any accumulated lint or thread scraps from the bobbin case holder and surrounding area.
- Check for Damage: Inspect the bobbin case and the bobbin holder for any signs of damage or wear.
Lubrication
Some Brother sewing machines may require occasional lubrication in the bobbin area. Always refer to your machine’s manual for specific lubrication points and recommended oils.
Frequently Asked Questions (FAQ)
Here are answers to common questions about sewing machine bobbin threading on Brother machines.
Q1: What kind of bobbins do I need for my Brother sewing machine?
You should use bobbins that are specifically designed for your Brother sewing machine model. Genuine Brother bobbins are always recommended. Check your machine’s manual for the exact bobbin type (e.g., SA156, SA173, or other specific part numbers) and material (plastic or metal).
Q2: Can I use a different brand of bobbins on my Brother sewing machine?
While it might be possible to use bobbins from other brands, it’s not recommended unless they are explicitly stated as compatible with your specific Brother model. Incorrectly sized or shaped bobbins can cause tension issues, skipped stitches, or even damage to your machine’s bobbin case or hook assembly.
Q3: How do I know when my bobbin is wound correctly?
A correctly wound bobbin will have evenly distributed thread, without gaps or overlaps. The thread should be taut but not so tight that it’s difficult to unwind. Most Brother machines have an auto-stop feature that signals when the bobbin is full.
Q4: Why is my bobbin thread breaking?
Bobbin thread can break due to several reasons:
* The bobbin thread is snagged on the bobbin itself or the bobbin case.
* The bobbin tension is too tight.
* The bobbin is not wound evenly or is overfilled.
* The bobbin itself is damaged or has rough edges.
* The needle is dull, bent, or incorrectly inserted.
Q5: What is the bobbin winder clutch?
The bobbin winder clutch is a mechanism on many sewing machines that allows you to disengage the machine’s main sewing mechanism from the bobbin winder spindle. This ensures that when you are winding a bobbin, only the bobbin winder operates, not the sewing needle. Engaging and disengaging this clutch is a key step in the bobbin winding process.
By following these detailed steps and tips, you can confidently thread bobbin on Brother sewing machine easily, ensuring smooth and successful sewing projects. Happy sewing!