
Do you want to learn how to use embroidery patterns? Are you wondering how to get a design onto your fabric? This guide will show you everything you need to know, perfect for beginners. It covers getting the design onto fabric, picking stitches, and much more. This is your beginner embroidery pattern guide.
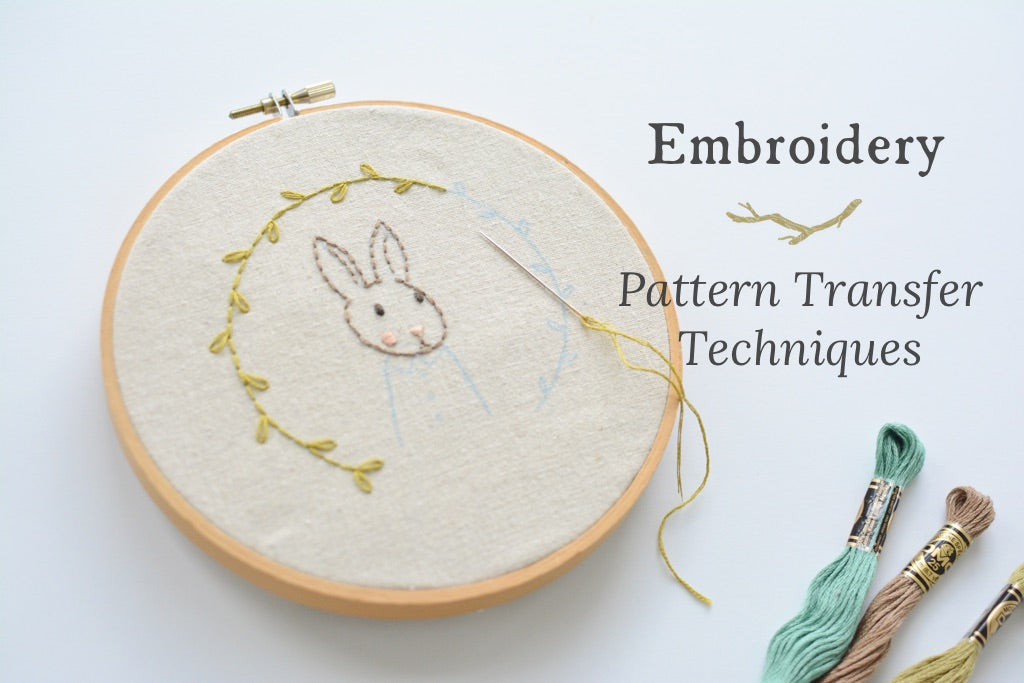
Image Source: www.twigandtale.com
What You Need to Start
To use an embroidery pattern, you need a few basic things. Knowing the right materials for using embroidery patterns is the first step.
- Fabric: Cotton or linen are good choices. Pick a color that works with your thread.
- Embroidery Hoop: This holds your fabric tight. It comes in different sizes.
- Embroidery Floss: This is the thread you use. It comes in many colors.
- Needles: You need special embroidery needles. They have a larger eye.
- The Pattern: This is the design you want to stitch.
- Stuff to Transfer the Pattern: This depends on the method you use. It could be a pen, pencil, paper, or special tools.
- Scissors: Small sharp ones are best for cutting floss.
H4 Choosing Your Fabric
Fabric is key. It needs to hold stitches well. It should not stretch too much.
- Cotton: Easy to find. Easy to stitch through. Good for beginners.
- Linen: Stronger than cotton. Has a nice texture. Can be a bit more costly.
- Aida Cloth: This is for cross stitch. It has clear holes. Not for regular embroidery patterns.
Always wash and iron your fabric first. This shrinks it if it will shrink. It removes wrinkles.
H4 Picking Your Embroidery Floss
Floss is the thread. It comes in many colors. DMC and Anchor are popular brands.
- Strands: Floss has 6 strands. You can use all 6. Or use fewer for finer lines. Patterns often tell you how many strands to use.
- Colors: Patterns might suggest colors. Or you can pick your own. Get colors that match your design.
H4 Selecting the Right Needle
Embroidery needles have a larger eye. This lets the floss pass through easily.
- Sizes: Needles come in different sizes. A higher number is a smaller needle. Size 7 or 8 is good for most projects.
- Sharpness: Embroidery needles are sharp. This helps them go through fabric easily.
H4 Your Embroidery Hoop
The hoop keeps your fabric tight. This makes stitching easier. It is usually two rings.
- Putting Fabric in the Hoop: Loosen the screw. Place fabric over the inner ring. Put the outer ring over the fabric. Push it down. Pull the fabric taut. Tighten the screw. Make sure the fabric is drum-tight.
Grasping Embroidery Pattern Types
Embroidery patterns come in many forms. Knowing embroidery pattern types explained helps you choose.
- Printable Patterns: These are files you print at home. You get them from websites or shops.
- Pattern Books/Sheets: Designs are printed on paper.
- Transfer Patterns: These have special ink. You iron them onto fabric.
- Pre-Printed Fabric: The design is already printed on the fabric. You just stitch over it.
- Digital Patterns: You see these on a screen. You need a way to get them onto fabric. Using digital embroidery patterns is common now.
H4 Free Patterns
Many websites offer free patterns. These are great for starting out. Look for simple designs.
H4 Paid Patterns
Artists sell patterns online. They are often more complex. Or they have unique designs. Buying patterns supports the artists.
Deciphering an Embroidery Chart
Patterns sometimes come with a chart. Knowing how to read embroidery chart is helpful.
- The Chart: It shows the design. Lines show where to stitch. Symbols might show stitch types or colors.
- Color Key: If symbols are used, a key tells you which color each symbol means.
- Stitch Key: It might tell you which stitch to use for each line or area. For example, a solid line might mean backstitch. A dashed line might mean running stitch.
Look at the pattern picture. Look at the chart. Match them up. Read any notes on the chart or pattern page. They give important details.
H3 Embroidery Pattern Transfer Methods
Getting the pattern onto your fabric is a big step. There are several embroidery pattern transfer methods. The best way to transfer embroidery pattern depends on your fabric and the pattern itself.
H4 The Light Box or Window Method
This method works best for light-colored fabrics.
- How it Works: Put your pattern on a light source. A light box or sunny window works. Place your fabric over the pattern. You will see the design through the fabric.
- Tracing: Use a water-soluble or heat-erasable pen. Trace the lines of the pattern onto the fabric.
- Pros: Easy and cheap. No special tools needed besides a pen and light.
- Cons: Only works with thin, light fabrics. Can be hard to trace accurately.
H4 The Tracing Paper Method
This is good for more detailed patterns or darker fabrics.
- How it Works: Get tracing paper or tissue paper. Place it over your pattern. Trace the design onto the paper using a pencil.
- Attaching Paper to Fabric: Pin or baste the tracing paper onto your fabric. Basting is sewing loosely with a large stitch. Place it where you want the design. Applying embroidery pattern to fabric needs care.
- Stitching Through Paper: Stitch your design right through the paper and fabric.
- Removing Paper: Once done stitching, carefully tear the paper away. Use tweezers for small bits.
- Pros: Works on any fabric color. Accurate transfer.
- Cons: Tearing paper can be annoying. Small stitches can be hidden by paper bits.
H4 The Water-Soluble Stabilizer Method
This is a modern and easy method.
- How it Works: This is a special material. It looks like fabric or paper. It dissolves in water.
- Printing: If you have a printer, you can print the pattern right onto the stabilizer. Using digital embroidery patterns is easy with this.
- Tracing: If you don’t have a printer, trace the pattern onto the stabilizer. Use a water-soluble pen.
- Attaching to Fabric: Peel off the backing if it’s sticky. Stick it onto your fabric. If it’s not sticky, pin or baste it on.
- Stitching: Stitch through the stabilizer and fabric.
- Removing: When done, soak the hoop in water. The stabilizer disappears.
- Pros: Very accurate. Works on any fabric color. Supports the fabric while you stitch.
- Cons: Can be more expensive. You need to rinse the fabric after stitching.
H4 The Carbon Paper Method
This is an older but effective method, especially for darker fabrics.
- How it Works: You use special dressmaker’s carbon paper. It comes in different colors.
- Layering: Place your fabric down. Place the carbon paper color-side-down on the fabric. Place your pattern on top of the carbon paper.
- Tracing: Use a stylus or a blunt pencil. Trace firmly over the lines of your pattern. The carbon transfers the design onto the fabric.
- Pros: Works well on dark fabrics. Quick transfer.
- Cons: The lines can be hard to remove. Use a light touch. Test it on scrap fabric first.
H4 The Iron-On Transfer Pen/Pencil Method
This method uses heat to transfer the design.
- How it Works: Trace your pattern onto thin paper using an iron-on transfer pen or pencil. The ink in these pens transfers when heated.
- Transferring: Place the traced side down onto your fabric. Press with a warm iron. Do not move the iron around. Just press straight down.
- Pros: Quick and easy for simple designs.
- Cons: The transfer can fade with heat or be hard to remove. You often only get one good transfer. Not good for detailed work. Test on scrap fabric.
H4 Choosing the Best Way to Transfer
Think about your fabric color and type. Think about the pattern detail. Think about your budget.
- Light fabrics, simple patterns: Light box or window method.
- Any fabric color, detailed patterns: Tracing paper or water-soluble stabilizer.
- Dark fabrics: Carbon paper or water-soluble stabilizer.
- Quick, simple transfer: Iron-on pen (with caution).
Always test your transfer method on a scrap piece of your fabric first! Some inks might not come out.
Applying the Embroidery Pattern to Fabric
Once you have chosen your method, applying embroidery pattern to fabric needs care.
- Placement: Where will the design go? Center it? Put it in a corner? Mark the center of your fabric. Mark the center of your pattern. Line them up. Think about the size of your hoop. Will the design fit nicely inside? Embroidery pattern placement on hoop matters for stitching ease.
- Securing: Pin the pattern or transfer paper firmly to the fabric. Make sure it cannot shift while you trace or stitch. If using sticky stabilizer, smooth it down well.
- Tracing Carefully: Use a pen made for fabric. Make sure it comes off later (water-soluble or heat-erasable). Trace the lines accurately. Don’t press too hard unless using carbon paper.
H5 Checking Your Transfer
Lift the pattern or paper. Check if the design transferred fully. Are the lines clear? Did you miss any parts? Touch up any faint lines if possible with your fabric pen.
Ready to Stitch: Embroidery Stitches for Patterns
Patterns use different stitches. The pattern might tell you which stitches to use. If not, you get to choose! Knowing embroidery stitches for patterns is fun.
H4 Basic Stitches for Lines
- Backstitch: Great for outlines and text. You make small stitches going backward.
- Outline Stitch (Stem Stitch): Good for flowing lines like stems or curly designs.
- Running Stitch: Simple stitch, good for broken lines or filling areas lightly.
H4 Basic Stitches for Filling Areas
- Satin Stitch: Makes smooth, filled areas. Stitches lie very close together. Good for shapes like leaves or hearts.
- Long and Short Stitch: Used for filling larger areas, especially with shading. Stitches are varied lengths.
- Seed Stitch: Small stitches scattered like seeds. Gives texture.
H4 Basic Knots
- French Knot: Creates a small dot or knot. Good for eyes or decorative spots.
- Colonial Knot: Similar to a French knot, some find it easier.
H4 Basic Decorative Stitches
- Lazy Daisy (Detached Chain Stitch): Makes petal shapes. Good for flowers.
- Chain Stitch: Forms a linked chain. Good for bold outlines.
- French Knots
- Satin Stitch
- Backstitch
- Lazy Daisy Stitch
- Running Stitch
- Stem Stitch
- Chain Stitch
- Long and Short Stitch
H5 Choosing Stitches for Your Pattern
Look at your design. What kind of lines does it have? Thin or thick? Are there areas to fill?
- Outlines: Backstitch or outline stitch.
- Small details: Backstitch or split stitch.
- Filling shapes: Satin stitch or long and short stitch.
- Small dots: French knots.
- Flowers/Leaves: Lazy daisy, satin stitch, or outline stitch.
Don’t be afraid to try new stitches. Look up video tutorials online if you are unsure how to do a stitch. Practice on scrap fabric first.
Using Digital Embroidery Patterns
Digital patterns are common now. You buy a file online. How do you use them? Using digital embroidery patterns gives you flexibility.
- Getting the File: You usually download a PDF file.
- Viewing the Pattern: Open the file on your computer or tablet. Zoom in to see details.
- Printing: Most patterns are designed to be printed. Print it at the right size. Make sure your printer settings are correct (100% scale, not ‘fit to page’).
- Transferring: Once printed, treat it like a printable pattern. Use a light box, tracing paper, or carbon paper to transfer it.
- Using with Stabilizer: Print directly onto water-soluble stabilizer if you have an inkjet printer. Check the stabilizer instructions.
H4 Viewing on a Tablet/Screen
You don’t always need to print.
- Using a Tablet as a Light Box: Put your tablet flat. Open the pattern on the screen. Place fabric over the screen. Trace the design onto the fabric. Be careful not to scratch your screen. Protect it with a clear sheet if needed.
- Projecting: If you have a projector, you can project the pattern onto your fabric. Trace the lines. This is good for large designs.
H5 Resizing Digital Patterns
Most digital patterns can be resized on your computer before printing.
- Scaling in Print Settings: Change the print percentage. Print at 50% to make it smaller. Print at 150% to make it larger.
- Check Size Before Transfer: Measure the printed pattern. Does it fit your hoop and fabric space?
Embroidery Pattern Placement on Hoop
Where you put the design on your fabric matters. Embroidery pattern placement on hoop affects how easy it is to stitch.
- Center the Design: For a piece that will hang in the hoop, center the design in the middle of the hoop.
- Off-Center Design: For a piece that will be framed or sewn onto something, place the design where it looks best. Mark the center of your fabric space. Align the pattern center with it.
- Plenty of Fabric Around: Leave at least 2-3 inches of extra fabric around the design. This gives you room to put it in the hoop. It gives room for framing or finishing later.
- Hoop Position: When you put the fabric in the hoop, make sure the area you are stitching is flat and tight inside the inner ring. You can move the hoop as you stitch different parts of a large design.
H4 Using Hoop Marks
Some hoops leave marks on fabric.
- Avoid Leaving Fabric in Hoop: Don’t leave your project in the hoop for long periods. This can cause creases that are hard to remove.
- Protect Fabric: Wrap the inner ring of your hoop with fabric strips or bias tape. This can help prevent hoop marks and keep the fabric tighter.
Finishing Your Piece
After you finish stitching, take it out of the hoop.
- Remove Transfer Marks: If you used a water-soluble pen or stabilizer, rinse the fabric gently according to the pen/stabilizer instructions.
- Ironing: Place the embroidery face down on a soft towel. Iron gently on the back. This helps flatten the stitches without squishing them.
- Finishing Edges: Trim the extra fabric. You can leave it as is to frame in the hoop, sew it into a pillow, or frame it in a picture frame.
Tips for Beginner Embroidery Pattern Users
- Start Simple: Pick a pattern with clear lines and a few basic stitches.
- Practice Stitches: Before starting your project, practice the stitches on a scrap of fabric.
- Use Good Light: Stitch in a well-lit area. This prevents eye strain.
- Take Breaks: Embroidery takes time. Take breaks to rest your hands and eyes.
- Keep Your Fabric Clean: Wash your hands before stitching. Keep your project away from dirt or spills.
- Don’t Rush: Enjoy the process. Embroidery is relaxing.
- Fix Mistakes: If you make a mistake, you can carefully remove stitches. Use a seam ripper or small sharp scissors. It’s okay to redo a section.
- Organize Your Floss: Keep your floss colors neat. Bobbins or storage cards help.
H3 FAQ: Your Questions Answered
H4 What is the easiest embroidery pattern transfer method for beginners?
The light box or window method is often easiest for beginners if they use light fabric. Tracing onto water-soluble stabilizer and sticking it on fabric is also very simple and works on any fabric color.
H4 Can I reuse an embroidery pattern?
It depends on the type. Printable patterns can be reused forever. Tracing paper patterns can be reused until the paper tears too much. Iron-on transfers usually only work well once. Carbon paper can be used a few times. Water-soluble stabilizer is single-use for tracing/printing directly onto it.
H4 How do I choose the right size pattern?
Think about what you want to do with the finished piece. Will it fit in a specific hoop size? On a pillow? Measure the space you want the embroidery to fill. Look at the pattern size stated by the designer. If it’s a digital pattern, you can often resize it before printing.
H4 What do the numbers on embroidery floss mean?
Floss brands like DMC use number codes for colors. If your pattern lists DMC 310, it means black floss. DMC 816 is a red color. Look for a color chart online or at a craft store.
H4 Do I have to use the stitches shown on the pattern?
No, you don’t! Patterns suggest stitches, but you can change them. If you don’t like a stitch, pick one you prefer. Want to fill an area with French knots instead of satin stitch? Go for it! It’s your project. This freedom is part of the fun of using embroidery patterns.
H4 How do I wash my finished embroidery?
Check the thread and fabric type first. Most cotton and linen pieces with cotton floss can be hand washed gently in cool water with a mild soap. Rinse well. Do not wring or twist. Roll in a towel to remove excess water, then lay flat to dry. Check if your transfer method requires washing.
H4 My transfer lines won’t come off. What do I do?
This can happen if you use the wrong pen or press too hard with carbon paper. Test an inconspicuous area first. If the lines are stubborn, try a gentle fabric stain remover, but test it first! Sometimes lines fade over time or get covered by stitches. This is why testing the transfer method is so important.
H3 Wrapping Up
Using embroidery patterns opens up a world of creative projects. You can stitch beautiful pictures, add designs to clothes, or make personalized gifts. With different embroidery pattern transfer methods, types of patterns, and lots of stitches to choose from, you can find the perfect way to bring a design to life on fabric. Remember to start simple, practice, and enjoy the process. Happy stitching!