
Why isn’t your sewing machine stitching? This is a common question for anyone who sews. Often, the reason your sewing machine won’t sew or make a stitch is something simple you can fix yourself, like how the thread is put in, a bent needle, or lint buildup. Don’t worry! We can look at the usual problems and how to get your machine working again.
Sewing is fun. But sometimes, your sewing machine just stops stitching. It might skip stitches sewing machine, or the upper thread breaking again and again. Maybe you see loops under fabric, or the thread jamming sewing machine. Let’s look at why this happens and what to do. Most times, it’s an easy fix.
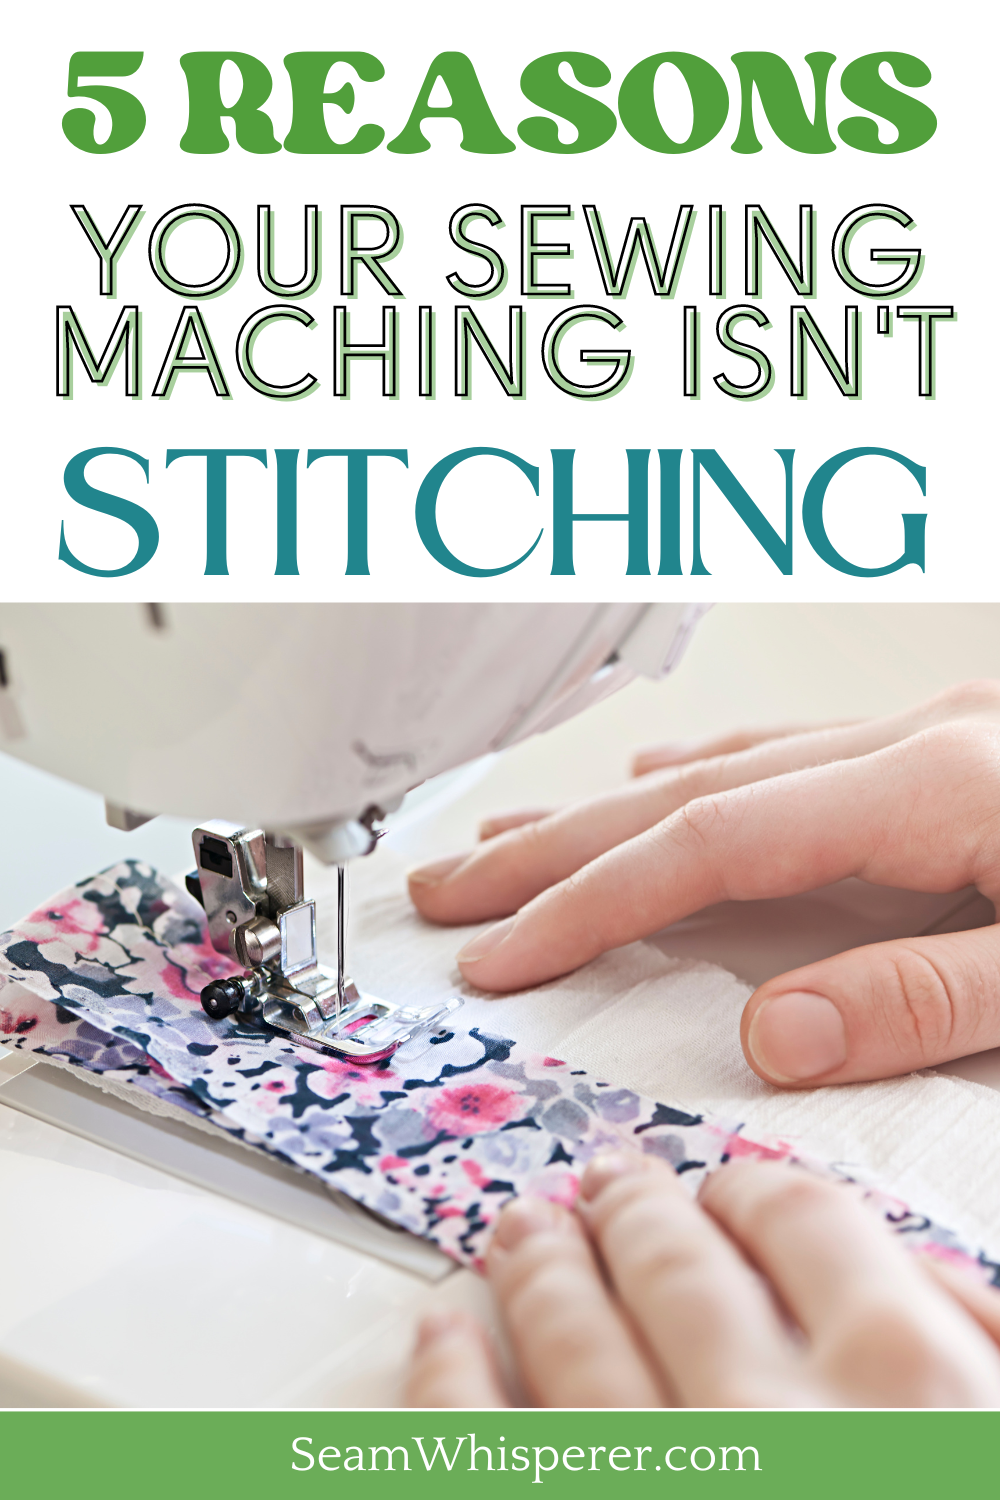
Image Source: seamwhisperer.com
Checking the Basics First
Before you think something big is wrong, always check the simple things. Make sure the machine is plugged in. Make sure the power switch is on. Is the foot pedal connected right? Is the presser foot down? The machine will not sew if the presser foot is up. Check these first.
Pinpointing Threading Problems
Bad threading is a very common reason a sewing machine won’t sew. If the thread is not put in the right path, the machine cannot make a stitch. The upper thread must go through guides, tension discs, and the take-up lever.
The Upper Thread Path
The thread starts on the spool pin. It goes through thread guides. These guides help the thread go where it needs to go. Then it goes through tension discs. These discs control how tight the thread is. Next, it goes up to the take-up lever. This lever pulls the thread up and down as you sew. Finally, the thread goes down to the needle and through the needle eye.
- Check every step: Make sure the thread is in every guide.
- Tension discs: The thread must be between the tension discs. Open the presser foot before threading the upper thread. This opens the tension discs.
- Take-up lever: The thread must go through the hole or hook on the take-up lever. If it is not, the machine cannot make a stitch at all.
- Spool cap: Use the right size spool cap for your thread spool. This keeps the thread from getting caught.
Using the Right Thread
Not all thread is the same. Cheap thread can cause many problems. It might be weak and break easily. It might have lots of fuzz that makes thread jamming sewing machine happen. Use good quality thread. Match the thread size to your needle and fabric.
Fixing Bobbin Thread Issues
The bobbin thread is just as important as the upper thread. If the bobbin is not right, your machine won’t sew or will make bad stitches. Bobbin thread issues are often the cause of loops under fabric or uneven stitches.
Winding the Bobbin
- Wind evenly: The thread should go onto the bobbin flat and even. Do not wind it too loose or too tight.
- Fill not too full: Do not wind the bobbin so full that thread spills over the edges. This can cause tangles.
- Use the right bobbin: Sewing machines need specific bobbins. Using the wrong size or shape bobbin will cause problems. Check your machine’s book to see which bobbin you need.
Putting the Bobbin In
- Right direction: Bobbins need to go into the bobbin case or hook area facing a certain way. Look at the picture in your machine’s book. The thread might need to come off the bobbin clockwise or counter-clockwise. This is very important!
- Through the tension spring: The bobbin thread must go through the small tension spring on the bobbin case (or in the bobbin area for drop-in bobbins). If it is not in this spring, the bobbin thread will be too loose. This is a main cause of loops under fabric.
- Click it in: For some bobbin cases, you need to hear a small click when you put it in. This means it is in place. For drop-in bobbins, make sure it sits flat.
Bobbin Case Problems
Sometimes the bobbin case itself has a problem. It might have lint in the tension spring. This makes the thread tension bad. Or the case might be scratched or bent. If your bobbin case is old or looks damaged, getting a new one might fix your bobbin thread issues.
Dealing with Needle Problems Sewing Machine
The needle is key to making a stitch. Many sewing problems come from the needle. A small problem with the needle can cause skipped stitches sewing machine, upper thread breaking, and even thread jamming sewing machine.
Is the Needle Bent or Dull?
Look very closely at your needle. Is the tip bent? Is it dull? A dull or bent needle cannot grab the bobbin thread correctly. This leads to missed stitches or skipped stitches sewing machine. A bent needle can hit the bobbin case or feed dogs. This can cause thread jamming sewing machine and even break the needle or damage your machine.
- Check the tip: Run your finger pad carefully over the tip. It should be sharp.
- Check for straightness: Lay the flat side of the needle on a flat surface like a table. It should lie perfectly flat.
Is It the Right Needle?
Sewing machines need the right needle for the fabric and thread.
* Type of needle: Use a ballpoint needle for knit fabrics. Use a sharp needle for woven fabrics. Use a denim needle for thick fabrics. Using the wrong type can cause skipped stitches sewing machine.
* Size of needle: The needle size should match the fabric weight and thread size. A needle that is too small for thick fabric will bend or break. A needle too big for fine fabric will make big holes.
* Brand: Use needles made for your type of sewing machine. Some machines like certain needle brands.
Incorrect Needle Insertion
This is a very common problem. The needle must be put in the machine the right way. Needles have a flat side on the top end. This flat side must face the back of the machine (for most machines). Check your machine’s book!
- Flat side correct: Make sure the flat side is facing the right way.
- All the way up: Push the needle up into the needle clamp as far as it will go. Then tighten the screw. If the needle is not all the way up, it is in the wrong position to meet the bobbin thread. This causes skipped stitches sewing machine.
How Often to Change Your Needle
Needles wear out. Change your needle often. Change it after every 8-10 hours of sewing time. Change it when you start a new big project. Change it if you hit a pin. A fresh needle makes a big difference.
Table: Common Needle Issues and Fixes
| Problem | What it Looks Like | Likely Issues | How to Fix |
|---|---|---|---|
| Skipped stitches | Machine misses some stitches | Bent needle, dull needle, wrong needle type/size | Change the needle. Use the right needle. |
| Upper thread breaking | Thread snaps often while sewing | Bent needle, small eye on needle for thread size | Change the needle. Use the right needle/thread. |
| Needle breaking | Needle snaps while sewing | Wrong needle size, bent needle, hitting pins | Change the needle. Use bigger needle for fabric. |
| Loops under fabric | Loose loops of thread on the back of the fabric | Needle issues can affect bobbin hook pickup | Check/change needle first, then check bobbin/tension. |
| Thread jamming | Thread gets stuck in the machine | Bent needle hitting parts, broken needle tip | Change the needle. Clean machine. |
| Machine won’t stitch | No stitch is made at all | Bent or broken needle tip stopping hook movement | Check/change needle. |
Adjusting Sewing Machine Tension Problems
Tension is about how tight the upper thread and the bobbin thread are pulling against each other. When tension is right, the threads lock together in the middle of the fabric layers. If the tension is wrong, you get bad stitches like loops under fabric or very tight stitches that break easily. Sewing machine tension problems are a major cause of stitch issues.
What Good Tension Looks Like
- Look at the stitch on the top of the fabric. The upper thread should look flat.
- Look at the stitch on the bottom of the fabric. The bobbin thread should look flat.
- Look at the side of the fabric. The place where the upper and bobbin threads cross should be in the middle of the fabric layers.
What Bad Tension Looks Like
- Loops under fabric: This is the most common sign of bad tension. It usually means the upper thread tension is too loose OR the bobbin tension is too tight (but usually the upper is too loose). The loose upper thread gets pulled to the bottom by the bobbin thread.
- Loops on top of fabric: This means the bobbin thread tension is too loose OR the upper thread tension is too tight. The loose bobbin thread gets pulled to the top by the upper thread.
- Fabric puckering: If tension is too tight (both threads), it can pull the fabric tight and make it pucker.
- Thread breaking: Tension that is too tight can cause the upper thread breaking or the bobbin thread breaking.
Fixing Tension Problems
- Check threading FIRST: Before touching the tension dial, re-thread your machine completely. Make sure the presser foot is UP when threading the upper thread. Make sure the bobbin thread is in its tension spring. Often, bad tension looks like a tension dial issue but is really a threading issue.
- Use the same thread: Use the same type and weight of thread in the bobbin as you do for the upper thread. Different threads will need different tension settings.
- Adjust upper tension: Most machines have a dial for upper tension.
- If you have loops under fabric (loose upper thread), turn the dial to a higher number to make the tension tighter.
- If you have loops on top of fabric (loose bobbin thread or tight upper thread), turn the dial to a lower number to make the tension looser.
- Adjust bobbin tension (carefully): Bobbin tension is harder to change. For drop-in bobbins, there is usually no adjustment screw you can easily reach. For bobbin cases, there is a tiny screw on the case. Turn this screw just a tiny bit (maybe a quarter turn) clockwise to make tension tighter, counter-clockwise to make it looser. Mark the original position of the screw with a pen first so you can go back. Only adjust bobbin tension if you are sure the upper tension is right and you still have issues.
- Test: Always test tension on a scrap piece of the same fabric you are using. Fold the fabric twice so you are sewing through four layers. Sew a few lines. Look at the stitches on top and bottom. Adjust the dial a little, test again. Keep doing this until the stitches look good.
Sewing machine tension problems are solved with small changes and testing. Be patient.
Checking for Lint and Dirt
A dirty sewing machine often won’t sew right. Lint and tiny bits of fabric gather inside the machine. They get in the moving parts, especially around the bobbin area and feed dogs. This can stop the machine from working well, cause thread jamming sewing machine, or make stitches bad. Clean sewing machine lint is very important care.
Where Lint Hides
- Under the needle plate: Take off the needle plate. Look underneath. There is often a lot of lint here.
- Around the feed dogs: The feed dogs are the little teeth that move the fabric. Lint gets packed around them.
- In the bobbin case area/hook area: This is a main spot for lint and thread bits to cause problems. Clean this area often.
- Thread guides: Lint can even build up in the thread guides, making the thread stick.
How to Clean Sewing Machine Lint
- Turn off the machine: ALWAYS unplug the machine before cleaning.
- Remove parts: Take off the needle, presser foot, and needle plate. For drop-in bobbins, take out the bobbin and bobbin case. For front-loading bobbins, open the bobbin case cover and take out the bobbin case.
- Use a brush: Most machines come with a small brush. Use this brush to sweep away lint. Brush away from the machine’s inside.
- Use tweezers: Tweezers can help grab stubborn bits of thread or lint that the brush can’t get.
- Compressed air (use with care): You can use a can of compressed air. BUT, blow air away from the inside of the machine. You don’t want to blow the lint deeper into the machine’s workings. Blowing from the outside in is better.
- Vacuum (best): A small vacuum cleaner with a hose attachment is great for sucking the lint out of the machine.
- Oil (if your machine needs it): Some machines need oiling. Check your machine’s book. Only use sewing machine oil. Put just a tiny drop on the points shown in the book. Do not over-oil.
Clean your machine regularly. How often depends on how much you sew and the fabric you use. Sewing with cotton or flannel makes more lint than sewing with polyester. Cleaning after a few projects or every time you change the bobbin area is a good habit. Keeping the machine clean helps prevent thread jamming sewing machine and other issues.
Checking the Presser Foot and Feed Dogs
The presser foot holds the fabric down. The feed dogs move the fabric. If these are not working right, the machine won’t sew forward or make even stitches.
Presser Foot Issues
- Is it the right foot? Use the correct presser foot for the stitch you are making.
- Is it on right? Make sure the presser foot is attached correctly and is flat.
- Is it down? The machine will not sew if the presser foot is lifted up. There is often a safety that stops the machine.
Feed Dog Issues
- Are they up? The feed dogs can be lowered for free-motion sewing. Make sure they are raised up for normal sewing. There is usually a switch on the back or side of the machine.
- Are they clean? Lint packed around the feed dogs stops them from grabbing the fabric. Clean under the needle plate around the feed dogs.
Other Reasons Your Machine Won’t Sew
If you have checked threading, the needle, the bobbin, tension, and cleaned the machine, what else could it be?
Fabric or Project Problems
Sometimes the issue is not the machine, but what you are sewing.
- Fabric is too thick or thin: Very thick layers might be too much for your machine. Very thin or slippery fabric can be hard for the feed dogs to move.
- Too many layers: Sewing through many layers can be like sewing thick fabric.
- Wrong stabilizer: If using stabilizer, is it right for the fabric and stitch?
- Trying to sew off the edge: If you start sewing right at the edge of the fabric, the machine might pull the fabric down into the bobbin area. Start sewing a little bit in from the edge, or use a scrap piece of fabric to start on (a “leader”).
Machine Settings
Check the settings on your machine.
* Stitch type: Is the right stitch selected?
* Stitch length: Is the stitch length set to zero? If so, the feed dogs won’t move the fabric. Set it to a number higher than zero for straight stitches.
* Stitch width: For a straight stitch, the width should be zero. If it’s set wide, the needle might hit the presser foot.
* Buttonhole mode: Is the machine somehow in buttonhole mode? Some machines won’t sew normally until you switch out of this mode.
Timing Issues
This is a less common problem, but it can happen. The machine’s timing is when the needle goes down and the bobbin hook turns to catch the thread. If this timing is off, the machine cannot form a stitch. This usually requires a sewing machine repair person to fix. Signs of timing issues can be repeated needle breaking or the machine just not making a stitch no matter what you do.
Machine Needs Service
Just like a car, a sewing machine sometimes needs a check-up. If you have tried everything and your machine still won’t sew, it might need service. A technician can clean, oil, adjust timing, and fix parts you can’t reach.
Step-by-Step Troubleshooting Guide
Here is a simple plan to follow when your sewing machine won’t sew:
- Power Check: Is it plugged in? Is it on? Is the foot pedal hooked up? Is the presser foot down?
- Re-thread: Take both the upper and bobbin threads out. Wind a new bobbin. Thread the machine again carefully from start to finish. Make sure the presser foot is up when threading the upper thread.
- Needle Check: Take out the needle. Is it bent or dull? Is it the right type and size for your fabric and thread? Put a NEW needle in. Make sure the flat side is facing the right way and it is pushed all the way up before tightening. This fixes many skipped stitches sewing machine problems and upper thread breaking.
- Bobbin Check: Is it the right bobbin? Is it wound right? Is it put in the bobbin case/area the right way (checking thread direction)? Is the thread in the bobbin tension spring? This helps fix bobbin thread issues and loops under fabric.
- Clean Lint: Unplug the machine. Take off the needle plate. Use a brush or vacuum to clean out all the lint and thread bits, especially under the needle plate and around the bobbin area. Clean sewing machine lint regularly. This prevents thread jamming sewing machine.
- Tension Test: Re-thread the machine after cleaning. Use scrap fabric. Sew a test line. Look at the stitches. Adjust the upper tension dial a little if needed. Sew again.
- Feed Dog Check: Are the feed dogs up for normal sewing?
- Machine Settings: Are stitch length, width, and stitch type correct?
- Fabric Check: Is the fabric or project too hard for the machine?
- Try Simple Stitch: If you were using a special stitch, try a simple straight stitch. Does that work?
If you do all these steps and your machine still won’t sew, it might be time to take it to a repair shop.
Summary Table of Common Issues and Quick Checks
| Problem Type | What to Check First | Common Signs | Quick Fix Action |
|---|---|---|---|
| Threading | Upper thread path, Bobbin placement | Machine won’t sew, bad stitches, loops under fabric, thread breaking | Re-thread carefully, check bobbin direction and tension spring. |
| Needle Problems | Is needle bent, dull, wrong type/size, put in wrong? | Skipped stitches sewing machine, upper thread breaking, needle breaking | Put in a new, correct needle, make sure it’s all the way up and facing correctly (Incorrect needle insertion). |
| Bobbin Issues | Bobbin type, winding, placement, tension spring | Loops under fabric, uneven stitches, bobbin thread issues | Use right bobbin, wind evenly, put in right way, check tension spring. |
| Tension | Balance between upper and bobbin thread | Loops under fabric, loops on top, fabric puckering, thread breaking | Re-thread first, then adjust upper tension dial (Sewing machine tension problems). |
| Dirt/Lint | Buildup under needle plate, bobbin area, feed dogs | Thread jamming sewing machine, uneven stitches, machine slow or stops | Clean sewing machine lint from key areas using brush/vacuum. |
| Machine Condition | Presser foot, feed dogs, settings, timing | Machine won’t move fabric, no stitch, strange noises, won’t sew overall | Check presser foot down, feed dogs up, stitch settings. Could need service. |
Preventing Sewing Machine Problems
Taking care of your machine helps stop problems before they start.
- Clean often: Clean sewing machine lint after projects or often if you sew a lot.
- Change needle: Use a fresh needle for each new project or after about 10 hours of sewing.
- Use good supplies: Use good quality thread and the right bobbins.
- Handle gently: Don’t force thick fabric through the machine. Use the right needle and go slow.
- Regular service: Get your machine serviced by a pro every few years.
By checking these common points – threading, needle problems sewing machine, bobbin thread issues, sewing machine tension problems, and cleaning (clean sewing machine lint) – you can fix most cases where your sewing machine won’t sew. Don’t get frustrated! Start with the simple things and work your way through. Happy sewing!
Frequently Asked Questions (FAQ)
Q: Why am I getting loops under fabric?
A: This is most often because the upper thread is too loose. First, re-thread the upper thread carefully, making sure the presser foot is up when you do it and the thread is in all guides and the take-up lever. Also, check that the bobbin thread is correctly placed in its tension spring. If those are correct, then slightly increase the upper tension setting on your machine.
Q: Why is my upper thread breaking all the time?
A: Upper thread breaking can happen for several reasons. Check if your needle is bent, dull, or put in wrong (Incorrect needle insertion). Make sure the needle size is right for your thread and fabric. Check if your upper thread tension is too tight. Also, check your threading path for any snags or places where the thread might be catching. Using old or poor quality thread can also cause this.
Q: My machine is making skipped stitches sewing machine. What should I do?
A: Skipped stitches are very often caused by a problem with the needle. Make sure you are using the correct type of needle for your fabric (e.g., ballpoint for knits). Check if the needle is bent or dull; put in a new one if it is. Make sure the needle is inserted correctly, with the flat side facing the right direction and pushed all the way up into the machine before tightening the screw.
Q: Why is thread jamming sewing machine happening?
A: Thread jamming, especially in the bobbin area, is often due to a bird’s nest of thread. This can happen from incorrect threading, major tension problems (like loose upper tension pulling loops into the bobbin area), or lint and thread bits building up inside the machine (clean sewing machine lint). Unplug the machine, remove the needle plate and bobbin, and carefully clear all tangled thread and lint. Then re-thread completely.
Q: My bobbin thread is causing problems. What are the usual bobbin thread issues?
A: Common bobbin thread issues include the bobbin not being wound evenly or too full, using the wrong size or type of bobbin for your machine, not putting the bobbin into the bobbin case/area facing the correct direction, or the bobbin thread not being properly guided through the tension spring on the bobbin case or in the bobbin area. These often result in bad stitches, especially loops under fabric.
Q: How often should I clean sewing machine lint?
A: How often you need to clean depends on how much you sew and what types of fabric you use. As a general rule, clean out the bobbin area and under the needle plate after completing a project or after about 8-10 hours of sewing. If you sew with fabrics that create a lot of lint (like cotton flannel), you might need to clean more often. Regular cleaning helps prevent thread jamming sewing machine and keeps your machine running smoothly.