
Can you still use a vintage Singer sewing machine? Yes, absolutely! Vintage Singer sewing machines are renowned for their durability and excellent stitch quality, making them perfectly usable today. This guide will walk you through the process of getting your classic Singer up and running, from initial setup to basic maintenance.
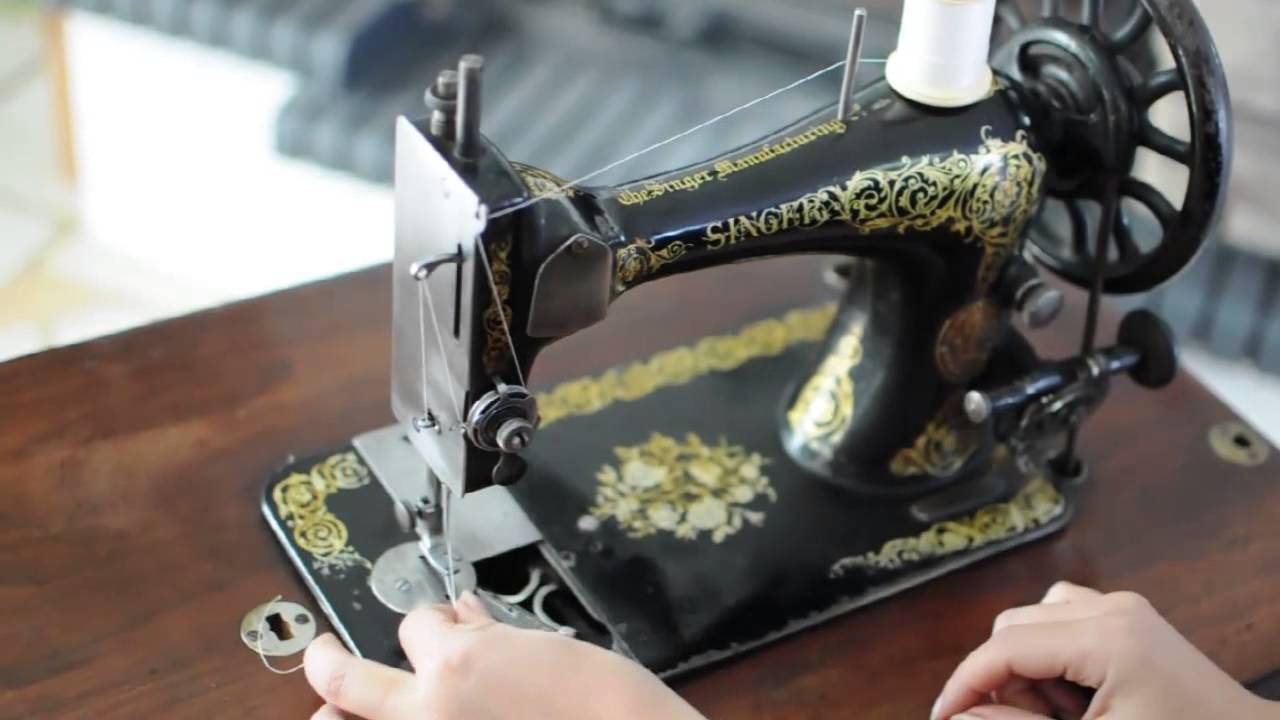
Image Source: i.ytimg.com
Getting Started with Your Vintage Singer
So, you’ve acquired a beautiful, old Singer sewing machine. These mechanical marvels are built to last, often outperforming their modern plastic counterparts. But how do you bring one to life? It’s not as daunting as it might seem! With a little care and attention, you’ll be stitching away in no time.
Essential Items You’ll Need
Before you start, gather these items:
- Your Vintage Singer Sewing Machine: Of course!
- Sewing Machine Oil: Specifically for sewing machines.
- Lint Brush or Small Soft Brush: For cleaning.
- Screwdrivers: Small ones for any minor adjustments.
- Needles: The correct type and size for your fabric.
- Thread: Good quality all-purpose thread.
- Fabric: Something to practice on, like cotton.
- Foot Pedal and Power Cord: Ensure they are in good working order.
- A Vintage Sewing Machine Manual (if possible): This is invaluable for specific instructions.
Deciphering Your Machine: Model Identification
Singer has made countless models over the years. Identifying yours helps find specific resources. Look for a model number or name on the machine itself. Common vintage models include the Singer Featherweight 221, Singer 301, Singer Spartan, and various models from the Singer Model 15 or 66 families.
Initial Inspection and Cleaning
Your first step is a good clean. Dust and old oil can make a machine sluggish.
Cleaning Antique Sewing Machines
- Dust and Debris: Use a soft brush and a dry cloth to gently wipe down the entire machine. Get into all the nooks and crannies.
- Oily Residue: If there’s old, gummy oil, a soft cloth lightly dampened with mineral spirits can help. Be sparing and avoid getting moisture into the mechanisms.
- Bobbin Area: Remove the bobbin case and bobbin. Clean out any lint or thread fragments from this area. This is crucial for smooth operation.
Oiling a Singer Sewing Machine
Proper lubrication is key to a happy vintage Singer. Old oil can gum up the works.
Where and How to Oil
- Consult Your Manual: If you have a Vintage sewing machine manual, it will show you the exact oiling points.
- General Oiling Points: Look for moving metal parts that rub against each other. This typically includes:
- The needle bar and presser foot bar where they enter the machine body.
- The bobbin winder spindle.
- The feed dog mechanism.
- Any visible pivot points or gears.
- How Much Oil: Use only a drop or two of dedicated Singer sewing machine maintenance oil at each point. Too much oil attracts dust and can cause problems.
- Run the Machine: After oiling, run the machine without thread for a minute or two to distribute the oil. Wipe away any excess.
Threading Your Vintage Singer: A Step-by-Step Guide
How to thread a vintage Singer is a common question. It might look complex, but once you learn the path, it’s straightforward.
Preparing Your Machine
- Raise the Presser Foot: Always make sure the presser foot is lifted. This opens up the tension discs.
- Position the Needle: Turn the handwheel towards you to bring the needle up to its highest position.
The Threading Path
The exact path can vary slightly between models, but the general principles remain the same.
Step-by-Step Threading
- Spool Pin: Place your spool of thread on the spool pin. Ensure it’s facing the correct direction (often the thread comes off the front of the spool).
- Thread Guide: Bring the thread up and through the first thread guide at the top of the machine.
- Tension Discs: This is a critical step. Guide the thread between the two tension discs. Make sure it goes into the slot correctly. This is where you’ll be adjusting tension on vintage Singer machines later.
- Take-Up Lever: Bring the thread down and loop it through the eye of the take-up lever. The thread should pass through the slot from left to right (or as indicated by your machine).
- Lower Thread Guide: Continue the thread downwards to the next thread guide, usually located near the needle bar.
- Needle Clamp Screw: Loosen the needle clamp screw slightly and insert a new needle, flat side facing towards the back (usually). Tighten the screw securely.
- Threading the Needle: Pass the thread through the eye of the needle from front to back.
- Bring Up the Bobbin Thread: Hold the needle thread with your left hand. Turn the handwheel towards you to bring the needle down and then back up. As the needle rises, it will catch the bobbin thread and pull it up through the needle plate.
- Pull Up Bobbin Thread: Use your fingers or tweezers to gently pull the loop of bobbin thread completely out.
- Place Threads: Lay both the needle thread and the bobbin thread back under the presser foot and out of the way, to the left.
Winding a Bobbin
A properly wound bobbin ensures even stitches.
The Bobbin Winder Mechanism
Most vintage Singers have a bobbin winder on the machine itself, often on the right side.
Bobbin Winding Steps
- Place Bobbin: Put a bobbin onto the bobbin winder spindle. There might be a small clip or notch to secure it.
- Thread Path: Guide the thread from your spool through the regular threading path, but skip the tension discs. Instead, guide the thread to the bobbin winder thread guide.
- Through the Bobbin Hole: Thread the bobbin from the inside out through one of the small holes in the bobbin. This anchors the thread.
- Engage Winder: Push the bobbin winder spindle to the side (it usually engages with a small gear).
- Start Winding: Gently turn the handwheel to start winding the bobbin. Hold the tail end of the thread for the first few turns to keep it from unraveling.
- Even Winding: Guide the thread back and forth across the bobbin to ensure it winds evenly. Stop the machine if the winding becomes uneven.
- Disengage Winder: Once the bobbin is full (don’t overfill!), stop the machine and push the bobbin winder spindle back. Cut the thread.
Inserting the Bobbin and Bobbin Case
This part is crucial for stitch formation.
The Bobbin Case and Shuttle
- Top Loading: Some Singers (like the Featherweight) have a top-loading bobbin.
- Front Loading/Side Loading: Others have a bobbin case that fits into a shuttle underneath the needle plate.
Inserting the Bobbin (Top Loading Example)
- Remove Bobbin Cover: Take off the small metal plate that covers the bobbin area.
- Place Bobbin: Drop the bobbin into the bobbin case (if applicable) or directly into the bobbin housing.
- Thread Bobbin Case: If using a bobbin case, there’s a small slot at the top. Thread the bobbin, leaving a tail. The thread should go around the tension screw in the bobbin case.
- Hook and Drop: The bobbin case usually has a small hook or latch. Hook this onto the bobbin driver, and the case should click or seat into place. The thread should be pulled into a groove.
- Pull Up Thread: Bring up the bobbin thread as described in the threading section.
Inserting the Bobbin Case (Front/Side Loading Example)
- Remove Needle Plate: You might need to lift the needle plate to access the shuttle.
- Position Bobbin Case: The bobbin case has a small “tongue” or “finger” that should align with a groove in the shuttle.
- Drop In: Drop the bobbin case into the shuttle.
- Thread Path: Ensure the bobbin case thread is coming out of the correct slot.
- Replace Needle Plate: Put the needle plate back.
Adjusting Tension
Proper tension creates balanced stitches.
Adjusting Tension on Vintage Singer Machines
Tension is controlled by two main areas: the upper thread tension and the bobbin tension.
Upper Thread Tension
- The Dial: Most Singers have a numbered dial on the front or top. Higher numbers mean more tension (tighter stitch), lower numbers mean less tension (looser stitch).
- Tension Discs: The thread passes between two metal discs. Turning the dial adjusts how tightly these discs grip the thread.
- When to Adjust: If your stitches look like loops on the underside of the fabric, the upper tension is too loose or the bobbin tension is too tight. If loops appear on the top, the upper tension is too tight or the bobbin tension is too loose.
Bobbin Tension
- The Screw: The bobbin case has a small screw that controls the tension of the bobbin thread.
- Tightening: Turning this screw clockwise tightens the bobbin tension.
- Loosening: Turning it counter-clockwise loosens the bobbin tension.
- Making Small Changes: Make only tiny adjustments (a quarter turn at a time). The bobbin tension should be just enough so that when you pull the thread, the bobbin case doesn’t spin freely but offers slight resistance.
Table: Common Tension Issues and Solutions
| Symptom | Likely Cause | Solution |
|---|---|---|
| Loops on the underside of fabric | Upper tension too loose | Increase upper tension (turn dial to higher number). |
| Loops on the top of fabric | Upper tension too tight | Decrease upper tension (turn dial to lower number). |
| Puckering or gathering of fabric | Upper tension too tight | Decrease upper tension. |
| Loose or floppy stitches | Tension too loose (both) | Check both upper and bobbin tension; ensure thread is in tension discs. |
| Skipped stitches | Needle dull, bent, or wrong | Replace needle. Ensure correct needle type and size for fabric. |
| Bobbin thread breaking | Bobbin tension too tight | Loosen bobbin tension slightly. |
| Upper thread breaking | Upper tension too tight | Decrease upper tension; check for burrs or snags on thread path. |
Understanding Basic Stitches
Vintage Singers are masters of the straight stitch and often the zigzag stitch.
Basic Sewing Machine Stitches
Most vintage machines excel at the fundamental stitches needed for most sewing projects.
The Straight Stitch
This is the most common stitch. It’s used for seams, topstitching, and almost all basic construction.
- Length: You can adjust the stitch length using a dial or lever on your machine. Shorter stitches are good for fine fabrics or reinforcing, while longer stitches are for gathering or less durable seams.
- How to Select: For machines that only do a straight stitch, it’s the default. If your machine has multiple stitches, ensure the straight stitch is selected.
The Zigzag Stitch (If Available)
Many vintage Singers, especially those from the 1950s onwards, offer a zigzag stitch.
- Uses: Great for finishing raw edges to prevent fraying, sewing stretchy fabrics, or decorative purposes.
- How to Select: Your machine will have a dial or lever to change the stitch width and pattern.
- Adjusting Width and Length: You can usually adjust the width of the zigzag (how wide the “zig” and “zag” are) and the length of each stitch.
Troubleshooting Old Singer Sewing Machines
Even the most robust machines can develop quirks. Here’s how to tackle common issues.
Common Problems and Solutions
Machine Won’t Turn On
- Check Power: Ensure the power cord is securely plugged into both the machine and a working outlet.
- Check Foot Pedal: Make sure the foot pedal cord is connected to the machine.
- Motor Belt: If your machine has an external motor, check if the belt is intact and properly connected to both the motor pulley and the machine’s handwheel. Repairing a Singer sewing machine motor might involve replacing a worn-out belt or carbon brushes.
Machine Runs, But Needle Doesn’t Move
- Handwheel: Make sure the handwheel isn’t in “bobbin winding” position (some models have a clutch to disengage the needle from the handwheel for winding bobbins).
- Internal Belt: The belt connecting the motor to the handwheel might be broken or slipped off.
Skipping Stitches
- Needle: This is the most common culprit.
- Is it the correct type for your machine? (e.g., Vintage machines often use Round Shank needles).
- Is it inserted correctly (flat side to the back)?
- Is it bent or dull? Replace it!
- Threading: Re-thread the entire machine, ensuring the thread is correctly seated in the tension discs and take-up lever.
- Bobbin Insertion: Ensure the bobbin and bobbin case are seated correctly.
Thread Breaking
- Tension: Upper tension is too tight.
- Needle: Bent, dull, or the wrong type.
- Thread Path: Check for burrs or rough spots on the machine where the thread passes. The thread guides and tension discs are common culprits.
- Bobbin Area: Lint buildup can cause thread to snag.
- Thread Quality: Old or poor-quality thread can be weak.
Uneven or Puckered Stitches
- Tension: Most likely a tension issue. Adjust as described in the tension section.
- Feed Dogs: Ensure the feed dogs are raised and clean.
- Needle/Thread: Make sure the needle and thread are appropriate for the fabric.
Singer Sewing Machine Maintenance
Regular upkeep keeps your vintage Singer purring.
Routine Singer Sewing Machine Maintenance
- After Each Use: Brush out lint, especially around the bobbin area and feed dogs.
- Weekly (or as needed):
- Oiling: Lightly oil all designated points.
- Cleaning: Give the machine a more thorough dusting.
- Monthly (or as needed):
- Check Needles: Replace if they show any signs of damage.
- Inspect Thread: Ensure it’s smooth and strong.
- Annually (or if problems arise):
- Deep Clean: Consider removing the needle plate and bobbin case for a more thorough clean.
- Check Belts: Inspect motor and handwheel belts for cracks or wear.
Replacing Singer Sewing Machine Parts
Over time, some Singer sewing machine parts may need replacement.
- Needles: Always use the correct type and size.
- Belts: Motor belts and internal drive belts can wear out.
- Light Bulb: Many vintage machines use specific bulb types.
- Foot Pedal/Cord: These can become damaged.
You can find replacement Singer sewing machine parts online from specialty vintage sewing machine part suppliers or on auction sites. Always try to get parts specified for your particular Singer model.
Using Your Vintage Singer for Projects
Now that your machine is ready, let’s talk sewing!
Practicing Your Skills
Before tackling a big project, practice on scraps of your chosen fabric.
Practicing Different Stitches and Fabrics
- Straight Stitch Control: Practice starting and stopping cleanly. Use the handwheel for precise control at the beginning and end of seams.
- Turning Corners: Sew to the corner, stop with the needle down, pivot the fabric, and continue sewing.
- Fabric Types: Try sewing with different weights of fabric – cotton, linen, denim, and maybe even a lightweight knit if your machine has a good zigzag.
Project Ideas for Your Vintage Singer
Your vintage Singer is perfect for a wide range of projects.
What You Can Sew
- Simple Garments: Skirts, pajama pants, tote bags.
- Home Decor: Pillowcases, curtains, placemats.
- Quilting: Patchwork and simple quilting.
- Alterations: Hemming pants and skirts, replacing zippers.
- Crafts: Fabric baskets, appliqués.
Frequently Asked Questions (FAQ)
Q: Do I need special needles for vintage Singers?
A: Yes, often vintage Singers use a “Round Shank” needle, as opposed to the “Flat Shank” needles used in most modern machines. You must use the correct type for your machine to function properly. Check your Vintage sewing machine manual or look up your model to confirm.
Q: Can I use modern thread with my vintage Singer?
A: Generally, yes. Good quality, all-purpose polyester thread works well with most vintage Singers. Avoid very thick or very fine threads until you are confident in adjusting tension on vintage Singer machines.
Q: My vintage Singer is making a loud noise. What should I do?
A: Loud noises often indicate a need for oiling or cleaning. Check all moving parts. If the noise persists, it might be a worn bearing or a loose internal component. This might require professional attention or a deeper dive into Troubleshooting old Singer sewing machines.
Q: How often should I oil my Singer sewing machine?
A: It depends on usage. If you sew frequently, oiling weekly is a good habit. If you use it only occasionally, oil it before each sewing session. Always refer to your Singer sewing machine maintenance schedule.
Q: Where can I find a replacement motor for my vintage Singer?
A: Finding exact replacement motors can be challenging. You might find them on auction sites like eBay, or specialized vintage sewing machine parts dealers. Sometimes, it’s easier to have an old motor repaired, which might involve Repairing a Singer sewing machine motor by replacing carbon brushes or bearings.
Q: My machine is skipping stitches. What’s the most likely fix?
A: The most common cause of skipping stitches is a dull, bent, or incorrectly inserted needle. Replace the needle first. If that doesn’t work, check your threading and bobbin insertion.
Using a vintage Singer sewing machine is a rewarding experience. These machines are built with quality and durability in mind, offering a tactile connection to sewing history. With a little care and this guide, you’ll be creating beautiful projects for years to come. Happy sewing!