
Yes, you absolutely can embroider a name with a regular sewing machine! You do not need a fancy embroidery machine. You can create beautiful, personalized items right at home. This guide will show you easy steps for doing DIY machine embroidered names using your standard sewing machine. It’s a fun way to add a personal touch to clothes, bags, or gifts. This is great for machine embroidery for beginners.
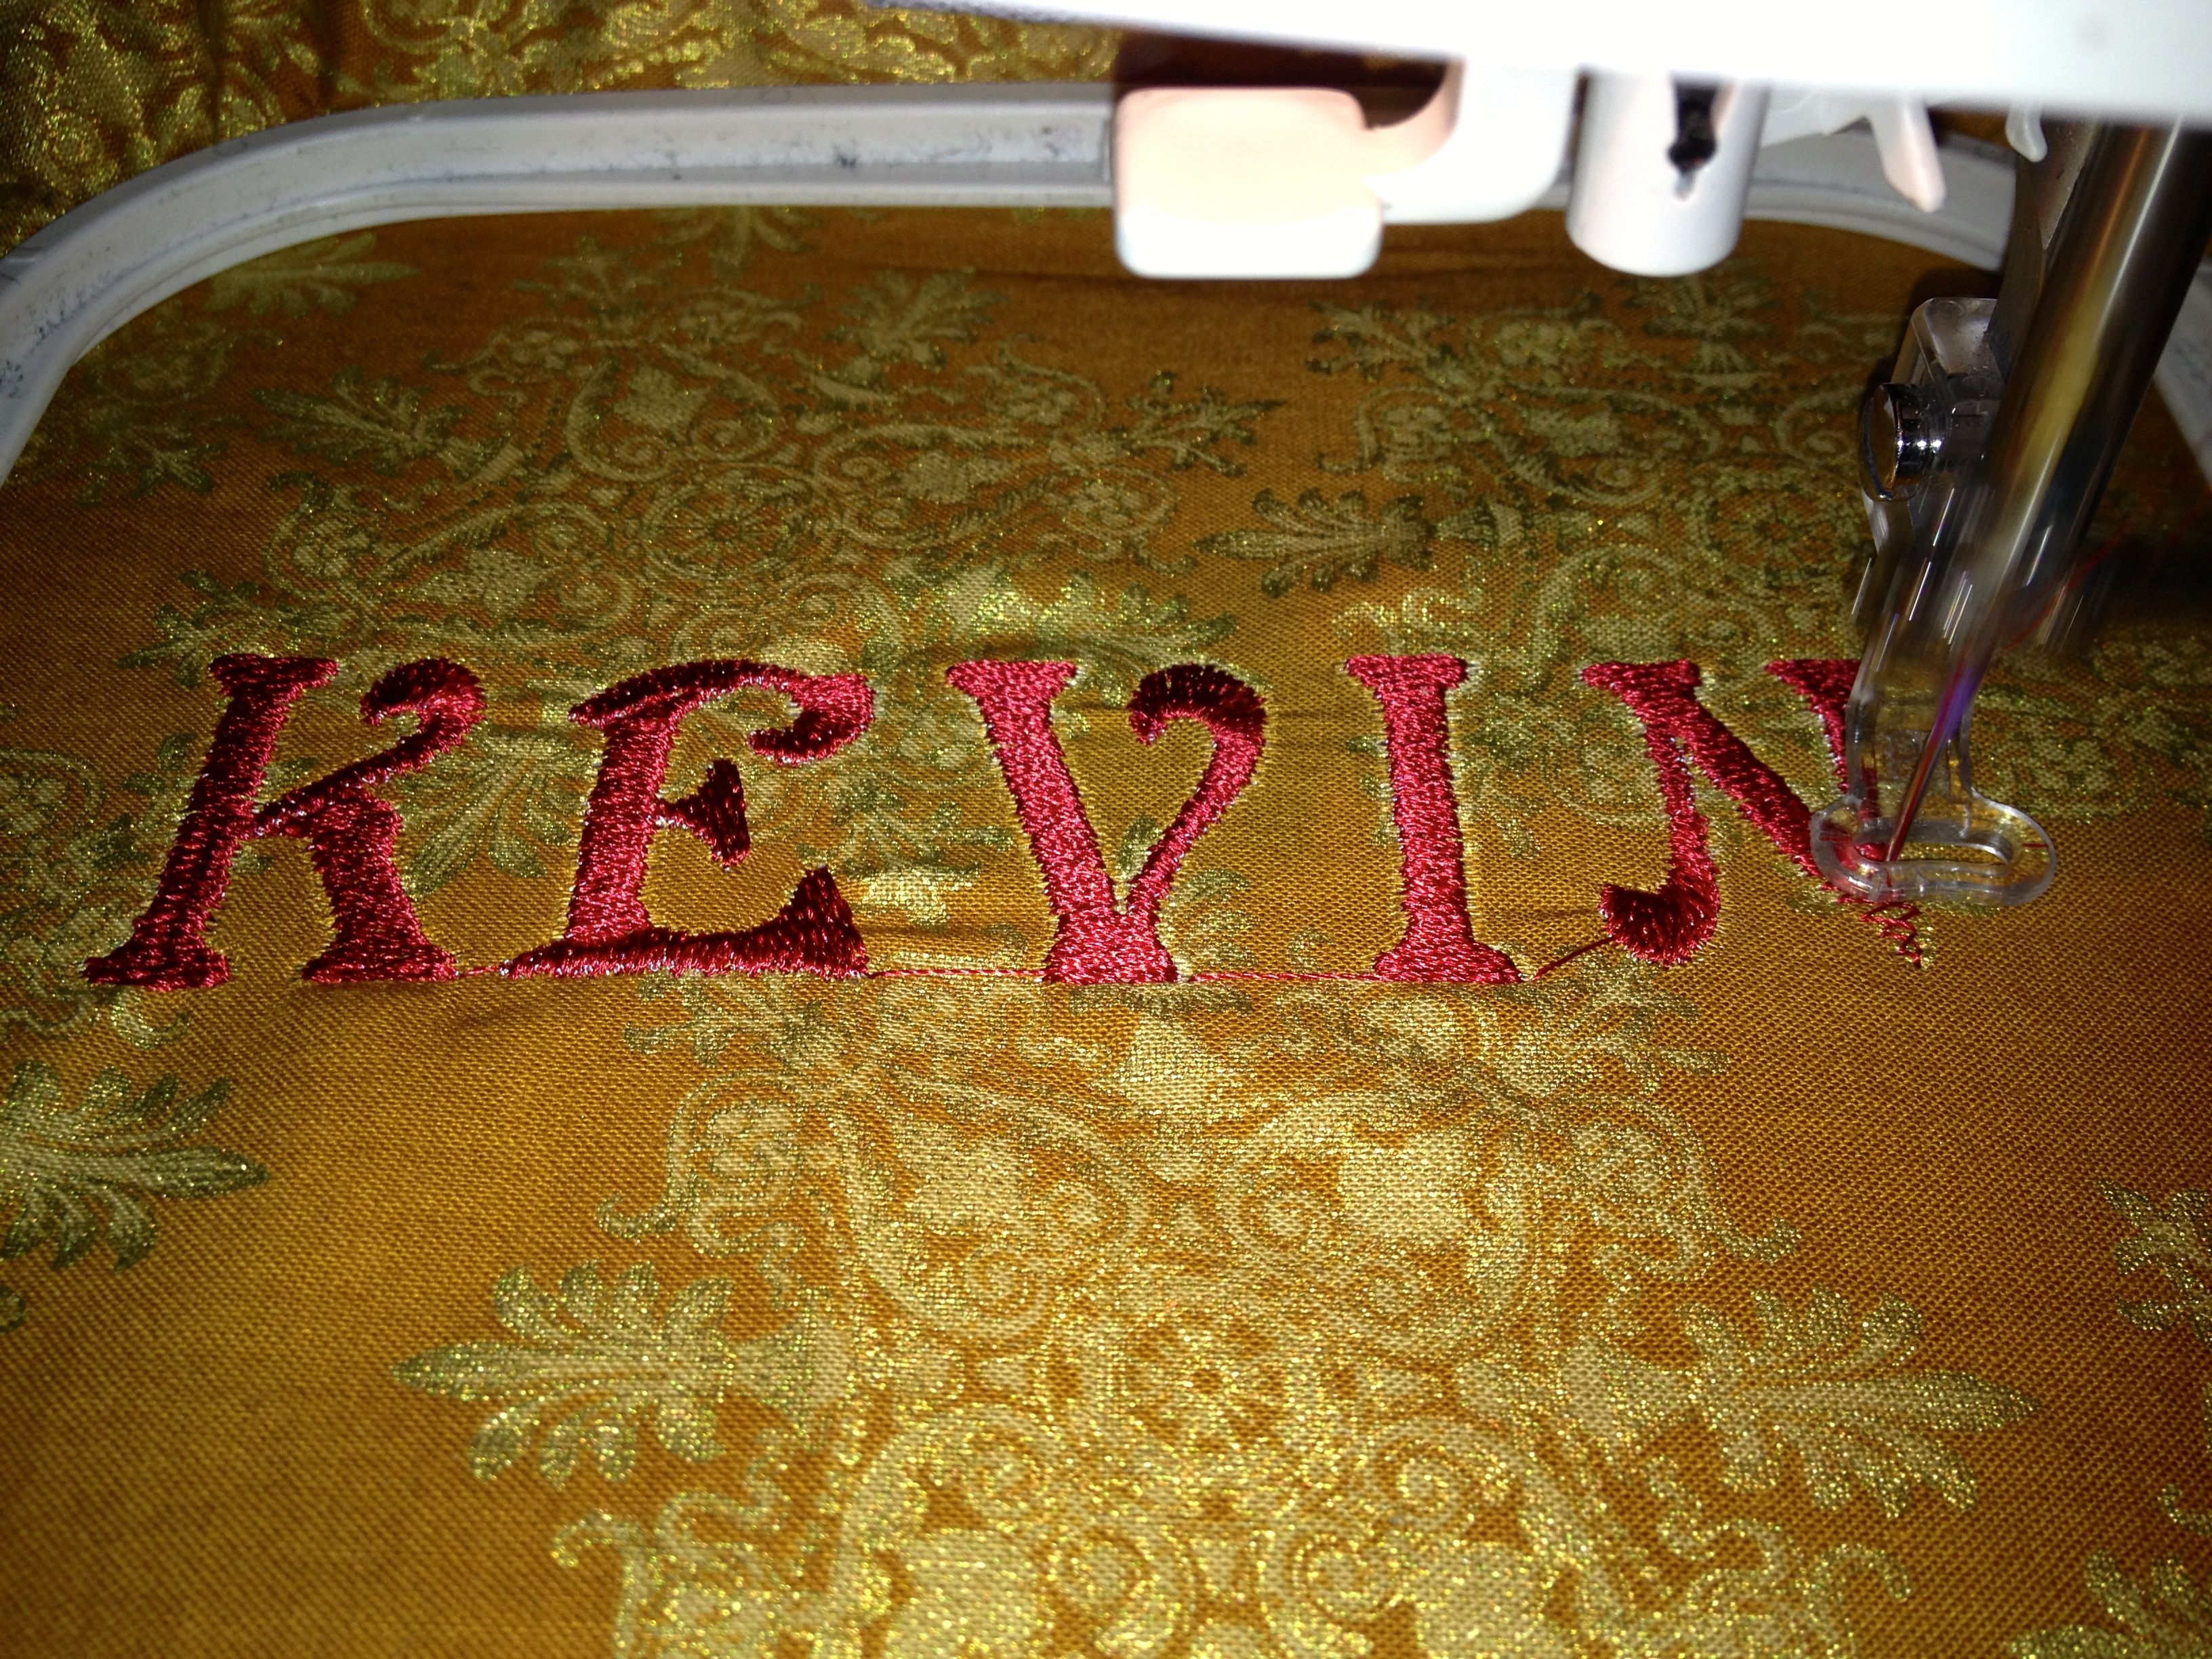
Image Source: content.instructables.com
Getting Ready for Machine Embroidery
Before you start, gather everything you need. Having your tools ready makes the process smoother. Think of it like getting ingredients before you cook. You need the right items to make it work.
What You Will Need
You don’t need many special things. Most items you might already have if you sew.
- A Sewing Machine: Your regular machine is fine. It just needs to be able to sew a zigzag stitch.
- Needles: Get embroidery needles or sharp, new sewing needles. Size 75/11 or 90/14 works well for most fabrics. A new needle is important. It helps prevent skipped stitches and snags.
- Thread: You need good thread. More on this soon.
- Fabric: The item you want to embroider on. This could be cotton, linen, or denim.
- Embroidery Stabilizer for Names: This is very important. It supports your fabric while you sew.
- Embroidery Hoop: This holds your fabric tight like a drum.
- Marking Tool: A pen or pencil that disappears later. Use one made for fabric.
- Small Scissors: For snipping threads neatly.
Preparing Your Sewing Machine
Using a regular sewing machine for embroidery needs a few simple changes. You will use your machine’s ability to move the fabric freely. This is different from regular sewing where the machine feeds the fabric for you.
Sewing Machine Settings for Embroidery
First, you need to set up your machine.
- Drop the Feed Dogs: The feed dogs are the little teeth under the needle plate. They move the fabric for you. For embroidery, you want to move the fabric yourself. You need to drop them or cover them. Check your machine’s manual. There is usually a lever or switch to do this. If your machine doesn’t have this, some come with a plate cover.
- Install a Darning Foot (Optional but helpful): A darning foot is clear and hovers over the fabric. It does not press down like a regular foot. This lets you move the fabric in any direction. If you don’t have one, you might be able to remove your regular presser foot entirely. Again, check your manual.
- Set the Stitch: You will mainly use a straight stitch or a zigzag stitch.
- For drawing outlines or thin letters, use a straight stitch.
- For filling letters or thicker lines, use a narrow zigzag stitch.
- Set the stitch length to zero or very close to it. You control the stitch length by how fast you move the fabric.
- Adjust Tension: Thread tension is how tight the thread is from the top and the bobbin. Getting this right is key. The top thread and bobbin thread should meet smoothly inside the fabric layers. Start with your normal tension setting. You might need to make small changes later. Loose tension can cause loops on the fabric. Tight tension can break the thread or pucker the fabric.
Choosing the Right Materials
Picking the right materials makes a big difference in how your finished name looks.
Fabric Types
Almost any stable fabric can be embroidered.
* Cotton
* Linen
* Denim
* Canvas
Avoid stretchy or very thin fabrics unless you use a special stabilizer made for them. The stabilizer is key to keeping the fabric flat and preventing puckers.
Best Thread for Machine Embroidery Names
The thread you use matters a lot. You want a thread that is strong and looks good.
- Rayon or Polyester Embroidery Thread: These threads are strong and have a nice shine. They come in many colors. Rayon is traditional and has a beautiful sheen. Polyester is stronger and resists fading and bleach better. Both work well.
- Regular Sewing Thread: You can use good quality regular sewing thread (like Gutermann or Mettler polyester thread). It won’t have the same shine as embroidery thread, but it works fine, especially for practice or a more subtle look. Use 40 weight thread for most embroidery. This is a common weight.
- Bobbin Thread: Use a lighter weight thread (like 60 or 90 weight) in your bobbin. This helps keep the stitches flat and balanced. Bobbin thread is often specifically labeled as “bobbin thread”. It’s usually polyester or sometimes cotton.
Make sure your thread is high quality. Cheap thread can break easily or cause lint build-up in your machine.
Embroidery Stabilizer for Names
This is perhaps the most important material for machine embroidery for beginners. Stabilizer gives the fabric body and stops it from stretching or puckering as you sew.
- What it is: It’s a material that goes behind your fabric. It supports the stitches.
- Why you need it: Without it, your fabric will pull and gather as you embroider. This ruins the look of the name.
- Types of Stabilizer:
- Cut-Away: This stays with the fabric forever. You trim away the extra around your design. Good for unstable fabrics like knits or open weaves. Provides strong support.
- Tear-Away: This tears away easily after you finish sewing. Good for stable fabrics like cotton or denim. Less permanent.
- Wash-Away: This dissolves in water after sewing. Good for delicate fabrics or when you don’t want any stabilizer left. Can be sticky or a film.
For most DIY machine embroidered names on stable fabrics, a medium-weight tear-away stabilizer is a good choice. For knits or stretchy things, use a cut-away or a specialty knit stabilizer. Always use a piece of stabilizer that is larger than your hoop.
Preparing Your Fabric and Design
You need to get your fabric ready before you start stitching.
Marking the Name
You need a guide to follow. Draw the name you want to embroider on your fabric.
- Plan the Size and Font: Decide how big you want the name. Think about the style of letters (like print or cursive). Simple letters are easier when you are starting.
- Choose a Marking Tool: Use a tool that will disappear.
- Water-soluble pens: Lines wash away with water.
- Air-erasable pens: Lines disappear over time in the air.
- Tailor’s chalk: Brushes away.
- Write or Trace the Name: Gently write the name on the fabric where you want it. If you are unsure, practice on a scrap piece of fabric first. You can print the name from your computer and trace it onto the fabric using a light box or a window.
How to Hoop Fabric for Machine Embroidery
Hooping your fabric and stabilizer correctly is vital. A tight hoop is like a strong canvas for an artist.
- Cut Stabilizer: Cut a piece of stabilizer larger than your hoop.
- Place Fabric and Stabilizer: Lay your fabric flat. Place the stabilizer piece underneath the spot where you marked the name. Make sure the marked name is in the center.
- Use the Hoop: Embroidery hoops have two parts: an outer ring with a screw and an inner ring.
- Loosen the screw on the outer ring.
- Place the outer ring on a flat surface.
- Lay the fabric and stabilizer over the outer ring. Make sure the fabric is right side up and the stabilizer is underneath.
- Push the inner ring down inside the outer ring. You might need to press firmly.
- The fabric and stabilizer should be stretched taut between the rings.
- Tighten the Hoop: Pull the fabric gently around the edges while tightening the screw on the outer ring. Make sure there are no wrinkles in the fabric or stabilizer inside the hoop. It should be as tight as a drumhead. A loose hoop will cause your stitches to be uneven and your fabric to pucker.
Creating the Name: Techniques and Stitches
Now for the fun part! You are ready to start sewing the name. This is where you embroider text on fabric.
Machine Embroidery Stitches for Lettering
You can use different stitches and techniques to make your letters.
- Straight Stitch Outlines: Use a straight stitch to simply trace the lines of your marked letters. This creates a thin, neat line.
- Satin Stitch Fill (with practice): A satin stitch is a dense zigzag stitch that covers an area completely. You can use a narrow zigzag stitch to fill in thicker letters. Set your machine to a zigzag. Set the width to cover the line you drew. Set the length to almost zero (like 0.5 or less). Move the fabric slowly and evenly to create a smooth fill. This takes practice!
- Running Stitch with Multiple Passes: Use a straight stitch and trace the lines several times. This makes the line bolder and more defined.
Free Motion Embroidery Names
This is the main technique you will use when Using a regular sewing machine for embroidery for names. It’s called “free motion” because you are moving the fabric freely under the needle.
- Lower the Presser Foot Lever: Even if you removed the foot or use a darning foot, you must lower the presser foot lever. This engages the tension discs on your machine, which is essential for proper stitching.
- Start Stitching: Place the hooped fabric under the needle. Lower the needle into the fabric at the start of your first letter.
- Begin Moving: Start sewing slowly. At the same time, gently move the hoop with your hands. You are guiding the fabric to draw the letter with the needle.
- Control Speed and Movement: Your machine’s sewing speed and how fast you move the fabric work together.
- Move the fabric too fast for the machine speed, and your stitches will be long.
- Move the fabric too slow, and your stitches will be very short or just a pile of thread.
- You need to find a rhythm where the stitches are a good, even length. Practice this on scrap fabric first!
- Follow Your Marked Lines: Guide the needle along the lines you drew for the name.
- Outline and Fill: For basic letters, you can just outline them with a straight stitch or a narrow zigzag. For bolder letters, you can go over the lines multiple times or use a satin stitch (dense zigzag) to fill them in.
Step-by-Step: Stitching the Name
Let’s walk through the process of stitching a name, good for machine embroidery for beginners.
Prepare Everything
- Get your hooped fabric and stabilizer ready.
- Thread your machine with your chosen thread. Use bobbin thread in the bobbin.
- Set up your machine for free motion embroidery (feed dogs down/covered, darning foot or foot removed, stitch length zero, set stitch type – straight or zigzag).
Start Stitching
- Place the hooped fabric under the needle. The marked name should be where you want to start.
- Lower the presser foot lever.
- Hold both the needle thread and bobbin thread tails for the first few stitches to stop them from tangling.
- Lower the needle into the fabric at the beginning point of your first letter.
- Start sewing slowly. Gently move the hoop to follow the outline of your letter.
- Sew along the entire outline of the first letter. Move smoothly and evenly.
Moving Between Letters
When you finish one letter and need to move to the next:
- Stop sewing.
- Lift the needle up out of the fabric.
- Move the hoop to the start of the next letter.
- Lower the needle back into the fabric.
- Start sewing again.
- You will have a thread connecting the letters. You can trim these later. Or, if the gap is small, you can gently ‘travel’ along the back of the fabric (if using an open stitch) or carefully lift the needle just enough to skim the surface to the next starting point. For beginners, lifting the needle and trimming later is easiest.
Finishing the Letters
- Once you have outlined all the letters, you can go back and fill them in if you want.
- Use a narrow, dense zigzag stitch (satin stitch effect) to cover the area within the outline. Move the fabric side to side under the needle to fill the width of the letter stroke. This takes practice to get smooth.
- Go over the lines multiple times with a straight stitch for a bolder look.
Securing Threads
When you finish stitching a section or the whole name:
- Stop sewing.
- Take a few tiny stitches in place (just wiggle the hoop very slightly while stitching) to lock the thread.
- Lift the needle up.
- Lift the presser foot lever.
- Pull the hoop away from the machine.
- Cut the threads, leaving tails about 4-6 inches long.
Tips for Success
Making beautiful free motion embroidery names takes practice. Here are some tips to help you.
Practice Makes Perfect
- Don’t expect your first try to be perfect. Use scrap fabric and stabilizer to practice drawing different letters and names.
- Practice smooth, flowing movements with the hoop.
- Experiment with machine speed and fabric movement speed to see how it affects stitch length.
Manage Thread Tension
- If you see loops on the back of your fabric, your top tension might be too loose or your bobbin tension too tight.
- If your top thread keeps breaking or the fabric is puckering badly (even with stabilizer), your top tension might be too tight.
- Make small adjustments to your top tension dial. Stitch a test line on scrap fabric after each adjustment until it looks right on both sides.
Control Speed
- Sew at a medium, consistent speed. Going too fast or too slow makes it harder to control the fabric movement.
- Move the fabric at a speed that matches your sewing speed. This creates even stitches.
Use Good Stabilizer
- Never skip the stabilizer. It is essential.
- Make sure the stabilizer is appropriate for your fabric type.
- Use a large enough piece that it extends beyond the edges of your hoop.
Mark Clearly
- Use a fabric marker that you can easily see.
- Keep your marked lines clean and simple.
Don’t Rush
- Take your time moving the hoop. Smooth, steady movements look best.
- It’s okay to stop and re-position your hands on the hoop.
Handling Mistakes
- If you make a mistake, you can carefully use a seam ripper to remove stitches. Be patient and try not to damage the fabric.
- Sometimes small wobbles add to the charm of DIY machine embroidered names!
Finishing Up Your Embroidered Name
Once you finish sewing, there are just a few steps left.
Removing the Hoop
- Loosen the screw on the embroidery hoop and gently take the fabric and stabilizer out of the hoop.
Dealing with Stabilizer
- This depends on the type of stabilizer you used.
- Tear-Away: Hold the stitches down gently and carefully tear away the excess stabilizer around the name. Try to tear away as much as possible without pulling on the stitches.
- Cut-Away: Use sharp scissors to carefully cut away the excess stabilizer about 1/4 to 1/2 inch away from the stitching. This type stays with the fabric.
- Wash-Away: Follow the product instructions. Usually, you soak the item in water (sometimes warm) and the stabilizer dissolves. Rinse thoroughly.
Trimming Threads
- Carefully trim any connecting threads between letters or any loose thread tails on the front or back of the fabric. Get close to the fabric but be careful not to cut the stitches themselves.
Final Touches
- If you used a water-soluble marker, gently mist or dab the lines with water to make them disappear.
- Press the back of the embroidery lightly with a warm iron (use a pressing cloth if needed, especially with shiny threads). This helps flatten the stitches.
More About DIY Machine Embroidered Names
Embroidering text on fabric with your regular sewing machine opens up many possibilities. You can personalize so many things!
- Baby blankets with the baby’s name.
- Towels with family names.
- Monograms on shirts or bags.
- Names on stockings for holidays.
- Labels for handmade items.
This technique, often called free motion embroidery or free motion quilting (when used on quilts), gives you artistic freedom. You are essentially drawing with your sewing machine needle. While dedicated embroidery machines automate this, learning to do it yourself gives you unique control and is a great skill for machine embroidery for beginners using tools they already own.
You can experiment with different Machine embroidery stitches for lettering. A simple straight stitch line is easy and clean. A slightly wider zigzag can give letters a bold look. You can even try going over the straight stitch line multiple times for a hand-drawn feel.
Remember, the key to nice looking Free motion embroidery names is smooth, consistent movement. Practice different shapes and curves before trying to write a full name. Start with simple block letters and move to cursive as you get more comfortable.
Frequently Asked Questions
Here are some common questions people ask about embroidering names with a sewing machine.
Is it hard to embroider a name with a regular sewing machine?
It takes practice, but it is not overly difficult to learn the basics. The hardest part for many is coordinating the speed of the machine with the movement of their hands. Start with simple projects and practice on scrap fabric.
What is the difference between machine embroidery on a regular machine and a fancy embroidery machine?
A regular sewing machine uses free motion embroidery – you control the design and movement completely by hand. A dedicated embroidery machine is computer-controlled. You load a design (like a name font) into the machine, hoop the fabric, and the machine stitches the design automatically. DIY machine embroidered names on a regular machine are unique and have a handmade look. Computerized embroidery is precise and repeatable.
Can I use any font?
When doing free motion embroidery names on a regular machine, you are drawing the font yourself. You can draw any font you like, but simple, clear fonts are easiest to start with. Very thin or highly decorative fonts can be tricky.
My fabric is puckering, what am I doing wrong?
Puckering is usually caused by not using enough stabilizer, using the wrong type of stabilizer for your fabric, or having a loose hoop. Make sure your stabilizer is firm, your fabric is hooped tightly, and consider using a heavier stabilizer if the problem continues. Poor thread tension can also cause puckering.
Do I need a special needle?
An embroidery needle or a sharp (new) universal needle works well. Embroidery needles have a slightly rounded tip that glides through the fabric fibers and a special eye to protect delicate threads. Using a needle that is old or the wrong type can cause skipped stitches or break the thread.
Can I embroider on stretchy fabric?
Yes, but it is harder. You will need a stabilizer specifically made for stretchy fabrics, usually a cut-away or a special knit stabilizer that provides strong, permanent support. Hoop carefully without stretching the fabric as you hoop it.
How do I make the letters thick?
You can make letters thick in a few ways when you embroider text on fabric. You can outline the letter and then fill the inside area by moving the fabric back and forth under a narrow zigzag stitch (satin stitch effect). Or, you can trace the outline with a straight stitch multiple times, going back over the lines until the thickness is right.
What is the best thread for machine embroidery names?
Rayon or polyester embroidery thread (40 weight) gives a nice sheen and strong stitch. High-quality regular sewing thread can also be used, but the look is less shiny.
How important is the stabilizer?
Very important! It is key to getting good results. It stops the fabric from stretching and puckering while you sew. Think of it as the foundation for your stitches.
Conclusion
Embroidering a name with your regular sewing machine is a rewarding skill. It allows you to personalize items with a handmade touch. By following these easy steps, preparing your machine, choosing the right materials like the best thread for machine embroidery names and embroidery stabilizer for names, and practicing your free motion techniques, you can create beautiful DIY machine embroidered names. Don’t be afraid to start, practice often, and enjoy adding a personal touch to your projects! Using a regular sewing machine for embroidery, including free motion embroidery names, is a fantastic way to get into machine embroidery for beginners without needing expensive equipment. You can truly embroider text on fabric and make it your own.