
Want to quilt using your sewing machine? It’s a fun way to add stitches and texture to your quilt top, batting, and backing layers. Beginners can start quilting on a sewing machine with some basic supplies and simple steps. You can create beautiful patterns and make your quilt strong and cozy.
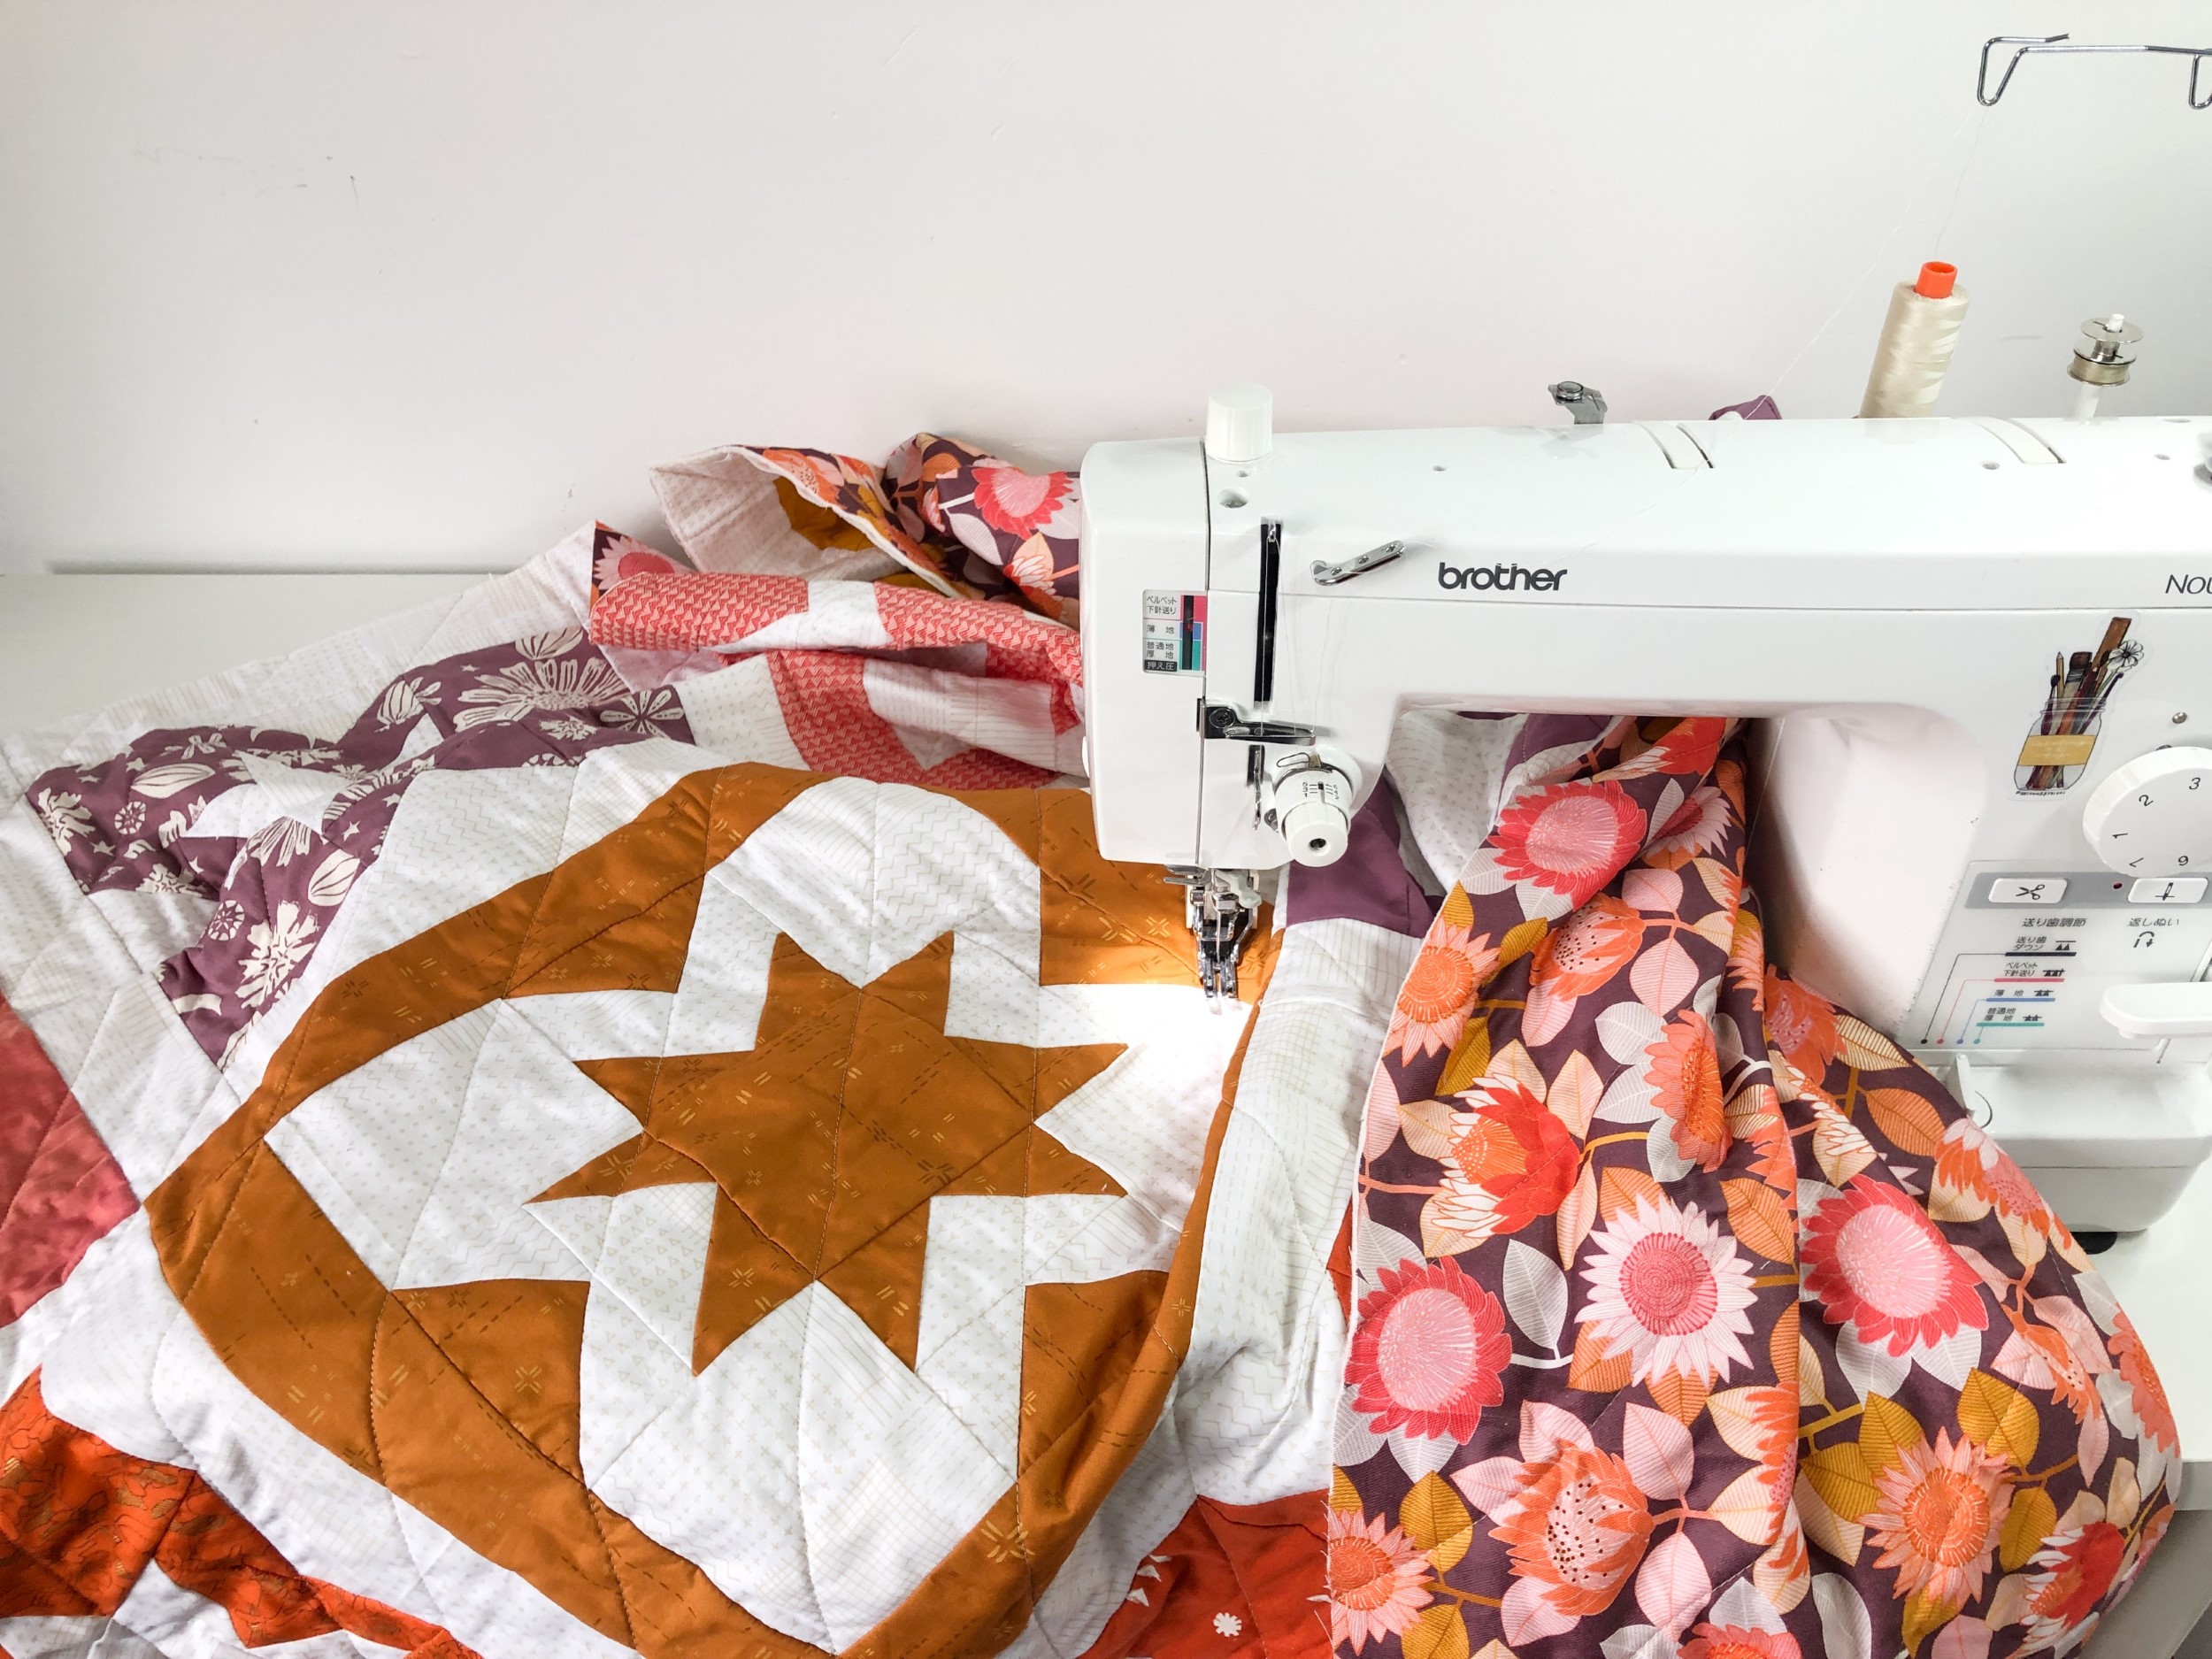
Image Source: www.blossomheartquilts.com
Getting Ready to Quilt
Before you start sewing your quilt layers together, you need a few things. Having the right tools makes the job much easier. Don’t worry, you likely have many of these already if you sew clothes or other projects.
What You Need to Begin
Here is a list of basic supplies:
- Your sewing machine
- Quilt top (the pretty pieced fabric part)
- Quilt batting (the middle fluffy layer)
- Quilt backing (the fabric for the back)
- Thread
- Needles for your machine
- Sharp scissors or rotary cutter
- Safety pins or basting spray
- A walking foot (very helpful!)
- Gloves (optional, but can help with grip)
- Marking tool (like a fabric pen)
Setting Up Your Machine for Quilting
Setting your machine just right is important. Think about quilting sewing machine settings. You need to make sure the stitches are secure and look good.
Here are some common settings to check:
- Stitch Length: Most people use a slightly longer stitch for quilting than for piecing fabrics. A setting between 2.5 and 3.5 is common. Test on scrap fabric first. A longer stitch is less likely to cause puckering.
- Tension: Thread tension needs to be balanced. The stitches on the top and back should look the same. No loops on either side. Check your machine manual for how to adjust tension. Practicing on scraps helps a lot.
- Presser Foot: You will likely use a special foot. A standard foot can work for straight lines, but a walking foot is much better. If you want to do curves or swirls, you will need a free motion quilting foot (also called a darning foot).
- Feed Dogs: These are the little teeth under the presser foot. They move the fabric.
- For walking foot quilting, leave the feed dogs up. The walking foot and the feed dogs work together to move all three layers evenly.
- For free motion quilting machine, you need to lower or cover the feed dogs. This lets you move the fabric in any direction you want. Your machine might have a switch to lower them. Or you might need a plate to cover them.
Always test your settings on a practice piece made of your quilt fabrics and batting before you start on your real quilt.
Picking Your Materials
The batting, thread, and needles you choose make a big difference. They affect how your quilt looks and feels.
Quilting Batting Types
The batting is the middle layer of your quilt. It gives the quilt warmth and puffiness. There are many quilting batting types. Each type has different traits.
Here are common types:
- Cotton Batting: This is very popular. It’s soft and breathable. It shrinks a little when washed, giving that nice crinkled look many quilters like. It’s good for machine quilting.
- Polyester Batting: This batting is fluffy and lightweight. It doesn’t shrink much. It’s often cheaper than cotton. It works well for machine quilting, especially if you want a puffy look.
- Wool Batting: Wool is warm but also light. It breathes well. It resists creases. It can be more expensive. It’s lovely to quilt.
- Blend Batting: This mixes fibers, often cotton and polyester (like 80% cotton, 20% poly). Blends can offer the good points of both fibers. They are popular for machine quilting.
- Bamboo Batting: Made from bamboo fibers. It’s soft, drapes well, and is eco-friendly. It handles like cotton or a blend.
Batting comes in different thicknesses, called loft. Low loft is thin. High loft is thick and puffy. Choose a loft that matches the look and feel you want for your quilt. Also, check the “quilting distance” on the batting package. This tells you how far apart your lines of stitching can be.
Best Thread for Machine Quilting
Choosing the right thread matters. The best thread for machine quilting is strong and smooth. It needs to run through your machine easily without breaking or causing problems.
Here are good thread choices:
- Cotton Thread: Natural and soft. Works well with cotton fabric and batting. Can break if it’s too thin or low quality. Look for mercerized cotton for extra strength and less lint. 40wt or 50wt is good for quilting.
- Polyester Thread: Strong and durable. Has a bit of stretch. Can be a good choice, but some types can be hard on older machines. High-quality poly thread is smooth and strong.
- Cotton-Wrapped Polyester: A poly core wrapped in cotton. Gives strength of poly with feel of cotton. Good for machine quilting.
- Rayon Thread: Shiny thread, often used for embroidery. Can be used for decorative quilting but might not be as strong for holding the quilt layers together over time.
- Specialty Threads: Metallic, variegated (colors change), or invisible thread. Use these for special effects. They can be harder to sew with.
Match your top thread color to your fabric, or use a color that stands out. Use a neutral color like grey or beige in the bobbin. Some people use the same thread in the bobbin as on top. Always use good quality thread. Cheap thread can break and cause lint buildup in your machine.
Quilting Needles for Machines
Using the correct needle is very important. Quilting needles for machines are made to handle the layers of a quilt. A dull or wrong needle can cause skipped stitches, thread breaks, and damage to your fabric.
Needles have a size and a type.
- Size: Common sizes are 70/10, 80/12, or 90/14. The larger the number, the thicker the needle. Use a size that matches your thread and batting. A larger needle is good for thicker batting or denser fabrics.
- Type: Look for needles labeled “Quilting” or “Microtex.”
- Quilting Needles: These have a strong, sharp point. They are made to go through multiple layers cleanly.
- Microtex Needles: These have a very sharp point. They are great for piecing and also work well for detailed machine quilting.
- Topstitch Needles: These have a large eye and a deep groove. They work well with thicker threads.
Change your needle often. A good rule is to change it after every 8-10 hours of sewing. Or change it at the start of a new project. A fresh needle makes quilting much smoother.
Getting Your Quilt Layers Ready
Before you can stitch your quilt, you need to prepare the three layers. This is called making the “quilt sandwich.” The layers are the backing on the bottom, the batting in the middle, and the quilt top on top.
How to Baste a Quilt
Putting the layers together is called basting. Basting holds the layers in place so they don’t shift while you are quilting. Knowing how to baste a quilt well is key to avoiding puckers and wrinkles.
There are a few ways to baste:
- Pin Basting: This is very common. You use special large safety pins (often curved).
- Lay the backing fabric flat on the floor or a large table. Make sure it is smooth and pulled tight, but not stretched. Use painter’s tape to tape the edges down if you are on a hard floor.
- Center the batting layer on top of the backing. Smooth it out. It should be larger than the quilt top.
- Center the quilt top on top of the batting. Smooth it out from the middle to the edges.
- Start pinning in the middle of the quilt. Work your way out to the edges. Place pins about a hand’s width apart (4-6 inches). Put pins closer together if your quilting design has lots of open areas or is very dense. Make sure you grab all three layers with each pin. Be careful not to pin through your fingers!
-
Spray Basting: You use a temporary fabric adhesive spray.
- Lay the backing fabric flat, wrong side up. Tape the edges down.
- Spray a section of the backing with the basting spray. Follow the spray can directions.
- Carefully lay the batting on the sprayed section. Smooth it down.
- Lift a section of the batting. Spray the exposed backing again. Smooth the batting back down. Do this for the whole batting layer.
- Lay the batting flat. Lift a section of the batting. Spray that section of the batting.
- Carefully lay the quilt top on the sprayed section of the batting. Smooth it down.
- Lift a section of the quilt top. Spray the exposed batting. Smooth the quilt top back down. Do this for the whole quilt top.
Spray basting is fast but can be sticky. Make sure you are in a well-aired space.
-
Thread Basting: You sew long, loose stitches by hand or machine to hold the layers. This method takes more time.
Choose the basting method you like best. The goal is simple: make sure the three layers stay stuck together without wrinkles before you start stitching with your machine.
Starting the Quilting Process
Now comes the fun part: adding stitches to your quilt. The stitches hold the layers together and add texture and design.
Quilting Stitches Explained
There are many ways to stitch your quilt. The stitches you use will shape the final look. Quilting stitches explained means knowing the main types you can make with your machine.
- Straight Line Quilting: This is sewing straight lines across the quilt. Lines can be parallel, form a grid, or go diagonally. It’s a great way for beginners to start. You can use a walking foot for this.
- Curved Line Quilting: Sewing gentle curves. Can be done with a walking foot or free motion foot.
- Stippling: This is a type of free motion quilting. You make random curvy lines that look like puzzle pieces. The lines don’t cross over each other. This makes the background flat and makes the piecing stand out.
- Loops and Swirls: Another free motion design. You sew loops or swirls all over the quilt.
- Echo Quilting: Sewing lines that follow the shape of a fabric piece or design, a set distance away. Like an echo.
- Stitch in the Ditch: Sewing right in the seam lines where two pieces of fabric meet. This makes the stitching almost invisible and makes the fabric pieces puff up.
You can use simple lines or complex patterns. Start simple and try new designs as you get more practice.
Using a Walking Foot for Quilting
A walking foot is a special presser foot. It helps your sewing machine feed all three layers of the quilt at the same rate. This prevents the layers from shifting or puckering. Using a walking foot for quilting is highly recommended for beginners, especially for straight or gently curved lines.
How it works: A walking foot has its own set of feed dogs or a gripping surface. As your machine’s feed dogs pull the bottom layer, the walking foot helps pull the top layer. This way, the layers move together evenly under the needle.
When to use a walking foot:
- Straight line quilting
- Quilting parallel lines
- Stitching in the ditch
- Quilting large, simple patterns
Tips for using a walking foot:
- Make sure the foot is attached correctly. Read your machine manual.
- Keep your stitch length a bit longer (2.5-3.5).
- Guide the fabric gently. Don’t push or pull hard. Let the walking foot and machine do the work.
- You might need to adjust your top thread tension slightly.
- Plan your quilting path so you don’t trap fabric fullness as you go. Work from the middle out if possible.
Trying Free Motion Quilting
Free motion quilting machine is different. You drop or cover your machine’s feed dogs. This allows you to move the quilt in any direction you want: forward, back, left, right, curves, circles, anything! You need a free motion or darning foot. This foot hovers over the fabric and does not grip it. Your hands control the movement of the quilt sandwich.
This method lets you draw with thread on your quilt. You can create loops, swirls, stippling, feathers, or custom designs.
Steps for free motion quilting:
- Lower or cover your feed dogs.
- Attach a free motion or darning foot.
- Select a straight stitch on your machine. Stitch length setting doesn’t matter because you control the stitch length by how fast you move the fabric and how fast the needle goes up and down.
- Lower your presser foot lever (even though the foot doesn’t press down, lowering the lever sets the tension).
- Practice! Use scrap fabric sandwiches first. Get a feel for moving the fabric and coordinating it with the machine speed. You want your stitches to be a consistent length, not too long or too short.
- Put on quilting gloves. They help you grip the fabric better.
- Support the weight of your quilt. Let it rest on your table, not hanging off. This reduces drag.
- Start stitching. Move the fabric smoothly. Control the speed of your machine and your hand movement together. Faster movement with slow needle speed makes longer stitches. Slower movement with fast needle speed makes shorter stitches. Aim for even stitches.
Free motion quilting takes practice to get smooth. Don’t expect perfect stitches right away. It’s about drawing with thread. Have fun with it!
Machine Quilting Tips for Beginners
Quilting on your machine can feel big when you start. Here are some machine quilting tips for beginners to help you along the way.
- Start Small: Don’t quilt a king-size bed quilt for your first project. Start with a small project like a placemat, a table runner, or a baby quilt. This lets you practice on a smaller scale.
- Practice Basting: Good basting prevents many problems later. Spend time making your quilt sandwich flat and smooth.
- Test Your Set-Up: Always test your thread, needle, stitch settings, and tension on a scrap piece first. Make sure it has all three layers: backing, batting, and top fabric.
- Plan Your Path: Think about where you will start and end your quilting lines. Plan how to move the quilt to avoid awkward positions or trapping fullness. For straight lines, starting in the middle and working out is often best.
- Use a Walking Foot First: Master straight lines and simple patterns with a walking foot before trying free motion. It’s less frustrating when you are starting.
- Go Slow and Steady: Don’t rush. Maintain a constant speed, both with your machine and how you move the fabric. This helps make your stitches even.
- Manage Your Quilt: As you quilt, the fabric bunches up under the arm of the machine. Stop often to adjust and keep the bulk of the quilt supported on your table, not hanging. Rolling up parts of the quilt can help manage size.
- Wear Gloves: For free motion quilting, grip gloves really help you control the fabric.
- Don’t Aim for Perfect: Especially when you are learning, your stitches might not be perfectly even or straight. That’s okay! Handmade has charm.
- Breathe and Relax: Quilting should be enjoyable, not stressful. Take breaks if you feel tense.
- Watch Videos: Seeing others machine quilt can be very helpful. Look for beginner machine quilting tutorials online.
- Change Your Needle: A sharp needle makes a huge difference. Don’t forget to put in a new one often.
- Learn to Bury Threads: At the start and end of stitching lines, you’ll have thread tails. Learn how to pull the top thread to the back and tie knots there. Then bury the tails in the batting using a needle. This makes the finish neat.
- Pressing is Your Friend: Pressing your quilt top flat before basting is important. Pressing helps the layers lie flat.
Quilting Different Areas of the Quilt
You can quilt over everything, or quilt in specific spots.
Stitching Over Pieced Blocks
You can stitch right over the seams and fabric pieces in your quilt blocks. This adds texture and secures the layers. For many patterns, simply stitching a grid or diagonal lines over the whole quilt is enough. The walking foot is great for this.
Quilting in the Borders
Quilting adds body to the borders too. You can repeat a simple design in the borders. Straight lines, wavy lines, or even free motion designs work well. Make sure your borders lay flat before quilting them.
Quilting Around Applique
If your quilt has applique shapes (fabric pieces sewn onto a background), you can quilt around them. This makes the applique shapes stand out. This is called “echo quilting” if you follow the shape at a distance. Or you can stitch right next to the edge of the applique. Free motion is often used for quilting around shapes.
Stitching and Stopping
As you stitch, you’ll need to start and stop lines of quilting.
Starting and Ending Stitches
When you start a line of quilting, begin about 1/4 inch from the edge or where you want your stitching to start. Take a few tiny stitches in place (or use your machine’s tie-off function if it has one). Then start your normal stitch length. This locks the stitches.
When you end a line, sew a few tiny stitches in place again. Pull the quilt out. You will have thread tails on the top and bottom.
Handling Thread Tails
Don’t just cut the thread tails right at the fabric. Leave about 3-4 inches of tail.
For thread tails at the start of a line:
1. Pull the top thread tail up a bit.
2. Use a pin or small tool to gently pull on the top thread until a small loop of the bobbin thread pops up on the top surface.
3. Pull the bobbin loop up with the tool.
4. Thread both the top and bobbin thread tails onto a hand sewing needle (a chenille needle or large-eye needle works well).
5. Push the needle straight down into the quilt sandwich at the stitch location.
6. Bring the needle back up about an inch away within the batting layer.
7. Pull the threads through.
8. Snip the threads close to the fabric surface. They are now hidden inside the quilt.
Do this for all starting and ending thread tails. It takes time but makes a clean finish.
Making Stitches Look Good
Even stitches make your quilting look nice.
Getting Even Stitch Length
For walking foot quilting, the machine controls stitch length based on your setting. Just focus on guiding the quilt smoothly.
For free motion quilting, you control stitch length by how fast you move the fabric and how fast the needle goes. If you move the fabric fast but the needle is slow, stitches will be long (like trot). If you move the fabric slow but the needle is fast, stitches will be short (like tight little dots). You want a smooth, even flow where your hands and the machine work together. Practice helps you find this rhythm. Aim for stitches that are roughly the same size as your stitch length setting for walking foot (2.5-3.5 mm).
Preventing Puckers and Pleats
Puckers are little gathers of fabric. Pleats are bigger folds. They happen when the layers aren’t moving together evenly.
- Good Basting: This is the first defense. Make sure your layers are smooth and well-secured.
- Walking Foot: Using a walking foot helps a lot with even feeding.
- Plan Your Quilting: Don’t push all the fabric fullness to one edge. Quilt from the middle out. Or quilt lines that help distribute the fabric smoothly.
- Don’t Push or Pull: Let the machine and foot move the fabric. Gently guide it. Pushing or pulling can stretch one layer more than others.
- Check Tension: Uneven tension can cause puckering. Make sure your top and bobbin tensions are balanced.
If you find a large pucker or pleat, you might need to remove stitches (unpick them) and redo that area. Small puckers often relax after washing the quilt.
Finishing Your Quilt
After all the quilting stitches are done, you are almost finished!
Trimming and Squaring Up
Trim away the extra batting and backing fabric around the edges of your quilt top. Use a ruler and rotary cutter to make sure the edges are straight and the corners are square (90 degrees).
Adding the Binding
Binding is the fabric strip that goes around the edge of the quilt. It covers the raw edges and gives the quilt a clean finish. You can attach the binding by machine and finish it by hand or machine. Adding binding is a separate skill, but it’s the last step to making your quilt a finished project.
Thinking About Design
You can choose quilting patterns that make your quilt look even better.
Simple Designs for Beginners
- Straight Lines: Quilt lines 1/2 inch to 2 inches apart. Easy with a walking foot.
- Grids: Stitch lines in one direction, then stitch lines crossing them at a 90-degree angle.
- Diagonal Lines: Stitch lines from one corner to the other. Then stitch lines crossing them the other way. Makes diamond shapes.
- Wavy Lines: Use a walking foot or free motion foot to make gentle waves across the quilt.
- Simple Loops: With free motion, draw loops all over the quilt.
Start with one simple design for your first quilt. As you get more skilled, you can try more complex patterns.
Marking Your Quilt (Optional)
For some designs, you might want to draw lines on your quilt top as a guide. Use a fabric marker that disappears with water or heat. Don’t press over temporary marks until you are ready to remove them. For straight lines, you can also use masking tape or painter’s tape as a guide next to your walking foot.
Keeping Your Machine Happy
Taking care of your sewing machine is important for quilting.
Cleaning and Oiling
Machine quilting creates a lot of lint, especially from cotton batting. Clean the lint out of your bobbin area often. Use a small brush. Do not use canned air; it pushes lint deeper into the machine. Oil your machine as your manual suggests. A clean, oiled machine runs smoothly and makes better stitches.
Regular Maintenance
Take your machine for service to a qualified repair person sometimes. They can clean and adjust things you can’t easily reach. This keeps your machine in good working order for many quilting projects.
Common Questions About Machine Quilting
Here are answers to some things beginners often ask.
FAQ
Q: Can I quilt a large quilt on a regular home sewing machine?
A: Yes, you absolutely can! It takes more effort to manage the bulk of a large quilt under a small machine arm. You might need to roll up parts of the quilt or use leaders (fabric attached to the edges to help feed it). Many quilters quilt large projects on standard machines.
Q: How far apart should my quilting lines be?
A: This depends on the batting you use and the look you want. Check the batting package for the maximum distance allowed (e.g., “quilt up to 4 inches apart”). Closer lines make the quilt feel stiffer and flatter. Wider lines make it softer and puffier. For beginners, lines 1-2 inches apart are a good starting point.
Q: My thread keeps breaking. Why?
A: Many things can cause this.
* Is your needle new and correct for quilting?
* Is your thread good quality?
* Is your machine threaded correctly?
* Is your tension too tight?
* Are you pushing or pulling the fabric too hard?
* Does your machine need cleaning or oiling?
Check these things one by one.
Q: What is stitch in the ditch and when do I use it?
A: Stitch in the ditch means sewing your quilting line right inside the seam line between two pieces of fabric. It makes the stitching almost invisible. It is used to hold the layers together without the stitching being a major design element. It makes the fabric blocks puff up nicely. A walking foot is excellent for stitching in the ditch.
Q: Do I have to mark my quilt before quilting?
A: No, you don’t have to. For simple patterns like straight lines or grids, you can follow seam lines, use a ruler as a guide (next to the presser foot, not under the needle), or use tape. For free motion, many people quilt freehand without marks. Mark only if your design needs it or if you prefer following lines.
Q: Is free motion quilting hard to learn?
A: It takes practice to develop the skill and muscle memory to move the fabric smoothly and evenly. It can be frustrating at first, but keep practicing on scraps. Start with simple shapes like loops or meanders. Many people find it fun once they get the hang of it.
Quilting your projects on your sewing machine is a rewarding step. It turns your pieced top into a finished quilt. Take it one step at a time, practice, and enjoy the process!