
Can you thread a needle for hand sewing? Yes, you absolutely can! Threading a needle for hand sewing is a fundamental skill for anyone interested in crafts, repairs, or simply mending a fallen button. This guide will break down the process into simple, manageable steps, ensuring you can confidently thread your needle every time. We’ll cover everything from selecting the right tools to mastering the best techniques for inserting thread in needle, making the entire process of hand sewing thread needle a breeze.
Learning how to thread a needle is the first crucial step in hand sewing. It’s a skill that opens the door to countless creative possibilities, from simple repairs to intricate embroidery. While it might seem daunting at first, especially with smaller needles and finer threads, with a little practice and the right approach, you’ll be threading a sewing needle like a pro in no time. This comprehensive guide is designed to make needle threading simple and accessible, ensuring your journey into hand sewing is smooth and enjoyable.
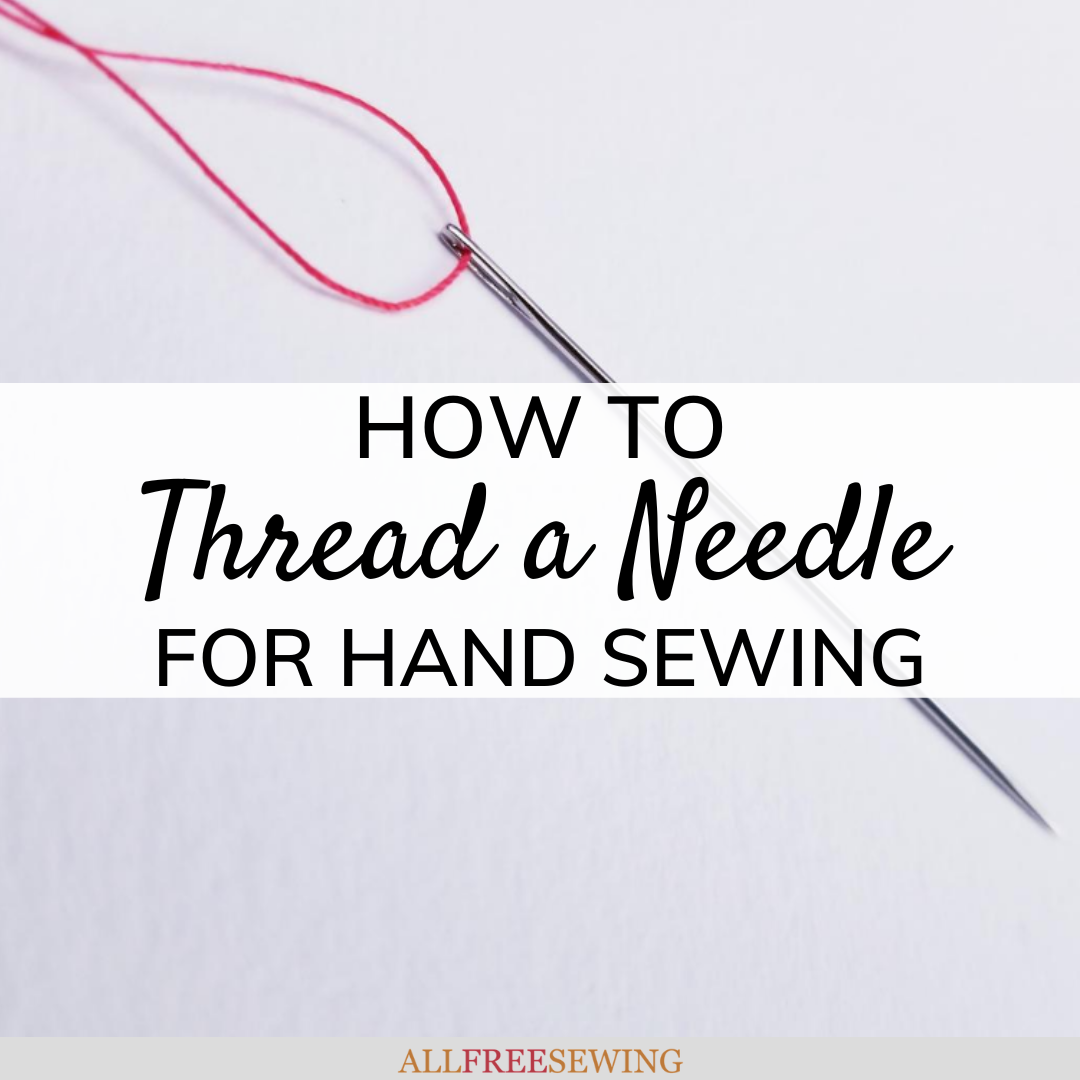
Image Source: irepo.primecp.com
Gathering Your Sewing Supplies
Before you can start threading, it’s essential to have the right tools. This means selecting a good quality sewing needle and appropriate thread. The combination of your needle and thread plays a significant role in how easy or difficult sewing needle threading will be.
Choosing the Right Needle
There are many types of sewing needles, each designed for specific tasks. For general hand sewing, a standard “sharps” needle is a good choice. These needles are strong and have a good point for piercing fabric.
- Sharps: Medium length, sharp point, and a strong shaft. Good for most general sewing tasks.
- Milliners’ needles: Similar to sharps but longer, with an eye that is the same size as the shaft. Useful for basting and millinery work.
- Embroidery needles: Blunt tips, large eyes. Designed for embroidery threads which are often thicker and can split easily.
- Beading needles: Very fine and long with tiny eyes, perfect for passing through small beads.
For beginners, a needle with a slightly larger eye will make threading a sewing needle much easier. You can find needles packaged by size, with lower numbers indicating thicker needles and higher numbers indicating thinner needles. A size 7 or 8 needle is often a good starting point for most fabrics.
Selecting Your Thread
The type of thread you use is just as important as the needle. Thread comes in various materials, thicknesses, and colors.
- Cotton thread: Natural fiber, good for cotton fabrics. Can be strong but may fray.
- Polyester thread: Strong, durable, and less likely to shrink or fray. A versatile choice for many fabrics.
- Silk thread: Very strong and smooth, ideal for delicate fabrics and silk garments.
- Rayon/Nylon thread: Shiny and strong, often used for decorative stitching or synthetics.
The thickness of your thread should match the eye of your needle. If the thread is too thick, it won’t fit. If it’s too thin for the task, it might break easily. For general hand sewing, a medium-weight polyester or cotton thread is recommended.
The Basic Needle Threading Technique
This is the most common and straightforward method for how to thread a needle. It’s a reliable technique that works for most situations.
Step-by-Step Guide to Basic Threading
Let’s get down to the nuts and bolts of inserting thread in needle.
- Prepare the Thread: Take your thread and snip off the end cleanly with sharp scissors. Avoid using your teeth, as this can create a frayed end, making it harder to thread. A sharp, clean cut is key.
- Hold the Needle: Grasp the needle firmly between your thumb and forefinger. The eye of the needle should be facing you.
- Position the Thread: Bring the cut end of the thread towards the eye of the needle. You want to approach the eye from the front.
- Guide the Thread: Gently push the very tip of the thread through the eye of the needle. You’re aiming for the hole in the needle.
- Pull Through: Once a small loop of thread has passed through the eye, pull the thread gently until you have about 18-24 inches of tail. This tail is what you’ll use to make your stitches.
Tips for Easier Threading
Sometimes, even with the right tools, getting the thread through the eye can be a challenge. Here are some tips for easy needle threading:
- Twist the End: If the thread is fraying, try twisting the end tightly between your thumb and forefinger. This can create a more solid point to push through the eye.
- Wet the Tip: Slightly dampening the very tip of the thread with water or saliva can help it stay together and pass through the needle more easily. Be careful not to make it too wet, as this can weaken the thread.
- Use a Threader: A needle threader is a small, inexpensive tool designed specifically to help with sewing needle threading. It has a wire loop that you pass through the needle’s eye first, then thread the thread through the wire loop, and finally pull the needle threader back through, bringing the thread with it.
Advanced Techniques for Tricky Situations
What if the thread is particularly fine, the needle’s eye is minuscule, or your eyesight isn’t what it used to be? Don’t worry, there are ways to tackle these challenges. These methods are great for situations requiring precise hand sewing thread needle work.
Using a Needle Threader
A needle threader is a true lifesaver for anyone struggling with how to thread a needle. There are several types, but the most common one has a thin metal loop attached to a handle.
How to Use a Standard Needle Threader:
- Insert the Threader: Place the wire loop of the needle threader through the eye of your sewing needle.
- Thread the Thread: Pass the end of your thread through the wire loop of the needle threader.
- Pull the Thread Through: Gently pull the needle threader back out of the needle’s eye. The thread will follow, now successfully threaded through your needle.
Other Types of Needle Threaders:
- Automatic Needle Threaders: These often come with sewing machines but can be used for hand sewing. You place the needle in a holder, press a button, and it automatically pushes the thread through.
- Self-Threading Needles: These needles have a small slit at the top of the eye. You simply press the thread into this slit, and it snaps into place. They are incredibly convenient for easy needle threading.
The Fold-Over Method
This technique is particularly useful for finer threads that tend to split or fray. It involves creating a thicker point for insertion.
Steps for the Fold-Over Method:
- Cut and Fold: Cut a short length of thread, about 2-3 inches. Fold this short piece in half, bringing the cut ends together.
- Align with Needle: Hold the folded thread close to the cut ends. Bring the folded end towards the eye of the needle.
- Insert the Fold: The doubled thread will create a thicker, more manageable tip. Gently push this doubled end through the eye of the needle.
- Pull Through: Once the loop of the doubled thread is through, pull both strands of thread until you have an equal length on both sides of the needle. This method also conveniently creates a double strand for sewing, making your stitches stronger.
The Waxed Thread Method
A small amount of beeswax or thread wax can dramatically improve your sewing needle threading experience.
How to Use Wax:
- Thread the Needle: First, thread your needle using one of the basic methods.
- Rub with Wax: Take a piece of beeswax or thread conditioner. Gently rub the length of the thread through the wax. You don’t need a lot – just enough to coat the thread lightly.
- Result: The wax strengthens the thread, prevents it from tangling, and makes it easier to pass through the needle’s eye, especially if you had a slightly frayed end initially. It also makes the thread glide through fabric more smoothly.
Preparing Your Needle and Thread for Sewing
Once you’ve successfully threaded your needle, there are a few more steps to take before you can start sewing. This is all part of preparing needle for sewing and ensuring your stitches are even and secure.
Creating a Knot
A knot at the end of your thread prevents it from pulling through the fabric.
Simple Knot:
- Wrap the Thread: Take the tail of your thread (the longer end) and wrap it around the tip of your index finger one or two times.
- Roll Off: Pinch the wound thread with your thumb.
- Slide Down: With your other hand, gently slide the loop of thread down the thread tail until it forms a knot at the end.
- Secure: Pull the knot tight against the fabric when you start sewing.
Double Knot: For extra security, especially with slippery fabrics or thicker threads, you can create a double knot by repeating the wrapping and sliding process on the first knot.
Thread Length Considerations
The length of thread you use affects your sewing.
- Too Short: You’ll need to re-thread your needle frequently, which can be time-consuming and disruptive.
- Too Long: Longer threads are more prone to tangling, knotting, and breaking during the sewing process.
A good rule of thumb for sewing needle threading and thread length is to aim for an arm’s length, usually around 18-24 inches. This provides enough thread to work with without it becoming unmanageable.
Troubleshooting Common Needle Threading Problems
Even with experience, you might encounter some common issues. Here’s how to solve them.
Problem: Thread Fraying
This is the most common issue when threading a sewing needle.
- Solution:
- Use sharper scissors for a clean cut.
- Try the fold-over method or a needle threader.
- Slightly dampen the thread tip.
- Use thread wax.
- Consider a different type of thread that frays less (e.g., polyester over cotton).
Problem: Thread Won’t Go Through the Eye
The eye of the needle seems too small for the thread.
- Solution:
- Use a needle threader.
- Try a needle with a larger eye.
- Use a thinner thread.
- Trim the thread end again with sharp scissors.
- The fold-over method can help create a more substantial tip.
Problem: Needle is Bent or Damaged
A damaged needle can make threading impossible and can also snag fabric.
- Solution:
- Discard the damaged needle and replace it with a new one. It’s not worth the frustration or potential damage to your project.
Problem: Difficulty Seeing the Needle Eye
For those with vision challenges, how to thread a needle can be very difficult.
- Solution:
- Use a bright light source.
- Work on a light-colored background.
- Use a needle threader.
- Consider self-threading needles.
- Magnifying glasses or a magnifying lamp can be very helpful.
The Importance of Proper Needle and Thread Preparation
Mastering how to thread a needle is more than just a mechanical step; it’s about setting yourself up for success in your sewing projects. When your needle and thread are properly prepared, your stitches will be cleaner, your sewing will be faster, and the entire process will be much more enjoyable. This careful attention to detail in preparing needle for sewing is what separates a frustrating sewing experience from a satisfying one.
Benefits of Correct Needle Threading
- Smoother Sewing: A well-threaded needle allows the thread to glide through the fabric without snagging or breaking.
- Even Stitches: Proper thread tension, which starts with correct threading, leads to neat and consistent stitches.
- Reduced Frustration: Avoiding common threading problems means less time spent fumbling and more time actually sewing.
- Stronger Seams: Using the right thread and a secure knot contributes to durable seams.
- Better Project Quality: When the fundamental steps like sewing needle threading are done correctly, the overall quality of your handmade items improves.
Threading for Different Sewing Projects
While the basic technique remains the same, some projects might benefit from specific approaches to threading a sewing needle.
Sewing with a Single Strand
For delicate fabrics or fine detail work, you might only want to use a single strand of thread.
- Technique: Thread the needle as usual. Pull through enough thread for your project, but only use one strand. Knot the end with a single knot.
Sewing with a Double Strand
This is common for stronger seams or when working with thicker fabrics, as it effectively doubles the thread’s strength.
- Technique:
- Thread the needle as usual, but pull enough thread through so that the two ends are even.
- Knot both ends together with a single knot. This creates a loop at the needle end and a double strand to sew with. This is a very efficient threading technique for durability.
Threading for Quilting or Appliqué
These techniques often involve finer threads and smaller needles to create less visible stitches.
- Technique:
- Use specialized quilting needles or appliqué needles that have slightly larger eyes compared to their thin shaft.
- Use fine cotton or silk thread.
- A needle threader is highly recommended here due to the fine nature of the materials.
Threading for Embroidery
Embroidery often uses thicker, textured threads (like embroidery floss) which can be challenging to thread.
- Technique:
- Use embroidery needles with large eyes.
- Separate your embroidery floss into the desired number of strands (often 2 or 3).
- Moisten or wax the strands if they fray.
- A needle threader is almost essential for inserting thread in needle with embroidery floss.
Summary Table: Needle Threading Essentials
Here’s a quick reference to help you remember the key aspects of how to thread a needle:
| Aspect | Key Considerations | Recommended for |
|---|---|---|
| Needle Choice | Size, eye size, sharpness, type (sharps, milliners, etc.) | Matching needle to fabric and thread thickness |
| Thread Choice | Material, thickness, color, strength | Matching thread to fabric and needle eye |
| Threading Aids | Needle threaders, self-threading needles, wax, good lighting | Beginners, those with vision issues, fine threads |
| Knotting | Single knot, double knot, securing the end to fabric | All hand sewing to prevent thread pull-through |
| Thread Length | 18-24 inches recommended to avoid tangles and frequent re-threading | All hand sewing for efficiency |
| Common Issues | Fraying, small eye, bent needle, poor visibility | Troubleshooting tips provided in the article |
Frequently Asked Questions (FAQ)
Here are some common questions people have about how to thread a needle.
Q1: What is the best way to thread a needle if my eyesight isn’t perfect?
A1: The best ways are to use a good quality needle threader, work in excellent lighting, and consider self-threading needles. Using a light-colored surface to work on can also help you see the needle eye more clearly.
Q2: Can I use any thread with any needle?
A2: Not exactly. The thread must be thin enough to pass through the needle’s eye. For best results, match the thread weight to the needle size and the fabric you are sewing. A thick thread won’t fit a fine needle, and a very fine thread might break if used with a heavy fabric or a thick needle.
Q3: How much thread should I use when threading a needle for hand sewing?
A3: A good starting length is about 18 to 24 inches (45-60 cm). Using much longer threads increases the chances of tangling and knotting, while using very short threads means you’ll have to re-thread your needle more often.
Q4: What does it mean to “thread a needle” in sewing?
A4: “Threading a needle” means passing the end of a piece of sewing thread through the small hole (the eye) of a sewing needle. This prepares the needle and thread for the act of sewing.
Q5: Who is a needle threader for?
A5: A needle threader is for anyone who finds it difficult to thread a needle manually, including beginners, people with vision impairments, or those working with very fine threads or needles with small eyes.
By following these steps and tips, you’ll find that sewing needle threading becomes a simple and rewarding part of your hand sewing practice. Happy sewing!