
What is a needle threader, and how does it simplify sewing machine needle threading? A needle threader is a small tool designed to help you pass the sewing thread through the tiny eye of a sewing machine needle. It makes threading a sewing machine needle much easier, especially for those with vision challenges or when working with fine threads.
Sewing is a rewarding craft, but the initial hurdle of threading the needle can sometimes feel like a frustrating puzzle. Whether you’re a beginner taking your first steps into the world of stitches or an experienced seamster facing a particularly tricky needle, a reliable needle threader can be your best friend. This guide will walk you through the ins and outs of using this handy sewing machine part, ensuring your sewing machine maintenance stays on track and those frustrating sewing machine troubleshooting moments are minimized.
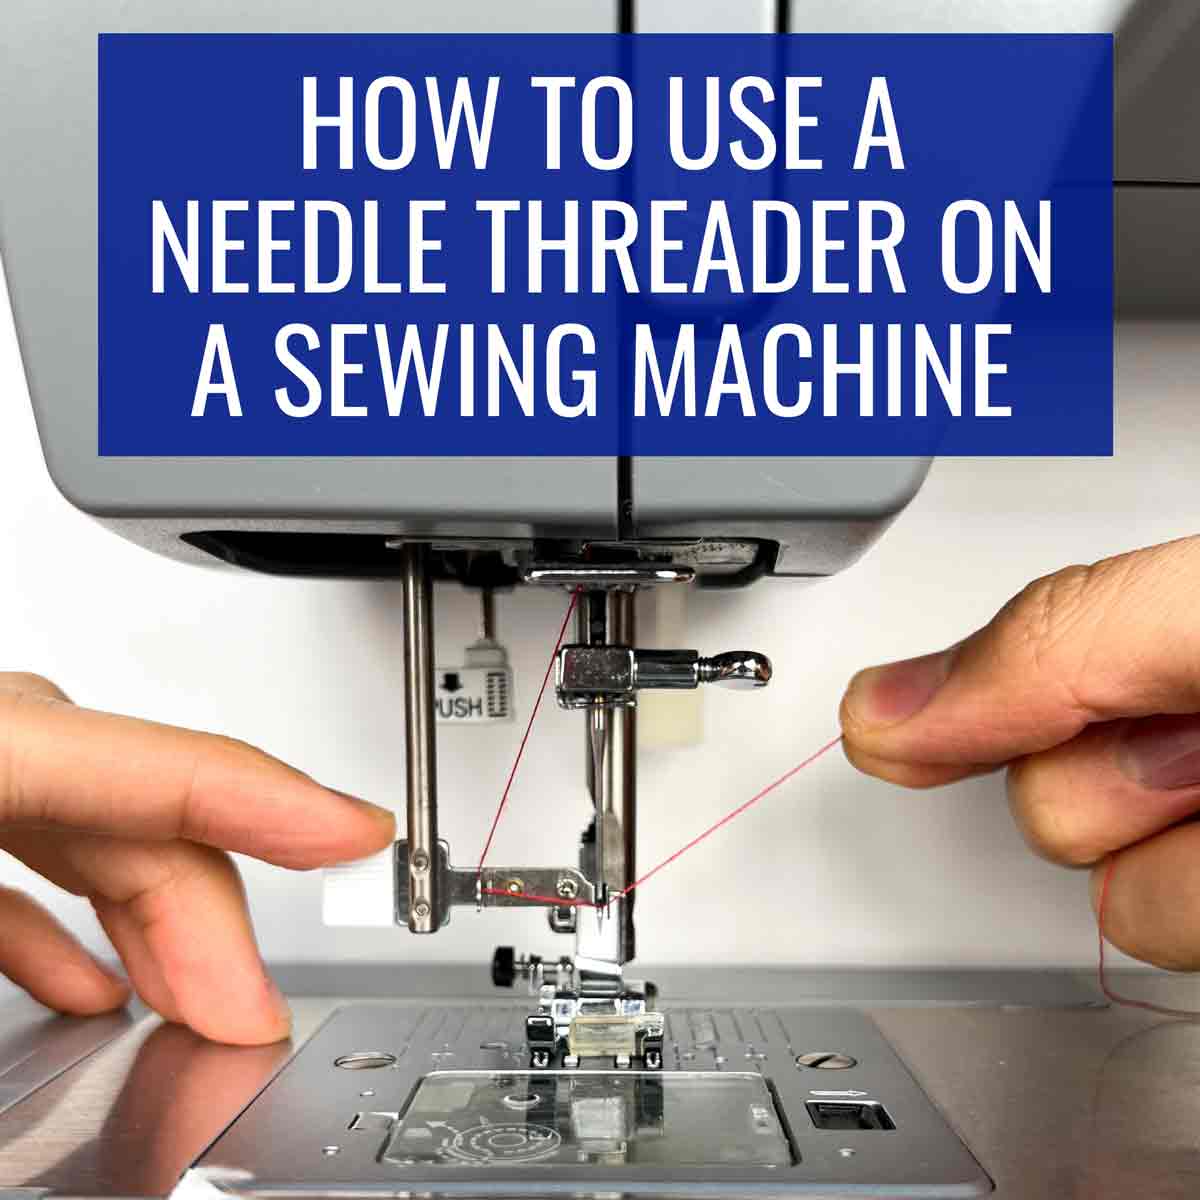
Image Source: mindymakes.com
The Anatomy of a Sewing Machine Needle
Before we dive into using a needle threader, let’s briefly touch on sewing needle basics. Sewing machine needles, unlike hand-sewing needles, have a few key features:
- Shank: The top, thicker part of the needle that fits into the sewing machine’s needle clamp. It’s usually flat on one side to ensure correct insertion.
- Shaft: The long, slender part of the needle that extends down into the fabric.
- Eye: The small hole at the bottom of the shaft through which the thread is passed. This is the critical part the needle threader targets.
- Point: The sharp tip that pierces the fabric.
Types of Needle Threaders
Sewing machines come with a variety of needle threading mechanisms. We can broadly categorize them into two main types:
Automatic Needle Threaders
Many modern sewing machines feature an automatic needle threader. These are built directly into the sewing machine and are designed for ultimate convenience. They typically work by using a small lever or a hook that extends from the machine, passes through the needle eye, and then helps guide the thread through.
Manual Needle Threaders
For machines without an automatic system, or for those who prefer a more tactile approach, there are manual needle threaders. These are separate tools, often made of plastic or wire, that you hold in your hand. They have a thin wire loop or a small hook designed to go through the needle eye.
Mastering the Automatic Needle Threader
Using an automatic needle threader can significantly speed up your sewing process. While designs vary slightly between brands and models, the general principle remains the same.
Step-by-Step Guide to Using an Automatic Needle Threader
-
Ensure Proper Setup:
- Lower the Presser Foot: This is a crucial step for most automatic needle threaders to engage correctly. Always make sure your presser foot is down.
- Raise the Needle: Bring the needle to its highest position by turning the handwheel towards you.
- Prepare the Thread: Cut the end of your sewing thread cleanly. A slightly angled cut can help. Place the thread spool on the spool pin.
-
Engage the Threader Mechanism:
- Locate the needle threader lever or arm on your sewing machine. It’s often situated near the needle itself.
- Gently push or pull this lever according to your machine’s manual. You’ll notice a small hook or wire come forward, positioning itself in front of the needle eye.
-
Thread the Machine:
- Insert the Thread: Guide the end of your sewing thread into the designated slot or groove on the needle threader arm. This slot is specifically designed to hold the thread in place.
- Activate the Threading Action: Once the thread is in place, push the needle threader lever all the way in, or in the direction indicated by your machine. This action will push the hook (with the thread looped through it) through the eye of the sewing machine needle.
-
Release the Thread:
- A small loop of thread will now be pulled through the needle eye.
- Gently pull this loop towards you, guiding it away from the needle.
- Release the needle threader lever to retract it.
-
Final Touches:
- You should now have a loop of thread ready to be caught by the bobbin thread.
- Pull the thread tail a few inches to the back or side of the presser foot.
- Lower the presser foot if you hadn’t already, and proceed with sewing.
Common Pitfalls with Automatic Threaders and Troubleshooting Sewing Machine Issues
- Needle Not Raised: If the needle threader doesn’t work, double-check that the needle is in its highest position and the presser foot is down.
- Thread Too Thick or Fuzzy: Very thick or frayed thread can snag or break the delicate mechanism of the automatic threader. Trim the thread end cleanly and ensure it’s a standard weight.
- Wrong Needle: Ensure you are using the correct type and size of sewing machine needle for your fabric and thread. An incorrect needle can cause threading issues and affect stitch quality.
- Bent or Damaged Needle: A bent needle can obstruct the threader. Replace the needle if it appears bent or damaged.
- Dirt or Lint Buildup: Over time, lint can accumulate around the needle threader mechanism. Gently clean this area with a small brush or compressed air as part of your sewing machine maintenance.
Employing the Manual Needle Threader Tool
For those without an automatic threader, or when the automatic one proves stubborn, the needle threader tool is your reliable companion. These tools are simple yet incredibly effective.
Types of Manual Needle Threaders
- Wire Loop Threaders: These are the most common. They consist of a handle attached to a thin, flexible wire loop.
- Lever Threaders: These often have a plastic base with a small wire hook that is pushed through the needle eye via a lever mechanism.
Step-by-Step Guide to Using a Manual Needle Threader (Wire Loop)
-
Prepare the Machine and Thread:
- Position the Needle: Turn the handwheel towards you to bring the needle to its highest position.
- Lower the Presser Foot: Just like with automatic threaders, lowering the presser foot helps stabilize the needle.
- Cut the Thread: Ensure a clean, sharp end to your thread.
-
Insert the Threader:
- Take your manual needle threader.
- Slide the thin wire loop through the eye of the sewing machine needle, from front to back. The loop should emerge from the back of the needle.
-
Thread the Threader:
- Pass the end of your sewing thread through the wire loop. It’s often easier to make a small loop with the thread itself and pass that through the wire loop.
-
Pull the Thread Through:
- Gently pull the wire loop back through the needle eye, drawing the thread with it. Hold onto the thread tail as you pull the wireer out.
-
Finalize:
- You should now have a loop of thread through the needle eye.
- Pull the thread tail a few inches away from the needle.
- Remove the needle threader tool.
Step-by-Step Guide to Using a Manual Needle Threader (Lever Type)
-
Prepare the Machine and Thread:
- Same as steps 1 from the wire loop guide: position the needle, lower the presser foot, and cut the thread cleanly.
-
Position the Threader:
- Place the plastic base of the threader against the sewing machine, typically near the needle.
- Bring the small wire hook forward, positioning it through the eye of the needle from front to back.
-
Thread the Hook:
- Place the end of your sewing thread onto the hook or in the designated groove on the threader.
-
Engage and Release:
- Push the lever on the threader tool. This will push the hook (with the thread) through the needle eye.
- A small loop of thread will appear on the other side.
- Gently pull this loop away from the needle.
- Release the lever to retract the hook and the threader tool.
-
Complete the Process:
- Ensure you have a good length of thread pulled through the eye.
- Move the thread tail to the back of the presser foot.
Threading a Sewing Machine Needle: General Sewing Tips
Regardless of the type of threader you use, a few general sewing tips can make the process smoother:
- Good Lighting: Ensure you have adequate lighting. This might involve sitting near a window or using a sewing machine light or a task lamp.
- Steady Hands: Try to steady your hands. Resting your elbows on the table can help.
- Trim the Thread: Always start with a fresh, clean cut on your thread. Frayed ends are difficult to thread. You can use sharp scissors, a rotary cutter, or even a thread cutter built into your machine.
- Thread Tension: Ensure your thread isn’t overly twisted or tangled before you attempt to thread the needle.
- Correct Needle Orientation: For most machines, the flat side of the needle shank should face the back of the machine. This ensures the eye is positioned correctly to receive the thread from the top.
Beyond Threading: Basic Sewing Machine Maintenance
While mastering the needle threader is key, proper sewing machine maintenance ensures all your sewing machine parts work harmoniously. Regularly cleaning lint from around the needle, bobbin area, and feed dogs, along with occasional oiling (if your machine requires it), will prevent many issues, including those related to threading.
Frequently Asked Questions About Sewing Machine Needle Threading
Q1: Why is my sewing machine needle threader not working?
A1: Several reasons could cause this. Check if the needle is in the highest position and the presser foot is down. Ensure the thread is clean and not too thick or frayed. The needle itself might be bent or damaged, or there might be lint buildup in the threader mechanism. Refer to your sewing machine’s manual for specific troubleshooting steps.
Q2: Can I use a needle threader on any sewing machine?
A2: If your sewing machine has a built-in automatic needle threader, it’s designed for that specific model. For manual needle threaders, they are universal and can be used on most sewing machines, regardless of whether they have an automatic feature.
Q3: What is the best way to thread a sewing machine needle with a very fine thread?
A3: Fine threads are notoriously difficult to thread. A good quality manual needle threader, particularly one with a very thin wire loop, is often more effective than an automatic threader for super fine threads. Ensuring a perfectly clean, sharp cut on the thread also helps significantly.
Q4: My automatic needle threader broke. Can I fix it?
A4: While minor adjustments might be possible, often a broken automatic needle threader mechanism requires professional repair. It’s a delicate part of the machine. In the meantime, a manual needle threader tool is an excellent substitute.
Q5: How do I choose the right sewing machine needle?
A5: The choice of needle depends on your fabric and thread. Universal needles are good for general sewing. For knits, use ballpoint or jersey needles to avoid snagging. For denim or leather, you’ll need a stronger, sharper needle like a denim or leather needle. Always check your fabric manufacturer’s recommendations.
By familiarizing yourself with these techniques and keeping these sewing tips in mind, threading a sewing machine needle will transform from a tedious chore into a simple, quick step, allowing you more time to enjoy the creative process of sewing.